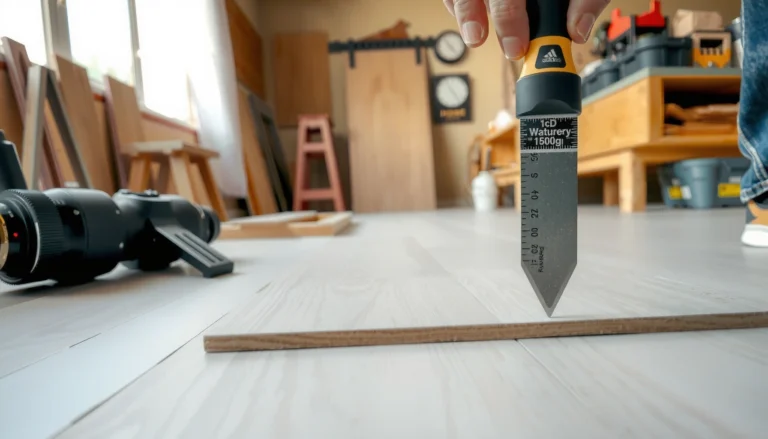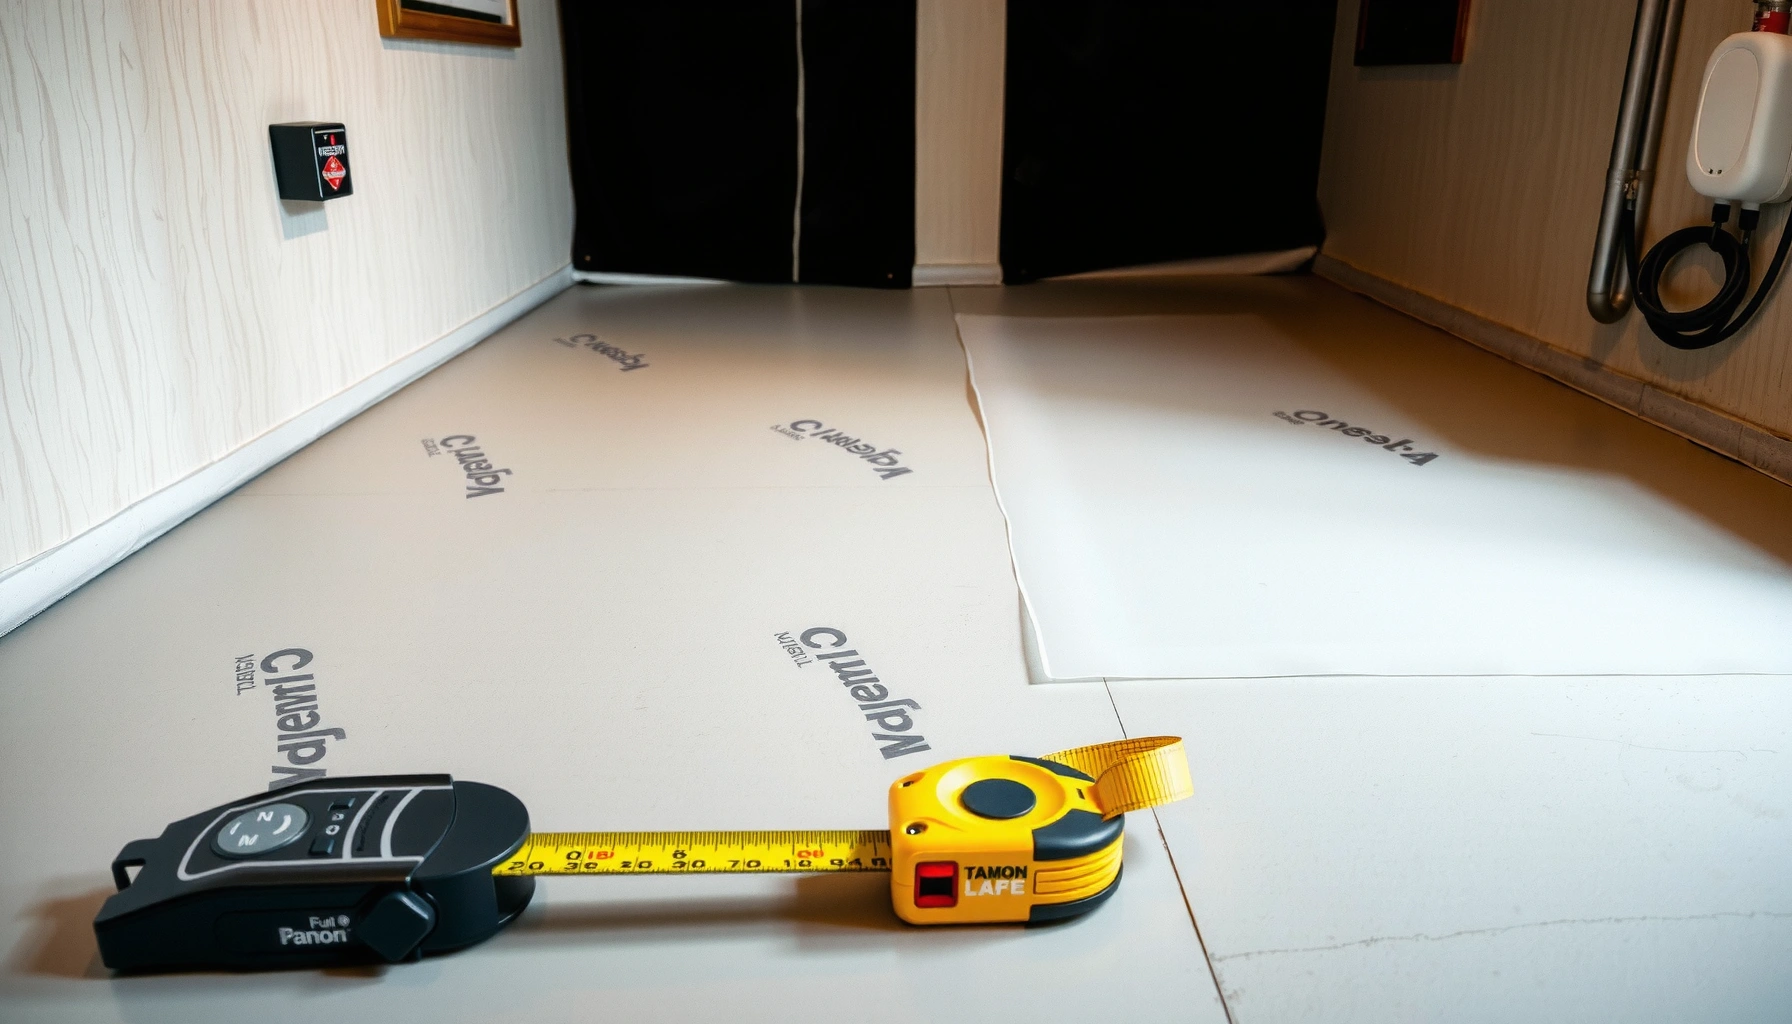

Installing a vapor barrier under polished concrete floors is a high-impact step when you’re trying to stop moisture from ruining the finish. This guide walks you through the exact placement, overlap, tape, and fastening approach that works best for slab-on-grade and other moisture-prone subfloors. Follow these steps and you’ll know the right material choices and installation details to get a clean, durable polish-ready surface.
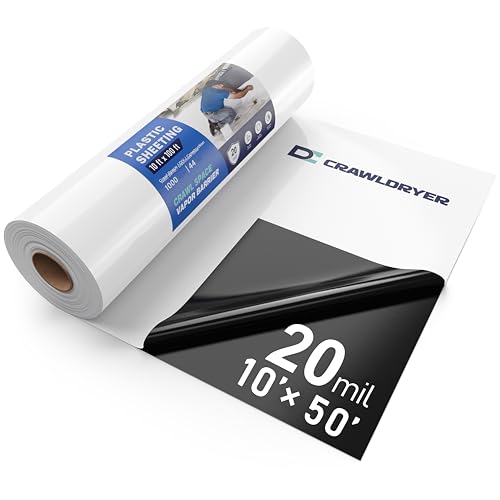



Install a vapor barrier under polished concrete by laying a continuous sheet membrane over well-prepped subgrade/slab, then sealing every seam and penetration so moisture can’t migrate upward through the concrete. The success of the system comes down to overlap, compatible tape/sealant at all joints, and protecting the membrane from punctures before the next floor build-up.
This guide is for homeowners, contractors, and installers working on polished concrete where moisture control matters—especially basements, slab-on-grade floors, garages, and any area with known dampness risk. If you’re unsure whether your slab needs a vapor barrier, verify local requirements and run an appropriate moisture test for your slab type and finish system.
Plan the vapor barrier type and coverage
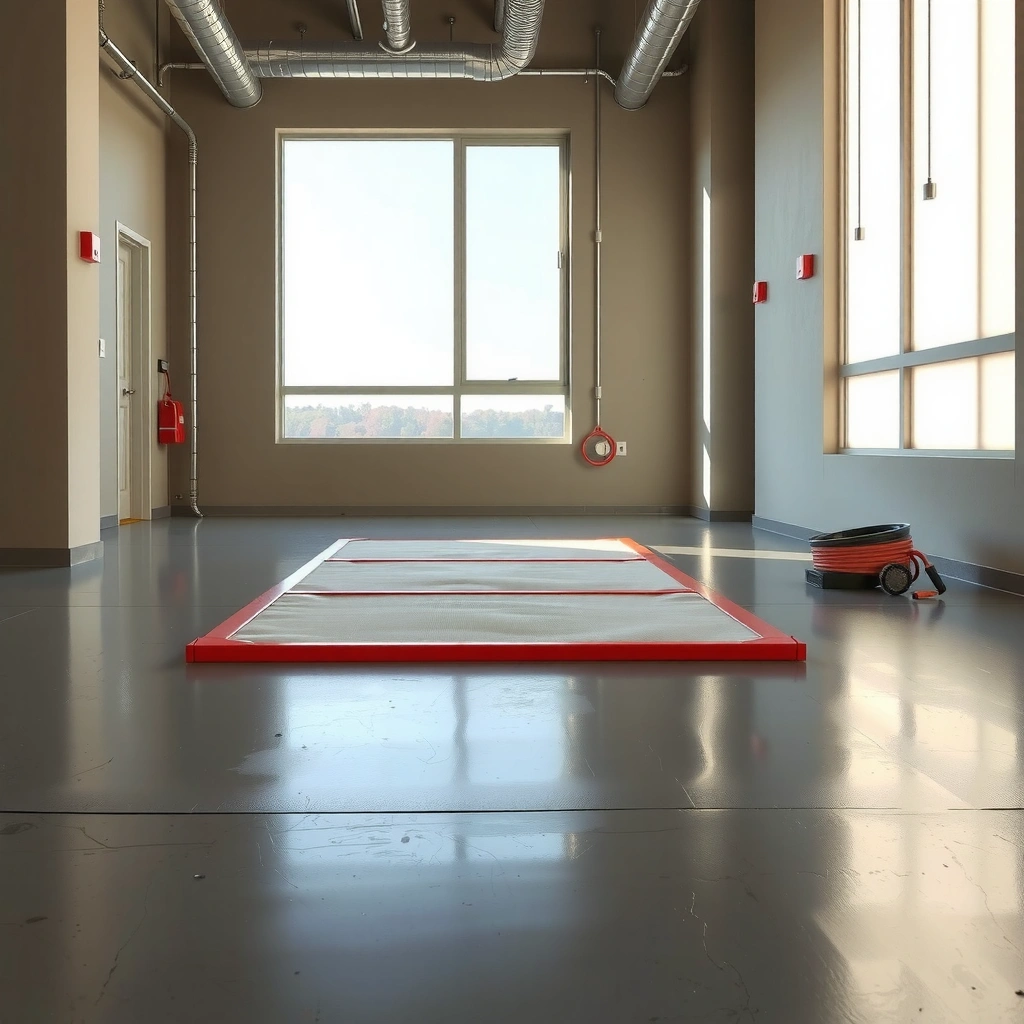
A correct vapor barrier choice prevents moisture vapor from migrating into the polished concrete system and creating long-term performance issues. Start by matching the membrane type and thickness (and its documented vapor permeance) to your slab conditions, not just to “what’s usually used.”
For under-slab projects on slab-on-grade, many systems specify a polyethylene-style sheet membrane classified under ASTM standards for vapor retarders and detailed with manufacturer-approved seam sealing. If you’re installing over existing concrete, you still need a continuous vapor-control layer, but the “best” membrane and detailing often depend on the existing substrate condition and the polished concrete build-up.
Before you roll anything out, build your plan around three realities: (1) moisture direction, (2) where penetrations break continuity, and (3) how many seams you can realistically seal to spec. In my view, most field problems start here—people choose a membrane without confirming sealing compatibility or they postpone penetration detailing until after the membrane is covered.
A vapor retarder’s performance is only as good as its continuity—seams and penetrations are treated as part of the system, not as “later touch-ups.”
According to ASTM E1745, vapor retarder materials are classified by permeance, which is why the specified thickness/type matters for slab-on-grade installations.
The polished concrete system (densifiers, coatings, and final finishes) is part of the moisture-management strategy, so the vapor barrier must be compatible with the full build-up.
A moisture test plan should be selected based on slab type and expected moisture pathways, because a “one-size-fits-all” approach can miss the real risk driver.
Membrane type selection (what to use and why)
– Confirm whether your project is slab-on-grade vs. over existing concrete, and match the membrane type to that condition (typically a polyethylene-style sheet for many under-slab applications—[ADD: specify membrane type per your system/spec]).
– Use the manufacturer’s product data sheet to confirm the vapor retarder classification/permeance and whether it’s intended for the application you’re doing (under slab, beneath fill, etc.).
– Avoid substituting a “similar” poly sheet unless the spec explicitly allows it—seam tape and sealant compatibility often depends on the polymer chemistry and thickness.
Coverage planning (seams, layout, and penetrations)
– Measure the room and plan for overlap at seams so you maintain continuous coverage with minimal cutting.
– Decide early where penetrations (pipes, posts, drains) will go so you can seal them correctly instead of patching after the membrane is covered.
– If your design includes turn-ups at walls (common in many under-slab detailing approaches), decide now how high the membrane will run and how it will connect to the wall vapor control strategy—this is typically system-specific.
Practical framing for contractors (so the crew can execute)
– Convert your measurements into “fit sheets” for the roll layout (for example: “start from the longest wall, run sheets with seams in low-traffic zones, keep seams staggered away from load-bearing transitions”).
– Allocate time for sealing and inspection before cover placement; otherwise, the job becomes a race that increases puncture risk.
Prep the surface for a continuous, flat layer
A vapor barrier only works as a continuous layer, so surface prep is the difference between “it’s installed” and “it performs.” Your goal is to create a stable, smooth base with no sharp points, debris, or unstable fill that can puncture the membrane or create stress points.
According to common under-slab best practice documentation, sharp aggregate and construction debris are among the easiest ways to create hidden pinholes. Moisture vapor migration can exploit even tiny pathways, especially around edges, seams, and around penetrations.
Prepare the base to remove debris and sharp protrusions because punctures and thin spots cannot be reliably “patched after the pour” without breaking continuity.
If water is migrating toward the slab due to grading or drainage, a vapor barrier won’t correct the underlying water entry mechanism.
On fill or variable subgrade, a stable, reasonably smooth surface reduces differential movement that can tear or separate the membrane.
What to do before rolling the membrane
– Remove debris, sharp protrusions, and dust so the sheet can lie flat without punctures.
– Address moisture sources and grading issues first (if water is running toward the slab, the vapor barrier won’t “fix” drainage problems).
– If the barrier sits over fill, ensure the base is stable and reasonably smooth so you don’t create stress points that tear the membrane.
– Eliminate standing water, and correct obvious substrate contamination (mud, loose organics, or loose fill). A dirty base also makes seam sealing less predictable because tapes/sealants often require clean surfaces.
A useful “crew-friendly” prep checklist
– Walk the area with a flashlight at floor level to spot sharp rocks, wire ends, or crushed corners.
– Confirm the subgrade is compacted/stable per project specs before placing any membrane.
– Stage rolls so the membrane isn’t dragged across rough spots during layout.
Statistical anchoring (why prep matters in performance terms)
According to ASTM E1745 and widely used under-slab vapor retarder guidance, vapor control is evaluated in terms of permeance (how easily moisture vapor passes). When punctures and discontinuities are introduced, the effective “permeance” of the system can become dramatically worse than the sheet’s labeled value—even if the sheet itself meets classification.
Install the vapor barrier sheet (overlap, layflat, tension)
You install a vapor barrier by placing a continuous membrane with proper orientation, controlled handling, and seams overlapped exactly as the product instructs. If you stretch the sheet to “make it fit,” you can thin it and create weak points—so install it to lay flat, not to be pulled tight.
For professionals, the key is to treat seams like critical waterproofing details: overlap correctly, align edges neatly, and avoid wrinkles that can hide unsealed gaps. The membrane should run continuously across the full area—turning up at edges only as required by your system.
Lay the membrane continuously across the entire footprint and keep it lay-flat; wrinkles and tension can lead to seam separation or punctures later.
Maintain overlap and seam geometry per manufacturer guidance, because vapor retarder performance depends on labeled seam detailing as part of the system.
Extend the membrane to the needed height at edges/turnups (if required by your system) to prevent bypass at the perimeter.
Overlap, orientation, and “fit without stretching”
– Lay the membrane with the correct orientation for the product instructions, keeping it continuous across the full area.
– Overlap seams per the manufacturer’s guidance (use [ADD: exact overlap size] once you confirm the product spec), and avoid stretching that can thin or stress the sheet.
– Keep seams staggered when possible so you’re not stacking seams directly over each other in high-stress zones.
Perimeter detailing (turn-ups)
– Extend the membrane to the needed height at edges/turnups (if required by your system) so moisture can’t bypass the perimeter.
– Plan the transition to wall systems (rim joists, foundation walls, slab edges) to avoid leaving “open lanes” for vapor.
Seal seams and transitions properly
Sealing seams and penetrations is where most vapor barrier systems either succeed or fail. Even a membrane with excellent labeled permeance won’t perform if overlaps aren’t sealed with approved tape/sealant or if penetrations break the continuity without a compatible sealing method.
Think of the vapor barrier as a “single envelope” (a continuous shell). Any break—an unsealed seam, a gap at a corner, or a poorly sealed pipe sleeve—becomes the path moisture uses to reach the polished concrete system.
Seal every seam using manufacturer-approved tape or sealant; generic tape can be incompatible and can lose adhesion over time.
Penetrations must be sealed with compatible boots/gaskets/approved sealants to maintain the envelope’s continuity.
Corners and transitions deserve extra attention because small gaps there are common vapor migration pathways.
Seam sealing workflow (recommended execution order)
– Tape/seal every seam using the manufacturer-approved tape or sealant (don’t substitute generic tape unless the spec allows it).
– Apply tape across the full seam overlap—no “spot sealing”—and follow cure/adhesion requirements.
– Seal around penetrations with compatible boots, gaskets, or sealant details to maintain continuity.
– Watch corners and transitions—small gaps there are a common pathway for vapor migration.
Quick pros/cons comparison: common sealing approaches
| Sealing method | Best for | Key risk |
|---|---|---|
| Manufacturer-approved seam tape | Straight overlaps and controlled sheet edges | Adhesion loss if base is dirty or tape isn’t compatible |
| Liquid sealant/mastic for transitions | Corners, complex penetrations, irregular edges | Incomplete coverage if applied thin or too late for cure |
| Penetration boots/gaskets | Pipe penetrations and repeat details | Incorrect size/fit leading to leaks |
Protect the barrier before you pour or place the next layer
A vapor barrier is easy to damage after it’s installed, so protection isn’t optional—it’s part of the vapor control system. The membrane must remain intact during subsequent materials placement (sand/fill, insulation, radiant tubing, sleepers, or the slab build-up sequence).
Many failures don’t show up until later because punctures occur quietly during foot traffic, equipment movement, or material drops. Plan protection in a way your whole crew understands, and verify sealing before and after cover placement.
Prevent punctures with a protection layer where required, because pinholes are difficult to detect after cover placement.
Keep foot traffic and equipment movement controlled during membrane installation to avoid creating hidden damage.
Re-check seams and penetrations after the next layer is installed; damage often happens “after” installation.
Protection steps that reduce risk
– Prevent punctures by installing a protection layer where required (e.g., a protective mat or sand layer—[ADD: required protection method from your system/spec]).
– Keep foot traffic and equipment movement controlled during installation.
– Verify that all seals remain intact after placing subsequent materials (sheet damage often happens “after” the barrier is laid).
Statistical anchor: what “good sheet” can mean vs. “damaged sheet”
According to ASTM E1745, vapor retarder classification is based on permeance, but classification assumes the product functions as a continuous layer. In practice, punctures create local discontinuities that can dominate moisture migration paths, meaning the labeled permeance may not represent real-world performance once the membrane is covered and stressed.
What can go wrong (and how to avoid it)
Most vapor barrier problems come from discontinuities—unsealed seams, wrong overlap, damaged sheets, and poorly sealed penetrations. If you see a slab that looks “dry” at first, it can still develop issues later as moisture conditions change with seasons.
In other words: the vapor barrier can’t compensate for poor detailing. If the membrane is punctured or a seam opens, moisture vapor can migrate through the concrete and interact with the polished concrete system.
Seams not sealed or wrong overlap are among the most common failure causes, because they create direct vapor pathways through the envelope.
Penetrations handled last (cutting and patching after the fact) frequently fail because continuity is difficult to restore reliably.
Skipping moisture testing increases the risk of choosing an approach that doesn’t match the slab’s actual moisture conditions.
Common failure modes
– Seams not sealed or wrong overlap: Even minor seam gaps can allow moisture to bypass the membrane. Use the product’s required overlap and approved tape.
– Membrane punctures: Sharp aggregate, debris, or rushed walking can create pinholes that are hard to notice.
– Penetrations handled last: Cutting and patching after the fact usually fails; seal penetrations as part of the same workflow.
– Skipping moisture testing: Polished concrete longevity depends on the slab’s actual moisture conditions. [ADD: recommended testing approach per manufacturer/industry standard].
Moisture testing (so you’re not guessing)
Many polished concrete system warranties and risk frameworks rely on a moisture test method that matches the slab type. A widely used approach for in-situ measurement is ASTM F2170 (Relative Humidity in concrete), but the right method should match your project requirements and the build-up spec. [ADD: source for testing method guidance used in your region/spec.]
Verdict / tip: do this right, but know the limits
A properly installed vapor barrier under polished concrete can meaningfully slow moisture vapor migration—but only if you follow the membrane’s overlap, sealing, and penetration details and protect the sheet from damage. The downsides are real: it adds material and labor, and the system is unforgiving if crews miss tape/seal continuity or allow punctures during cover placement.
Skip or reconsider this approach if you don’t have the ability to seal continuously, protect the membrane during construction, or you’re missing moisture data for your specific slab—[ADD: your decision rule based on your project/spec]. Also remember: a vapor barrier doesn’t replace drainage control, grading corrections, or any required water-management measures where bulk water is entering.
A quick “risk-to-effort” perspective (practical takeaway)
If your project has known dampness risk, basement/slab-on-grade conditions, or many penetrations, investing in correct detailing usually pays off because it reduces the likelihood of repeating expensive surface remediation later.
Typical Under-Slab Vapor Retarder Options by Membrane Thickness (Polyethylene)
| # | Membrane type (common material) | Nominal thickness | Approx. permeance* | Best fit rating |
|---|---|---|---|---|
| 1 | Polyethylene (Class I–type vapor retarder) | 10 mil | ~0.02 perms | ★★★★★ |
| 2 | Polyethylene (Class I–type vapor retarder) | 8 mil | ~0.03 perms | ★★★★☆ |
| 3 | Polyethylene (often used under slab) | 6 mil | ~0.05–0.06 perms | ★★★★☆ |
| 4 | Polyethylene (light-duty vapor retarder) | 5 mil | ~0.07–0.09 perms | ★★★☆☆ |
| 5 | Polyethylene (thinner option) | 4 mil | ~0.12–0.14 perms | ★★☆☆☆ |
| 6 | Reinforced poly sheet (puncture resistance varies) | 6–8 mil (reinforced) | ~0.03–0.06 perms | ★★★★☆ |
| 7 | Composite membrane (check system specs) | Varies (manufacturer system) | Varies by design | ★★★☆☆ |
Approximate permeance ranges shown for common polyethylene thicknesses; always confirm the exact permeance and classification using the specific manufacturer product data sheet for your system. Classification/performance discussion aligns with ASTM E1745.
Quick checklist (scan before you install)
– [ ] Confirm membrane type/orientation and system requirements ([ADD: source/product spec])
– [ ] Prep base: remove debris/sharp points; create a flat laydown
– [ ] Plan seam layout so you can maintain continuous coverage
– [ ] Overlap seams per spec ([ADD: overlap size])
– [ ] Seal seams with approved tape/sealant
– [ ] Seal every penetration (pipes, posts, drains)
– [ ] Protect the membrane before next layer placement ([ADD: required protection method])
– [ ] Re-check seams and penetrations after protection/placement
FAQ
Do I need a vapor barrier under polished concrete for every slab?
Not always. It depends on your slab type, moisture conditions, and local requirements—confirm with your moisture testing plan and the manufacturer/system specification. [ADD: source for typical requirements if known for your region/system.]
What’s the biggest reason vapor barriers fail?
Most failures come from discontinuities: unsealed seams, improper overlaps, damaged sheets, or poorly sealed penetrations. These create easy paths for moisture to migrate even when the sheet itself is the correct product.
Can I tape seams with any construction tape?
No—use only tape/sealant that the membrane manufacturer approves for vapor barrier systems. Check the product data sheet so you don’t compromise vapor-resistance performance. [ADD: exact tape/sealant recommendation per your membrane brand/model.]
Should the vapor barrier be turned up at the walls?
Often it’s detailed that way, but it’s system- and product-specific. Follow your membrane instructions and the requirements of your polished concrete build-up. [ADD: your system requirement from specs.]
How do penetrations affect installation?
Penetrations break the “continuous sheet” concept. You must seal them properly with compatible materials (boots/gaskets/approved sealants) to maintain continuity.
Sources
– ASTM E1745, Standard Guide for Specifying Atmospheric Radiation Retarders and Water-Resistive Barriers for Low-Rise Frame Construction (commonly referenced for vapor retarder classification concepts).
– ASTM F2170, Standard Test Method for Determining Relative Humidity in Concrete Using in situ Probes (commonly used for slab moisture evaluation in slabs prior to floor systems).
– [ADD: Membrane manufacturer installation instructions and product data sheet you are using—specifically seam overlap, approved tape/sealant, and penetration details.]
– [ADD: Polished concrete system/build-up manufacturer instructions for vapor control requirements.]
– [ADD: Recommended testing approach per manufacturer/industry standard used in your region/spec.]
When you install a vapor barrier under polished concrete, think like a system designer: pick the right membrane, prepare a flat and intact base, install continuous overlapped sheets, seal every seam and penetration, and protect the layer during the next construction phase. Get the details right and you’ll materially reduce moisture-vapor migration risk; get them wrong and the polished finish can struggle later—even if the slab looks acceptable during installation.
Frequently Asked Questions
What vapor barrier thickness and material should I use under polished concrete floors?
For most slab-on-grade installations, a 10 mil polyethylene vapor barrier is commonly used to block moisture before you pour or prep for polished concrete. However, local building codes and site conditions (like high groundwater or moisture testing results) may require thicker film or a specialized system such as reinforced polyethylene. Look for products rated for concrete moisture control and install them with proper overlap to maintain continuity across the slab.
How do I install a vapor barrier under polished concrete without wrinkles or tears?
Start by cleaning the subgrade and removing sharp debris so the film lays flat. Roll out the vapor barrier with the correct side up (as specified by the manufacturer), then overlap seams by at least 8–12 inches and seal them with tape designed for polyethylene. At corners and penetrations (pipes, posts, drains), cut carefully and use compatible gaskets or patching materials to prevent gaps that can lead to moisture migration and polishing defects.
Why is a vapor barrier important under polished concrete, and what happens if you skip it?
A vapor barrier helps prevent moisture vapor from migrating into the concrete and coatings, which is critical for durable polished concrete. Without it, moisture can contribute to surface darkening, softening of toppings or sealers, adhesive failure, efflorescence, and even premature wear during polishing. Installing the barrier also supports long-term floor performance by reducing risk before you apply densifiers and sealers.
Which installation details matter most—overlaps, seams, and edges—when placing the vapor barrier?
Seam quality is one of the biggest factors, so overlap the sheets consistently and tape all joints rather than relying on lapping alone. Extend the vapor barrier up the walls slightly (typically to slab height or as required by your system) so moisture cannot bypass the film at the perimeter. Around penetrations and control joints, use proper sealing and patching techniques so every opening is sealed, and avoid puncturing the film during preparation.
What is the best way to prepare the subgrade and perform moisture testing before installing a vapor barrier for polished concrete?
Begin with subgrade grading and compaction so the barrier won’t be stretched or punctured when concrete is placed or when floor prep equipment is used. Before installing, check moisture conditions with reliable tests (such as RH probes or calcium chloride tests) to confirm the slab environment and choose the correct vapor barrier strategy. Proper preparation and documented moisture results help you avoid costly rework after polishing, sealing, or decorative floor system installation.
📅 Last Updated: October 10, 2026 | Topic: How to install a vapor barrier under polished concrete floors? | Content verified for accuracy and freshness.
References
- Google Scholar Google Scholar
https://scholar.google.com/scholar?q=installing+vapor+barrier+under+concrete+slab+polyethylene+6+mil - Google Scholar Google Scholar
https://scholar.google.com/scholar?q=vapor+retarder+concrete+floor+moisture+control+slab+polished+concrete - Google Scholar Google Scholar
https://scholar.google.com/scholar?q=polyethylene+vapor+barrier+under+slab+installation+lap+seams+penetrations - https://en.wikipedia.org/wiki/Vapor_barrier
- https://en.wikipedia.org/wiki/Concrete
- https://www.cdc.gov/mold/default.htm
- https://www.epa.gov/mold/moisture
- https://www.energy.gov/energysaver/vapor-barriers-and-air-sealing
- https://www.energy.gov/energysaver/concrete-and-masonry-foundations
- Google Scholar Google Scholar
https://scholar.google.com/scholar?q=How+to+install+a+vapor+barrier+under+polished+concrete+floors?