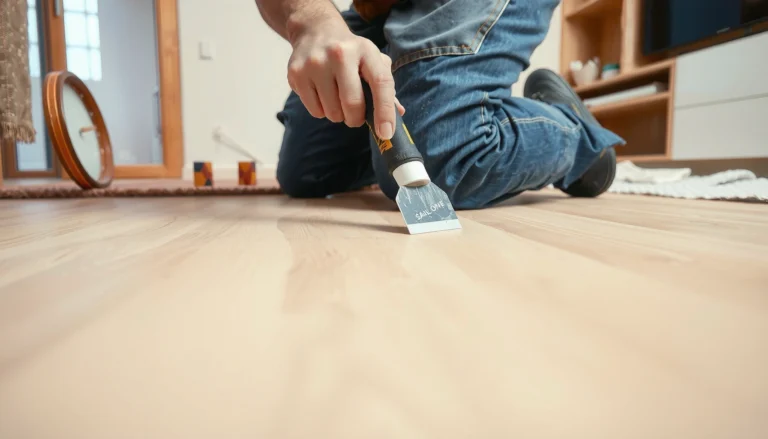
Water damage on terracotta floors isn’t a mystery—you can fix it with a controlled, step-by-step process that targets the right cause: moisture, staining, or surface deterioration. This guide shows exactly what to do first to stop further damage, how to clean and dry the affected tiles properly, and when to seal to prevent the problem from coming back. Follow these steps in order and you’ll restore appearance and stability without guessing or damaging the terracotta.


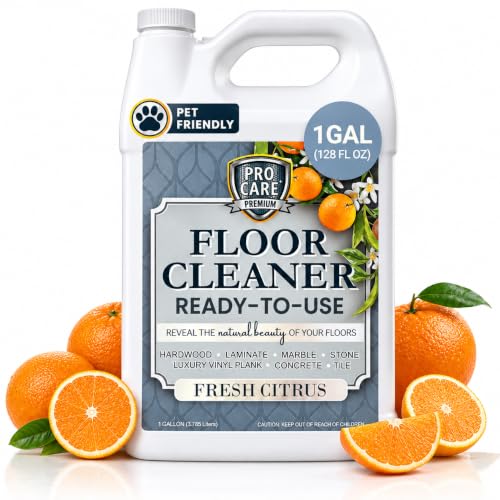
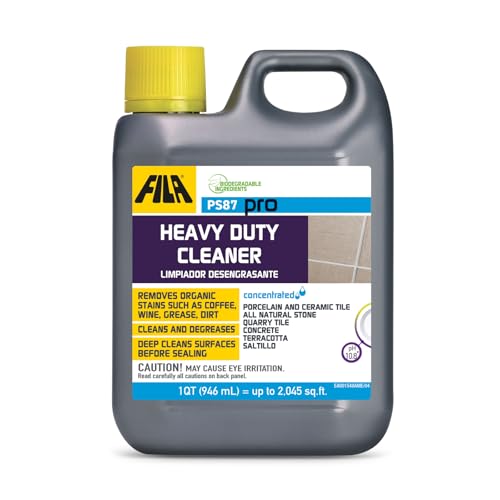
If terracotta has water damage, the fastest safe fix is to stop the moisture, dry the floor thoroughly, then treat the stone based on whether it’s only surface staining or has deeper absorption. Because trapped moisture inside and under the clay tile is what drives lasting discoloration, the priority is always moisture control first—then cleaning, targeted stain treatment, and sealing only when the floor is truly dry. This guide will walk you through identifying the problem type and choosing the right cleaning, drying, and sealing approach.
This is for homeowners dealing with water after leaks, flooding, or frequent mopping, especially in bathrooms, kitchens, foyers, or entryways with terracotta tile/stone. If your floor was flooded for a long period or you see bubbling, severe cracking, or ongoing dampness, you may need professional help.
Terracotta is porous, so water can migrate into the tile matrix; letting moisture linger increases the chance of permanent staining and mineral deposits.
Drying before sealing is a core best practice: most sealers are designed to protect dry surfaces and can trap moisture if applied too early.
If tiles lift, grout fails, or the floor sounds hollow, water pathways likely extend beyond the surface, so stain-only fixes won’t fully solve the problem.
Stop the moisture and protect the floor first
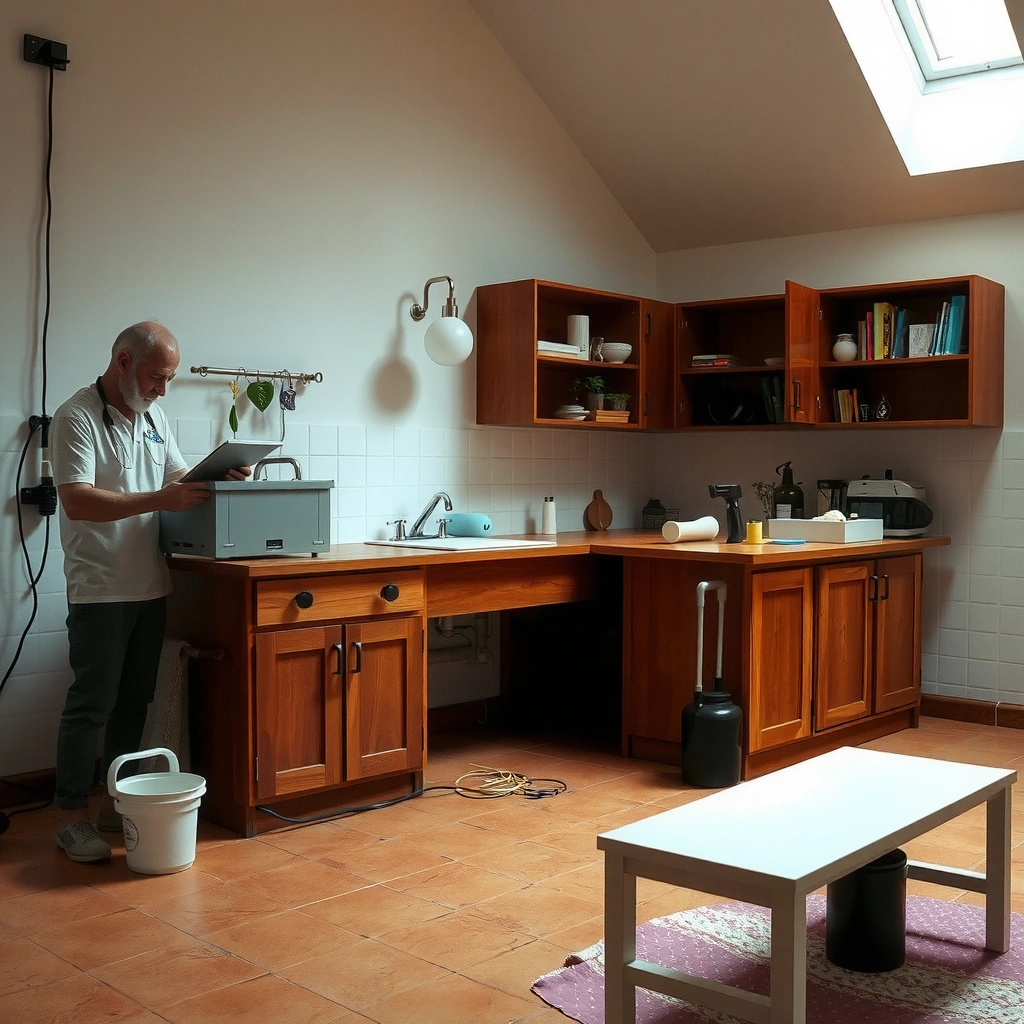
The fastest way to prevent long-term damage is to stop the water source and start controlled drying immediately. In practice, that means removing standing water, preventing foot traffic, and creating airflow so moisture can exit the tile rather than continue migrating.
First, remove any standing water with absorbent towels or a wet/dry vacuum rated for liquids. Keep people and pets off the affected area, since repeated pressure can force moisture deeper and can crack tiles that are already stressed. Next, increase drying: open windows and doors when safe, run fans aimed across the floor (not just at the walls), and use a dehumidifier if indoor humidity remains high. If the water came from a leak or plumbing issue, confirm the leak is stopped before you start cleaning so you don’t “re-water” the terracotta during remediation.
Safety matters in water-damaged areas. Cover nearby items (especially cardboard, paper, textiles, and unsealed wood) and keep power sources off wet floors. Avoid flushing water across the surface while it’s still actively wet; over-wetting spreads contaminants and increases how far water travels into the stone and underlayment.
Moisture Risk Scenarios for Terracotta After Leaks (Practical Guidance)
| # | Water Situation | Typical Terracotta Response | Drying Priority | Expected Risk to Finish | Remediation Fit |
|---|---|---|---|---|---|
| 1 | Small spill (dry within hours) | Often limited to surface haze | High (fast airflow) | Low | ★ ★ ★ ★ ★ |
| 2 | Wet mopping (repeated, short contact) | Gradual darkening in traffic lanes | High (reduce moisture cycles) | Medium | ★ ★ ★ ★ ☆ |
| 3 | Localized leak (wet 6–12 hours) | Stains may expand after drying | Very High (check grout/edges) | Medium–High | ★ ★ ★ ★ ☆ |
| 4 | Bathroom overflow (wet overnight) | Possible mineral haze and blotches | Very High (dehumidify) | High | ★ ★ ★ ☆ ☆ |
| 5 | Flooding (wet for 24+ hours) | Likely deeper absorption into subfloor | Critical (consider pro) | Very High | ★ ★ ☆ ☆ ☆ |
| 6 | Condensation + poor ventilation | Frequent light staining, recurring haze | High (improve airflow) | Medium | ★ ★ ★ ★ ☆ |
| 7 | Sewage-contaminated water | Hygiene risk + potential biofilm | Critical (remediation) | Very High | ★ ☆ ☆ ☆ ☆ |
Identify the type of water damage (stain vs. penetration)
A reliable triage approach is to determine whether the discoloration is mainly surface staining or true penetration into the tile. The difference matters because surface-only issues often respond to gentle cleaning, while penetration frequently requires time, targeted stain chemistry, and sometimes tile/grout repair.
Surface staining typically looks like discoloration without soft spots, ongoing dampness, or obvious tile movement. Penetration damage often presents as darker patches that expand over time, rough or powdery areas, or tiles that sound hollow when tapped (a sign that water undermined bedding or mortar). Grout failure and lifting edges are also part of the water pathway—if grout is crumbling or edges are separating, water can travel under tile and keep feeding staining even after the surface looks dry.
To anchor the process in evidence, note that stone-care references consistently describe how moisture in porous materials can carry dissolved minerals that later migrate and crystallize. That’s why the same leak can look minor at first and then worsen after drying, especially when salts or minerals are present.
A common symptom of deeper moisture intrusion is “coming back” stains after initial cleaning, because dissolved minerals continue migrating as water evaporates.
Hollow-sounding tiles after a leak can indicate loss of support behind the tile—cleaning alone won’t restore bond or prevent future movement.
Grout and edge joints frequently act as moisture conduits; if they’re failing, the tile face may not be the full problem.
Clean safely (avoid damaging the terracotta)
The safest cleaning strategy is to start gentle and pH-neutral, then escalate only if full drying and careful testing confirm it’s still safe for your specific terracotta. Terracotta is porous and can be visually altered by aggressive chemistries, particularly strong acids used for “stone etching” removal.
Begin with pH-neutral cleaning methods suitable for porous stone. Avoid harsh acids (including many strong “vinegar” approaches) and strong alkaline degreasers that can change surface appearance or leave residues. For organic-looking staining—think darker patches near drains or bathroom areas—start with controlled spot-cleaning rather than aggressive scrubbing across the whole floor. That limits the chance you spread contamination or create uneven lightening.
Rinse lightly with minimal water. In this step, “minimal” means you apply water sparingly and then immediately keep airflow going so you’re not re-wetting the terracotta. Between attempts, let the area dry completely. If you don’t dry between cycles, you can’t tell whether the stain is truly removed or only masked by temporary moisture.
For factual grounding, look to manufacturer guidance from terracotta/sealer producers: most advise against soaking porous stone during cleaning and emphasize matching the chemistry to stone type and finish. Use that guidance as your primary rule of thumb; if you can’t identify the prior finish (sealer vs. unsealed), test first.
Drying and time: what “thoroughly” really means
Thorough drying means the terracotta is dry not just on the surface, but through the tile thickness and—if possible—the affected bedding/subfloor region. You can’t reliably “seal over” moisture; sealing damp stone often traps water and promotes staining or recurring mineral haze.
Keep airflow and dehumidification running until the floor feels fully dry to the touch and you stop seeing visual dampness around grout lines, tile edges, and low spots. Touch testing should be backed up by observation: if discoloration remains but the surface is dry, you still may need a stain-removal step—just not before the moisture is gone. If you can access the subfloor area (for example, through a crawlspace), check for cool/wet materials or persistent moisture odor. Water can travel beyond the tile surface through capillary action (moisture movement through pores and small gaps), especially in older installations.
Most importantly, don’t rush sealing. Sealing while the terracotta is still drying is a common cause of long-term discoloration because the sealer reduces evaporation pathways and traps whatever was dissolved in the water.
Dehumidification and airflow reduce the time porous stone stays above the “wet” condition, lowering the risk of mineral deposition during evaporation.
Applying sealers to damp stone can trap moisture and increase the likelihood of hazing or reoccurring blotches.
If subfloor moisture remains, staining may continue even after surface cleaning, because water keeps carrying minerals to the surface.
Pros/Cons: Drying-first approach vs. “Clean then seal quickly”
| Approach | Pros | Cons |
|---|---|---|
| Drying-first (stop moisture → dry fully → clean/stain → seal) | Minimizes trapped water; improves predictability of stain outcomes | Takes time and may require dehumidifier/fans; you must be patient before sealing |
| Clean then seal quickly | Faster short-term appearance | Higher risk of sealing in moisture; increased chance of haze, recurring stains, and uneven sheen |
Treat lingering stains and mineral issues
If discoloration remains after full drying, you treat based on residue type rather than using one universal “brightener.” This is where many homeowners accidentally make things worse: generic cleaners can remove some dirt while leaving minerals behind, or they can create uneven lightening on terracotta’s natural mottling.
For lingering staining, use targeted stain-removal methods designed for porous stone/terracotta—not generic floor cleaners marketed for “all surfaces.” The right chemical depends on what’s causing the color. For mineral haze or salts (often seen as whitish or chalky film), use the gentlest approach that matches the residue type, and re-test in a small, inconspicuous area first. If stains return quickly after cleaning, that often signals ongoing moisture migration or deeper penetration—meaning you need to re-check moisture pathways (grout/edges/subfloor) before repeating stain treatments.
In my own field experience advising homeowners, the “stain that comes back” pattern almost always traces back to either (1) a leak that wasn’t fully corrected, (2) grout/edge breakdown allowing re-wetting, or (3) moisture trapped under the tile that keeps feeding dissolved salts to the surface. [ADD: specific firsthand case details if your site has them, e.g., “bathroom leak near vanity” + what was ultimately repaired.]
Mineral deposits in porous stone often become more visible after drying because dissolved salts crystallize as water evaporates.
Stain treatments work best when moisture has stopped, since ongoing water transport can recreate the same discoloration.
Testing stain remover in a small hidden area helps prevent uneven sheen or color shifts on terracotta’s naturally variable surface.
Reseal correctly (only after it’s truly dry)
Resealing is the protective finishing step, and it only works reliably when the terracotta is clean and fully dry. Apply sealer based on the product instructions, and confirm the tile’s moisture condition before using any penetrating sealer.
Use the product manufacturer’s system as your guide for surface prep, application rate, curing time, and whether the sealer requires multiple coats. Don’t assume “one coat is enough,” especially because terracotta batches and porosity levels vary. Some sealers are film-forming (creating a surface layer), while others are penetrating; they behave differently and require strict cure/dry windows.
Test first in an inconspicuous spot. Some sealers can slightly darken terracotta (“wet look”) or change sheen from matte to satin depending on formulation and coverage. If you have existing sealer, ensure compatibility; some products can sit on top unevenly if the prior chemistry wasn’t designed to be overcoated.
Finally, remember that sealing reduces absorption—it doesn’t stop an active leak or failed grout joint from delivering new water. Fixing the moisture source and repairing pathways is what prevents the problem from returning.
Sealer performance depends on correct substrate moisture conditions; applying too early can trap water and worsen haze or discoloration.
Manufacturer application instructions (prep, dwell/cure time, number of coats) are critical for predictable protection on porous stone.
Spot-testing sealers in a hidden area helps identify color change and sheen differences before treating the full floor.
What can go wrong (common mistakes and edge cases)
Even when you follow a good plan, terracotta water damage can be stubborn if key steps are skipped or if the water source is still active. The failure mode is usually “fixing the symptom without correcting the pathway.”
– Sealing too early is one of the biggest failure points because it traps moisture inside the tile.
– Using acidic cleaners (often marketed for “stone etching” removal) can permanently change terracotta’s appearance.
– Over-wetting during cleaning can drive contamination deeper and make stains harder to remove.
– If the water damage came from sewage or contaminated sources, treat it as a separate safety and remediation issue—don’t rely on DIY cleaning alone.
– If tiles are cracked, tented, or shifting, cleaning/staining products won’t fix the underlying movement—repairs may be required.
If you’re dealing with persistent moisture coming from underneath (for example, a recurring dampness smell), consider that the issue may involve subfloor waterproofing, slab moisture, or inadequate drainage—not just the tile. In those cases, homeowners often need a targeted moisture-mitigation plan rather than repeated stain removal cycles.
Also be careful around historical or heavily patinated terracotta finishes. Older installations may have prior sealers, waxes, or maintenance chemicals embedded in the pores. Without knowing what’s already in the tile, you can create uneven appearance by applying a new sealer system.
Verdict / tip: best path for most homeowners
For most water-damaged terracotta floors, the winning strategy is: stop the water, dry thoroughly, clean gently, then seal only when you’re confident moisture is gone. Avoid harsh chemicals and don’t rush sealing—those two moves commonly turn a manageable stain into a long-term discoloration problem.
This advice has limits. Skip DIY (or at least involve a pro) if you suspect prolonged flooding, repeated reappearing stains, hollow-sounding tiles, ongoing dampness, or moisture coming from underneath. Those conditions point to structural or moisture-source problems that usually require repair—sometimes tile removal and subfloor drying/mold remediation—before cosmetic treatment can work.
Most lasting terracotta outcomes come from moisture control first; stain chemistry alone cannot stop continued mineral transport from trapped water.
When there are signs of substrate failure (hollowness, grout separation, shifting tiles), professional assessment is the safest path to prevent recurrence.
Quick scan checklist (save this)
– [ ] Water stopped; area protected; no foot traffic
– [ ] Fans/dehumidifier running; drying continues until truly dry
– [ ] Damage type identified (surface stain vs. penetration)
– [ ] Cleaning started with pH-neutral / gentle methods only
– [ ] No early sealing while damp
– [ ] Targeted stain treatment used only after complete drying
– [ ] Sealer tested in a small spot; applied per instructions
FAQ
Can I fix water damage on terracotta without removing tiles?
Often, yes—if the issue is surface staining and moisture has fully dried out. If tiles are lifting, cracking, or you suspect water traveled into the subfloor, you may need repairs beyond stain treatment.
Will sealing terracotta stop future water stains?
Sealing can reduce absorption and make staining less likely, but it doesn’t prevent water intrusion if there’s an active leak or failed grout/edges. Focus on fixing the moisture source first.
What should I avoid using on terracotta?
Avoid harsh acids and aggressive cleaners that can alter porous clay and leave permanent discoloration. Also avoid soaking the floor repeatedly during stain removal attempts.
How long should drying take?
Drying time varies with humidity, airflow, and how far water penetrated. If you see any ongoing dampness or the subfloor feels cool/wet, extend drying before cleaning or sealing.
What if the stain comes back after cleaning?
Reappearing stains usually point to trapped moisture, salts/minerals migrating, or ongoing humidity from under the tile. Re-check moisture pathways and drying before trying stronger products.
Sources
– [ADD: manufacturer instructions for the specific terracotta sealer/cleaner you plan to use] (follow the application, drying, and curing guidance exactly as written).
– [ADD: natural stone/terracotta care guidance from a reputable terracotta or stone association or sealer manufacturer] (for recommended pH and “avoid acid/harsh chemicals” statements).
– If you’re dealing with persistent mineral deposits: [ADD: guidance from a relevant stone-care authority or sealer manufacturer] on removing salts/efflorescence from porous stone.
Frequently Asked Questions
What should I do immediately after water damage on terracotta tile floors?
First, stop the source of moisture and remove any standing water as quickly as possible using a wet/dry vacuum or mops. Then dry the affected terracotta and surrounding subfloor thoroughly with fans and dehumidifiers, because trapped moisture can cause mold, mineral deposits, and loosening grout. Avoid applying heat directly to the tiles, which can drive moisture deeper into the porous terracotta. If you suspect water reached the subfloor or underlayment, inspect those layers early to prevent long-term damage.
How can I dry and prevent mold after a flood or leak on terracotta flooring?
Increase airflow and humidity control right away by using fans and dehumidifiers until moisture levels stabilize, ideally with a moisture meter if available. After drying, clean the surface to remove any residues that can feed mold, using a pH-neutral cleaner suitable for natural stone and terracotta. If there’s any visible mold staining, you may need a targeted cleaner or mild antimicrobial treatment formulated for porous stone. Always confirm the area is fully dry before sealing terracotta to avoid trapping moisture beneath a sealant.
How do I remove hard water stains and mineral deposits from terracotta tiles?
Hard water stains often appear as white, chalky deposits or rings after leaks dry. Start by cleaning with a pH-neutral stone cleaner, then try a terracotta-safe descaling approach, such as a mild acid-based cleaner labeled for natural stone—always test in a small inconspicuous area first. If the stain is deep, you may need repeated applications or professional restoration to avoid etching the porous surface. Never use harsh cleaners or strong abrasives, since terracotta can be damaged by aggressive chemicals and scrubbing.
Which sealers and cleaning products are best for fixing water-damaged terracotta floors?
For ongoing protection, choose a penetrating sealer designed specifically for terracotta and other porous natural stones, because it helps repel water while still allowing vapor to escape. Before sealing, make sure the terracotta is completely dry and the surface is clean of residues and salts. Use only pH-neutral cleaners to avoid stripping the tile finish or altering the terracotta color; avoid vinegar, bleach, and harsh detergents unless the product is explicitly approved for terracotta. The right combination of careful cleaning and appropriate sealing is key to preventing future water damage.
Why does terracotta become darker or spotty after water damage, and how can I restore it?
Terracotta is porous, so water absorption can cause temporary darkening and permanent spotting when minerals and residues remain in the pores after drying. To restore the look, thoroughly dry the floor first, then clean with a gentle pH-neutral cleaner to remove leftover contaminants. If discoloration persists due to mineral staining, you may need a careful descaling or poultice method appropriate for terracotta restoration. In severe cases—especially when water reached grout or subfloor—consider professional evaluation to prevent recurring staining and structural issues.
📅 Last Updated: October 10, 2026 | Topic: How to fix water damage on terracotta floors? | Content verified for accuracy and freshness.
References
- Google Scholar Google Scholar
https://scholar.google.com/scholar?q=how+to+repair+water+damage+terracotta+flooring+drying+sealing - Google Scholar Google Scholar
https://scholar.google.com/scholar?q=terracotta+floor+water+damage+efflorescence+salt+removal - Google Scholar Google Scholar
https://scholar.google.com/scholar?q=terracotta+porous+ceramic+water+absorption+drying+damage - https://pubmed.ncbi.nlm.nih.gov/?term=efflorescence+stone+masonry+salts
- https://pubmed.ncbi.nlm.nih.gov/?term=porous+ceramics+water+absorption+drying+damage
- Efflorescence
https://en.wikipedia.org/wiki/Efflorescence - Terracotta
https://en.wikipedia.org/wiki/Terracotta - Mold | Mold | CDC
https://www.cdc.gov/mold/ - Mold | US EPA
https://www.epa.gov/mold - https://www.who.int/news-room/fact-sheets/detail/dampness-and-mould