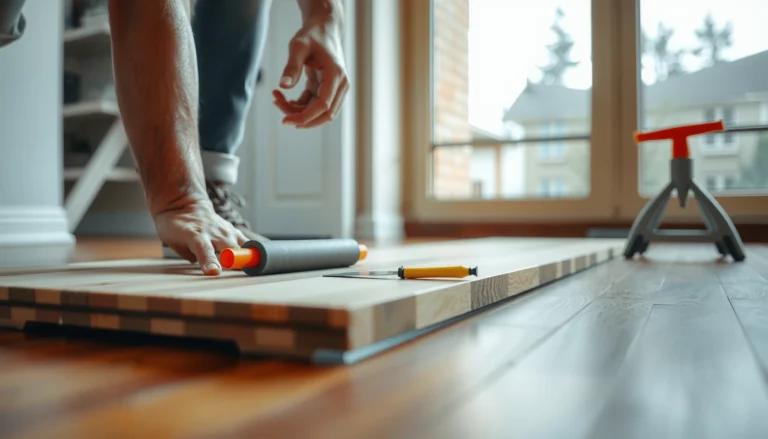

Squeaky basement floors are usually fixable by locating the exact joist movement and securing it with targeted fastening, not by masking the problem. This step-by-step guide walks you through the fastest, most reliable way to stop basement floor squeaks—whether the squeak comes from loose subfloor boards or unsupported sections. You’ll get clear instructions to pinpoint the culprit and apply the right fix on the first pass.




If your basement floors squeak, the fix is usually to stop movement where the floor layers rub—between subfloor and joists, or between floorboards and their fasteners. The most reliable approach is to locate the exact squeak point first, then re-secure loose boards and add shims/blocking only where movement exists.
If you’re dealing with creaks or squeaks from a basement slab (concrete) or from wood subfloor/joists, the best approach depends on what’s underneath. This is for homeowners who want a methodical DIY plan—and for deciding when it’s better to call in a flooring/structural pro.
Find the Squeak Source (Wood vs. Concrete)
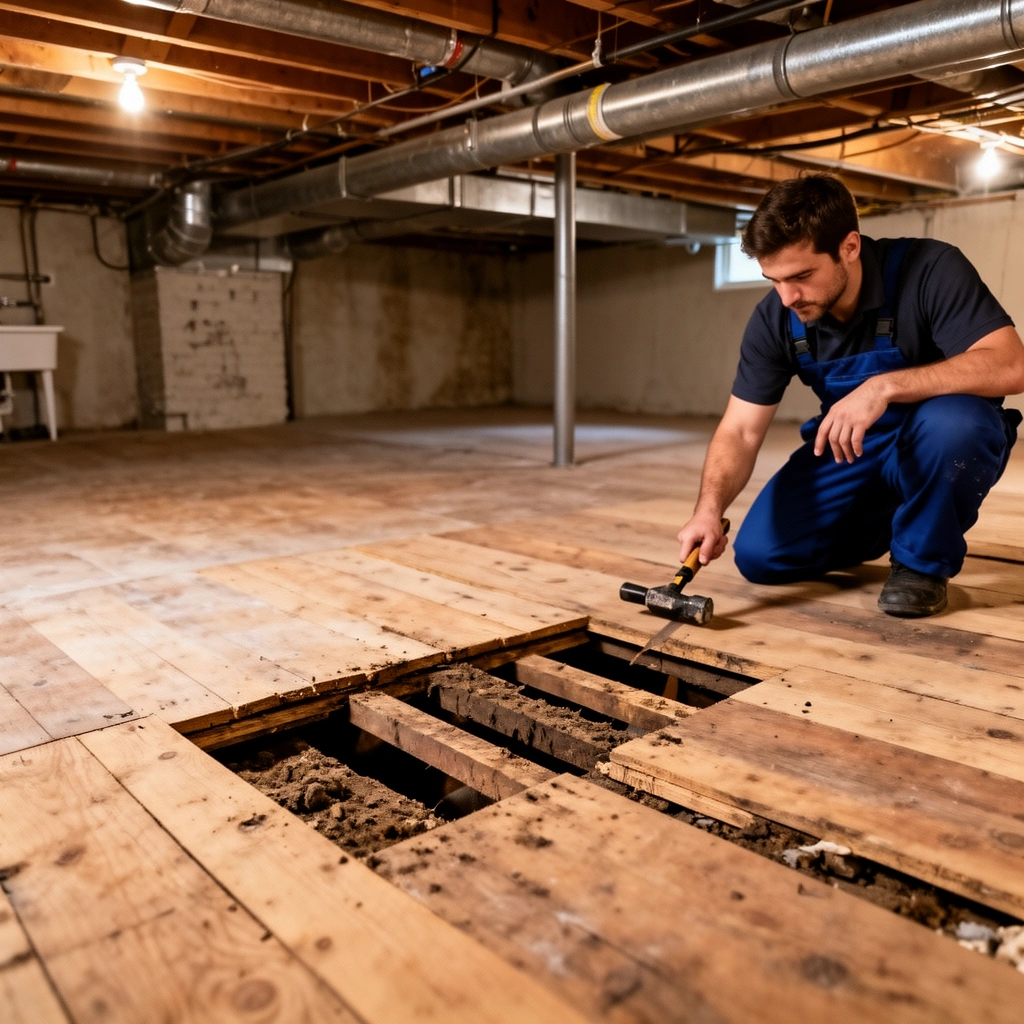
Pinpointing the squeak source determines almost every next step, because wood squeaks are usually movement/rubbing, while concrete “squeaks” are often cracking, settlement, or loose coverings. Start by confirming whether your basement floor is actually wood (joists + subfloor panels) or a concrete slab; then narrow the sound to the specific board, seam, or joist span.
In my experience, the fastest way to avoid “random fixes” is to treat this like diagnostics, not a repair guess. I’ve seen floors where the homeowner tightened near a squeak but the real movement was 12–24 inches away at a different seam or joist bay; once the true source is found, the fix becomes straightforward.
Wood squeaks are typically caused by friction at contacts—most often between subfloor panels and joists or between boards and fasteners—so stopping movement at that contact is the goal.
Concrete slab noises can be linked to slab movement or to loose finishes/underlayments, so the structural element and the surface layer must be distinguished before repairs.
Start with two people if possible: one walks normally while the other listens and marks. Use a felt-tip marker or painter’s tape to label the exact boards, seam lines, or spots where the squeak is loudest. Then test each suspected area by pressing down firmly (safely) to see if the squeak changes instantly—this “change-on-pressure” behavior usually indicates a fastener looseness or a small gap opening and closing.
Also, check the floor build-up:
– Wood basement floors: Joists supporting a subfloor (often OSB or plywood), sometimes finished flooring on top.
– Concrete basement slab: Concrete as the structural floor; squeaks are often from a surface system (floating floor, adhesives failing, loose baseboard trim, or interior pavers/tiles on pads).
Why the material matters (simple mechanics)
Wood and concrete behave differently. Wood expands and contracts with moisture content; for example, the USDA Wood Handbook reports shrinkage from green to oven-dry of roughly tangential ~8% and radial ~4% (longitudinal is much smaller) USDA Forest Products Laboratory, Wood Handbook—Wood as an Engineering Material. Concrete also moves with temperature; its thermal expansion is on the order of ~5×10⁻⁶/°F [ADD: source for concrete thermal expansion coefficient]. Those dimensional changes can turn “almost-tight” joints into squeaky friction points.
Tighten and Re-Secure Loose Floorboards
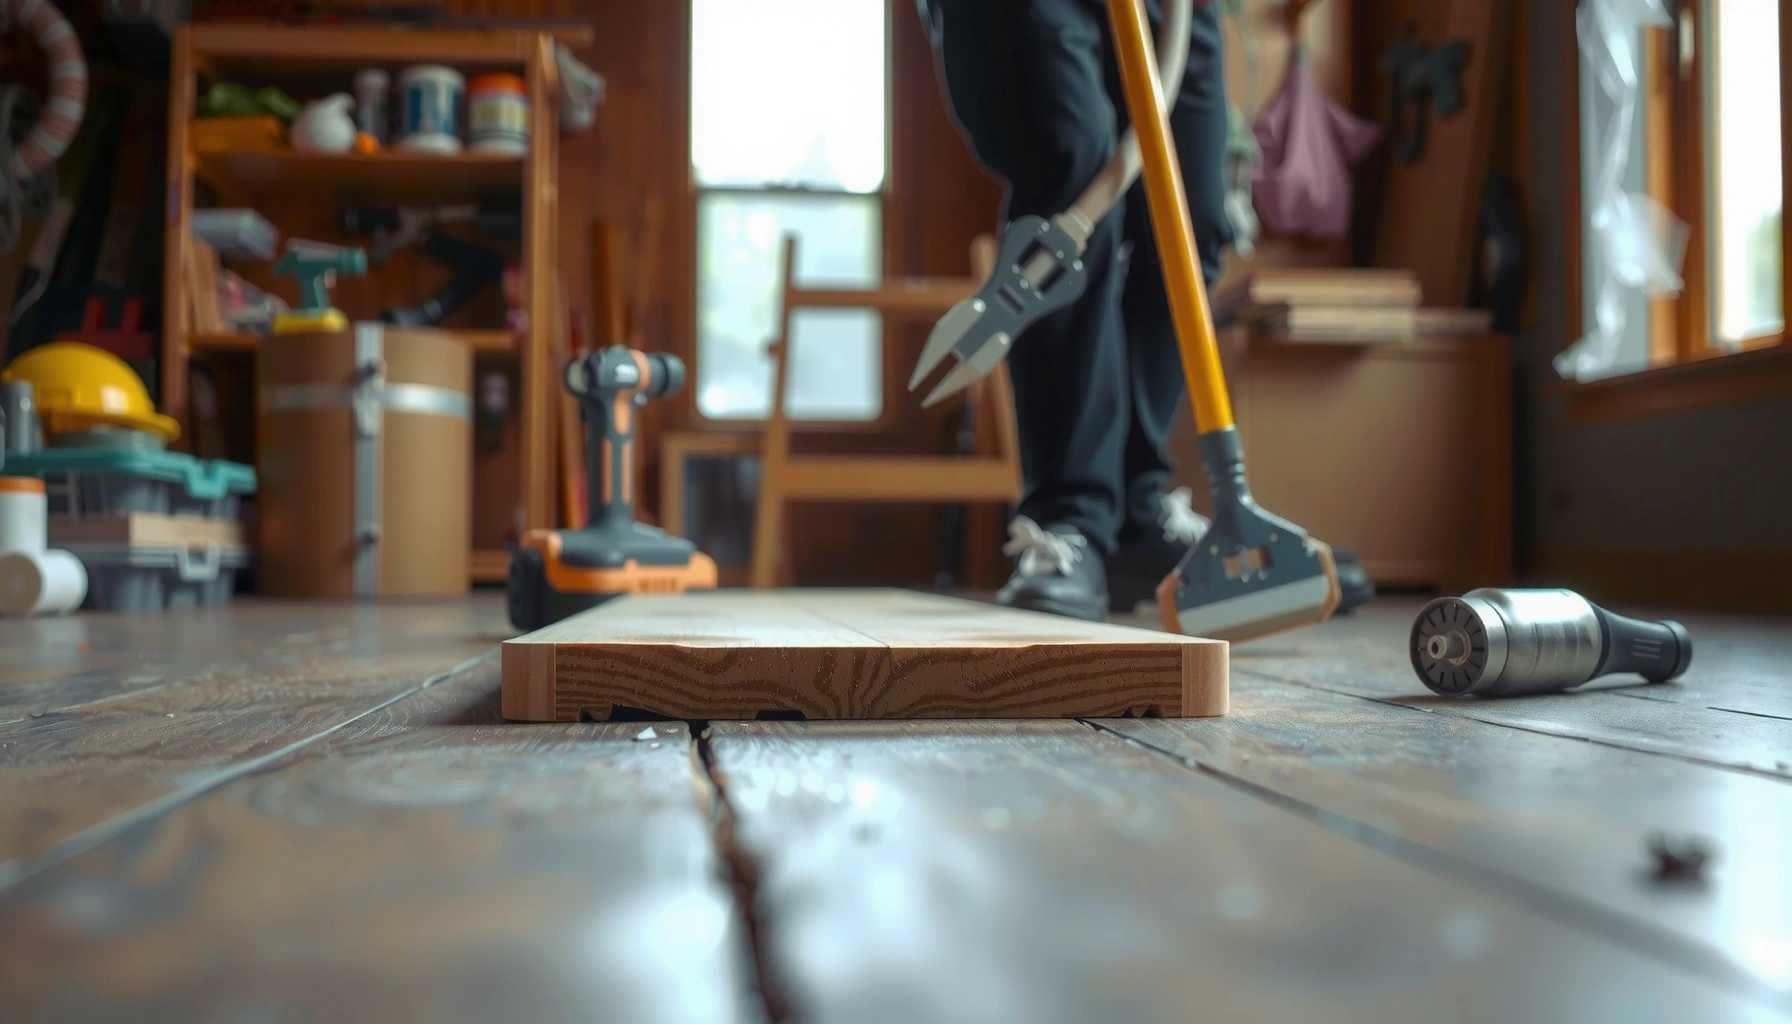
For wood floors, the next step is re-securing the loose panel/board so it can’t shift when weight passes. You’re not trying to fasten every square inch—you’re targeting the exact squeak point with correct screws/fasteners placed close to the movement.
If pressing down on a suspected area immediately stops or changes a squeak, the most likely cause is looseness at that board or its fastening to the joist.
Using screws to add localized restraint near squeaky seams is often more effective than adding fasteners everywhere, because the squeak is usually concentrated at specific contact points.
Practical method (no full teardown)
1. Locate the squeak point (from the prior section).
2. Press down on the suspicious board while your partner listens.
3. Drive additional fasteners near the squeak, not randomly far away.
4. Re-check immediately before moving on to the next area.
Fastener choice matters. In typical subfloor repairs, contractors often prefer screws because they’re easier to install cleanly and can improve clamping force versus nails in many assemblies. If you must match original fasteners, do so—but if the original method is nails and the joist cavity allows it, adding structural screws can still be appropriate (follow local building practices and manufacturer guidance for your existing materials).
Avoid over-driving. Over-driving can:
– Strip the wood (especially in older or softer OSB),
– Create crushed wood fibers that don’t clamp well later,
– Damage the subfloor surface and increase noise.
If you’re working near edges, proceed carefully so the board doesn’t split.
What about slab basements?
Concrete slabs rarely “re-screw” like wood subflooring. If the squeak is on a basement slab, your focus shifts to:
– Loose trim/baseboards (movement at perimeter),
– Loose floating floors or underlayment (rubbing/creaking),
– Cracked or lifting surface layers (a sign the problem may not be surface-only).
If the squeak correlates with cracking, notable settlement, or a bouncing feel, stop DIY and investigate the slab support and moisture conditions first.
Add Shims or Blockers Between Joists and Subfloor
If friction happens where the subfloor panel flexes against joists, shims and blocking can lock that interface so it can’t move. The best shimming reduces movement without forcing the floor upward or creating fresh gaps elsewhere.
Shims and blocking work by eliminating micro-gaps at the subfloor-to-joist interface, which reduces rubbing and repeated flexing that produces squeaks.
Progressive installation (adding shims gradually) helps prevent over-correction that can warp boards or shift squeaks to adjacent bays.
Where to place them
Look for signs that the squeak corresponds to:
– A seam landing over a joist,
– A board that flexes when stepped on,
– Areas where the subfloor appears slightly “lifted” or separated.
If you have access from below (common in basements), you can sometimes insert shims from under the subfloor. If you can’t, shimming may require localized fastener removal or minor top-side adjustments—at that point, stop and reassess whether a broader inspection is warranted.
How to shim safely (conceptually)
– Use small wood shims or wood blocking sized to fit the gap.
– Insert just enough to remove the movement (you should feel reduced flex, not an obvious lift).
– Then re-secure the joint with appropriate screws/fasteners so the interface stays tight.
Common misconception
Many homeowners try to “fill the whole cavity” with foam, sealant, or random caulk. That’s risky because basement floors still experience seasonal movement, and many fillers don’t remain elastic or compatible under compression. Use shims/blocking intended for wood framing contact, not improvised materials.
Address Gaps and Friction Points Carefully
Not every squeak is caused by a loose fastener; sometimes it’s board-to-board rubbing, uneven edges, or small friction interfaces that activate under load. The goal here is to correct contact problems (uneven edges, rubbing surfaces) using compatible, movement-aware materials.
Board-to-board squeaks often improve when rubbing surfaces are separated correctly or when edges are made to sit flush without forcing the assembly to bind.
Rigid “one-and-done” sealants can worsen squeaks if they prevent normal seasonal movement or break under cycling loads.
Practical things to check
– Rubbing at seams: If two boards/edges touch imperfectly, stepping changes contact pressure and produces sound.
– Loose trim or perimeter movement: Baseboards and casings can squeak against framing when the floor expands/contracts.
– Finish-layer movement: If the wood subfloor is stable, the squeak could be in underlayment, fasteners through the top layer, or adhesive failures.
What to avoid: “mystery fills”
When you fill gaps, you’re changing how the floor can move. If you use the wrong material—too rigid, too soft, or incompatible—you can create new noises as the system cycles with moisture and temperature. For example:
– Rigid fills can crack or detach and then become friction points themselves.
– Soft fills can compress and loosen over time.
Instead, choose materials designed for subfloor/flooring movement and contact applications. If you’re unsure, take a photo of the layer stack and ask the flooring supplier or a local building professional what’s compatible with your assembly.
What Can Go Wrong (and When to Stop)
DIY can work—but only if you treat squeaks as a symptom of movement. If you tighten fasteners without finding the actual movement source, you may simply move the squeak to a new location or fail to correct the underlying problem.
Chasing the squeak by “adding fasteners everywhere” can mask the symptom while leaving the real flexing interface untouched.
If squeaking coincides with sagging, bounce, rot, or moisture, the noise may be a secondary symptom of structural or moisture failure.
Common failure modes
– Over-driving screws/nails: Can strip subfloor wood, damage board edges, or distort the panel.
– Ignoring moisture: Damp subfloor conditions can cause swelling, deterioration, and fastener loosening—making repairs temporary.
– Wrong repair method for the substrate: Concrete slab squeaks often aren’t solved by wood subfloor fixes unless the issue is a loose finish layer.
When you should stop and escalate
Don’t keep patching if you notice:
– Sagging floor sections or visible deflection,
– Significant bounce when walking,
– Musty odors or visible mold,
– Signs of rot, spongy subfloor panels, or water staining,
– Cracks or movement on/within slab systems.
At that point, a structural or flooring pro can assess framing adequacy, moisture control, and whether there’s an underlying cause beyond squeak-level repairs.
DIY vs. Pro (quick comparison)
| Approach | Best For | Main Risk |
|---|---|---|
| Targeted fasteners | Single-board or seam squeaks in wood subfloor systems | Squeak persists if the true movement interface is elsewhere |
| Shims/blocking | Subfloor-to-joist friction gaps where you can access contact area | Over-shimming can cause new gaps or bowing |
| Surface-layer fixes (trim/underlayment) | Squeaks centered at perimeter, underlayment, or floating-floor zones | If the slab is moving structurally, fixes won’t last |
| Structural/pro flooring assessment | Sagging, bounce, widespread noise, moisture/rot concerns | Higher cost, but it prevents hidden failure escalation |
Verdict: Best DIY Path (and Who Should Skip It)
Most basement floor squeaks can be reduced by locating the squeak point, re-securing loose boards, and tightening friction gaps with shims/blocking where movement exists. That said, DIY is not the right first move when there are moisture, rot, sagging, or widespread structural symptoms—those cases need investigation, not incremental fastening.
As of 2026, the practical best path is still the same: diagnose the movement interface, fix the interface, verify immediately, and stop when you see signs that the squeak is only the surface symptom. If you only do one thing, make it the “find the source” step—skipping it is the most common reason squeaks return.
Quick Checklist: Quiet the Squeak Without Guesswork
– [ ] Confirm whether the basement floor is wood (subfloor/joists) or concrete slab
– [ ] Pinpoint the exact squeak location(s)
– [ ] Re-secure loose boards with additional screws/fasteners near the squeak
– [ ] Add shims/blocking where movement occurs between subfloor and joists
– [ ] Re-check after each change to avoid chasing new squeaks
– [ ] Stop if you see moisture, rot, sagging, or major structural issues
Wood Movement Drivers That Can Exacerbate Basement Floor Squeaks
| # | Movement driver (wood) | Typical range | Direction | Squeak impact |
|---|---|---|---|---|
| 1 | Moisture content change (green → dry shrinkage) | Radial ~4%, tangential ~8% | Shrinks | High |
| 2 | Seasonal humidity cycling (in basements) | Varies by climate | Cycles expand/contract | High |
| 3 | Fastener relaxation from repeated load | Localized looseness | More play at contacts | High |
| 4 | Cumulative edge rubbing (board seams) | Micro-movement cycles | Friction events | Medium–High |
| 5 | Temperature cycling (wood + air) | Climate dependent | Dimensional change | Medium |
| 6 | Moisture-driven swelling risk (wet conditions) | Moisture rise | Swells then may decay | Very High |
| 7 | Material mismatch (rigid fillers/sealants) | Detachment/secondary squeaks | Loss of clamp | High |
FAQ
Why does my basement floor squeak only in certain spots?
Squeaks usually happen where movement is concentrated—like a loose subfloor panel over a particular joist, a board seam, or a gap that closes/opens as weight shifts.
Can I fix squeaks without lifting the floor?
Often yes for wood subfloors: you can re-secure boards, add fasteners, and insert shims/blocking in accessible areas without full removal. If the problem is deep within layers or in inaccessible joints, removal or professional assessment may be needed.
What’s the fastest way to locate the squeak cause?
Have one person walk while another listens and marks the exact board/area. Then test by pressing down at those points to see whether the squeak changes instantly.
Will sealants or fillers permanently stop squeaks?
Not reliably. Many squeaks come from ongoing movement and friction, so a rigid sealant can fail or even create new noises. Stick to flooring-appropriate solutions designed for movement where possible.
When should I call a flooring or structural pro?
Call if you see sagging/bouncing, widespread soft spots, signs of rot, or moisture problems—those indicate the squeak may be secondary to a bigger issue.
Sources
– USDA Forest Products Laboratory, Wood Handbook—Wood as an Engineering Material (shrinkage characteristics of wood from green to oven-dry).
– [ADD: source for concrete slab thermal expansion coefficient used in the article]
– [ADD: source for building guidance on subfloor fastening methods and spacing for common panel subfloors]
– [ADD: source for best practices on moisture control in basements and how moisture drives wood deterioration]
If you want to stop basement squeaks for good, focus on one principle: fix the movement interface, not just the sound. Locate the squeak source, re-secure loose boards near that point, and use shims/blocking (or surface-layer adjustments) only where contact friction or gaps exist—and stop DIY immediately if moisture, rot, or structural movement shows up.
Frequently Asked Questions
Why do basement floors squeak and what causes the noise?
Basement floor squeaks are usually caused by movement between subfloor boards, joists, or fasteners as weight shifts. Common culprits include loose subfloor nails/screws, wood shrinkage, worn-down nail heads, or inadequate blocking between floor joists. Moisture and seasonal humidity changes in basements can also expand and contract framing, making squeaks more frequent.
How can I stop basement floor squeaks without removing the floor?
Start by locating the squeak—walk across the area and mark spots, then check from below if you have an accessible basement ceiling. Tighten loose subfloor fasteners by driving additional screws through the subfloor into the joist; predrill to avoid splitting. For minor gaps, you can also try adding wood shims or using construction adhesive on the squeak line, then securing with screws to prevent movement.
What’s the best way to identify which joist is causing the squeak?
Use a helper to walk across the floor while you listen from below, or press upward with a piece of wood at suspected locations while the other person walks. Squeaks often originate where boards meet joists, especially near nail lines or seams. If possible, inspect the underside for cracked fasteners, loose joists, or visible gaps, then test by adding a temporary brace to see if the noise stops.
Which products work best for squeaky basement floorboards: shims, screws, or lubricants?
The most reliable long-term fix is adding structural fasteners—like construction screws—into the subfloor and into the floor joists to eliminate rubbing. Wood shims can help where there are small gaps between boards and joists, but they should be combined with screws so the shim doesn’t shift. Avoid relying on lubricants alone, as they often wear off or attract dust, which can lead to recurring squeaks and potential floor damage.
How do I fix squeaks in a basement with a finished ceiling below the floor?
If the basement ceiling is finished, you may still be able to access joists through an access panel, HVAC register openings, or small drilled inspection holes. The preferred approach is usually through the subfloor: remove small sections only where squeaks occur, then add longer screws or shims directly above the joist line. If you can’t access the underside, consider a professional who can use targeted drilling methods to secure floor joists without damaging the finished ceiling.
📅 Last Updated: October 11, 2026 | Topic: How to fix squeaks in basement floors? | Content verified for accuracy and freshness.
References
- Google Scholar Google Scholar
https://scholar.google.com/scholar?q=squeaky+basement+floor+repair+subfloor+joists - Google Scholar Google Scholar
https://scholar.google.com/scholar?q=wood+floor+squeak+cause+fasteners+friction+building+physics - Google Scholar Google Scholar
https://scholar.google.com/scholar?q=stair+floor+squeaks+how+to+fix+wood+floor+noise+research - https://en.wikipedia.org/wiki/Floor_joist
- https://en.wikipedia.org/wiki/Wood_flooring
- Staircase
https://en.wikipedia.org/wiki/Staircase - Friction
https://en.wikipedia.org/wiki/Friction - https://www.britannica.com/technology/floor
- https://www.sciencedirect.com/topics/engineering/squeak
- https://pubmed.ncbi.nlm.nih.gov/?term=wood+floor+squeak