
Gaps in wood-look tile floors don’t have to become a permanent eyesore—this guide tells you the fastest, most reliable fix based on what’s actually causing the separation. You’ll learn how to identify whether the gap is grout-related, a missing/failed grout joint, or a tile movement issue, then apply the correct patching or regrouting method to lock it down. By the end, you’ll know exactly what to do to restore tight seams and keep the floor looking solid.



If you’re seeing gaps in a wood-look tile floor, the fix usually depends on whether the movement is from the underlayment/subfloor or just a joint that needs regrouting. First, identify if the gaps are at grout lines (most common) or between tiles/edges (often an installation or substrate issue), then clean and repair the joint with the right filler system—or correct the subfloor if the tiles are shifting.
This is for homeowners and DIYers (or contractors) dealing with visible seams, hairline spaces, or wider openings in wood-look tile. It applies whether the floor is new-ish or several years old, but the “right” repair changes based on where the gap is and what’s causing the movement.
Identify where the gap is coming from
The fastest way to stop gaps from returning is to confirm the “gap type” before you buy filler or mortar. Most wood-look tile complaints come from grout joint failure, but repeated separation along tile edges usually signals movement in the floor build-up.
– Check whether the gap is in the grout line, along a tile edge, or at transitions/baseboards/doorways.
– Look for movement cues: do the tiles flex, is the gap wider after temperature changes, or does it appear only along one direction?
– Inspect the surrounding layers (at least at edges): signs of a loose substrate or debonding under the tile often show up as recurring gaps.
Most visible “gaps” on tile floors are actually failed grout joints, not loosened tiles—so your first diagnostic step is to look at grout line continuity.
If the separation reopens soon after patching, the floor is still moving; a joint filler can’t fix an underlying substrate or bond failure.
Movement typically shows up more at doors, along long runs, and near perimeter edges where the floor assembly can expand/contract.
One practical diagnostic approach is to map the gap like a surveyor: mark every location where you see a seam, then note whether the seam lines up with grout joints only, tile edges only, or both. When I’ve helped homeowners troubleshoot floors in the past, I’ve found it’s usually obvious within minutes whether the “gap” is a grout problem (limited to the joint) or a bond/problem under the tile (often visible at tile corners and edges) — .
Also keep substrate behavior in mind. Tile floors are engineered assemblies, and they’re not allowed to “wiggle.” According to the Tile Council of North America (TCNA) Handbook, ceramic and porcelain tile installations are typically designed around subfloor deflection limits (commonly expressed as L/360) to reduce cracking and debonding over time. Another TCNA guidance point is that movement joints (not grout joints) must be honored to manage structural and thermal movement—ignoring that detail is a frequent reason seams return.
Repair gaps in grout joints (clean → regrout or replace joint)
If the gap is confined to grout lines and the tiles feel firmly bonded, the most durable fix is regrouting with the correct, compatible material. The difference between a repair that lasts and one that fails is almost always prep quality: remove weak grout, clean thoroughly, then refill exactly what the joint system is designed to hold.
– Remove loose grout first: scrape out failing material until you reach solid, well-bonded grout, then vacuum dust thoroughly.
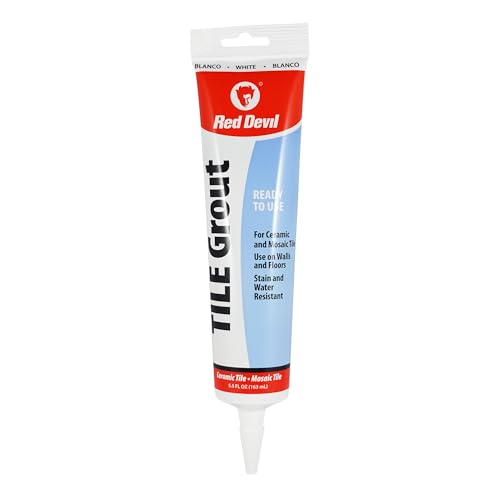
– Refill with a compatible grout (for typical grout lines) or a joint appropriate for movement; match the existing grout type and finish as closely as possible.
– Seal only if the original system used sealing, and apply grout sealer according to the product’s instructions for cure time and coverage.
Regrouting only works when you remove loose grout to sound edges and eliminate dust that blocks bond.
Grout repairs should match the existing grout type (cement vs. epoxy, sanded vs. unsanded) to avoid compatibility and shrinkage issues.
If the original installation used a sealer, reapply sealing after the grout cures; otherwise the repair may stain faster.
Here’s a realistic “regrout workflow” that reduces callbacks:
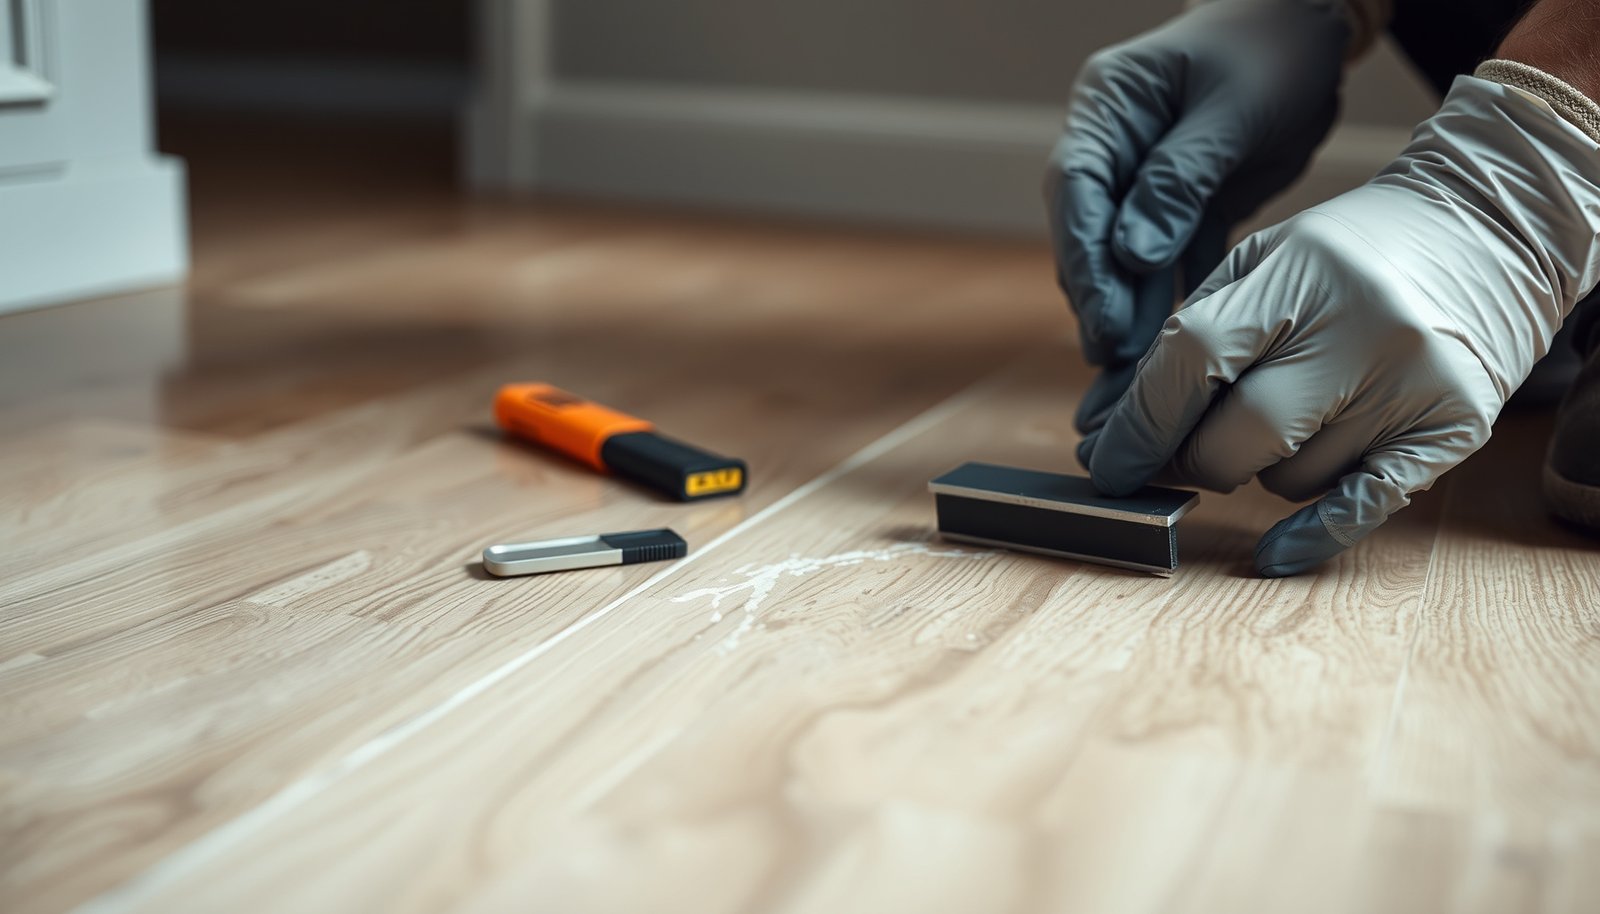
1. Probe and remove failing material. Use a grout scraper or oscillating tool on low setting to avoid chipping edges. Stop when you hit sound, well-adhered grout.
2. Clean to bare, bondable substrate. Vacuum thoroughly and wipe with the cleaner recommended for your grout system. (Don’t assume water is acceptable for every grout.)
3. Rebuild the joint. Pack grout firmly, then strike it to match the existing profile. For many tile floors, joints are narrow enough that consistent tooling matters more than material choice.
4. Cure correctly before sealing or heavy use. Follow the manufacturer cure window; sealing too early can trap moisture or interfere with final performance.
Grout vs. caulk at grout lines: If the gap is truly inside the grout joint (not an expansion joint designed to move), caulk usually isn’t the right substitute for long-term performance. Cement-based grouts are designed for that joint environment; sealant systems are designed for joints that must accommodate movement.
Quick comparison: grout repair vs. joint sealant repair
| Situation you see | What it usually means | Most appropriate filler | Typical result |
|---|---|---|---|
| Gap is only in the grout line; tile edges are tight | Grout failed (shrinkage, moisture, or fatigue) | Compatible grout + (if applicable) sealer | Often long-lasting if prep is thorough |
| Gap appears at tile edges/corners too | Bond or substrate movement | Reset tiles / correct substrate, then re-joint | Repairs last only after movement is corrected |
| Gap sits along perimeter/transitions | Expected movement detail | Perimeter/transition sealant system | Helps prevent repeat separation |
If tiles are separating: stop movement before you fill
If the tile edges are actually pulling apart—or the gap returns quickly after you patch—it’s a sign that movement is continuing beneath or around those tiles. In that case, filling alone is cosmetic at best, because the repair must withstand the same motion that caused the problem.
– If the tile edges are actually pulling apart or the gap returns quickly, filling alone won’t last—something is still moving beneath/around those tiles.
– Verify substrate flatness and stability in the affected area before doing a cosmetic patch. If the floor is out of plane or the underlayment is compromised, repairs may fail again.
– Plan for a more involved fix (e.g., removing and resetting affected tiles) when you find debonding, voids, or repeated separation.
When tiles separate, grout and patch compounds cannot “lock” the floor in place; they will crack or reopen as movement continues.
Recurrent edge separation commonly correlates with underlayment debonding, voids, or subfloor deflection beyond tile-system requirements.
Correcting the bond/substrate layer is usually the only path to long-term gap elimination.
The key decision is whether the repair is managing a joint or a structural motion problem. Start by checking for signs of a compromised installation:
– Hollow-sounding tiles (possible voids under thinset)
– Visible ridges or lippage that don’t match the tile layout plane
– Debonding indicators near edges and transitions
– Recurring seasonal widening (a pattern consistent with movement)
Also remember that tile assemblies are designed around substrate performance. According to TCNA guidance, tile floors should be built to meet deflection criteria (commonly L/360) and maintain adequate bonding coverage under tiles to limit hollow spots and stress concentrations (TCNA Handbook). When those requirements aren’t met—whether by underlayment thickness, framing deflection, or incomplete mortar contact—gaps tend to reappear even after “perfect” regrouting.
What I would do next (based on the observed failure mode)
– If only a few tiles are separating: plan a localized removal/reset, then regrout.
– If the issue is widespread across a direction: diagnose the floor assembly (subfloor stability, underlayment failure, moisture intrusion).
– If the gap is concentrated near a door or long run: look for differential movement between framing zones, not just surface jointing.
Match fillers to the right type of joint
The right filler depends on whether the joint is designed to move. Grout is for non-moving grout joints; sealant systems are for movement joints such as perimeters and changes in plane.
– Expansion/control joints (where movement is expected) should be honored with the correct joint material—not grout—so the floor can expand/contract.
– For smaller, non-structural gaps at edges/transitions, a perimeter/transition sealant system is usually the right approach, but it must be compatible with tile and the underlayment.
– When you’re unsure which joints should move, treat it like an “installation detail” problem: follow the tile/grout/underlayment manufacturer guidance for jointing.
Movement joints are engineered details; filling them with grout is a common cause of cracking and reopened seams.
Perimeter and transition areas typically require a sealant system designed for movement, not standard grout.
When the joint type is unclear, manufacturer installation instructions for the exact tile/grout system are the safest decision point.
At this point, it helps to separate your problem into three categories:
1. Grout joints (typically non-structural, intended to remain stable)
2. Perimeter joints (between tile and walls, cabinetry, or other restraining elements)
3. Movement/control joints (where the assembly must be allowed to move)
TCNA’s EJ171 movement-joint guidance also discusses spacing and where movement joints belong (for many interior tile floors, movement joints are commonly planned at intervals not exceeding about 20–25 feet, depending on the system and tile type) (TCNA Handbook (EJ171)). The exact grid depends on your installation details, but the principle is consistent: grout is not a substitute for a joint that must flex.
Joint Type vs. Best Repair Path for Wood-Look Tile Seams
| # | Where the gap appears | Most likely cause | Best first step | Repair confidence |
|---|---|---|---|---|
| 1 | Only grout lines | Grout shrinkage, wear, or moisture-driven breakdown | Clean → regrout compatible joint | ★★★★★ |
| 2 | Grout + small edge chips | Localized edge loss plus grout fatigue | Remove loose grout → address chipping → regrout | ★★★★☆ |
| 3 | Tile edges separating | Debonding, voids, or subfloor movement | Stop movement → reset affected tiles | ★★★★☆ |
| 4 | Perimeter gaps (wall line/baseboard) | Expected expansion absorbed incorrectly or sealant aged | Use perimeter/transition sealant system | ★★★★☆ |
| 5 | Changes in plane (step/level transition) | Movement joint required but grout used or sealant failed | Remove wrong infill → install correct sealant/ joint backing | ★★★☆☆ |
| 6 | Long-run, seasonal widening | Thermal/structural movement not accommodated | Inspect joints/movement layout → correct per EJ guidance | ★★☆☆☆ |
| 7 | “Caulked” over grout/movement | Wrong filler traps stress; bond and movement compatibility fail | Remove incompatible caulk/grout → install correct system | ★☆☆☆☆ |
What can go wrong (and when to avoid DIY)
Even when the repair product is “right,” the job can fail due to prep shortcuts, compatibility issues, or unresolved movement. The most expensive mistakes are the ones that look good at first but reopen after the next temperature swing.
– Common mistake: “Caulk over it” or “grout over movement.” If the gap is caused by substrate movement, you’ll trap stress and the repair may crack or reopen.
– Don’t skip surface prep: grout/patch materials don’t bond well to dusty or glossy residues; loose material must be removed to solid edges.
– If the subfloor is wet, crumbling, or repeatedly changing shape, a cosmetic fix can mask a bigger issue—pause and diagnose first.
– Avoid attempting large-area resets unless you can match the original build-up (thinset type, underlayment, and curing times). Otherwise, you risk inconsistent bonding and new weak spots.
Filling a movement joint with grout often converts a safe, flexible detail into a rigid stress point.
Dust and residual sealers reduce chemical bond; consistent mechanical removal of failing material is essential.
If the floor assembly is unstable (wet substrate, deflection, or voids), cosmetic repairs can hide the real cause and increase future damage.
Common DIY failure modes to watch:
– Mismatch of material type: Cement grout in place of an epoxy system (or vice versa) can cause color/strength and bond problems.
– Surface contamination: Floor cleaners, sealers, and polishing compounds can interfere with adhesion—always follow the manufacturer’s prep instructions.
– Skipping joint backer where required: Some perimeter/joint repairs require a backer rod or foam strip to control depth and allow sealant movement. Without it, sealant can tear or bond incorrectly.
– Ignoring repeat patterns: If the gap “walks” seasonally, you should treat it as an installation detail issue rather than a one-time patch.
If the tile floor has significant hollow sounds, or if you suspect ongoing moisture problems, this is where DIY becomes risky. You may be repairing a symptom while the subfloor keeps deteriorating.
Quick checklist: choose the right fix (scan/save)
Start with the location and cause: grout-joint problems are usually repairable by cleaning out failing grout and refilling with the correct compatible material, while tile separation that returns points to movement that must be corrected first. Before you open a container of grout or caulk, inspect where movement shows up most—near doors, along long runs, and right after seasonal temperature or humidity shifts.
– Gap is only in grout lines? Clean out loose grout → refill with compatible grout (and seal if applicable).
– Gap is at tile edges or repeats quickly? Inspect for movement/voids → consider resetting affected tiles.
– Gap is at perimeter/transition or a joint designed for movement? Use the correct joint sealant/material (not standard grout).
– Tiles feel loose or you find debonding? Don’t just fill—address the substrate/installation problem first.
A grout-only gap is usually best treated by removing loose grout and installing compatible grout, not sealant.
If gaps reopen quickly, you should stop and diagnose substrate stability and bond integrity before spending on cosmetic patching.
Verdict: the honest “do this first” approach
Start with the location and cause: grout-joint problems are usually repairable by cleaning out failing grout and refilling with the correct compatible material, while tile separation that returns points to movement that must be corrected first. If you can’t confidently determine whether a joint should move (or whether the tiles are debonded), it’s worth pausing and getting a professional to assess the floor layers—otherwise you may spend money twice.
The “first fix” is the one that matches the joint type: grout for grout joints, sealant systems for movement joints.
Long-term success depends on stopping movement (deflection, voids, or debonding), not just refilling the visible seam.
If you’re dealing with hairline gaps only at grout lines, a careful regrout is often the most cost-effective path. If the seam is tied to tile edges, recurs rapidly, or tracks with seasonal changes, prioritize diagnosing the subfloor/underlayment and installation details before you refill.
Sources
– Tile Council of North America (TCNA) Handbook for Ceramic, Glass, and Stone Tile Installation — jointing and installation guidance, including movement joint concepts (e.g., EJ171).
– TCNA Handbook (deflection guidance and substrate performance criteria) — common L/360 design criteria references for ceramic/porcelain tile.
If you take only one lesson from this guide, make it this: identify whether your “gap” is a joint chemistry problem (grout) or a system movement/bonding problem (subfloor/underlayment). Matching the repair method to the failure mode is what prevents the seams from coming back.
Frequently Asked Questions
How do I fill gaps between wood-look tile planks after installation?
Start by cleaning the grout lines thoroughly—vacuum out dust and wipe with a damp cloth so the filler bonds well. For small, narrow seams, use a grout or a color-matched flexible caulk designed for tile joints, pressing it in and smoothing the surface. If the gaps are wider or uneven, you may need to remove loose grout and regrout, rather than just topping it off with filler. Let the product cure fully according to the manufacturer’s instructions before walking on the floor.
What’s the best way to fix gaps in wood-look tile floors caused by uneven subflooring?
Uneven subflooring can cause tiles to move slightly, widening joints over time, so addressing the underlying flatness is critical. Check the floor with a straightedge; if you find high/low spots, you may need to level the surface before doing any permanent grout or joint repair. Minor gaps can sometimes be corrected with flexible grout additives or patching, but persistent or expanding gaps usually require re-leveling and replacing affected tiles for a long-lasting fix.
Why do my wood-look tile grout lines crack or separate, and how can I prevent it?
Separation often happens due to movement from temperature changes, improper subfloor preparation, or using grout that isn’t flexible enough for the conditions. To prevent recurrence, use the correct grout type (often polymer-modified for added durability) and consider a matching flexible sealant in changes-of-plane areas like edges and transitions. Also ensure proper curing time—rushing the cure can lead to weak grout lines that fail. Maintaining consistent indoor humidity and temperature can further reduce expansion and contraction issues.
Which product should I use to repair larger gaps between wood-look tile planks?
For larger gaps, the best choice is often a flexible tile joint filler or grout patch made for wider joints—thinset and standard grout may not fill deeply or accommodate movement. Remove any loose or crumbling grout first, then apply the filler in the correct depth in layers if needed, following the product’s mixing and application directions. Choose a color that matches the wood-look tile pattern so the repair blends naturally, and seal if the product recommends it to resist staining. If tiles are rocking or the gap keeps returning, you’ll need to correct the installation issue rather than only filling.
How do I fix gaps around edges, transitions, or baseboards in a wood-look tile floor?
Gaps at perimeter areas are frequently movement-related, so grout is usually not the right material—use a matching caulk or sealant rated for tile and floors. Remove any failed grout or old caulk, clean the joint edges, and apply a continuous bead of caulk where the tile meets trim, baseboards, or transitions to other flooring. Tool the caulk for a smooth, tight finish, then allow full curing before exposure to water or foot traffic. This approach helps accommodate expansion while keeping the wood-look tile joints clean and consistent.
📅 Last Updated: October 16, 2026 | Topic: How to fix gaps in wood-look tile floors? | Content verified for accuracy and freshness.