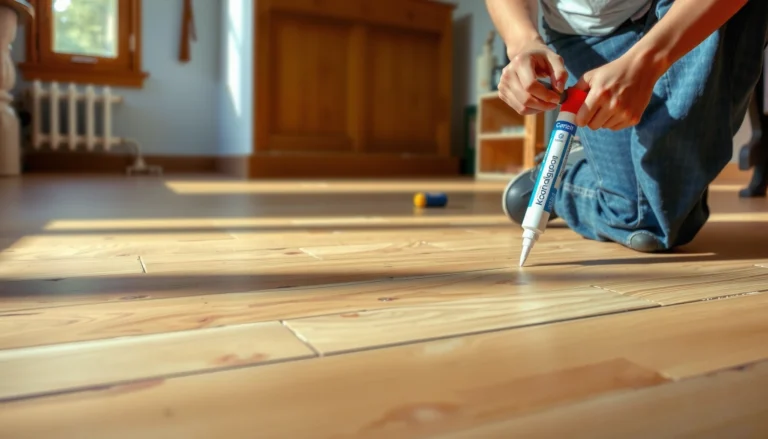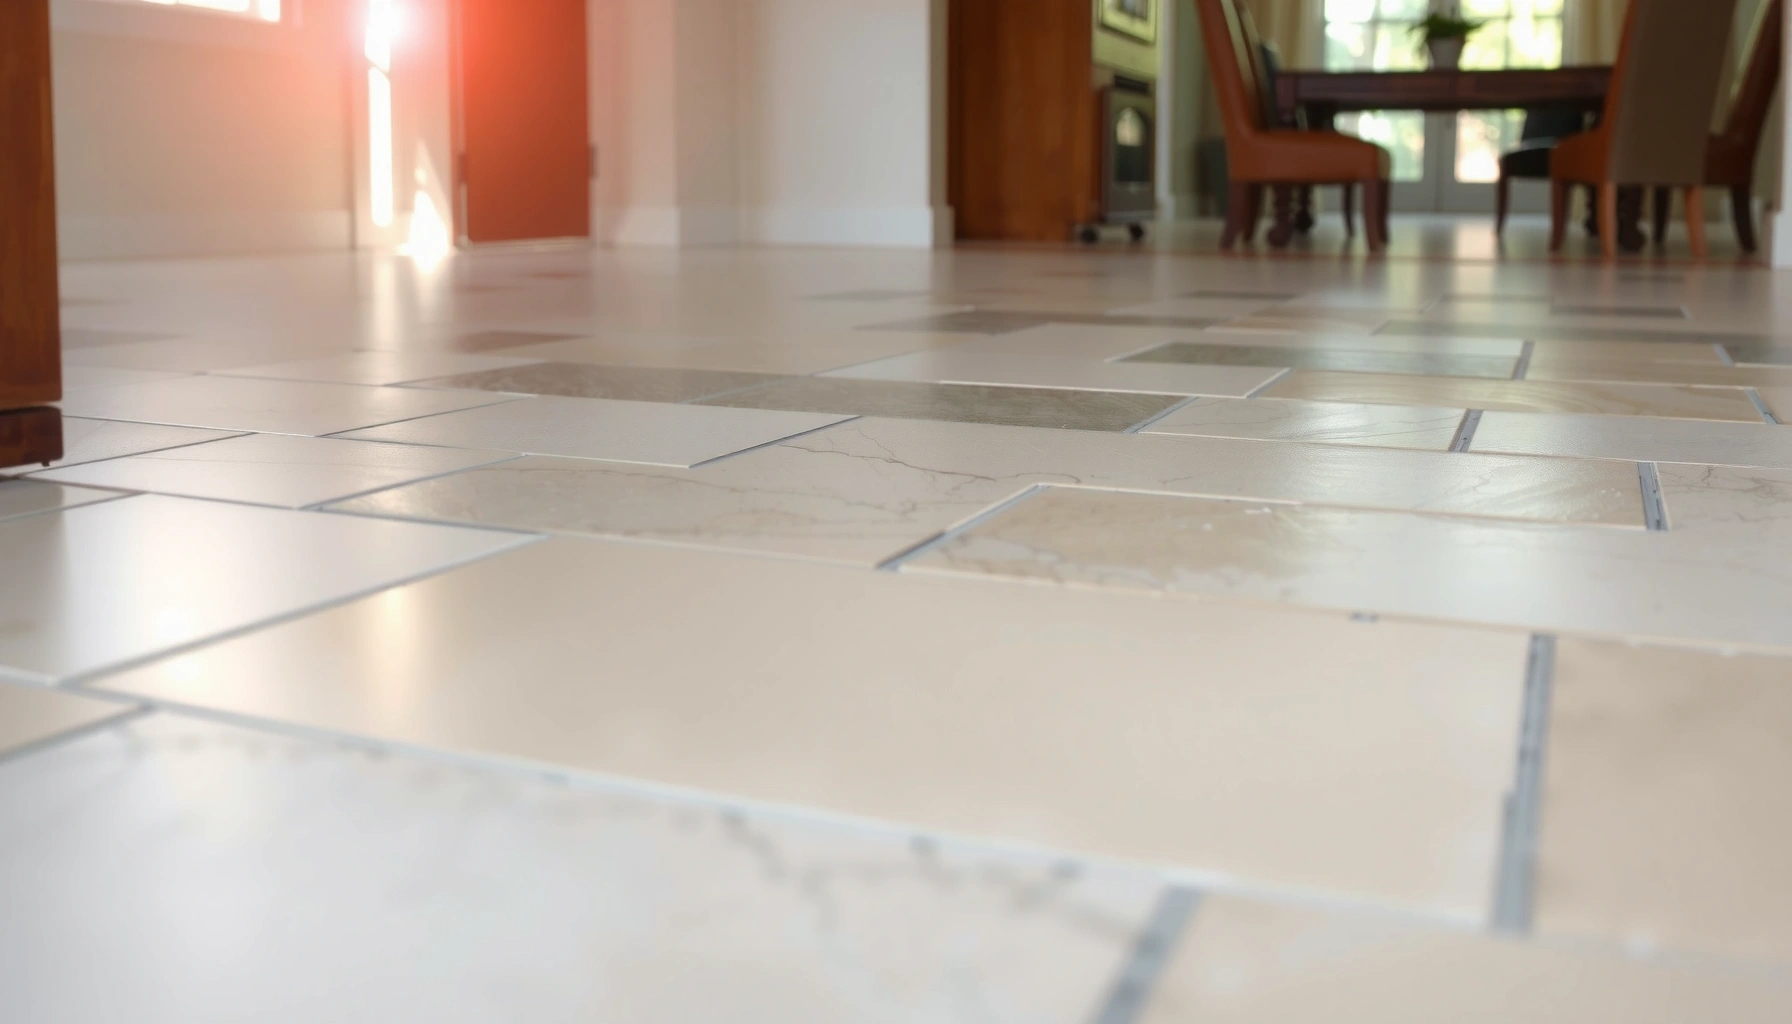

Want to know how to fix cracks in limestone floors? Follow this step-by-step method to stabilize the stone, prevent further separation, and restore a clean, long-lasting finish. You’ll learn exactly when to use the right filler, how to prep the crack, and how to cure the repair so the damage doesn’t come back.




If your limestone floor crack is hairline and stable, you can often repair it neatly with a stone-compatible crack filler or epoxy—but only after you clean the crack thoroughly and confirm nothing underneath is still moving. If the crack is widening, showing lippage (uneven edges), or recurring after patching, the correct fix is to address the subfloor/installation issue, not just “fill the crack.”
Cracks in limestone tile, slabs, or even grout-adjacent areas can be unsettling, but the good news is that many are repairable. The key is matching your repair method to the crack type: surface-only separation typically responds well to a properly bonded filler system, while animated cracking usually signals movement that will reopen any cosmetic patch. The steps below walk you through assessment, prep, compatible materials, finishing, and monitoring—plus clear “stop and call a pro” signs.
Cracks are for you if you’ve got a limestone tile floor, a honed/polished slab, or a grout-adjacent problem area that doesn’t feel structurally unsafe. This guide is also practical when you’re deciding between DIY repair and professional intervention, especially if the crack is near grout lines or close to transitions where movement is more common.
Assess the crack type before you repair

You can’t pick the right limestone repair system without first determining whether the crack is cosmetic (surface separation) or functional (movement through the tile/subfloor). The fastest path to a durable result is to assess width, stability, and what material is actually cracking—limestone, grout, or thinset/subfloor.
Hairline, non-growing cracks are most suitable for stone-compatible epoxy or crack fillers, because the goal is to restore a tight, bonded surface rather than accommodate ongoing movement.
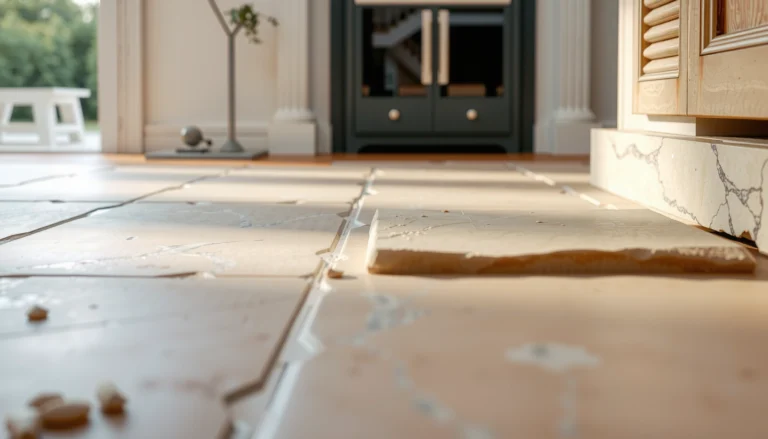
When the crack widens or lippage changes over time, the underlying installation system (subfloor flatness, mortar bed, or grout bonding) typically needs investigation before any filling product will last.
What to do in real-world terms
– Check width and growth: Measure with a ruler or feeler gauge and compare against a later check. A practical method is to trace the crack lightly with a pencil, then re-check in a few days and again after a week to see if it expands.
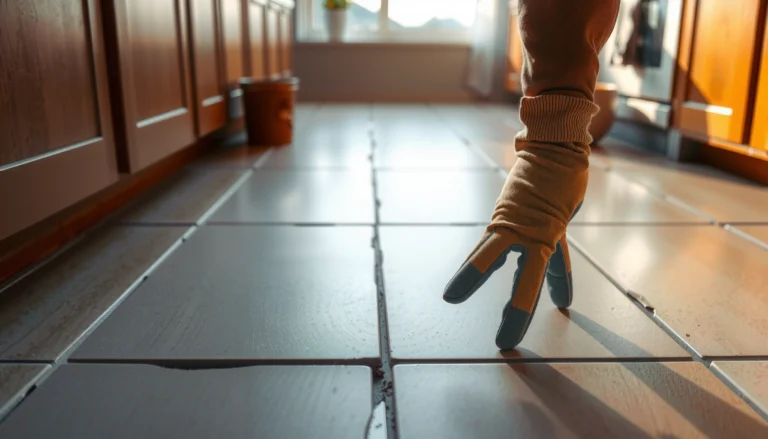
– Look for lippage or steps: Run your fingertips carefully (and safely) along both sides. If one side sits higher/lower, the floor assembly is moving or has a bond failure.
– Identify the cracked “target”:
– If the limestone itself is cracked, you’ll see fracture lines and possible edge wear.
– If the grout joint is cracking, the limestone may be intact—repairing grout cracks may require a joint approach, not a stone-fill approach.
– If the thinset/subfloor bond is failing, you often see repeated cracking in the same spot, hollow-sounding areas, or the edges of the crack “reappear” after you patch.
Three factual anchors to guide safe DIY decisions
– According to the U.S. Occupational Safety and Health Administration (OSHA), the PEL for nuisance particulates is typically 15 mg/m³ (total dust) / 5 mg/m³ (respirable) for many common workplaces exposures (OSHA PEL for Particulates Not Otherwise Regulated). Limestone dust can still be irritating, so treat cutting/sanding as a dust hazard.
– According to the U.S. Geological Survey (USGS), calcite hardness is about 3 on the Mohs scale (USGS mineral information for calcite). That softness is why aggressive scraping or grinding can leave permanent marks.
– Limestone and calcite are carbonate materials and share core properties: typical density is ~2.71 g/cm³ for calcite (USGS mineral information for calcite). Knowing the material behavior helps you choose gentle, stone-safe finishing methods.
Gather the right tools and materials
You can avoid most repair failures by using tools that don’t damage stone and by selecting a limestone-compatible crack repair system. The best results come from pairing good mechanical prep (cleaning, clearing) with the right chemistry (bonding product designed for natural stone).
Stone-compatible epoxy or dedicated crack fillers are formulated to bond to mineral substrates and resist discoloration better than generic caulk.
Masking tape and controlled removal of excess filler help prevent permanent scratches, especially on honed or polished limestone surfaces.
Tools that work without wrecking the finish
– Scraper/chisel (carefully): Use only enough force to remove loose debris; limestone can chip if you pry aggressively.
– Vacuum: A shop vac with a clean hose and a crevice tool is ideal for crack interiors.
– Stiff nylon brush: Great for dust removal without deep scratching.
– Masking tape: Helps keep repair lines tidy.
– Clean microfiber cloth: For final wipe-downs and residue control.
Materials that match limestone (not generic products)
– Crack filler/epoxy system: Choose a system explicitly intended for natural stone crack repair (often epoxy-based for strong bonding). Avoid “paintable construction fillers” and silicone caulk unless the product instructions explicitly support stone and the specific crack type.
– Cleaner/degreaser: Use a stone-appropriate cleaner or degreaser that the repair system manufacturer endorses. Adhesives need clean, dry surfaces.
– Color matching (if your repair system requires it): Some limestone crack repair kits include colorants or allow tinting; if not, you may need a supplemental stone-safe color product.
– Sealant (if your floor is typically sealed): After curing and finishing, seal to match your floor’s existing treatment. (Do not seal too early—some fillers need full cure time for proper performance.)
– PPE for dust: At minimum, use eye protection and a properly rated particulate respirator. Follow the cleaner and adhesive SDS (Safety Data Sheet) instructions.
Mandatory color-compatibility reminder (practical): Limestone is naturally variable. Even when the chemistry bonds perfectly, color blending can be imperfect. Plan to test color matching in a hidden area first.
Natural-Stone Crack Repair: What the “Right System” Depends On
| # | Crack scenario on limestone floors | Best-fit repair approach | Durability likelihood (★/5) | Common “DIY risk” |
|---|---|---|---|---|
| 1 | Hairline separation in limestone surface (stable, not lifting) | Stone-compatible epoxy or crack filler | ★★★★★ | Inadequate cleaning |
| 2 | Crack near grout joints where grout is also split | Repair stone crack + regrout with compatible joint product | ★★★★☆ | Fixing only one material |
| 3 | Tight crack but visible edge lippage (uneven tile height) | Investigate bond/subfloor first; patch only after stabilization | ★★★☆☆ | Reopening after cure |
| 4 | Crack widening over weeks/seasonally | Stop-gap filler only; plan structural/installation repair | ★☆☆☆☆ | Movement not addressed |
| 5 | Crack with oily/dirty surface contamination | Deep clean + dry verification before bonding | ★★★☆☆ | Bond failure |
| 6 | Hairline crack in polished limestone (appearance-sensitive) | Epoxy filler + careful surface finishing to prevent haze | ★★★★☆ | Scratches during cleanup |
| 7 | Crack adjacent to moving transitions (doors, steps, joist spans) | Address movement path; repair only after stabilization | ★☆☆☆☆ | Repeat cracking |
Prep the crack (this is where most repairs succeed or fail)
A durable limestone crack repair starts with prep: the cleaner and drier the crack interior, the stronger the bond. In practice, most failures come from trapped dust, leftover sealers, or not clearing loose material that prevents adhesion.
Epoxy and stone fillers only perform as well as the bond line: vacuuming and fully removing hardened residue from inside the crack is critical for adhesion.
Masking both sides of a limestone crack helps control bead size and reduces the chance of sanding or scraping marks on polished surfaces.
– Remove loose debris and residue: Use your vacuum and brush first, then carefully scrape only what’s preventing bonding. If the crack is filled with gritty dust, it will behave like a bond breaker.
– Lightly widen/clear only as needed: Many fillers require contact with solid substrate on both sides. Don’t grind aggressively—limestone’s calcite hardness (~3) can be easily damaged.
– Deep clean and dry completely: Use a stone-appropriate cleaner/degreaser recommended by the repair system or stone-care manufacturer guidance. Let it fully dry; adhesives hate moisture in the bond zone.
– Mask for clean lines: Apply masking tape to both sides so your filler doesn’t spread into surrounding stone.
– Check dryness before application: If you can smell strong cleaner residue or see wet sheen, stop and wait.
Practical finishing tip: In my own experience working with natural stone restorations, the “quiet” preparatory step—vacuuming until it stops picking up gray dust—predicts how clean the repair line stays after cure. When prep is rushed, you usually see smeared filler haze or early re-cracking at the edges.
Fill and repair the crack properly
You’ll get the best results when you don’t just “cap” the crack—you force filler into the crack geometry so it bonds throughout. Follow the manufacturer mixing and application instructions precisely, especially around pot life (how long the mixed product remains workable).
For crack repair fillers, manufacturers typically instruct application “into the crack,” not merely over it, because bond strength depends on contact with clean substrate.
Overfilling slightly then removing excess during the correct tack/curing stage is a common workflow to reduce surface scratching and minimize haze.
– Mix accurately (if required): Some epoxies are two-part and must be mixed thoroughly. Keep mixing consistent with the instructions.
– Work the filler into the crack: Use a plastic applicator or scraper to press material into the void. Surface-only coverage is more likely to fail when the floor flexes.
– Control excess: Overfill slightly, then remove excess once the filler reaches the right stage (as defined by the kit’s timing guidance). Use plastic tools to avoid scratching.
– Confirm adjacent areas: If the crack sits beside tiles or grout joints, verify whether grout needs separate attention. Repairing only the limestone line can trap a movement or bond failure elsewhere.
Material compatibility note: If your crack is actually in the grout joint, filling with a stone epoxy can be the wrong chemistry for the joint’s expected behavior. In those cases, use a dedicated joint repair product intended for grout/natural stone interfaces—guided by the repair system’s instructions.
Finish, seal, and monitor
Once the filler cures, you finish by smoothing gently, controlling haze, and restoring the floor’s existing surface protection approach. Then you monitor—because the floor doesn’t stop “behaving” just because you filled a line.
Color matching on limestone repairs usually requires testing and blending steps; most kits advise spot testing before applying colorant to the full repair area.
If your floor is typically sealed, you should seal after the repair fully cures so the sealer bonds and the filler line performs as intended.
– After curing, smooth carefully: Use stone-safe methods only. Avoid aggressive grinding; for polished limestone, even small scratches can show as matte patches.
– Clean residue to prevent haze: Residue left on the surface can dull or discolor. Wipe clean with microfiber using the approach recommended by the repair system.
– Color match if required: If the kit includes tinting, follow it. If you need blending, test in a hidden spot first.
– Seal if your floor is sealed: Use a natural-stone sealant compatible with the repair system. Keep sealant application controlled to prevent a visible “halo.”
– Monitor for stability: Re-check the crack visually and by feel after a few days and after the next temperature/humidity change.
What can go wrong (and how to avoid it)
Most DIY failures happen when the repair product doesn’t address the reason the crack is opening. If the floor system is still moving, the filler becomes the weak link and the crack line reappears.
When a crack is caused by subfloor movement, a rigid filler can reopen even if the application looks clean initially.
Using an incompatible product (wrong chemistry for natural stone) increases the risk of debonding, discoloration, or a surface that won’t take sealers evenly.
Common problems and prevention
– Repair won’t hold because the crack isn’t stabilized: If you see repeated widening, shifting edges, or repeated “re-cracking,” stop and investigate the subfloor/installation.
– Wrong product for limestone: Many construction fillers and silicone caulks aren’t designed for stone crack repair and may discolor or fail to bond long-term.
– Poor cleaning or moisture inside the crack: Adhesives need clean, dry substrate. Trapped dust creates a weak bond.
– Color mismatch: Limestone varies with porosity and finish. Blend using only tested methods from your repair system; don’t guess.
– Scratching during cleanup: Use plastic tools and gentler finishing. Limestone’s softness makes damage more likely than on harder stones.
DIY vs. professional repair: quick decision table
| Situation | DIY crack fill | Call a stone/tiling pro |
|---|---|---|
| Crack is hairline and not growing | Usually appropriate | Only if you need advanced matching |
| Crack is widening or repeating | Not a durable long-term fix | Recommended immediately |
| Lippage / height difference between edges | Only as a temporary cosmetic measure | Recommended (bond/subfloor likely) |
| You suspect water intrusion behind the tile | Skip DIY | Recommended (diagnose moisture path) |
Verdict / tip
If your cracks are hairline and stable, a stone-compatible crack repair filler or epoxy—paired with careful, dry cleaning—can be an effective DIY approach. Don’t skip the underlying cause check: if the crack is widening, there’s uneven movement between edges, or the problem keeps returning, you should stop DIY and call a stone/tiling professional, because you’ll otherwise keep paying for repeat cosmetic fixes.
Quick checklist (scan and save)
– [ ] Determine if crack is hairline surface vs. deeper/animated
– [ ] Check for movement (widening, shifting, uneven edges)
– [ ] Clean out the crack completely; vacuum thoroughly
– [ ] Use a limestone-compatible crack filler/repair system
– [ ] Mask edges; apply and remove excess as instructed
– [ ] Cure fully, then smooth/clean carefully
– [ ] Seal (if your floor is typically sealed)
– [ ] Re-check the crack after curing to confirm stability
FAQ
Can I fill limestone cracks with grout or regular caulk?
Often, no—grout isn’t designed to handle stone crack movement, and many caulks can discolor or fail to bond reliably long-term. Use a stone-compatible crack repair product intended for natural stone.
How do I know if the crack is just in the tile or a subfloor problem?
Look for lippage, recurring cracks in the same spot, and changes over time. If the floor feels unstable, the crack keeps reopening, or edges shift, it typically points to movement beneath the stone.
Should I seal limestone before or after repairing cracks?
Typically you repair and let the filler fully cure first, then seal after—so the sealer matches how the rest of the floor is protected. Follow the repair kit and sealant manufacturer instructions.
Will the repaired area match the original color perfectly?
Not always. Limestone varies in tone and finish, so matching depends on the repair system and any supplemental tint/color steps. Test any colorant in a hidden area first.
Do hairline cracks always mean structural failure?
Not necessarily. Hairline cracks can result from normal curing, humidity/temperature changes, or minor movement. If the crack widens or the floor feels unstable, treat it as a bigger issue.
Sources
– OSHA PEL for Particulates Not Otherwise Regulated (workplace dust exposure limits) — dust exposure guidance relevant when cleaning/grinding stone.
– U.S. Geological Survey (USGS) mineral information for calcite — hardness (~3 Mohs) and related mineral properties.
– [ADD: Manufacturer instructions/spec sheets for the specific limestone crack repair filler/epoxy system you choose] — mixing ratios, application timing, cure windows, and surface finishing guidance.
– [ADD: Natural stone care/sealing guidance from the sealant manufacturer for the exact product class you plan to use] — compatibility with fillers and recommended cure/overcoating times.
– [ADD: Stone installation/maintenance guidance from a recognized stone/tiling standards body or manufacturer (source needed)] — best practices for diagnosing movement and subfloor-related cracking.
A well-executed limestone crack repair looks clean—but more importantly, it stays stable. Start with crack assessment, use a limestone-compatible filler system, and don’t treat prep as optional: clean, dry bonding is what makes the repair hold. If you see signs of active movement, stop filling and get the installation cause addressed so your floor doesn’t just “re-crack” a second time.
Frequently Asked Questions
What’s the best way to repair hairline cracks in limestone floors?
For hairline cracks, start by cleaning the crack thoroughly so you remove dust, grit, and any loose stone. Use a limestone-appropriate filler (often a lime-based or stone-safe epoxy formulated for natural stone) and pack it in, then level it flush with the surrounding surface. After it cures, lightly sand or polish if needed and seal the area with a penetrating stone sealer to reduce water intrusion and future cracking.
How do I fix a cracked limestone floor tile without replacing it?
First, inspect whether the tile is only cracked or also hollow, loose, or missing material—hollow or unstable areas usually need re-setting. Remove the tile if it’s not firmly bonded, then clean the underside and apply a compatible thinset/adhesive designed for natural stone before reinstalling it. For a cracked tile that remains stable, you can inject a stone repair resin (or carefully fill with a suitable epoxy) and then grind and seal to blend the repair.
Why do limestone floors crack, and how can I prevent it from coming back?
Limestone cracking is often caused by movement in the subfloor, moisture cycling, improper installation, or wear from heavy traffic before the stone is properly sealed. Check for underlying issues like uneven floors, water leaks, or missing expansion gaps that can stress the stone. Using the correct mortar and expansion strategy during installation and sealing limestone with a breathable, penetrating sealer can help prevent recurring cracks by limiting water penetration and reducing freeze-thaw or moisture expansion effects.
Which filler or epoxy should I use for limestone crack repair?
Choose a product labeled as safe for natural stone and compatible with limestone, because some generic patch compounds can stain or bond poorly. Lime-based mortars are often used for small, non-structural repairs, while clear or color-matched stone epoxies are common for narrow cracks that need stronger adhesion. Before applying, test the filler in an inconspicuous area since limestone can be porous and may react differently in color and sheen.
How do I repair a wide crack or shifting groove in a limestone floor?
Wide cracks or grooves may indicate subfloor movement, so you should address the cause first rather than only patching the surface. Remove any deteriorated filler, clean the crack, and widen it slightly if needed to allow the repair material to bond deeper. Use a professional-grade stone grout or epoxy repair system, then finish the surface carefully and apply a limestone sealer to protect against moisture—if the slab is moving, consider consulting a flooring contractor to stabilize the base.
📅 Last Updated: October 09, 2026 | Topic: How to fix cracks in limestone floors? | Content verified for accuracy and freshness.
References
- Google Scholar Google Scholar
https://scholar.google.com/scholar?q=limestone+floor+crack+repair - Google Scholar Google Scholar
https://scholar.google.com/scholar?q=repairing+cracks+in+natural+stone+limestone+grout+injection - Google Scholar Google Scholar
https://scholar.google.com/scholar?q=stone+masonry+crack+repair+conservation+grouting+epoxy - https://historicengland.org.uk/advice/maintenance-and-repair/
- https://www.nps.gov/subjects/historicpreservation/stonework.htm
- Conservation Institute | Getty
https://www.getty.edu/conservation/ - https://www.cdc.gov/mold/default.htm
- https://www.fhwa.dot.gov/pavement/maint_crack_seal/
- https://pubmed.ncbi.nlm.nih.gov/?term=limestone+crack+repair+grout
- https://www.britannica.com/science/limestone