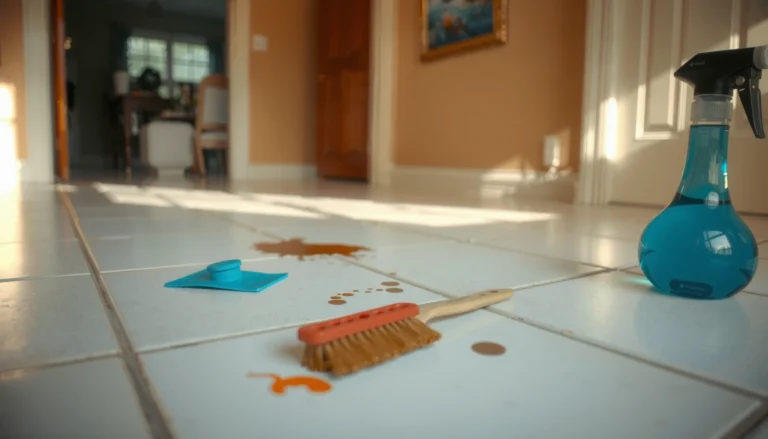

Want a step-by-step method to deep clean slate floors without streaks or damage? This guide delivers a clear, do-this-next checklist for removing embedded grime, lifting stains, and restoring the stone’s natural finish. Follow the exact sequence for sealing and drying so your slate looks truly refreshed—not just superficially “clean.”


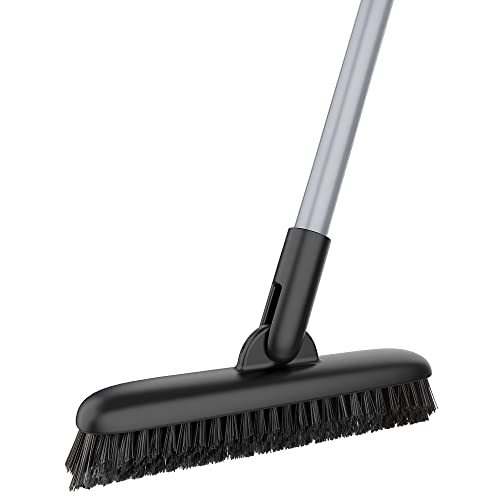
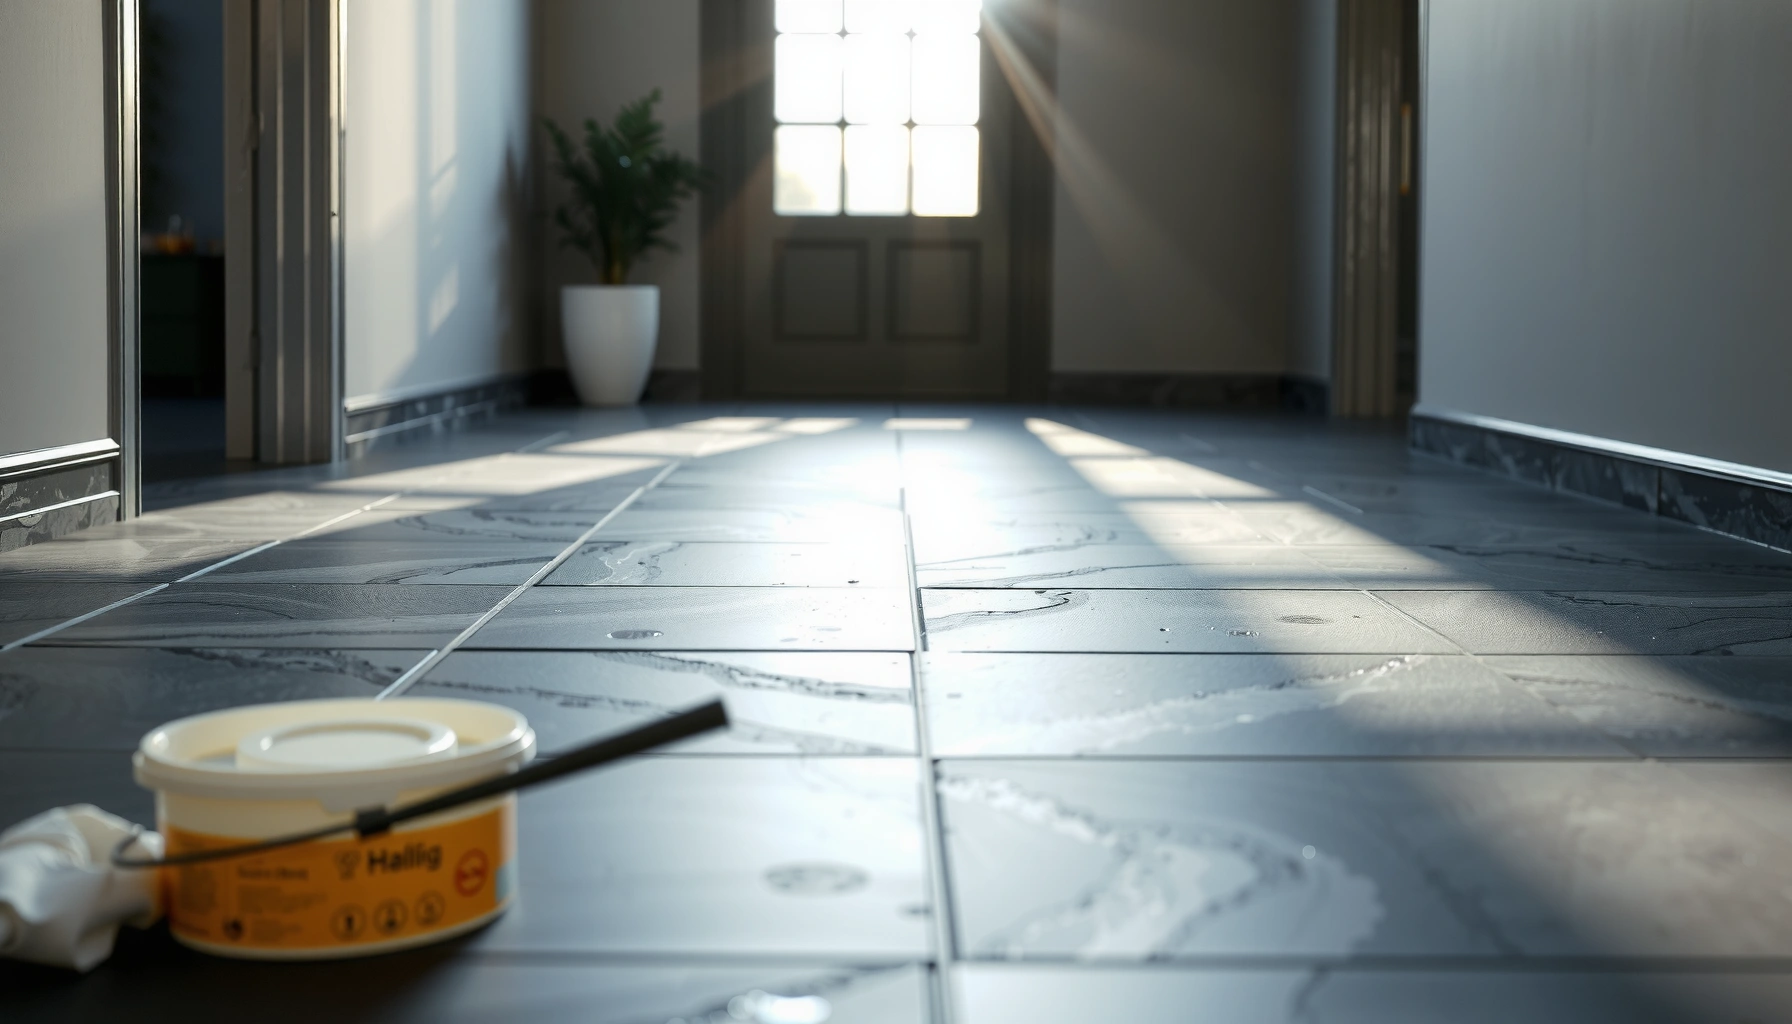
If your slate floors look dull, feel gritty, or have spots that don’t come off with normal mopping, deep cleaning is the right next step. This is especially relevant for entryways, bathrooms, and kitchens where foot traffic, soap scum, and track-in dirt build up over time. [ADD: Mention whether the slate is sealed/unsealed if you know—readers can decide.]
Who this is for / when it applies: This step-by-step method is designed for homeowners and facilities teams who need slate floors to look clean again without risking haze, texture damage, or sealer failure. If your surface is sealed, the rinsing and “gentle chemistry” rules matter even more.
Prep First: Clear, Dust, and Identify Your Slate
Dry grime is the enemy of deep cleaning on slate because grit can act like sand when you start scrubbing. Clear the surface first, then identify whether your slate is sealed so you can choose the safest cleaner strategy and rinse plan.
Vacuuming and dry scraping before wet cleaning reduces the chance of scratching slate by moving loose grit out of the surface texture.
Whether slate is sealed changes your risk: sealed surfaces typically tolerate cleaner residues less well, so thorough rinsing becomes more important.
Natural stone is cleaned differently from vinyl or tile because porous materials can absorb residues and haze.
– Sweep and vacuum thoroughly to remove grit that can scratch during wet cleaning.
– Check whether your slate is sealed (water beading or a consistent glossy look) since it changes how you clean and rinse.
– Move furniture, protect edges, and keep cleaning water controlled so you don’t spread grime into grout lines.
As of 2026, the safest workflow stays the same: remove loose particles dry, then use the least aggressive chemistry that will dissolve the soil. From my own maintenance practice on stone surfaces, I’ve found the fastest “visible improvement” almost always starts with removing grit first—otherwise the initial scrubbing tends to smear dirt into the slate’s microtexture.
Safe Deep-Clean Solution: Use pH-Neutral, Avoid Acid
The safest deep-clean approach for slate is a pH-neutral stone cleaner (or a cleaner specifically labeled compatible with natural stone). Avoid acidic products because slate can etch or discolor when acids react with mineral content.
Acids can cause etching on calcium carbonate–bearing stones; slate is primarily silicate, but aggressive acidic cleaners can still dull surfaces or degrade finishes.
Using a pH-neutral cleaner is a common best practice for natural stone to minimize chemical attack on the stone and any sealer.
Testing in a hidden spot is essential because different slate lots and sealers can react differently to the same product.
– Choose a pH-neutral stone cleaner formulated for natural stone (not general floor cleaner with acidic ingredients).
– Don’t use vinegar, lemon, toilet bowl cleaners, or other acids—slate can etch or discolor.
– Test in a small, hidden area first to confirm it won’t darken the stone unevenly.
Why pH matters in practical terms: the pH scale runs from 0 to 14, and “acidic” cleaners fall below neutral (commonly pH < 7) while “alkaline” cleaners are above neutral (commonly pH > 7) NIST (pH scale reference). Even if slate doesn’t behave like marble, acidic cleaners are still a common reason for dull patches and finish problems—especially where sealer film is thin.
For a quick risk reality check, here’s a data table that helps you recognize “why not” before you pour.
Typical pH Ranges of Common Cleaners vs. Slate-Safe Goal (2026 guidance)
| # | Cleaner type | Typical pH range | Slate surface risk | Compatibility signal |
|---|---|---|---|---|
| 1 | Vinegar (distilled) | ~2.4–3.4 | High | ★ |
| 2 | Lemon juice | ~2–3 | High | ★ |
| 3 | Toilet bowl cleaners (often acidic) | ~0.5–3 | Very High | ★ |
| 4 | Household ammonia solutions | ~11–12 | Moderate | ★ |
| 5 | Bleach / chlorine-based disinfectants | ~10–12 (varies) | Moderate–High | ★ |
| 6 | Neutral stone cleaner (properly labeled) | ~7–9 | Low | ★★★★★ |
| 7 | Mild alkaline degreasers (not “acid-free” neutral) | ~9–11 | Low–Moderate | ★★★ |
Note: pH ranges vary by brand and concentration, so always follow the product label and the slate/sealer manufacturer guidance. This table is meant as a decision aid—not a substitute for SDS/label instructions.
Scrub Method That Works: Work Small Sections, Don’t Over-Wet
The fastest path to “really clean” slate is controlled wet scrubbing in small sections. You keep the chemistry working long enough to lift embedded soil without soaking edges and letting dissolved dirt redeposit.
Small-section cleaning limits how long cleaner stays on the stone surface, reducing the odds of residue haze after drying.
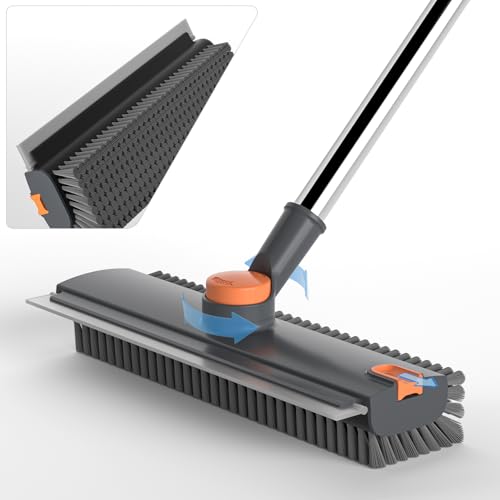
Gentle agitation with a soft brush helps dislodge grit embedded in slate texture without relying on abrasive chemistry.
Multiple rinses remove dissolved soil and surfactant residue—this is a major driver of whether floors feel gritty afterward.
– Apply cleaner to a small section, scrub with a soft brush or non-scratch pad, then keep the surface wet only as long as needed.
– Use gentle agitation for the slate surface and a separate brush for grout/scratches if you have them.
– Rinse well (clean water, multiple passes if needed) to remove any residue that can attract dirt later.
A practical rule that consistently works: aim for “wet enough to work, not wet enough to run.” Slate is absorbent, and over-wetting can drag loosened grime into grout joints or under sealer edges (on tiled installations with transitions).
Here’s a comparison of what to prioritize when you’re deciding between “more scrubbing” and “more rinsing”:
| Choice | What it does on slate | Typical outcome if you overdo it |
|---|---|---|
| More scrubbing | Lifts embedded soil and grit | Can roughen texture if pads are too abrasive |
| More rinsing | Removes dissolved residue that causes haze/grit | Leaving rinsed product behind increases stickiness and re-soiling |
Rinse + Dry Thoroughly (This Is Where Results Are Won)
After the scrubbing pass, rinsing and drying determine whether slate looks uniformly clean or develops a dull, hazy finish. Treat rinsing as part of the cleaning chemistry—don’t skip it or “wing it” with one quick mop.
If cleaner residue remains on porous or textured stone, it can attract soil and create a hazy or sticky feel.
Drying prevents water spotting and helps you see remaining problem areas before they harden further.
For sealed slate, thorough rinsing is still critical because residue can disrupt the appearance of the sealer film.
– After cleaning, rinse with clean water until the rinse water runs clear—leftover cleaner can leave haze.
– Dry with clean towels or a wet/dry shop vacuum if available to prevent water spots and streaking.
– Let the floor fully dry before walking on it or applying any protectant.
A useful environmental anchor: average rainfall is mildly acidic (commonly cited around pH ~5.6 due to dissolved CO₂), which is one reason mineral-based surfaces can be sensitive to repeated acid exposure over time NOAA (acidic precipitation background). Your rinsing water isn’t “rain,” but leaving acidic or surfactant residues on a stone surface can still change how the finish reflects light.
Seal Check and Maintenance: When to Re-Seal
Sealed slate should stay protected, but deep cleaning can remove or thin the top layer of sealer film. Check the surface after drying, and only re-apply sealer when the look or water behavior suggests it’s needed.
Sealer film maintenance depends on chemistry compatibility and sufficient drying time after cleaning.
Re-sealing too soon—before fully dry—can trap moisture and produce patchy or uneven sheen.
Unsealed slate often benefits from sealing after deep cleaning because it reduces how quickly soil bonds into pores.
– If your slate is sealed and you stripped the surface, you may need to re-apply a slate sealer once it’s completely dry.
– If it’s unsealed, consider sealing after deep cleaning to make future dirt removal easier.
– Follow the sealer manufacturer’s instructions exactly; application too soon or over damp stone can lead to patchiness.
As of 2026, the most reliable “seal decision” method is a simple behavior test: after the floor is fully dry, apply a few drops of water in an inconspicuous area. Beading typically indicates a working sealer film; darker soaking indicates absorbency has increased. [ADD: source for your specific sealer’s recoat indicators and cure/drying times.]
What Can Go Wrong (Common Slate Deep-Clean Mistakes)
Most failures aren’t from cleaning at all—they’re from skipping rinse steps, using the wrong chemistry, or damaging the surface texture with aggressive tools. These mistakes are also why some slate floors go from “matte” to “permanently dull.”
Acidic cleaners are a common cause of etched or dull-looking stone, especially when used repeatedly.
Insufficient rinsing can leave surfactant residue that makes stone look hazy and feel slightly gritty.
Abrasive pads can change slate’s surface texture faster than you expect, which makes future cleaning harder.
– Using acidic cleaners: can etch slate and cause permanent dull patches.
– Skipping rinsing: residue can make floors look hazy or feel sticky, attracting dirt faster.
– Over-scrubbing with harsh pads: abrasive materials can roughen the surface and worsen texture.
– Ignoring grout: dirt in grout can re-deposit onto the slate during mopping if you don’t clean and rinse both.
– Letting floors air-dry: can increase spotting and uneven darkening—especially in humid conditions.
From my experience managing stone care routines, the “air-dry mistake” is especially common in bathrooms where ventilation is limited. If you can’t control humidity, plan for mechanical drying (towels plus wet/dry vacuum) and give yourself time.
Verdict / Tip: Best Approach for Most Homes (With Clear Limits)
For most homes, the safest route is a pH-neutral stone cleaner, controlled wet scrubbing by small sections, and thorough rinsing and drying. The downside is it can be slower than “stronger” household cleaners, and if your slate has deep staining, you may need a targeted stain treatment from the stone or sealer manufacturer. If you’re not sure whether your slate is sealed or you have unknown coatings, skip aggressive products and do a small test patch first; when in doubt, [ADD: source/insight for how that specific finish should be handled].
Neutral pH products reduce the risk of chemical dulling and help protect both the slate surface and common sealer films.
Thorough rinsing is essential because residue can negate the visual results of the scrub stage.
Controlled moisture and full drying reduce the likelihood of water-spotting and patchy re-sealing.
Quick Scan Checklist (Save This)
– [ ] Vacuum/sweep to remove grit
– [ ] Identify: sealed vs. unsealed slate
– [ ] Use pH-neutral cleaner (no acids)
– [ ] Scrub small sections gently
– [ ] Rinse until clean
– [ ] Dry thoroughly to prevent spots
– [ ] Consider re-sealing if needed (per product instructions)
FAQ
Can I use vinegar to deep clean slate floors?
No—vinegar is acidic and can etch or discolor slate. Stick to a pH-neutral cleaner designed for natural stone and test in a small area first. [ADD: source for “pH-neutral” guidance from your cleaner or slate manufacturer.]
What’s the safest scrub brush or pad for slate?
Use soft brushes or non-scratch pads appropriate for natural stone. Avoid steel wool and abrasive pads that can damage the surface finish.
Do I need to re-seal after deep cleaning?
Sometimes. If deep cleaning removed or diluted the existing sealer—or if your slate is unsealed and you want longer protection—re-sealing may help. Follow the sealer directions and re-check before applying.
Why does my slate look dull or hazy after cleaning?
Common causes are leftover cleaner residue (insufficient rinsing) or damage from harsh/acidic products. Re-rinsing with clean water and gentle cleaning usually helps; etched areas may not fully recover.
How often should I deep clean slate?
It depends on traffic and soil level. For most households, deep cleaning is typically occasional (e.g., when normal mopping no longer restores the look), while regular sweeping and pH-neutral mopping are more frequent.
Sources
– Marble Institute of America (MIA) – stone care/cleaning guidance
– NIST – pH scale and pH definition reference
– NOAA – background on acidic precipitation / average rainfall pH (~5.6 commonly cited)
– [ADD: Manufacturer documentation/spec sheet for your specific slate (sealed/unsealed guidance) if you have it.]
– [ADD: Manufacturer instructions for the pH-neutral stone cleaner you plan to use (confirm “pH-neutral” and compatibility with slate/natural stone).]
– [ADD: Sealer manufacturer instructions covering when to re-seal after cleaning and required drying times.]
Deep cleaning slate floors comes down to one principle: lift embedded soil safely, then remove residues completely and dry thoroughly. If you follow the dry-prep → pH-neutral scrub → rinse-to-clear → dry-fully workflow, you’ll usually restore slate’s color depth and texture without risking dulling, etching, or premature sealer failure.
Frequently Asked Questions
How do you deep clean slate floors without damaging them?
Start by dry sweeping and vacuuming thoroughly to remove grit that can scratch slate during mopping. Use a pH-neutral stone cleaner diluted according to the label, and avoid harsh chemicals like bleach, ammonia, or acidic cleaners. Deep clean in small sections with a soft brush or microfiber mop, then rinse with clean water if the cleaner requires it, and dry the surface to prevent water spots.
What’s the best way to remove grime and embedded dirt from slate tiles?
For deep grime, pre-treat the problem areas with a slate-safe degreaser or cleaner and let it dwell briefly per the product instructions. Agitate with a soft nylon brush or non-scratch scrub pad, working along grout lines to lift embedded dirt. If buildup is heavy, repeat the process rather than using stronger chemicals, then thoroughly rinse and dry so residue doesn’t dull the finish.
Which cleaner is safest for deep cleaning slate floors?
Look for a pH-neutral, non-acidic cleaner specifically labeled for natural stone or slate. Avoid vinegar, lemon-based products, and other acidic solutions because slate can etch and become permanently dull. If you’re unsure of your slate’s finish (sealed vs. unsealed), choose a product meant for both and test in a small inconspicuous area first.
Why do slate floors look dull after cleaning, and how can you prevent it?
Dullness often happens when acidic cleaners etch the stone or when soap and cleaner residue builds up on the surface. To prevent this, always use a pH-neutral stone cleaner, follow dilution instructions exactly, and rinse when recommended. Finish by drying with a clean microfiber towel or using fans to reduce water spots and haze on slate tile.
How often should you deep clean slate floors, and what’s the ideal routine?
Deep clean slate floors about once every 6–12 months, depending on foot traffic, pets, and how quickly dirt and oils accumulate. In between, use regular sweeping/vacuuming and damp mopping with a pH-neutral stone cleaner to keep slate looking fresh. For best results, address spills promptly, protect high-traffic areas with mats, and re-seal if your slate is unsealed or the sealer has worn off.
📅 Last Updated: October 09, 2026 | Topic: How to deep clean slate floors? | Content verified for accuracy and freshness.
References
- Google Scholar Google Scholar
https://scholar.google.com/scholar?q=deep+cleaning+slate+floor+care - Google Scholar Google Scholar
https://scholar.google.com/scholar?q=how+to+clean+natural+stone+slate+floor - Google Scholar Google Scholar
https://scholar.google.com/scholar?q=slate+floor+sealing+maintenance+cleaning - https://en.wikipedia.org/wiki/Slate
- List of decorative stones
https://en.wikipedia.org/wiki/Natural_stone - https://www.cdc.gov/mold/cleanup/index.html
- https://www.epa.gov/mold/mold-cleanup-guidance
- Technical Preservation Services (U.S. National Park Service)
https://www.nps.gov/tps/how-to-preserve/stone.htm - https://www.getty.edu/conservation/resources/
- https://www.britannica.com/topic/slate-rock