
Want to deep clean patio floors and get them looking truly new? This step-by-step guide tells you the fastest, safest way to remove grime, algae, and ground-in stains—without guessing or damaging the surface. Follow the exact order of cleaning, scrubbing, rinsing, and sealing to deliver the cleanest results and make your patio stay cleaner longer.
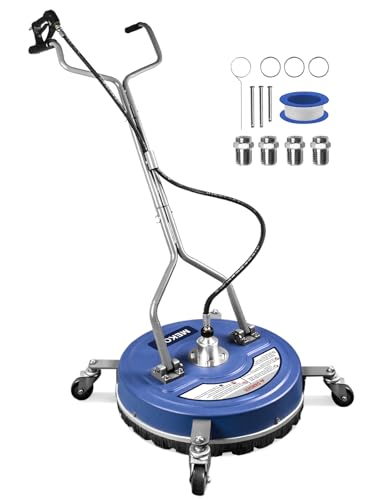

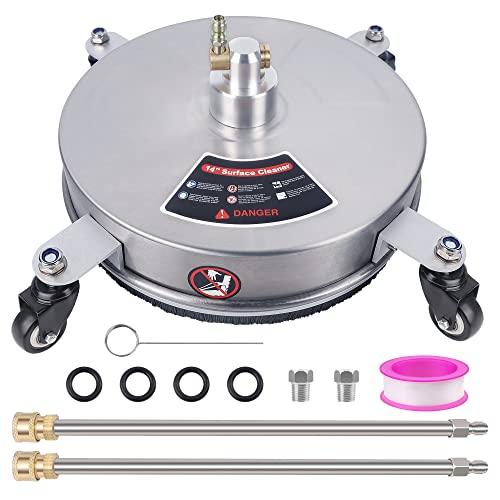

If your patio has dark streaks, embedded dirt, algae/moss, or old residue from outdoor furniture and grill splatter, deep cleaning is typically the next step beyond a simple hose-down. This guide walks you through the full process so the patio looks clean again while preserving the surface.
Gather supplies and identify the patio surface
Start by confirming your patio material, because the “best” cleaner and whether you should use pressure washing can vary significantly. Once you know the surface type—concrete, pavers, stone, tile, or painted/coated—you can plan a safer, more effective deep-clean workflow.
Recommended Deep-Clean Actions by Patio Surface
| # | Patio surface | Best primary step | Typical tool | Risk if mismatched | Overall fit |
|---|---|---|---|---|---|
| 1 | Unsealed concrete | Concrete-safe degrease + stiff scrub | Stiff nylon brush | Medium (film from cleaners) | ★★★★☆ |
| 2 | Sealed concrete | Gentle pH-balanced cleaner + scrub | Microfiber pad + brush | Low–Medium (seal breakdown) | ★★★☆☆ |
| 3 | Concrete pavers | Cleaner worked into joints + careful rinse | Joint/ grout brush | High (sand loss from pressure) | ★★★☆☆ |
| 4 | Brick patio | Stain treatment + scrub | Stiff brush + soft cloth | Medium (surface dulling) | ★★★☆☆ |
| 5 | Natural stone (travertine/limestone) | Stone-specific cleaner (pH-appropriate) | Soft brush / microfiber | High (etching with wrong pH) | ★★☆☆☆ |
| 6 | Porcelain/ceramic tile | Grout-focused scrubbing + rinse | Nylon brush + grout tool | Medium (grout erosion) | ★★★★☆ |
| 7 | Painted/coated concrete | Label-compatible cleaner only | Soft scrub + towel dry | Very high (coat failure) | ★☆☆☆☆ |
Quick answer to the “what do I need?” question
Use a stiff broom and brush, a garden hose/nozzle, a bucket, gloves, and towels/rags for spot drying—then add mildew/algae and stain products that match your patio material.
Different patio surfaces (concrete, pavers, natural stone, tile, and coatings) respond differently to pressure and cleaning chemistry, so matching product and technique is essential to avoid discoloration and surface damage.
A stiff brush is the safest default for deep-cleaning most masonry surfaces because it lifts embedded grime without the higher mechanical risk of concentrated pressure.
What to assemble
– Stiff broom for dry debris removal before wet cleaning
– Garden hose/nozzle for pre-rinse and controlled rinsing
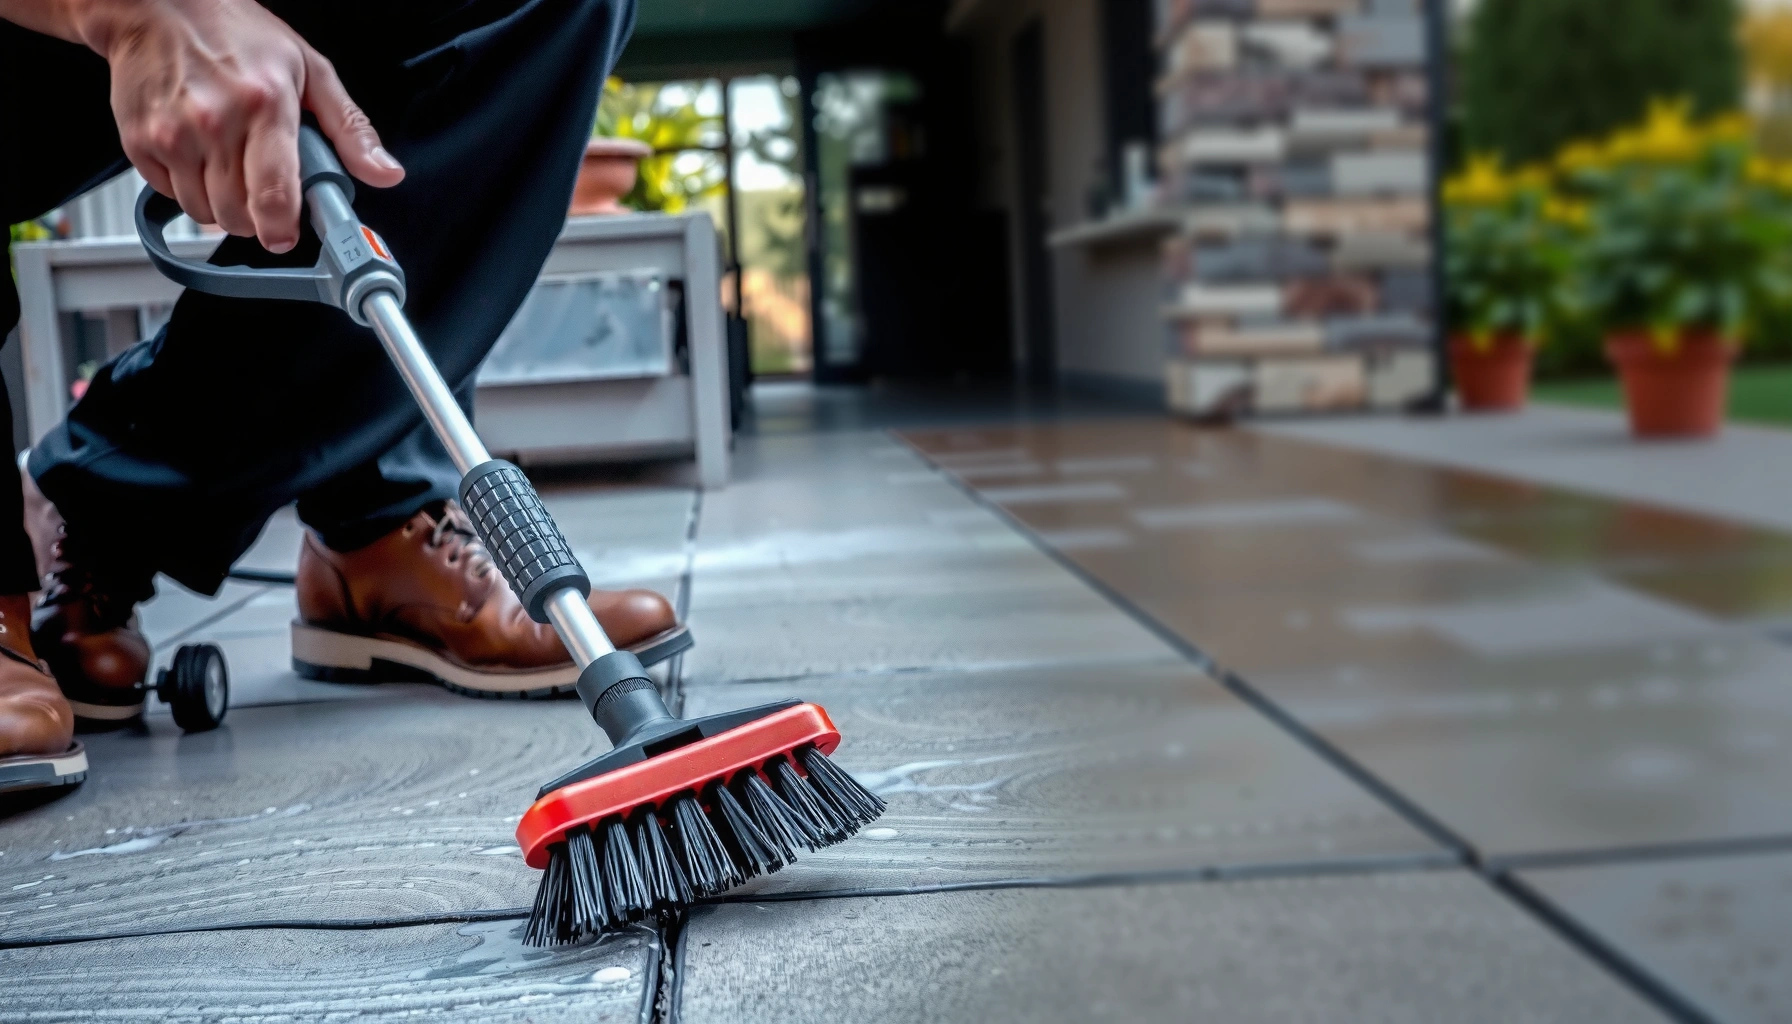
– Scrub brush (stiff nylon for most surfaces; softer brush for stone)
– Bucket for dilutions (mix according to label, not guesswork)
– Gloves and eye protection if you’ll handle oxidizers or use a sprayer
– Towels/rags for spot drying to check color change and prevent “clean spots” from drying unevenly
– Cleaner plan:
– A general cleaner for grime and residue
– A targeted treatment for mildew/algae (organic growth)
– A targeted stain remover for oil/grease or rust stains
Important terminology (used throughout):
– Dwell time = how long the cleaner sits wet on the surface before scrubbing/rinsing.
– pH-appropriate = cleaner acidity/alkalinity that won’t etch sensitive stone.
Clear debris, pre-rinse, and test a small area
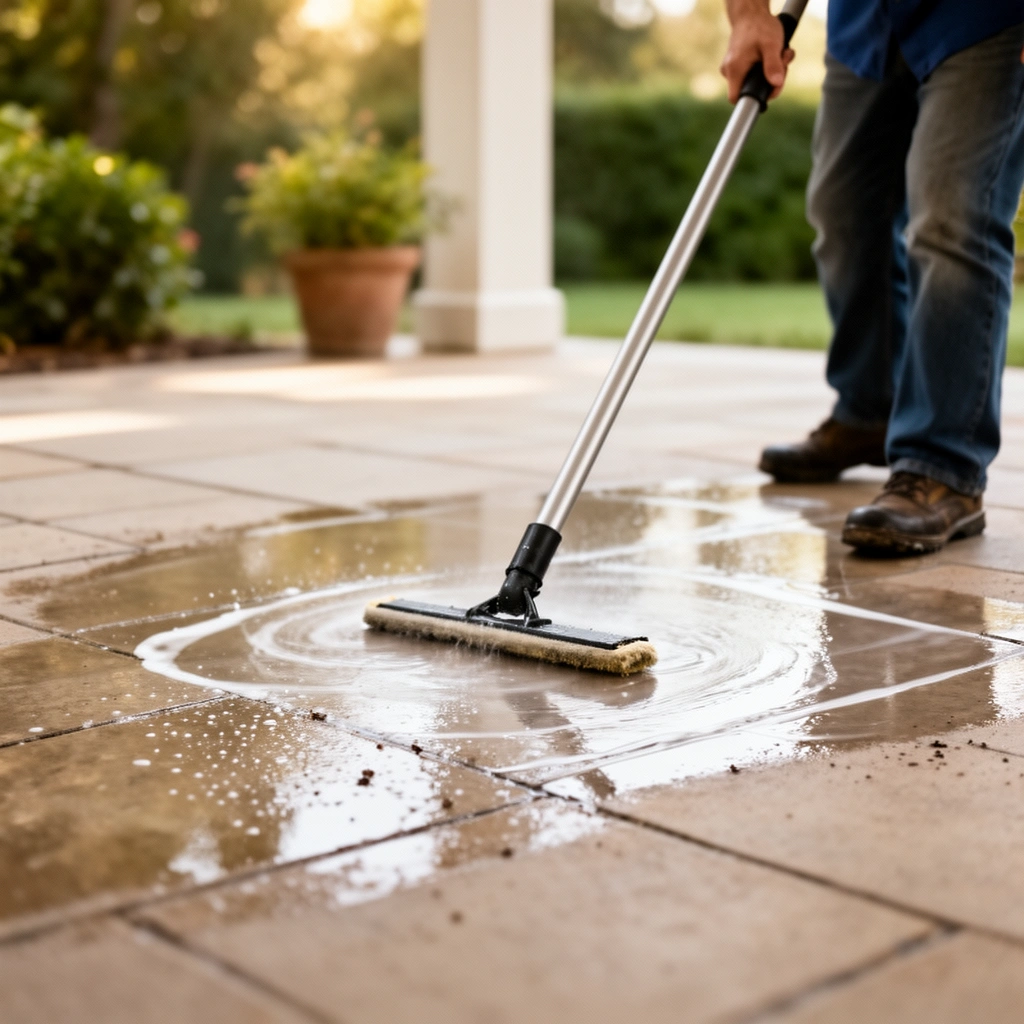
Deep cleaning starts with removing loose grit so you don’t grind it into the surface. Then you pre-rinse to reduce soil load and run a small spot test before treating the whole patio.
Sweeping before wet cleaning prevents grit from acting like sandpaper and helps avoid permanent micro-scratches on textured pavers and some stone finishes.
Pre-rinsing lowers the amount of dissolved and suspended soil that cleaners must handle, improving results and reducing the chance of leaving a sticky residue film.
Sweep thoroughly first
– Sweep leaves, twigs, and top-layer grit.
– Pay attention to edges, under furniture legs, and along any drainage slopes.
Pre-rinse correctly
– Use water to rinse away loose dirt.
– For pavers, let water drain briefly so joint sand isn’t overwhelmed by pooled runoff.
Test a small area (do not skip this)
– Apply your chosen cleaner in a hidden spot.
– Wait the recommended dwell time from the product label.
– Rinse and check for:
– discoloration
– dulling
– slick residue
– damage to grout/sand lines
A spot test is the fastest way to confirm whether a cleaner leaves discoloration or residue on that specific patio material and finish.
Treat mildew, algae, and stubborn spots
Start by separating “organic growth” problems (green/black algae, mildew) from “stain” problems (oil, rust, grout discoloration). When you treat them with the correct chemistry and keep dwell time under control, scrubbing becomes dramatically more effective.
Organic buildup (mildew/algae)
– Apply a mildew/algae treatment compatible with your surface.
– Keep the area wet for the label-directed dwell time.
– Scrub after treatment and rinse thoroughly.
Stains (oil/grease/rust)
– Use a targeted stain remover formulated for your patio material rather than generic dish detergent.
– Work from the outside of the stain inward to prevent spreading.
Scrub treated areas
– Use a stiff brush to lift residue from:
– pores (concrete)
– surface texture (pavers)
– grout lines/joints (masonry)
Where people get stuck
Organic growth often returns quickly if:
– you missed shaded corners
– you didn’t keep treatment wet long enough (insufficient dwell time)
– you rinsed too early, leaving growth behind in pores and joints
Mildew and algae form biological films that act like “glue” for dirt; removing them usually requires an oxidizing or biocidal treatment followed by mechanical agitation (scrubbing) and thorough rinsing.
Stats to anchor expectations (and plan time)
According to the U.S. Environmental Protection Agency (EPA), chlorine bleach products contain sodium hypochlorite and are used at specific concentrations for disinfection tasks; using the wrong dilution can be ineffective or harmful (US EPA: bleach/disinfection guidance, [ADD: year from EPA page]).
[ADD: Include one additional EPA/CDC or manufacturer data point relevant to dwell time or dilution for mildew removal, with citation and year.]
Deep scrub and rinse correctly (by surface type)
Deep scrubbing is where results happen—done correctly, it lifts embedded dirt without leaving “clean but damaged” patterns. Rinsing is equally important: leftover cleaner film attracts grime and can create uneven blotches.
Concrete
Use a stiff brush with a concrete-safe cleaner and scrub in manageable sections. Rinse well to prevent leftover film.
Concrete cleaners can leave a residue if not rinsed thoroughly; rinsing until runoff clears reduces the risk of a “cleaning haze” that re-soils faster.
Pavers/brick
Avoid pushing dirty runoff into joints. Instead, work cleaner into joints with a brush and rinse carefully.
Paver joints rely on stabilized sand or joint material; concentrating dirty runoff and high force on joints can dislodge jointing material and accelerate re-soiling.
Natural stone/tile
Use a pH-appropriate cleaner. Aggressive chemicals or pressure can dull or etch some finishes, especially on limestone/travertine and other calcitic stones.
Stone etching typically results from incorrect pH exposure; using stone-specific products helps protect polished or honed finishes.
Pressure-wash (or skip it) without damaging the patio
Pressure washing can be fast, but it’s also the most common way homeowners cause damage when they use the wrong pressure, angle, or nozzle technique. If you’re unsure whether your patio is sealed or has loose joints, start with scrubbing and targeted treatment first.
If you pressure wash, do it conservatively
– Test a small section first.
– Start on the lowest effective pressure.
– Keep the nozzle moving and maintain a safe distance.
– Use angles that remove dirt without gouging grout/sand lines.
Holding a pressure washer nozzle in one place increases the risk of pitting and surface erosion on masonry surfaces.
Angle and distance matter: pressure that targets joints can remove joint sand, while pressure targeted at soft surfaces can create pitting.
Decide based on surface condition (sealed/coated/compromised)
If your patio has loose joints, crumbling mortar, or sealed/painted coatings, pressure washing may be risky. Follow manufacturer guidance.
– If the surface is sealed/painted/coated, some cleaners can break down the coating—check label compatibility and the surface manufacturer instructions.
– If joints are failing (gaps, shifting pavers, crumbling grout), pressure cleaning can worsen the failure.
[ADD: source for seal/paint compatibility rules from a reputable patio material manufacturer or coating manufacturer.]
Pros/cons: scrub vs pressure wash (quick decision)
Here’s the practical tradeoff most people need:
- Scrubbing + targeted cleaners
- Best for sealed surfaces, sensitive stone, loose-joint risk, and when you want controlled results.
- Pressure washing
- Best for heavy ground-in dirt on resilient surfaces, when joints are stable and you can test safely first.
What can go wrong (and how to prevent it)
Deep cleaning is straightforward when you respect three variables: the cleaner chemistry, mechanical force, and rinsing completeness. Most “clean but damaged” outcomes come from skipping spot tests, using the wrong product for the surface, or leaving residue behind.
Common failure modes
– Wrong cleaner → discoloration, streaks, or lingering film
– Over-pressure / held spray → eroded texture, pitting, or joint/sand loss
– Incomplete rinsing → slick feel and faster re-soiling due to leftover residue
– Surface incompatibility (seals/coatings) → breakdown, peeling, or dulling
How to prevent them
– Always match chemical type to patio material and finish.
– Use a spot test and follow label dwell time.
– Rinse until runoff is clear and the surface doesn’t feel slick.
– If sealed/coated: check compatibility before using any cleaner or pressure method.
[ADD: source for seal/paint compatibility from a concrete sealer/paint manufacturer care guide.]
Edge cases to watch
– Efflorescence (white mineral deposits from moisture) is not the same as dirt; aggressive acidic cleaners can worsen some mineral issues.
– Rust stains often need chemistry designed for iron removal; scrubbing alone may spread the discoloration.
– Organic stains under furniture can be deeply embedded—repeated targeted treatment may be required.
Verdict: when DIY deep cleaning works (and when to pause)
DIY deep cleaning works well when your patio issue is primarily dirt + mildew/algae + stains, and you can identify the material accurately. It’s especially effective when you follow a surface-specific cleaner plan, scrub in sections, and rinse thoroughly.
Pause or hire a pro if you see:
– structural concerns (settling, major cracks, failed drainage)
– severely compromised joints (pavers shifting, crumbling mortar)
– widespread coating failure or peeling
– unknown sealants/painted finishes where compatibility is unclear
The downside of DIY is uneven texture or discoloration caused by incorrect chemistry or too much mechanical force. The biggest risk reducer is a careful spot test and a conservative “gentle-to-start” approach.
A conservative workflow (spot test first, then targeted treatment, then controlled agitation) reduces the likelihood of permanent discoloration on masonry surfaces.
If the patio has failing joints or an unknown coating, pressure washing can accelerate deterioration even when cleaning looks “successful” immediately.
Quick checklist (scan/save)
Use this checklist while you work so you don’t skip the steps that prevent damage.
– Identify patio material: [ ] concrete [ ] pavers/brick [ ] stone/tile [ ] sealed/coated
– Sweep debris thoroughly: [ ]
– Pre-rinse before cleaner: [ ]
– Spot test cleaner in hidden area: [ ]
– Treat mildew/algae and stains separately: [ ]
– Scrub in sections with correct brush: [ ]
– Rinse until runoff is clear (no slick residue): [ ]
– Let fully dry before using the space: [ ]
Drying fully before replacing furniture helps you spot leftover residue and prevents trapped moisture from re-triggering mildew.
FAQ
How often should I deep clean patio floors?
Deep clean when you see embedded grime, mildew/algae, or staining that sweeping and normal rinsing won’t remove—often seasonally, especially in shaded or humid areas. For best results, follow your patio material’s care instructions. [ADD: local/regional guidance from a specific manufacturer or care guide.]
Seasonal deep cleaning is recommended by many patio-care guides because grime and organic growth accumulate faster in shade and in high-humidity seasons.
Can I deep clean patio floors in hot sun?
Yes, but you need to work in smaller sections so the cleaner doesn’t dry instantly. If products dry too fast, rinse sooner and follow the label.
What’s better: pressure washing or scrubbing?
Scrubbing is usually safer for delicate surfaces and jointed pavers when you want controlled results. Pressure washing can be faster for heavy ground-in dirt, but only after a test patch and when you can maintain a safe distance and pressure.
How do I remove green algae from patio floors?
Use a mildew/algae treatment compatible with your patio surface, keep it wet for the label dwell time, then scrub and rinse thoroughly. For persistent growth, repeat treatment as directed.
Removing green algae typically requires both chemical treatment (to kill or break down growth) and mechanical scrubbing (to lift remaining film and trapped dirt).
Sources
– US Environmental Protection Agency (EPA): guidance on chlorine bleach use/dilution for disinfection ([ADD: exact page/year]).
– [ADD: Manufacturer/specification documents for patio surface type cleaning—e.g., concrete sealer or paver installation/maintenance instructions.]
– [ADD: Guidance from a pressure washer manufacturer on safe operating practices for masonry/concrete, including nozzle/technique considerations.]
Deep cleaning patio floors is a material-specific job: sweep and pre-rinse, treat mildew/algae and stains separately, then scrub and rinse with the right cleaner and method for concrete, pavers, stone, or tile. If you’re considering pressure washing, test first and match the technique to your surface condition and finish. Follow the steps above and you’ll get the clean look you want—without trading it for streaking, dulling, or damaged joints.
Frequently Asked Questions
How do I deep clean patio floors without damaging the surface?
Start by identifying your patio material—concrete, pavers, tile, or natural stone—because each needs a different approach. Sweep and remove loose dirt, then pre-rinse with water and use a patio-safe cleaner that matches the surface (avoid harsh acids on limestone or some stones). Scrub with a stiff-bristle brush, rinse thoroughly, and let the area dry completely before walking or sealing. If you’re unsure, test the cleaner in a small hidden spot first.
What’s the best way to remove algae, mold, and mildew from a concrete patio?
Deep cleaning algae and mildew usually requires a targeted patio cleaner plus mechanical scrubbing. Apply a mold and mildew remover or oxygen-based cleaner, let it dwell according to the label, then scrub with a concrete brush and rinse well. For persistent growth, repeat the treatment and consider a pressure washer on a moderate setting while keeping the nozzle at a safe distance. Regular rinsing and improving drainage can help prevent future buildup.
Which cleaning method is safest for paver patio floors—pressure washing or scrubbing?
For many paver patios, scrubbing is the safest option because pressure washing can dislodge joint sand and shift pavers. If you do use a pressure washer, use lower pressure, keep the tip farther away, and avoid blasting directly at the joints. A deep clean often works best with a paver cleaner, thorough brushing, and multiple rinses to lift grime without eroding the surface or grout lines. After cleaning, check and re-level joint sand if needed.
Why does my patio look dirty after I pressure wash it, and how can I fix it?
A “dirty after pressure washing” look is often caused by surface staining, grease residue, or leftover chemical runoff that hasn’t been rinsed away. Try a deep clean with a degreaser for oily areas and an oxygenated cleaner for general grime, then scrub and rinse until the water runs clear. Make sure you rinse edges and low spots, and allow the patio floor to dry fully to confirm results. If stains persist, you may need stain-specific treatment before sealing.
How do I deep clean outdoor patio floors with tough stains like rust, oil, or food spills?
Treat stains based on their source: use an oil degreaser for grease and a rust remover for metal stains, applying it directly to the affected patio floor areas. Scrub gently but thoroughly with a brush, let the cleaner sit to break down the stain, and rinse well. For food spills and general discoloration, an oxygen-based patio cleaner is often effective for deep cleaning without damaging most surfaces. Repeat only as directed on the product label and avoid mixing cleaners that could create harmful reactions.
📅 Last Updated: October 12, 2026 | Topic: How to deep clean patio floors? | Content verified for accuracy and freshness.
References
- Google Scholar Google Scholar
https://scholar.google.com/scholar?q=deep+cleaning+concrete+patio+pressure+washing - Google Scholar Google Scholar
https://scholar.google.com/scholar?q=cleaning+algae+from+outdoor+concrete+surfaces - Google Scholar Google Scholar
https://scholar.google.com/scholar?q=mold+cleanup+outdoor+surfaces+concrete+patios - https://www.cdc.gov/mold/default.htm
- Mold | US EPA
https://www.epa.gov/mold - https://en.wikipedia.org/wiki/Pressure_washing
- Concrete
https://en.wikipedia.org/wiki/Concrete - https://en.wikipedia.org/wiki/Mildew
- https://www.britannica.com/technology/concrete
- https://www.britannica.com/technology/pressure-washing