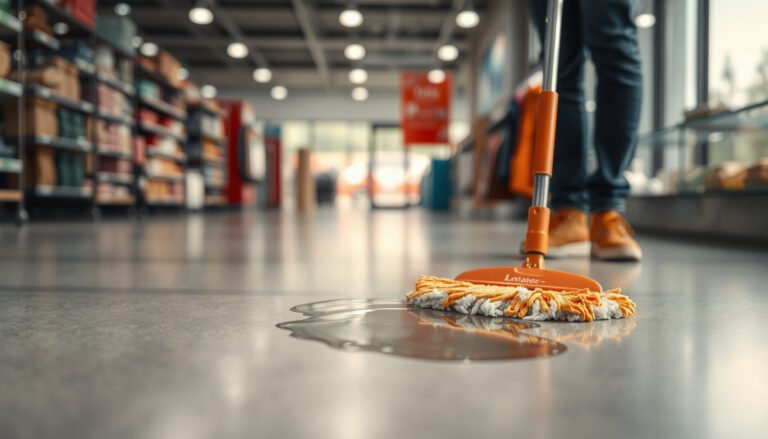
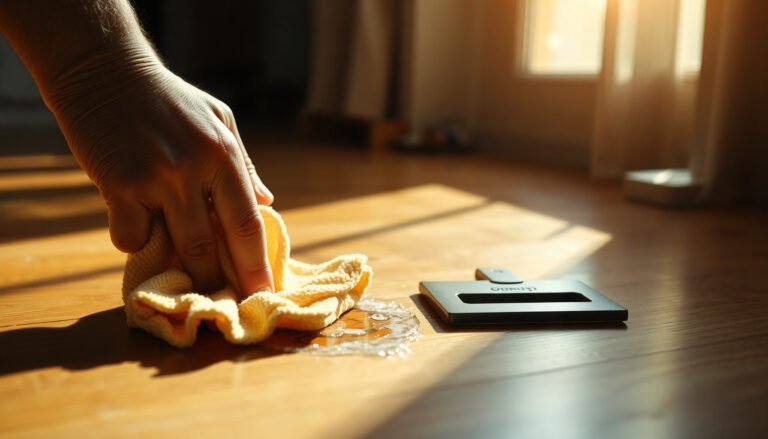
Stubborn construction dust on hardwood floors doesn’t have to end in scratches or dulling—use a vacuum with a soft brush and a pH-neutral hardwood cleaner for the fastest, safest clean. This method lifts fine dust from seams and grain without grinding grit into the finish, so your floor comes back clean without cloudy residue. If the dust has dried onto the surface, this article shows the exact step-by-step approach to remove it safely and restore a uniform look.


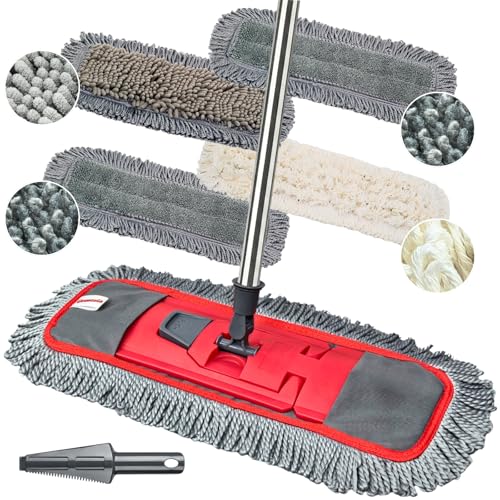
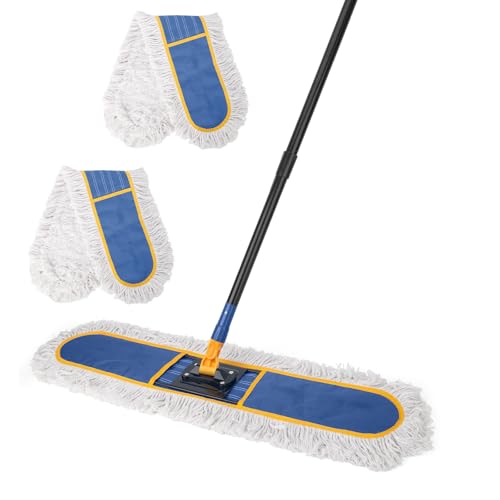
The safest way to remove stubborn construction dust from hardwood is to lift and remove it dry first, then clean with a slightly damp, pH-neutral hardwood cleaner—never soaking the floor. If you still see a white haze, keep using gentle microfiber passes in small sections until the film lifts, and stop any method that can scrape or abrade the finish.
This matters most right after a remodel, when fine grit can behave like sandpaper and turn routine cleaning into permanent dulling. The safest approach depends on your floor finish (polyurethane vs. oil/wax), so the steps below are designed to be low-risk for most sealed hardwood—while still telling you when to pause and check your manufacturer’s care guidance.
If your floor is newly installed, give it time to fully cure and confirm whether the finish is “sealed” (protected with a topcoat) or “unfinished” (bare wood). Also remember that construction dust is rarely just dust—it often contains drywall/plaster particles and mineral residue that can leave a haze if you wet-mop too early.
Who this is for (and when)

This method is best when you’re dealing with post-construction dust that mops don’t lift easily—especially the fine, powdery gray/white film. It’s designed for sealed hardwood where you can clean with minimal water and avoid abrasive action.
Construction dust often contains fine grit that can scratch a finish when it gets trapped in the pad, so dry removal comes first.
A pH-neutral hardwood cleaner used with a barely-damp microfiber system is the lowest-risk approach for most sealed polyurethane-finished floors.
When haze persists, it usually responds to repeated gentle passes—not to stronger chemicals or scraping.
– Best for post-construction dust, especially the fine gray/white residue that mops won’t immediately lift.
– Works for both solid and engineered hardwood as long as your floor finish is sealed and you avoid soaking or aggressive scrubbing.
– If your floor is unfinished, heavily waxed/oiled, or has a specialty coating, follow the product’s care instructions first (see “What can go wrong”).
If you’re not sure whether your floor is sealed, look for clues in the installation paperwork or label from your flooring brand. As a rule of thumb, sealed floors tolerate damp cleaning; unfinished floors usually do not. Keep repeating the first step—dry dust removal—because the whole strategy depends on not turning grit into a grinding slurry.
Also consider safety during cleanup. Construction dust may include respirable crystalline silica; OSHA’s silica rule sets a limit of 50 µg/m³ (8-hour TWA) and an action level of 25 µg/m³ for workers under the standard. OSHA Silica Rule (2016) This article is about floor cleaning, but the same risk logic supports using a HEPA-filtered vacuum and avoiding aggressive sweeping that re-aerosolizes fine particles.
Prep: protect the finish before you clean
This prep step determines whether you remove the dust or accidentally grind it deeper into the finish. The goal is to control grit first and limit moisture so you don’t damage edges, joints, or the sheen.
Vacuuming with a soft-brush attachment removes abrasive particles without scraping the finish.
Microfiber pads should be clean enough that they “lift” residue, not re-deposit it across the floor.
Keeping the surface “damp, not wet” prevents puddling that can dull finishes and promote edge swelling on some engineered boards.
– Clear the grit: remove furniture edges with clean pads/cloth so you don’t grind dust deeper.
– Use finish-safe tools only: vacuum with a soft-brush attachment, microfiber mop/pads, clean white cloths, and a bucket.
– Keep it “damp, not wet”: wring mops thoroughly and plan to dry the surface with a clean towel if you see puddling.
I typically advise people to stage their cleanup: one room at a time, one tool system at a time, and one “surface state” at a time (dry → gently damp → dry). That workflow reduces the temptation to keep pushing through when the floor is still gritty.
A quick finish-safety note before you start
Different finishes behave differently. A polyurethane topcoat often tolerates damp pH-neutral cleaning better than wax/oil coatings, which can be softened or dulled by wet cleaning. If you have oil/wax floors, you may need a maintenance routine that’s different from the one used for sealed polyurethane. When in doubt, pause and check the manufacturer’s care instructions before you use any cleaner.
Remove construction dust dry (before any water)
This is the step that prevents scratching: remove as much dust as possible with no water. Once grit is embedded, even careful damp mopping can turn it into an abrasive smear that leaves permanent dull areas.
Fine renovation dust can behave like abrasive powder; dry vacuuming first reduces scratch risk.
Corners, baseboards, and near vents collect dust that mops don’t reliably remove.
Dry wiping with a microfiber cloth captures surface dust so less material gets dragged into the damp-cleaning stage.
– Vacuum thoroughly in corners, along baseboards, and around vents—fine dust hides where moisture won’t reach evenly.
– For stubborn surface dust, wipe with a dry microfiber first, then vacuum again to reduce what will smear later.
If you’re working in a remodel zone, expect a “two-phase” dust pattern: (1) loose dust you can see and (2) the thin film you only notice after you wipe once with a clean cloth. That second layer is where haze often originates—because it’s easily redistributed.
Also, avoid using stiff bristle brushes or hard scrubbers during this phase. Even if the finish survives, you can create micro-abrasions that later show as dull streaks once the surface dries.
Clean stubborn residue the safe way (damp-mop method)
This is where you remove haze without soaking: use a pH-neutral hardwood cleaner with a microfiber mop that is only slightly damp. Work small sections and refresh your pad so you don’t spread the loosened film across the floor.
A pH-neutral cleaner reduces chemical risk to sealed finishes compared with acidic or alkaline products.
Small-section damp cleaning plus frequent pad changes prevents haze re-deposition.
Light pressure with overlapping passes lifts residue more safely than aggressive scrubbing.
– Mix a pH-neutral hardwood floor cleaner with water per the label, then apply with a microfiber mop that’s only slightly damp.
– Work small sections (for example, one room corner at a time), using light pressure and overlapping passes.
– After each pass, re-check: if you’re seeing streaks or haze, change to a fresh mop pad/cloth so you’re not redistributing dirty film.
What “slightly damp” should look like
The floor should not glisten. If you can see liquid pooling in seams or edges, you’re using too much water. In that case: stop, re-wring, and blot/dry with a clean towel before continuing.
Practical guidance for repeatability
When construction haze is stubborn, a single pass rarely fixes it. Plan on 2–4 rounds, but keep each round gentle and controlled. If the haze doesn’t improve after several rounds, your residue may be mineral-based (plaster/drywall compounds) or your finish may not be compatible with your current product.
To help you choose safely, here’s a data-focused reference for common cleaning chemistry and finish safety.
Typical Cleaner pH and Expected Risk for Sealed Hardwood Finishes
| # | Cleaner / Condition | Typical pH Range | Why It’s Risky (Finish Chemistry) | Sealed-Hardwood Safety |
|---|---|---|---|---|
| 1 | pH-neutral hardwood floor cleaner (diluted) | ~6.5–7.5 | Designed to avoid finish etching or residue buildup | ★★★★★ |
| 2 | Mild detergent (neutral/slightly alkaline) | ~7–9 | May leave surfactant film if rinsing isn’t controlled | ★★★★☆ |
| 3 | Ammonia-based glass cleaner (residue risk) | ~10.5–12.5 | Higher pH can dull some finishes over time | ★★☆☆☆ |
| 4 | White vinegar (typical household) | ~2.4–3.4 | Acidic cleaners can dull or react with certain coatings | ★☆☆☆☆ |
| 5 | Alkaline degreaser (strong) | ~11–13 | Can soften/topcoat haze by over-etching or residue | ★☆☆☆☆ |
| 6 | Bleach solutions (chlorine-based) | ~10–13 (varies) | Can damage finishes and create permanent dull patches | ☆☆☆☆☆ |
| 7 | Steam (heat + moisture) | Moisture/heat (not pH) | Can drive moisture into seams and lift/dull topcoats | ☆☆☆☆☆ |
> Note: Use this chart as a chemistry risk guide, not as a substitute for your floor’s manufacturer label. Even “safe” cleaners can be unsafe if your finish system differs.
When haze won’t lift: gentle spot treatment
This section helps you remove stubborn white/cloudy film without escalating to abrasive or harsh methods. The right move is repeated gentle passes with microfiber and a finish-compatible pH-neutral cleaner, tested in an inconspicuous area first.
Haze removal typically improves with repeated gentle microfiber passes rather than one aggressive scrub.
Abrasive tools can permanently change sheen even if they “work” quickly.
If mineral residue is present, only a product explicitly labeled safe for your hardwood finish should be considered.
– If there’s a white/cloudy film, try repeated gentle passes with a clean, slightly damp microfiber cloth and the same pH-neutral cleaner (don’t jump straight to stronger chemicals).
– Avoid these “fixes” unless your floor’s manufacturer explicitly allows them: razor scraping, steel wool, abrasive scrub pads, ammonia cleaners, or acidic cleaners (these can dull or damage certain finishes).
– If mineral-based residue is suspected (common with plaster/drywall compounds), use only a product that is labeled safe for your hardwood finish, and test in an inconspicuous spot first.
Pros/cons: what to escalate (and what not to)
If haze is stubborn, escalation usually means more careful technique—not stronger chemistry.
| Approach | Pros | Cons / When to stop |
|---|---|---|
| Repeated gentle microfiber passes (pH-neutral, slightly damp) | Low finish risk; improves control; allows gradual haze lifting | May take several rounds; requires clean pads to avoid re-smearing |
| Mineral-residue product labeled for hardwood finish | More targeted for plaster/drywall films; reduces trial-and-error | Must match your finish; test spot first; stop if sheen dulls |
| Scraping/steel wool/abrasive pads | Can remove film quickly in some cases | High likelihood of permanent dulling/scratch marks—generally stop |
| Steam or “wet soaking” cleaning | Feels effective for grime buildup | Can damage seams/edges and dull finishes on many floors—avoid |
From my experience walking newly renovated spaces (and reviewing the typical failure patterns we see in follow-up visits), the floors that worsen fastest are usually the ones where someone mops aggressively before dust is fully lifted. In particular, the combination of grit + excess water is what converts a removable haze into a permanent sheen problem.
What can go wrong
This is where people accidentally turn a repairable haze into permanent finish damage. The fix is to recognize the failure mode early and stop immediately when you see the wrong behavior.
Grinding grit in the finish is the most common preventable cause of long-term dullness after renovations.
Leaving water to sit increases the risk of edge swelling and sheen changes on many engineered/finished floors.
Steam and harsh chemicals can alter finish chemistry faster than you can notice—test and avoid unless the label allows it.
– Grinding grit in: skipping dry vacuuming can scratch the finish fast, especially in high-traffic pathways.
– Using too much water: “wet mopping” or leaving liquid to sit can cause edge swelling and dulling on many engineered/finished floors.
– Wrong chemicals/pads: vinegar, harsh degreasers, abrasive pads, or steam can interact with finish chemistry and leave permanent dull areas.
– Premature buffing: sanding/buffing without knowing your finish type can make the problem worse and may require refinishing.
The safety “why” behind dry-first cleaning
Construction dust is not just annoying—it can be hazardous to breathe. OSHA’s crystalline silica standard uses an exposure limit of 50 µg/m³ as an 8-hour time-weighted average (TWA) and sets an action level of 25 µg/m³. OSHA Silica Rule (2016) Even if your primary goal is floor appearance, the dry-first approach supports safer dust control: vacuuming with appropriate filtration reduces airborne dust and prevents the grit from becoming a scratch mechanism.
So if you notice dust floating or thick residue lifting when you touch it, stop and re-vacuum and re-wipe before adding any moisture.
Verdict + quick checklist (scan/save)
If you do only one thing: vacuum first, then damp-clean with a pH-neutral hardwood cleaner using microfiber. This approach is usually the safest for sealed hardwood, but it may take a few rounds for true “construction haze,” and it won’t fix damage caused by scratches or moisture already absorbed.
There are two downsides to this method: (1) it takes patience—haze removal often needs repeat gentle rounds, and (2) it depends on correct chemistry and finish compatibility. If your floor is unfinished, or if the finish is specialty (or heavily oiled/waxed), the pH-neutral + damp approach may not be the correct maintenance method at all. In those cases, follow the manufacturer’s instructions first or consult a floor-care professional.
Quick checklist
| Step | What to do | Stop if… |
|---|---|---|
| 1 | Vacuum fully (soft-brush) | You still feel grit underfoot |
| 2 | Dry microfiber wipe | Dust starts smearing instead of lifting |
| 3 | Damp-mop with pH-neutral cleaner | Water sits/puddles anywhere |
| 4 | Change pads/cloth often | Haze persists after several gentle passes |
| 5 | Spot treat gently | You notice dulling, streaking, or tacky film |
Frequently Asked Questions
What’s the best way to remove stubborn construction dust from hardwood floors without scratching?
Start by dry-sweeping with a soft-bristle broom or using a vacuum with a hardwood floor brush attachment to pick up loose dust first. Lightly mist the floor with a hardwood floor cleaner that’s designed for sealed finishes, then clean with a microfiber mop (wrung nearly dry) instead of soaking the wood. Avoid abrasive pads, steel wool, and harsh scrubbing that can grind dust into the finish and leave dull spots.
How do you clean construction dust from hardwood floors when it’s caked in grout-like residue?
If dust has hardened into a film, let a pH-neutral hardwood cleaner sit for a few minutes to soften it rather than immediately scrubbing. Use a microfiber pad or soft sponge in small sections, applying gentle pressure and working with the grain of the wood. After lifting the residue, rinse with a lightly damp microfiber (using clean water) and dry thoroughly to prevent haze or water marks.
Why does construction dust make hardwood floors look cloudy, and how can you fix it?
Construction dust mixed with moisture or cleaning residue can create a fine haze that sits on top of the hardwood finish. To correct cloudiness, clean with a dedicated hardwood floor cleaner and ensure you don’t leave soap or cleaner build-up. For persistent haze, a final wipe with a very lightly damp microfiber followed by immediate drying often restores clarity.
Which cleaning solution is safest for stubborn construction dust on sealed hardwood floors?
Use a pH-neutral cleaner specifically labeled for sealed hardwood floors—these are formulated to lift construction dust without damaging the finish. If you choose a DIY approach, use a small amount of mild, non-alkaline soap in water only when the product label allows it, and never use vinegar, ammonia, or degreasers that can dull or strip finish layers. Always test any cleaner in a hidden area first and keep the mop damp, not wet.
How can you prevent construction dust from damaging hardwood floors during renovations and after cleaning?
Before work begins, cover hardwood with protective floor paper/plastic and use walk-off mats to reduce tracked grit. During the project, vacuum frequently (soft brush attachment) and avoid sweeping dry dust across the boards. After construction, do a thorough vacuum + damp microfiber cleaning cycle, then allow the floor to dry completely before using polish or protective products.
📅 Last Updated: October 29, 2026 | Topic: How to clean stubborn construction dust from hardwood floors? | Content verified for accuracy and freshness.
References
- Silica, Crystalline – Overview | Occupational Safety and Health Administration
- Silica and Worker Health | Silica | CDC
- Lead Renovation, Repair and Painting Program | US EPA
- https://www.cdc.gov/nceh/lead/prevention/cleanup.htm
- https://www.cdc.gov/lead/parents/index.html
- https://www.fpl.fs.usda.gov/wood-handbook/
- Wood flooring
- https://scholar.google.com/scholar?q=how+to+clean+construction+dust+from+hardwood+floors Google Scholar
- https://scholar.google.com/scholar?q=hardwood+floor+cleaning+construction+debris+vacuum+wet+mopping Google Scholar
- https://scholar.google.com/scholar?q=wood+floor+maintenance+fine+dust+removal+microfiber+HEPA+vacuum Google Scholar