
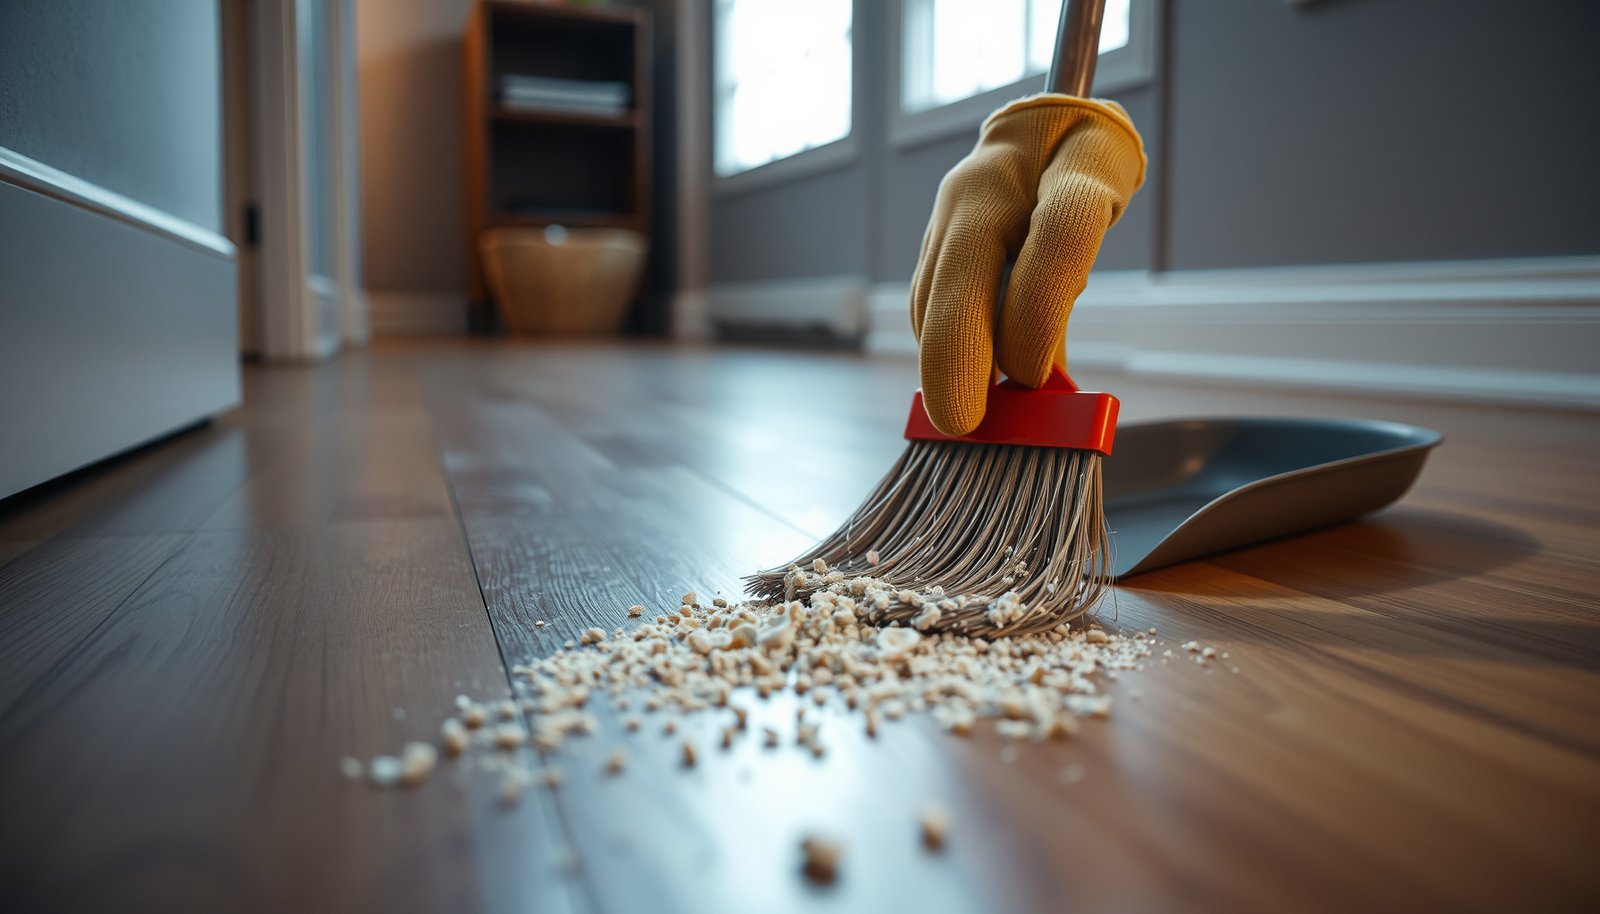

If you need to clean debris from hardwood floors fast and safely, follow this step-by-step method that prevents scratches and dents while getting every particle up. You’ll learn the quickest order to remove loose grit, how to handle fine dust, and what to avoid so the finish stays intact. By the end, you’ll have a reliable routine for any debris—sand, crumbs, or construction dust—without damaging your floor.



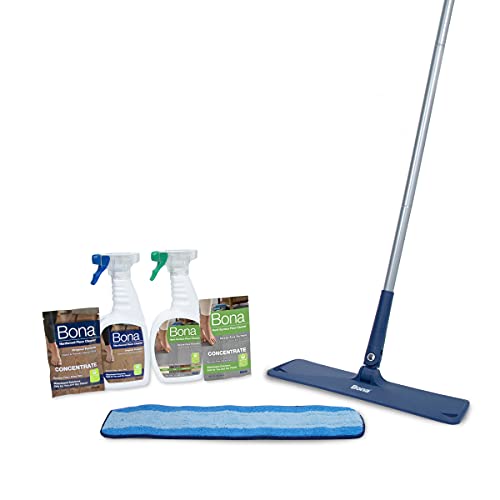
If debris is sitting on your hardwood, remove loose particles dry first, then finish with a lightly damp microfiber wipe—skipping soaking—to prevent scratches and protect the finish. Doing it in the right order matters because grit left under moisture can act like sandpaper against the polyurethane or oil topcoat.
This is especially effective for dust, sand, crumbs, pet hair, and small construction leftovers on finished hardwood floors. You’ll learn the safest order of operations, the tools to use, and how to end with a streak-free clean without risking dulling, haze, or finish damage.
Who this is for / when it applies:
This is for homeowners and renters dealing with dust, sand, crumbs, pet hair, or small construction leftovers on finished hardwood floors. It’s especially useful if you’re worried about scratching the surface or damaging the protective finish.
Prep the area and protect the floor

Start by controlling what gets tracked and where foot traffic goes—because the biggest “mystery” scratches usually come from grit you accidentally move across the hardwood while cleaning. Clear the room, manage entry points, and treat sand/construction dust as a “dry-first” emergency.
To reduce scratch risk, remove grit before introducing moisture—because particles left on hardwood can abrade the finish when wiped.
Indoor humidity targets (commonly 35–55% RH for wood floors) help limit wood movement that can widen seams and make cleaning moisture effects more noticeable.National Wood Flooring Association (NWFA) — recommended indoor humidity range for wood flooring maintenance
Clear traffic, then stop re-contamination
Hardwood floors pick up debris fast from shoes, pet paws, and cart wheels, so prep prevents the “cleaned but still scratched” cycle. In practice (and as you’ll see with your own hardwood floors in 2026), you want the debris to stay put until you remove it the correct way.
Do this before any vacuuming or wiping:
– Clear the room of fragile items (decor, end tables, plant stands) and keep pets/kids out of the area while you clean.
– Put a mat or towel at entry points so grit doesn’t get dragged onto the hardwood mid-clean.
– If debris includes tiny sharp bits (sand, construction dust), prioritize dry removal first—even if you plan to use cleaner later. Those particles are typically in the “abrasive” size range discussed in the risk table later in the article.
Use “right-side up” logistics for tools
If you can, stage your tools so you’re not walking across the hardwood with a dusty vacuum hose or a dry dustpan. For finished hardwood floors, the goal is to prevent a second wave of debris from landing on the surface after you’ve already cleaned the first section.
A practical approach:
– Start near the farthest wall and work toward the exit.
– Keep a trash bag nearby for paper towels used during dry pick-up.
– Use separate cloths for dry removal vs damp wipe so you don’t spread gritty residue.
Remove loose debris without scratching
Dry debris removal is your fastest path to a scratch-safe result because it lifts the abrasive particles before they can grind into the finish. Vacuum with a soft-brush attachment (or use a microfiber broom), and pick up larger bits by hand first.
Using soft-brush vacuum attachments on hard floors reduces direct abrasion compared with hard roller brushes on finished wood.
Sweeping with stiff bristles can drag sand-like grit across hardwood, increasing visible scuffs after cleaning.
Pick up the big stuff first (then vacuum)
Hardwood scratches usually start when people wipe or vacuum over loose debris without first removing larger pieces. Before you touch moisture or cleaner, remove anything that can tumble under a cloth.
Do this in order:
1. Hand-pick larger debris first
Use a paper towel, dustpan, or a soft cloth to remove crumbs, staples, or small construction chunks. This prevents grit from being ground into the clear coat.
2. Vacuum next (soft contact only)
Use a soft-brush attachment or a vacuum setting meant for hard floors. Keep passes light and controlled—let the suction do the work.
3. Sweeping (only if you have microfiber)
If you sweep, use a microfiber broom/dust mop. Avoid stiff bristles, which can both trap and drag grit.
Why particle size matters for hardwood floors
Grit that looks “tiny” can still behave like abrasive media. Sand/silt/clay categories are defined by particle size, and larger particles are typically more likely to scratch a finish when moved across the surface.
Particle Size Classes of Floor Grit (How Sharp Debris Gets)
| # | Grit class | Typical size (mm) | Common source | Scratch priority |
|---|---|---|---|---|
| 1 | Clay | < 0.002 | Fine soil tracking | ★☆☆☆☆ |
| 2 | Silt | 0.002–0.05 | Dry dust/mud residue | ★★☆☆☆ |
| 3 | Very fine sand | 0.05–0.10 | Construction dust | ★★★☆☆ |
| 4 | Fine sand | 0.10–0.25 | Tracked yard grit | ★★★★☆ |
| 5 | Medium sand | 0.25–0.50 | Beach/entry sand | ★★★★★ |
| 6 | Coarse sand | 0.50–1.0 | Renovation debris | ★★★★★ |
| 7 | Very coarse sand | 1.0–2.0 | Heavy grit tracking | ★★★★★ |
This table reflects that sand-sized particles are typically far larger than household dust and can move across hardwood finishes like abrasive grains. According to USGS — soil particle size classes (clay/silt/sand), sand spans roughly 0.05–2.0 mm depending on the subgroup, while clay/silt are much smaller. In 2026, the practical takeaway for hardwood floors is still the same: if it contains grit in the sand range, treat it as scratch risk until vacuumed away.
Deep-clean grit and corners safely
When residue sits in seams, baseboards, and corners, you should switch from broad cleaning to targeted edge work—because those areas trap fine dust that later turns into haze. Use a crevice tool or microfiber cloth to lift debris without aggressive rubbing.
Vacuuming edges with a crevice tool removes dust from grout-like seams and corners more reliably than a casual pass.
A microfiber cloth can capture residual dust more effectively than dry paper towels because it doesn’t shed lint as easily.
Work systematically, not randomly
Hardwood floors look “clean” until you revisit the corners and edges. For deep-clean grit, the process is: vacuum thoroughly first, then damp-wipe only what remains.
A safe workflow for hardwood floors:
– Start at the farthest wall and work toward the exit (so you don’t roll debris into already-clean areas).
– Do edges/baseboards/corners with a crevice tool or microfiber cloth—avoid circular, high-pressure scrubbing.
– For pet hair and stuck dust: do a quick vacuum “pass,” then wipe with a slightly damp microfiber to catch what suction missed.
Use minimal moisture for corners
Corners are where water is most likely to creep into seams. Instead of pouring cleaner near baseboards, apply moisture to your microfiber cloth only.
If your hardwood floors have slight texture at joints or small gaps:
– Use a lightly damp microfiber (not wet).
– Keep contact time short.
– Dry immediately by following with a second dry microfiber pass if needed.
Clean spots and manage moisture correctly
For spot cleaning, the safest rule is minimal moisture and finish-safe products—because excess water can travel into seams and edges. For hardwood floors in 2026, this step prevents haze and long-term swelling without turning the whole surface into a damp patchwork.
Standing water is risky on hardwood because moisture can migrate into seams and edges, potentially affecting the wood over time.
Hardwood care guidance commonly emphasizes minimal cleaner application and well-wrung microfiber methods rather than soaking or wet mopping.
Lightly dampen, then wipe—don’t soak
Use minimal moisture:
– Lightly dampen a microfiber cloth and wring it out well.
– Wipe in the direction of the grain (or with the pattern of the plank) to reduce drag marks.
– Avoid leaving puddles near seams. Even if hardwood floors look dry on top, moisture can still travel underneath.
For sticky messes (food residue, dried pet spots):
– Use a hardwood-floor–safe cleaner according to the label.
– Don’t assume household degreasers or glass cleaners are finish-safe. Some formulas can dull polyurethane or affect oil/wax finishes.
Finish-safe choice vs. “household default”: quick comparison
Here’s a practical comparison for hardwood floors when a spot needs more than dry pick-up.
| Method | Pros | Cons / Risks |
|---|---|---|
| Dry vacuum + microfiber wipe | Scratch-safe for grit; supports streak-free finish when cloth stays clean. | May not fully dissolve sticky residue without a finish-safe spot cleaner. |
| Finish-safe cleaner (labeled for hardwood) | Targets residue while reducing finish damage when used as directed. | Over-application or wrong dwell time can still cause haze. |
| Wet mopping/soaking | Convenient for large spills—if a manufacturer explicitly endorses it. | Higher risk of moisture migration into seams; increases swelling chance. |
| Abrasive pads/steel wool | None for finished hardwood when the goal is “clean debris.” | Can permanently scratch/dull the protective finish. |
What can go wrong (and how to avoid it)
The most common failures happen when people introduce moisture too early, use the wrong tools, or apply harsh cleaners—turning a simple cleanup into a finish problem. Avoiding those pitfalls is mostly about one thing: keep grit away from the wipe.
Scratches often start when sand or construction grit is moved across hardwood during sweeping or wiping—dry removal first prevents abrasion.
Abrasive cleaning tools (steel wool, scouring pads) can damage the protective topcoat on finished hardwood floors.
Scratches from grit: the preventable chain reaction
If sand or construction dust is still on your hardwood floors, sweeping or vacuuming too lightly can leave particles behind. Then when you wipe, those particles act like micro-abrasives.
Avoid this chain reaction:
– Don’t skip hand-pick for visible grit.
– Don’t rush edges first if grit is actively falling onto those areas.
– Don’t use a dry towel for corners when grit is present—micro-rubbing can embed particles.
Finish damage from harsh products
Many “all-purpose” cleaners aren’t designed for hardwood finishes (polyurethane, oil, or wax). Even if they don’t visibly ruin the finish immediately, you can get dulling, haze, or streaks.
If your hardwood floors are:
– Polyurethane-finished: finish can turn hazy with excess cleaner or repeated chemical exposure.
– Oil-finished or waxed: some solvents and detergents can strip or alter the surface appearance.
When in doubt, follow the manufacturer’s recommended cleaner list and application method.
Over-wetting: why RH still matters in 2026
Moisture sensitivity increases when wood moves due to indoor conditions. According to NWFA — recommended indoor conditions for wood flooring (commonly ~35–55% RH and ~60–80°F), maintaining a stable environment helps prevent expansion and seam movement. In 2026, this matters because even “small” cleaning moisture can become more noticeable when the hardwood floor is already responding to swings in humidity.
Practical warning signs:
– Bulging near vents or baseboards
– Feelings of raised edges after cleaning
– Persistent haze that doesn’t improve after drying
Verdict / tip: the safest routine to follow
The safest routine is: dry debris removal first, then a lightly damp microfiber wipe for residue, and only then finish with a hardwood-floor–safe spot cleaner if needed. This ordering protects the clear coat, reduces scratches, and minimizes streak risk.
A two-step approach—dry removal followed by a lightly damp microfiber wipe—reduces the chance that grit abrades the finish during cleaning.
Only use a finish-safe cleaner for spot work and apply minimal moisture to avoid moisture migration into hardwood seams.
When you should skip this routine
Skip this routine (and consider professional guidance) if:
– Your floor is unfinished, severely damaged, or has areas with worn-through protective coating.
– You’re dealing with lingering residues (grease film, unknown adhesive, chemical spills) that can’t be removed with gentle methods.
– You suspect a finish type that has strict restrictions (for example, certain wax systems or specialty coatings).
In those cases, the cost of “trying the wrong method” can be higher than scheduling an inspection.
Quick checklist (scan/save)
– [ ] Remove loose debris first (hand pick large pieces)
– [ ] Vacuum with soft brush / microfiber broom (no stiff bristles)
– [ ] Tackle edges and corners with microfiber or crevice tool
– [ ] Wipe with a lightly damp microfiber (wring well)
– [ ] Use a finish-safe spot cleaner only if needed
– [ ] Let dry fully; don’t leave standing moisture
Dry-out and avoid puddles: finished hardwood floors need minimal moisture and full drying after spot cleanup.
If the debris includes grit (sand/construction dust), treat every wipe as a scratch risk until the loose particles are removed.
Sources
A clean hardwood floor isn’t just about removing what you can see—it’s about removing abrasive debris before any moisture touches the surface. Follow the order here (dry pick-up → soft vacuum/sweep → edge-focused dry capture → lightly damp microfiber) and you’ll minimize scratches and reduce the streaking that often comes from over-wetting or using the wrong cleaner.
Frequently Asked Questions
What’s the safest way to remove debris from hardwood floors without scratching?
Start by using a soft broom or a microfiber dust mop to lift grit and small particles gently. For larger debris, use a dustpan with a rubber or soft edge and avoid dragging tools across the finish. Never use harsh scrub pads or metal scrapers unless they’re specifically recommended for hardwood floors, as they can damage the protective coating.
How do you clean debris from hardwood floors after pets or heavy foot traffic?
Vacuum debris using a hardwood-safe attachment or a vacuum set to “bare floor,” keeping the suction head flat to the surface. For stubborn bits like pet hair or trapped crumbs, lightly dampen a microfiber cloth with water or a cleaner made for hardwood, then wipe in the direction of the wood grain. Finish by drying immediately with a clean, dry microfiber towel to prevent moisture from seeping into seams.
How can you remove stuck-on grit from hardwood floor crevices and baseboards?
Use a crevice tool on your vacuum to pull debris out of corners, edges, and along baseboards. For tight spots, a slightly damp microfiber cloth or a soft detail brush works well—just avoid soaking the area. After dislodging the grit, wipe dry promptly and check for any remaining particles near seams where dirt commonly collects.
Why is it important to clean debris from hardwood floors regularly?
Small debris like sand and grit acts like sandpaper, wearing down the finish over time and dulling the shine. Regular debris removal helps prevent scratches, reduces embedded dirt that can discolor the floor, and keeps your hardwood looking clean longer. It also makes routine mopping easier because fewer particles are ground into the surface.
Which cleaning methods and tools are best for hardwood debris—vacuum or broom?
A vacuum with a hardwood-specific setting and soft brush roll is often best for fine dust, hair, and debris, especially in high-traffic areas. A soft broom is ideal for quick daily cleanup or when you want to avoid any risk of scratching from hard attachments. In many homes, the best approach is using a broom or vacuum first to remove debris, then using a microfiber mop for a final clean to keep hardwood floors in great condition.
📅 Last Updated: October 29, 2026 | Topic: How to clean debris from hardwood floors? | Content verified for accuracy and freshness.
References
- Wood flooring
- https://www.cdc.gov/coronavirus/2019-ncov/prevent-getting-sick/cleaning-disinfection.html
- https://www.cdc.gov/coronavirus/2019-ncov/community/disinfecting-building-facility.html
- https://www.epa.gov/coronavirus/cleaning-and-disinfecting-your-home
- https://www.who.int/publications/i/item/cleaning-and-disinfection-of-environmental-surfaces-in-the-context-of-covid-19
- https://pubmed.ncbi.nlm.nih.gov/?term=hardwood+floor+cleaning
- https://pubmed.ncbi.nlm.nih.gov/?term=vacuuming+hard+floors+dust+particles
- https://scholar.google.com/scholar?q=how+to+clean+debris+from+hardwood+floors Google Scholar
- https://scholar.google.com/scholar?q=vacuuming+hard+flooring+reduce+dust+particles+study Google Scholar
- https://scholar.google.com/scholar?q=hardwood+floor+cleaning+maintenance+dry+sweep+microfiber Google Scholar


