To burnish a floor, start by cleaning and dusting the surface thoroughly. Next, use a burnishing machine with the appropriate pad and apply a polishing solution.
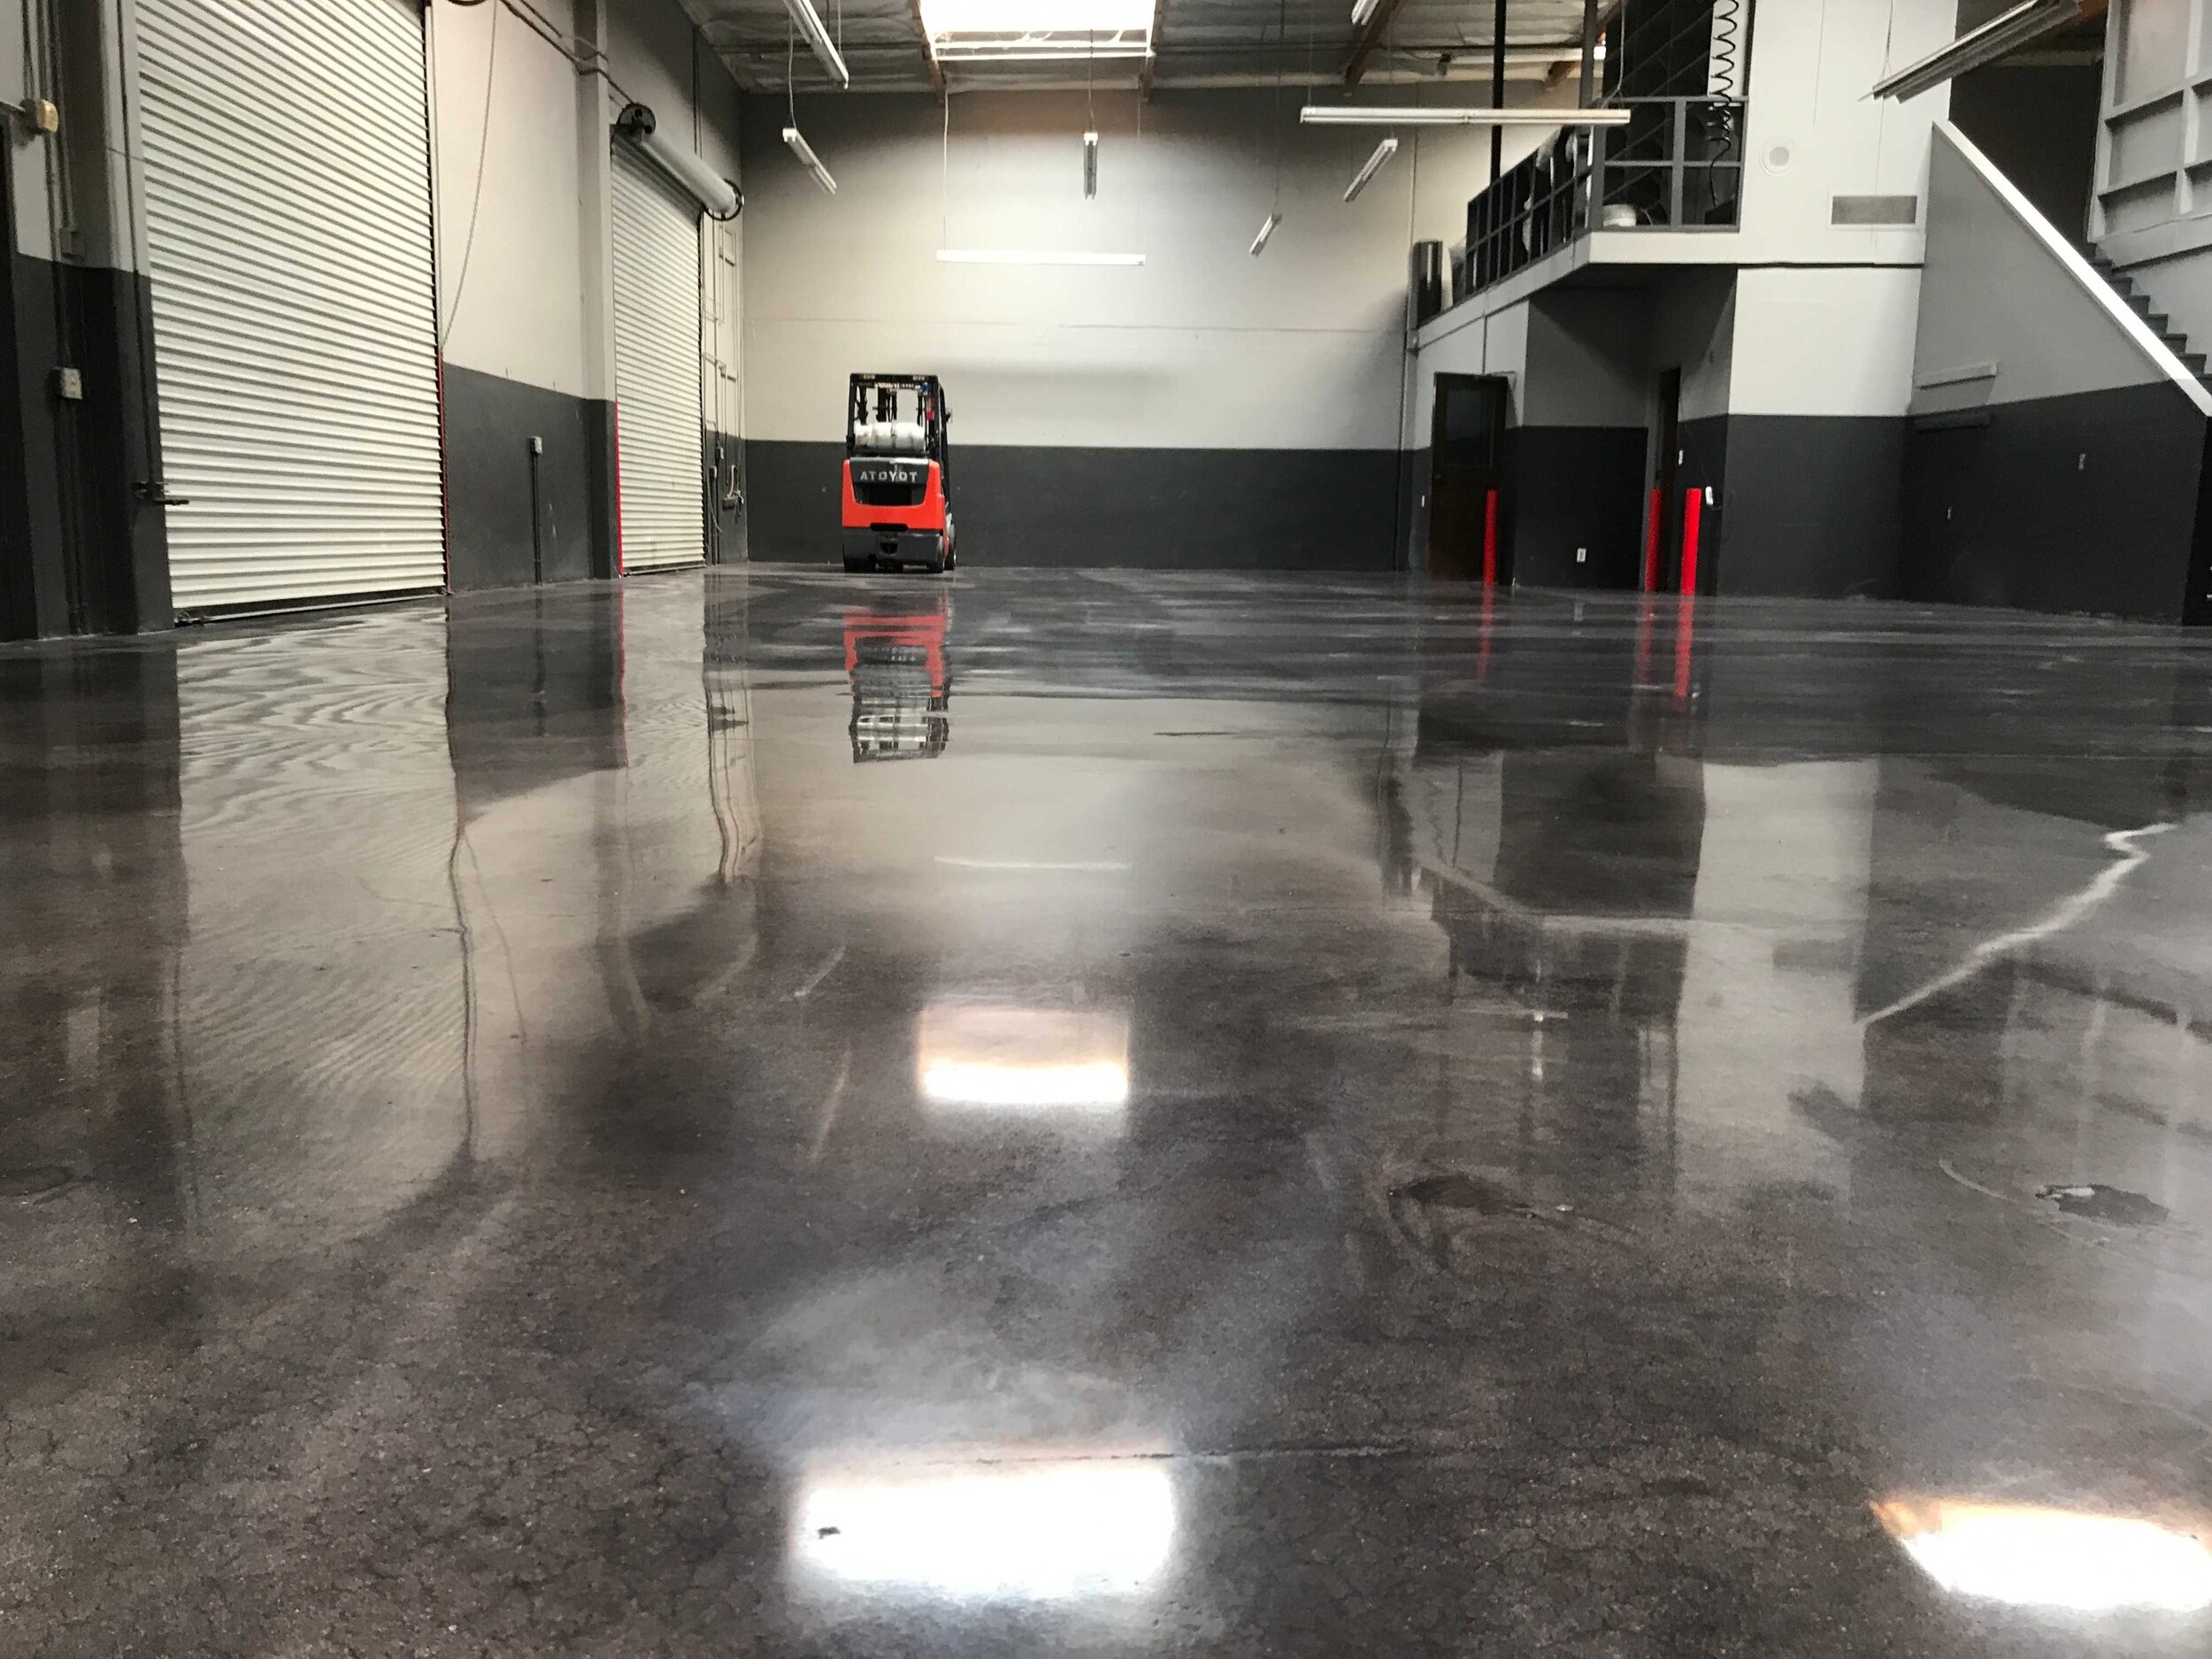
Move the machine in a back-and-forth motion to achieve a glossy finish. A well-maintained and shiny floor can greatly enhance the aesthetics of any space. Burnishing is an effective method to achieve a high-gloss finish and restore the shine of your floor.
Whether you have a hardwood, laminate, or vinyl floor, burnishing can bring back the luster and improve durability. We will discuss the step-by-step process of how to burnish a floor, along with some tips and precautions to ensure a successful outcome. So, let’s dive in and learn how to give your floor a professional, glossy look that will leave a lasting impression.
Understanding The Importance Of Floor Burnishing
Understanding the importance of floor burnishing is crucial for maintaining the longevity and glossy appearance of your floors. Floor burnishing is a process that involves using a high-speed machine and abrasive pads to polish the surface of the floor. This process not only removes scratches, dirt, and grime but also creates a protective barrier, making the floor more resistant to wear and tear.
The benefits of floor burnishing are numerous. Firstly, it gives the floor a glossy and reflective appearance, making it look well-maintained and clean. This is especially important for commercial establishments that want to create a positive impression on their customers. Additionally, floor burnishing enhances the durability of the floor by strengthening its protective layer. This helps to prevent damage from foot traffic, spills, and other everyday wear.
Floor burnishing is an essential maintenance practice that not only enhances the aesthetic appeal of your floors but also prolongs their lifespan. By understanding the importance of floor burnishing, you can ensure that your floors remain pristine and durable for years to come.
Necessary Tools And Equipment For Floor Burnishing
Necessary Tools and Equipment for Floor Burnishing:
When it comes to burnishing a floor, having the right tools and equipment is crucial. The first step is selecting the right burnishing machine for the floor type. There are different types of machines available, so it’s important to choose one that suits your specific needs.
Click Here To Get The Best Burnishing Machine.
Understanding the different types of burnishing pads and their uses:
In addition to the machine, you’ll need to consider the type of burnishing pads to use. There are different pads available, such as natural hair pads, hog hair pads, and synthetic pads. Each pad has its own unique characteristics and is suited for different types of floors. It’s important to understand the differences and choose the right type of pad for the best results.
Safety precautions and personal protective equipment:
When burnishing a floor, safety should always be a top priority. Make sure to wear the appropriate personal protective equipment, such as safety goggles, gloves, and non-slip footwear. Additionally, follow all safety precautions provided by the machine manufacturer and ensure that the work area is clear of any obstacles. By taking these precautions, you can safely and effectively burnish your floor to achieve a shiny and polished finish.
Preparing The Floor For Burnishing
Preparing the floor before burnishing is crucial for achieving optimal results. The first step is to clear the floor of any debris, dust, or loose dirt. Using a broom or vacuum cleaner, thoroughly sweep the entire area to ensure a clean surface. Additionally, it is essential to properly clean the floor to remove any stains or markings that may hinder the burnishing process. Depending on the type of flooring, you may need to use specific cleaning agents or solutions. Be sure to follow the manufacturer’s instructions and use a mop or scrub brush for effective cleaning. Once the floor is clean, allow it to completely dry before starting the burnishing process. Moisture can interfere with the burnishing and may result in subpar outcomes. Taking these preparatory steps will help you to achieve a smooth and glossy finish when burnishing your floor.

Using The Burnishing Machine
To burnish a floor effectively, it’s important to know how to properly use a burnishing machine. Familiarizing yourself with the machine’s controls and settings is the first step. Make sure you understand the different settings such as speed and pressure adjustment. This will allow you to optimize the machine’s performance for different floor types and conditions.
Next, apply the appropriate burnishing pad to the machine. There are different types of pads available, and each is designed for specific floor surfaces. Choose the pad that is recommended for the type of floor you are working on to ensure the best results.
Once the machine is set up and the pad is attached, you can begin operating the machine. Start by moving the burnisher in straight lines across the floor. This will help ensure even coverage and a consistent finish. Remember to maintain a slow and steady pace to achieve the desired level of shine.
Regular maintenance and cleaning of the burnishing machine are also important. Clean the machine thoroughly after each use to remove any dirt or debris that may have accumulated during the floor burnishing process.
Techniques For Effective Floor Burnishing
Techniques for effective floor burnishing include overlapping passes to avoid missed areas, adjusting the machine’s pressure and speed for optimal results, and troubleshooting common issues during the burnishing process.
When burnishing a floor, it is important to make overlapping passes to ensure that no areas are missed. By going over the same spot multiple times from different angles, you can achieve a consistent shine.
Adjusting the pressure and speed of the machine is crucial for obtaining optimal results. Too much pressure can damage the floor, while too little pressure may not produce the desired shine. Similarly, adjusting the speed of the machine can help achieve the perfect level of buffing.
During the burnishing process, it is common to encounter issues such as streaks, swirl marks, or uneven shine. Troubleshooting these problems might involve adjusting the direction of passes, using a different burnishing pad, or addressing any underlying floor issues.
Post-burnishing Cleaning
After burnishing a floor, it is crucial to clean away any residue left behind. This step ensures a polished and shiny floor that looks its best. To remove the residue, start by sweeping or vacuuming the floor to get rid of loose dirt and dust particles. Next, damp mop the floor using a neutral cleaner and a microfiber mop. Make sure to wring out the mop properly before cleaning the floor.
Click Here To Get For Best Floor Cleaner Machine
For stubborn residue, use a damp cloth or sponge and gently scrub the affected area. Rinse the cloth or sponge frequently to prevent transferring the residue back onto the floor. Afterward, rinse the floor with clean water to remove any remaining residue or cleaner. Once the floor is clean and dry, you can apply protective finishes or sealants to enhance the floor’s longevity. These finishes act as a barrier against dirt, stains, and scratches, helping to maintain the floor’s shine and cleanliness.
Regular Maintenance Tips For Burnished Floors
To keep your burnished floors in pristine condition, it’s important to implement a regular cleaning schedule. This will ensure that dirt and dust are removed on a consistent basis, preventing them from scratching and damaging the floor surface.
Another key aspect of maintaining burnished floors is proper floor protection. Using furniture pads and area rugs can help prevent scratches caused by moving furniture or high foot traffic areas. It’s also important to avoid dragging heavy objects across the floor, as this can cause damage.
Addressing any maintenance issues promptly is essential for maintaining the appearance of burnished floors. This includes promptly repairing any scratches, dents, or chips in the floor surface. Additionally, regular inspections should be carried out to identify any potential issues that may arise.
Frequently Asked Questions On How To Burnish A Floor
What Do You Need To Burnish A Floor?
To burnish a floor, you will need a floor burnisher machine, burnishing pads, and a cleaning solution. Start by cleaning the floor thoroughly with a neutral cleaner. Attach a burnishing pad to the machine and apply the cleaning solution. Move the machine in a back and forth motion to buff the floor and achieve a high shine.
What Does It Mean To Burnish A Floor?
Burnishing a floor refers to the process of polishing it using a high-speed machine with a specialized pad or brush. This technique enhances the floor’s shine, smoothness and durability, making it look glossy and attractive.
When Should You Burnish A Floor?
Burnishing a floor should be done when it needs a high-gloss finish. This is typically done after the floor has been stripped, cleaned, and buffed. Burnishing helps to enhance the shine and smoothness of the floor surface, leaving it looking refreshed and polished.
What Is The Difference Between Buffing And Burnishing A Floor?
Buffing and burnishing are both floor maintenance techniques. Buffing removes dirt and scratches using a rotating pad, restoring shine. Burnishing uses a high-speed machine and a burnishing pad to create a glossy finish. Buffing is more gentle, while burnishing is more intense and best suited for durable floors.
Conclusion
To bring out the natural beauty of your floors, burnishing is a highly effective method. By following the steps discussed in this post, you can achieve professional-looking results from the comfort of your own home. Remember to choose the right type of burnisher and use the appropriate pads for best outcomes.
Regular maintenance and cleaning are key to preserving the stunning shine of your floors. Get ready to enjoy the elegant and polished floors you’ve always desired!
Reference:


