
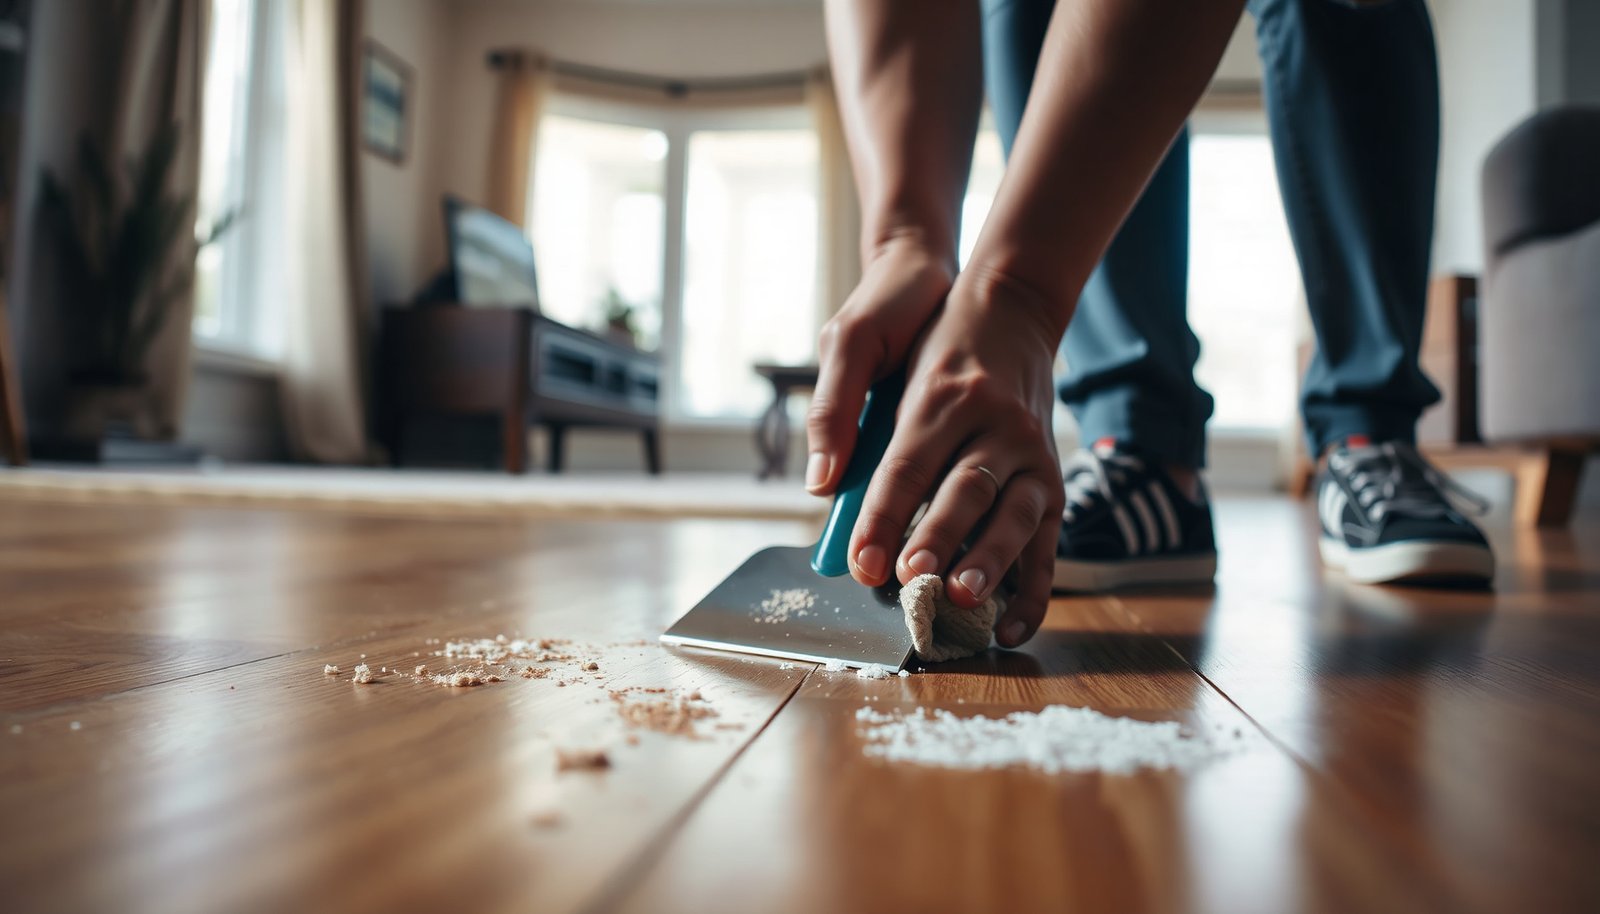

Mortar residue on hardwood can feel stubborn and risky, especially because it can dull the finish if you scrape or soak the wrong way. With the right tools—plastic scraper, microfiber cloths, pH-neutral cleaner, and a bucket of warm water—you can usually get a typical spot cleaned in under an hour. Next, you’ll work through a careful, step-by-step process that removes residue while protecting the floor’s finish.




Scrape off loose mortar first, then remove the remaining film using a pH-neutral, wood-safe cleaner with minimal moisture and immediate drying. This prevents the “haze” that’s left behind after sweeping cement dust while also reducing the risk of dulling or etching common hardwood finishes. If you’ve had tile/brick work nearby, you’re likely dealing with dried cement dust, splatters, or a cloudy residue—follow the steps below to clear it without damaging the floor.
If the affected area is small, this is usually a straightforward DIY cleanup for sealed hardwood (and many prefinished engineered floors). If your floor is unfinished, waxed/oiled, or you’re unsure of the finish type, proceed more cautiously—some finishes are far less tolerant of water, even when you use “gentle” cleaners.
Prep the area and protect the hardwood
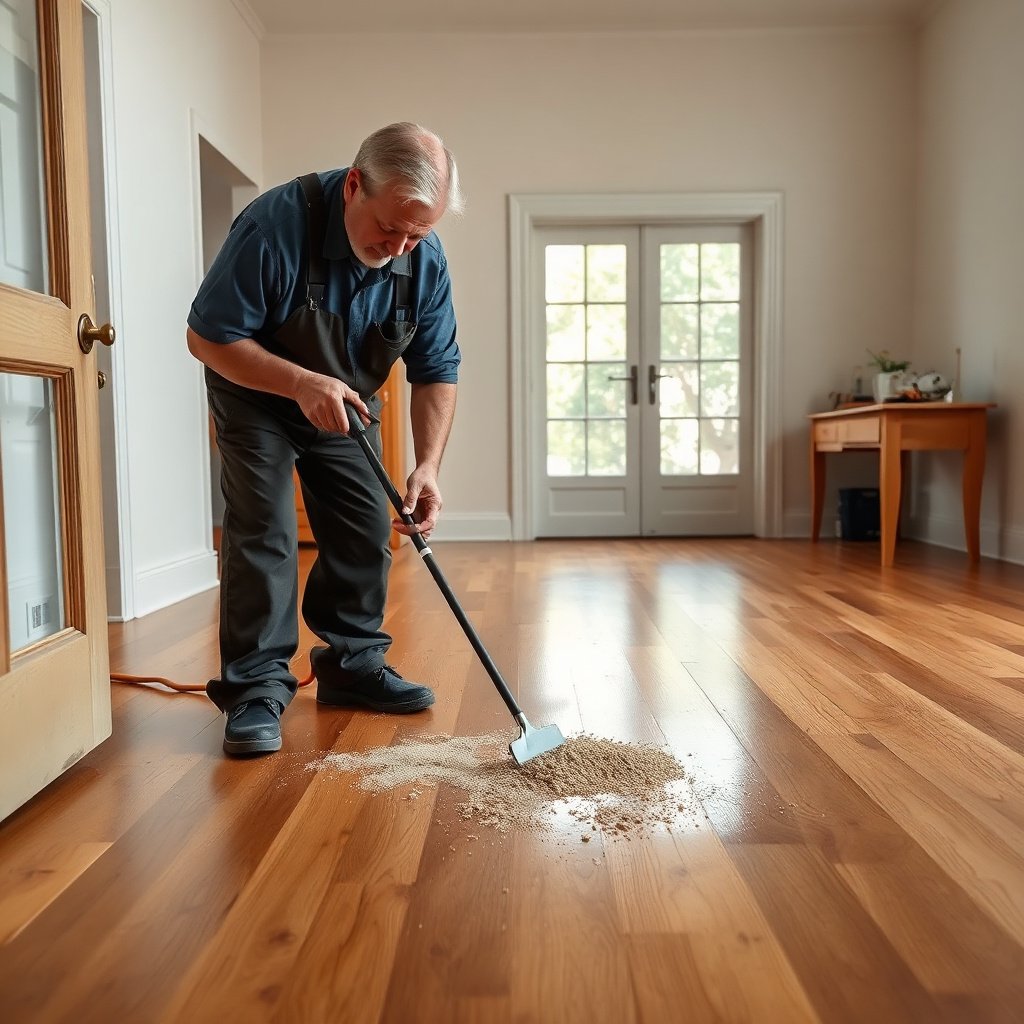
Do a controlled dry-prep first so you don’t grind cement grit deeper into the finish. Then protect edges and confirm your floor finish so you choose the least risky cleaning method for that surface.
– Sweep/vacuum grit first so you don’t grind particles into the finish.
– Protect baseboards and nearby edges with painter’s tape or a drop cloth to prevent accidental cleaner splashes.
– Make sure you know the floor finish situation (sealed vs. unfinished) and follow the wood/flooring manufacturer’s care guidance if you have it.
Practical notes for prep:
– Use a vacuum with a soft brush attachment if you have one. Mortar dust can behave like fine sand, and once it’s embedded, it becomes a scratch risk during wiping.
– If there’s any standing debris (chips, chunks), pick those up by hand or with a dustpan before any wiping.
– If you can smell strong chemical cleaners from previous attempts, pause and rinse the cloth methodically with clean water per the product label (or stop if the finish is already compromised). Unknown residues can interact with cement dust differently than plain water would.
Remove loose mortar safely (before any wet cleaning)
Get the chunks off before you introduce any liquid. This step matters because hardened mortar contains mineral grit that can scratch when you later wipe.
– Use a plastic scraper or an old credit card to lift dried chunks without scratching.
– Work slowly in small sections; if the mortar won’t lift, stop scraping and switch to a gentler residue-removal step.
– Vacuum again after scraping to pick up the tiny particles that cause “haze.”
Why this sequence works:
– Cementitious material tends to be strongly alkaline while curing, and cement dust can remain chemically active even after it looks “dry.” According to the Occupational Safety and Health Administration (OSHA), concrete/masonry dust is strongly alkaline, with pH commonly reported in the 11–13 range (OSHA guidance on cement/concrete exposure hazards). If that alkaline dust is still on the floor when you wipe, you can spread it into a wider cloudy film.
Field-tested workflow (the part that usually prevents haze):
1. Dry scrape only what you can lift cleanly.
2. Vacuum the same area again.
3. Only then move on to pH-neutral cleaning.
Clean mortar residue with the right chemistry
Use a pH-neutral, wood-safe cleaner to dissolve and lift the remaining film without attacking the finish chemistry. Keep moisture controlled so the cleaner doesn’t creep into seams or under edges.
– Use a pH-neutral wood-safe cleaner (diluted exactly as directed) rather than household acids or degreasers.
– Dampen a microfiber cloth (or non-abrasive sponge) and wipe gently—don’t flood the area.
– If residue transfers onto the cloth, continue with fresh sections of the cloth until it stops.
How pH-neutral cleaning reduces risk:
– Hardwood finishes vary (polyurethane, conversion varnish, penetrating oils/waxes), but harsh chemicals generally increase dulling, haze, and surface softening. Acids are especially likely to worsen mineral residue by reacting with cement components and leaving behind a different, sometimes stickier film.
– For context, vinegar-based cleaners are acidic. According to general chemistry references (acetic acid solutions), vinegar is typically around pH ~2–3 (Britannica overview of vinegar/acetic acid typical acidity). That acidity is why vinegar is often effective on mineral deposits—but it’s also why it’s risky on finished wood floors.
Typical pH of Common Cleaners Used Around Concrete (and Expected Hardwood Finish Risk)
| # | Cleaner / Chemistry | Typical pH Range | Common Use Around Mortar | Hardwood Finish Compatibility |
|---|---|---|---|---|
| 1 | pH-neutral “wood-safe” cleaner | 6–8 | Cement haze removal | ★★★★★ |
| 2 | Mild neutral detergent solution | 7–9 | Light film lift | ★★★★☆ |
| 3 | Baking soda paste (sodium bicarbonate) | ~8–9 | Gentle mineral agitation | ★★★☆☆ |
| 4 | Household ammonia | ~11–12.5 | Grease cutting (riskier on finishes) | ★★☆☆☆ |
| 5 | Vinegar / acetic acid solutions | ~2–3.5 | Dissolves mineral deposits (high risk) | ★☆☆☆☆ |
| 6 | Hydrochloric acid “cement etcher” (typical) | ~1–2.5 | Concrete/masonry etching | ★☆☆☆☆ |
| 7 | Chlorine bleach (sodium hypochlorite) | ~11–13 | Disinfection / whitening | ★☆☆☆☆ |
If you’re tempted to “just use something stronger,” this is where discipline pays off: mortar haze is easier to remove than finish damage is to undo.
Quick chemistry reality check (what to compare)
When you’re choosing a cleaner for cement residue on hardwood, pH and residue behavior drive the outcome. Here’s the risk logic in a simple comparison:
| Option | Pros | Cons for hardwood | Best use |
|---|---|---|---|
| pH-neutral wood-safe cleaner | Lifts haze without aggressive chemistry | Requires patience; won’t “etch” through heavy buildup | Typical sealed hardwood haze |
| Vinegar / acids | Can dissolve mineral deposits | May dull/etch finish and can change residue film | Hard, non-wood surfaces (tile/grout) |
| Bleach / strong oxidizers | Disinfects; removes stains on some surfaces | High likelihood of finish damage and color shift | Not recommended for wood finishes |
| Ammonia / strong alkalis | Cuts some grime | Can haze or weaken some finishes over time | Usually not ideal for hardwood |
How to handle dried-on buildup without damaging the finish
When spots are stubborn, you still want controlled chemistry and minimal abrasion. The goal is to soften residue on the cloth first, then lift it gently—without soaking the wood.
– For stubborn spots, soften the residue with a short dwell using the pH-neutral cleaner on the cloth (keep it just damp, not soaking).
– Use a non-scratch pad (e.g., a very light foam pad) only if the finish is holding up—test in an inconspicuous corner first.
– After residue lifts, wipe again with a clean, barely-damp cloth to remove any cleaner film, then dry thoroughly.
What “short dwell” really means:
– Aim for seconds to a minute, not “leave it wet.” You’re giving the cleaner contact time to break down the haze, not letting liquid reach joints.
– Keep your wiping motion light and consistent; applying pressure is how micro-scratches become permanent dullness—especially on satin finishes.
Why immediate drying matters:
– Hardwood flooring is dimensionally sensitive. Even if the plank is “sealed,” water exposure can still affect seams, edges, and finish wear patterns. If you see any pooling, stop and blot dry right away.
– In professional maintenance guidance, steam and excess moisture are commonly discouraged because heat plus water can drive liquid into joints and compromise finish integrity (National Wood Flooring Association (NWFA) care guidance on moisture/steam). If you’re considering steam, skip it and stick to damp wiping.
What can go wrong (and how to avoid it)
Mistakes usually come from either using the wrong chemistry (acids/bleach/harsh cement removers) or introducing too much moisture and grit. Both can create damage that’s harder to reverse than the original mortar haze.
– Etching or dull spots: Acidic cleaners and strong chemicals can haze or damage protective finishes—skip vinegar, descalers, and harsh cement removers unless the label specifically says they’re safe for finished hardwood.
– Scratches from grit: Even “just sweeping” isn’t enough if there’s sand-like dust—vacuum first, then scrape.
– Water damage: Over-wetting can cause swelling, cupping at seams, or finish failure. Keep moisture controlled and dry right away.
– Test spots matter: If your hardwood is very old, lightly sealed, or has a wax/oil finish, the same method may not work—.
Common “I thought I was helping” scenarios we see often:
– People pour cleaner directly on the floor to “speed it up.” That increases moisture transfer into edges.
– People use a bathroom scrubber or rough sponge. Even if it looks plastic, abrasion can dull the sheen.
– People repeat vinegar steps to “chase” haze. That can temporarily improve mineral appearance but can still leave the finish cloudy.
Verdict: what to do, what to skip, and when to call help
If the mortar is mostly dusting and light splatter, this pH-neutral + gentle wiping method is usually the safest route to avoid damage. Skip abrasive tools and anything acidic, and don’t let cleaner sit long enough to penetrate seams.
Consider professional help if the residue is extensive, you can’t remove it without aggressive scrubbing, or the floor finish has already started to look cloudy/rough.
Practical decision rule:
– If you need to apply heavy pressure to remove the haze, stop. Finish wear can outlast the mortar problem.
Quick checklist (scan/save)
| Step | What to do | Don’t |
|---|---|---|
| 1 | Vacuum/sweep grit | Don’t wipe with a dry cloth if particles are loose |
| 2 | Plastic-scrape chunks | Don’t use metal scrapers |
| 3 | PH-neutral cleaner on damp microfiber | Don’t use vinegar or other acids |
| 4 | Gentle wipe; repeat with fresh cloth | Don’t soak the floor |
| 5 | Final wipe with barely-damp cloth (if needed) | Don’t leave cleaner residue |
| 6 | Dry immediately | Don’t let moisture sit near seams |
Frequently Asked Questions
How do I remove dried mortar residue from hardwood floors without damaging the finish?
Start by letting any wet mortar fully dry, then gently scrape the residue with a plastic putty knife or a plastic scraper to avoid gouging the hardwood. For remaining haze, use a pH-neutral cleaner and a soft microfiber cloth, working in small sections. Avoid harsh acids and abrasive pads because they can dull the floor’s polyurethane or varnish and cause permanent discoloration.
What is the best way to clean mortar dust from hardwood after a tile or brick job?
Vacuum the area thoroughly first using a floor brush attachment to lift loose mortar dust without grinding grit into the wood grain. Follow with a slightly damp microfiber mop using a pH-neutral hardwood floor cleaner, then rinse with a clean, lightly damp cloth if your product recommends it. Dry the floor immediately with towels or a dry microfiber mop to prevent moisture from soaking into seams and joints.
Which cleaning solution should I use for mortar stains on sealed hardwood floors?
For sealed hardwood floors, a pH-neutral cleaner is usually the safest choice to loosen mortar film without harming the finish. If the mortar stain persists, use a cleaner formulated for stone/concrete residue that is specifically approved for hardwood—or test any product in a hidden area first. Skip vinegar, muriatic acid, and heavy-duty degreasers, since acidic or solvent-based cleaners can damage the sheen and leave uneven spots.
Why does mortar residue leave a white haze on hardwood, and how can I fix it?
Mortar residue often contains mineral salts and lime that can react with moisture and create a stubborn white haze on top of the hardwood finish. To fix it, remove dust and grime first, then apply a pH-neutral cleaner and gently wipe until the haze lifts; you may need a couple of passes. If haze remains after cleaning, lightly polish the area with a microfiber cloth and the appropriate hardwood-safe cleaner, and consider professional refinishing if staining penetrated the finish.
How do I clean mortar spills quickly before they become permanent on hardwood floors?
Blot wet mortar immediately with absorbent towels—don’t smear it outward—then scrape carefully with a plastic tool once it’s loose. After removal, clean the spot with a pH-neutral cleaner and a damp microfiber cloth, then dry right away to limit moisture exposure. Acting quickly reduces the chance that mineral deposits bond to the hardwood finish and become much harder to remove later.
📅 Last Updated: November 04, 2026 | Topic: How to clean mortar residue from hardwood floors? | Content verified for accuracy and freshness.
References
- Silica and Worker Health | Silica | CDC
- Silica, Crystalline – Overview | Occupational Safety and Health Administration
- Control of exposure to silica dust – HSE
- Wood flooring
- Cement
- Grout
- Concrete
- https://scholar.google.com/scholar?q=how+to+clean+mortar+residue+from+hardwood+floors Google Scholar
- https://scholar.google.com/scholar?q=cement+residue+removal+from+wood+flooring Google Scholar
- https://scholar.google.com/scholar?q=grout+mortar+cleanup+wood+floor+techniques+and+safety Google Scholar



[…] hardwood cleaner (or a very mild cleaner) diluted exactly as the label directs, then apply with microfiber cloths—don’t pour the solution onto the floor. Wiping spreads cleaner only where you need it, while […]