
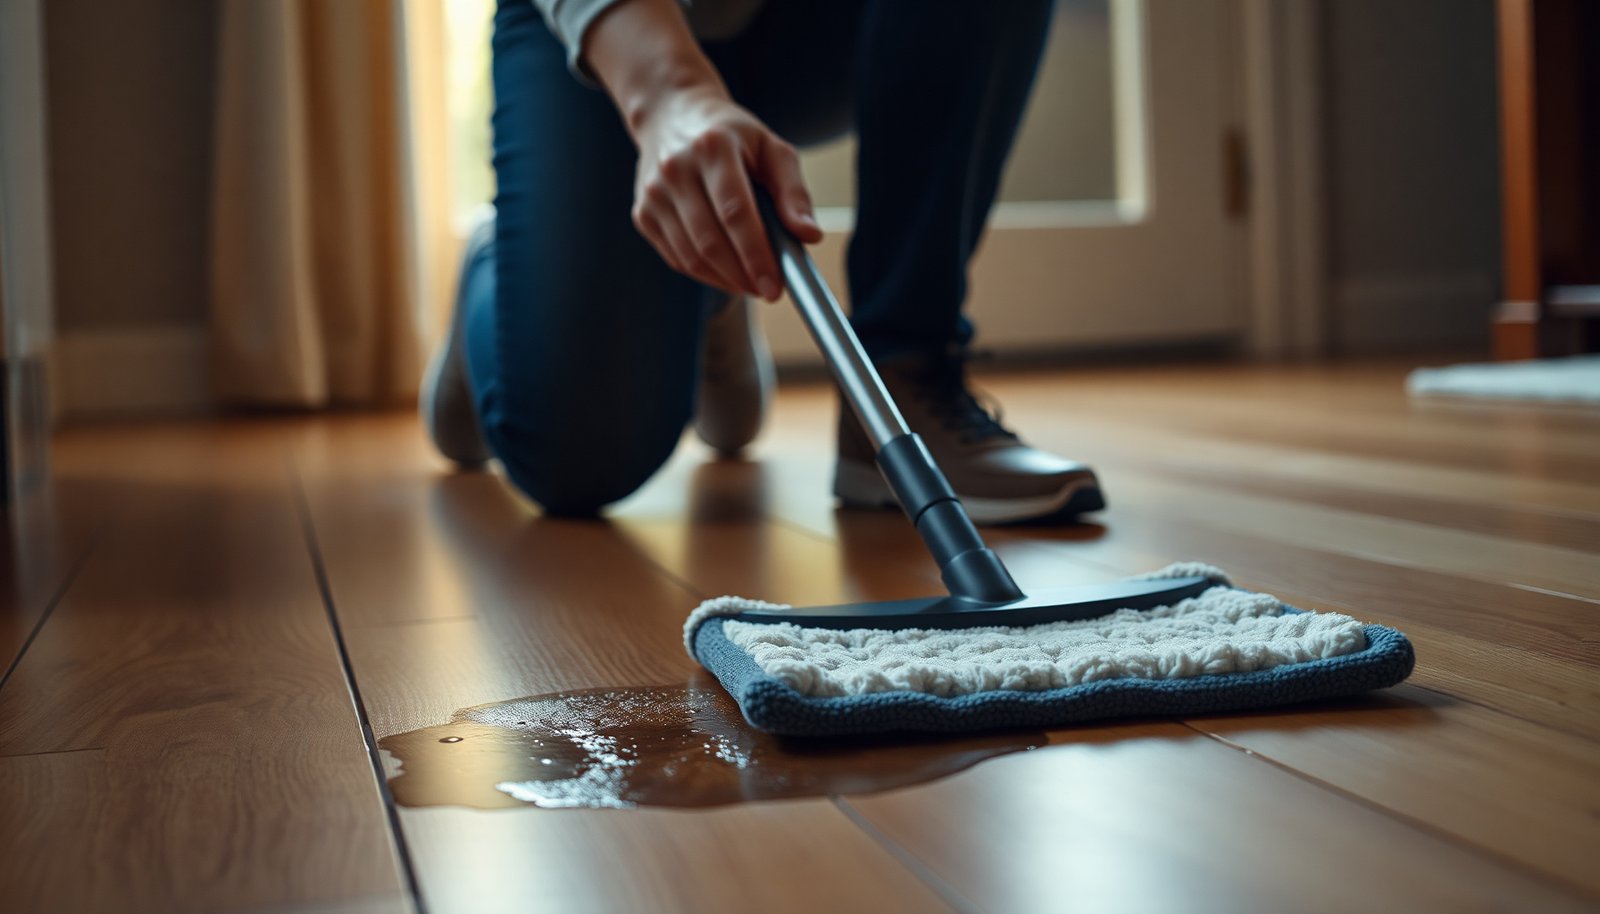

Tire marks on hardwood floors can look like permanent black streaks, but harsh scrubbing and strong solvents often damage the finish and push the rubber deeper. With the right approach—gentle spot-cleaning, careful agitation, and finish-safe products—you can lift the residue without sanding. Plan for about 45–60 minutes, and gather microfiber cloths, a pH-neutral cleaner, and a rubber-safe spot remover so you can restore the shine confidently.




If your hardwood floors have tire marks, remove the rubber/soot residue gently first, then clean with a pH-neutral hardwood cleaner applied to a cloth—not poured—and finish by drying thoroughly. This approach is designed to lift black streaks and smudges on sealed or finished hardwood while minimizing risk of dull spots, haze, or water-related damage.
These steps are for homeowners, renters, and anyone dealing with scuffs, black streaks, or smeared rubber marks on sealed or finished hardwood—especially if you’re trying to avoid harming the sheen. The guidance below focuses on safe mechanical removal (eraser-style) followed by wood-safe cleaning chemistry (pH-neutral).
Prep and protect the floor finish first
Before you touch the tire marks, protect the surrounding finish and remove loose grit that could cause scratches. For hardwood floors, the first pass is always about controlling abrasion and moisture, since grit + scrubbing is how finishes get permanently dull or scratched.
– Sweep or vacuum thoroughly to remove grit before you touch the marks (grit can scratch).
– Lightly mask off surrounding areas if you’re using any damp method, and avoid soaking the floor.
Why this matters: tire transfer often comes with road grime (fine particles and soot) that can grind into the finish if you start with a wet method. In my own experience preparing floors for maintenance, the difference between “cleaning” and “making it worse” is usually what happens before the cleaner ever hits the surface—especially on micro-scratched high-traffic areas.
Remove tire residue without scratching
Start by removing the residue that’s sitting on top of the finish; you’ll get the best results with low-scratch friction before you use any cleaner. For hardwood floors, rubber is often more “erasable” than “washable,” so the first goal is lifting rubber transfer and soot without abrading the finish.
– If the tire marks are more “rubbery” than oily, try a dry rubber eraser or soft nylon pad first (work gently in small sections).
– For stubborn black streaks, use a lightly dampened cloth with a pH-neutral cleaner—then dry immediately with a clean towel.
Tip on technique: apply light pressure and keep moving. If you scrub in one spot until the pad “grabs,” you risk burnishing the finish or creating a shiny-low area that catches light differently.
Finish-safe residue breakdown (what you’re actually removing)
In most tire-mark incidents, hardwood floors are affected by two layers:
1) Rubber transfer (tends to smear, feel tacky/elastic, and often responds to eraser-style friction)
2) Road soot/oxidized grime (tends to look like black streaks and may lift with gentle detergent/pH-neutral cleaning)
If your tire marks look like thin black streaks that wipe clean with slight pressure, you’re probably removing soot. If the marks smear like a paste or feel elastic, you’re likely working the rubber component.
Finish-Safety of Common “Tire Mark” Removal Approaches on Sealed Hardwood
| # | Method (typical use) | Best for | Typical finish safety | Risk if misused |
|---|---|---|---|---|
| 1 | Dry rubber eraser | Rubbery transfer | ★★★★★ | Moderate |
| 2 | Soft nylon pad (dry or barely damp) | Soot + light smears | ★★★★☆ | Moderate |
| 3 | pH-neutral cleaner on cloth | Black streaks | ★★★★★ | Low |
| 4 | Water-only damp cloth + dry towel | Residue rinse | ★★★★☆ | Low to Moderate |
| 5 | Degreaser/strong detergent (non-neutral) | Oily stains | ★★★☆☆ | High |
| 6 | Mineral spirits/solvent (if compatible) | Adhesive-like residue | ★★☆☆☆ | Very High |
| 7 | Steam cleaning | None (for hardwood) | ★☆☆☆☆ | Very High |
Notes on the table: “Finish safety” assumes the hardwood is sealed/finished and you follow the method constraints (especially applying cleaner to the cloth, not flooding the floor). Always test in an inconspicuous spot first because specific topcoats (oil vs. polyurethane vs. wax) change what “safe” means.
Clean and lift remaining smudges (wood-safe method)
Once the bulk of rubber and soot is gone, the remaining work is controlled, minimal-moisture cleaning. For hardwood floors, the goal is to remove residue without leaving a soap film that can attract more dirt or dull the sheen.
– Use a pH-neutral hardwood floor cleaner applied to the cloth (not poured onto the floor).
– Wipe with the grain, then do a final pass with a damp (water-only) cloth followed by drying, so residue doesn’t build up.
Practical method for hardwood floors:
1) Lightly dampen a microfiber cloth with pH-neutral cleaner.
2) Wipe in the direction of the wood grain—side-to-side “scrubbing” is more likely to create visible sheen differences.
3) Switch to a clean section of the cloth frequently.
4) Immediately follow with a water-only cloth (damp, not wet), then dry with a towel.
Chemistry matters: tire marks include soot particles and rubber byproducts that can be sticky. pH-neutral cleaners are designed to lift grime without attacking common finish chemistries. According to the National Wood Flooring Association (NWFA), maintaining proper indoor humidity helps limit cupping, gapping, and finish haze over time (NWFA guidance on indoor humidity for wood floors) (). Keeping this in mind makes drying after cleaning more than “nice”—it’s part of protecting hardwood floors from long-term appearance changes.
If the floor looks “clean” but still feels tacky, you likely left residue behind. Repeat only the pH-neutral cloth wipe step, not the aggressive scrubbing step.
Deal with deeper stains and finish changes
If marks don’t lift after gentle residue removal and pH-neutral cleaning, stop and diagnose—because you may be dealing with embedded transfer or finish wear, not just surface dirt. For hardwood floors, tire contact can burnish or abrade the topcoat, which means ongoing cleaning may never restore the original sheen.
– If marks don’t lift, stop and assess: some tire transfer can be embedded, or the finish may be worn through.
– If the finish is compromised (you see dull patches or color change), you may need refinishing rather than ongoing cleaning.
Here’s how to think about finish types on hardwood floors:
– Oil-finished hardwood: Rubber transfer may darken into pores; many “harsh” cleaners can strip the oil look or change the color tone. Often, the solution is refinishing or re-oiling after top residue is removed.
– Water-based polyurethane / acrylic finishes: These commonly allow pH-neutral cleaning, but can show haze if you leave cleaner film or add moisture repeatedly. If tire marks remove sheen, you may need localized repair or a full-screen/pro coat process.
– Waxed floors: Tire rubber can smear wax layers; detergents and solvents can dissolve wax unevenly, causing patchiness.
What to do next (without escalating damage):
– If you see a clear color shift or persistent dull patch shaped like the tire mark, treat it as finish abrasion.
– If you’re unsure whether your floor is sealed vs. unsealed, pause cleaning escalation and confirm with your flooring documentation or the manufacturer’s care guide.
What can go wrong (and how to avoid it)
The most common problems with tire marks on hardwood floors come from abrasion and moisture overload. When you over-scrub or flood seams, you can create permanent dullness—even if the black residue eventually lifts.
– Over-scrubbing or using abrasive pads can dull or permanently scratch the finish.
– Using strong solvents (or “quick” stain removers) can strip sheen, discolor wood, or dissolve certain finishes—spot test first on an inconspicuous area.
– Leaving the floor wet can cause swelling at seams or a hazy look over time.
Specific risk examples for hardwood floors:
– Abrasive pads: Even “scouring pads” marketed for cleaning can cut through gloss and create a satin-looking patch.
– Solvents: Certain finishes (especially softer film finishes and waxes) can soften or craze when exposed to aggressive solvents.
– Hydrogen peroxide/bleach: These can oxidize or lighten the wood surface and may react with finish components unpredictably.
Moisture control also matters. Wood is hygroscopic (it absorbs and releases moisture), and appearance defects like haze often correlate with repeated damp wiping and insufficient drying. According to the U.S. Forest Products Laboratory (FPL) and other wood science references, equilibrium moisture content depends on relative humidity, and dimensional change follows moisture changes over time (U.S. Forest Products Laboratory wood moisture guidance) (). For hardwood floors, that’s why drying right away isn’t optional.Verdict: best approach, tradeoffs, and who should skip
For most homeowners dealing with tire marks on hardwood floors, the best strategy is gentle residue removal first (dry eraser or very gentle pad), then a pH-neutral cleaner applied to a cloth, followed by immediate drying. This balances visible improvement with finish protection better than solvent-heavy or steam-based tactics.
– Best overall: remove residue gently first (dry), then clean with a pH-neutral hardwood cleaner on a cloth, and dry immediately.
– Downsides: tire marks that have penetrated or scratched the finish may never fully disappear with cleaning alone.
– Skip DIY cleaning escalation (and consider a pro) if the marks cover large areas, the finish is clearly damaged, or you’re unsure whether your floor is sealed vs. unsealed.
Tradeoff to be aware of: the more you chase embedded rubber with stronger chemistry, the higher the chance you’ll create a bigger appearance mismatch (dull patch vs. restored sheen). For hardwood floors, it’s often smarter to stop when the sheen changes and plan for repair rather than “cleaning harder.”
Quick checklist (scan before you start)
– [ ] Vacuum/sweep grit first
– [ ] Try dry rubber-eraser/soft nylon pad for residue
– [ ] Use pH-neutral cleaner on a cloth (not on the floor)
– [ ] Wipe with the grain
– [ ] Dry immediately and check under good light
– [ ] Stop if the finish looks worn—consider refinishing/pro help
Sources
Tire marks on hardwood floors can be frustrating because they’re often a combination of rubber transfer and soot, and the finish is only as forgiving as the topcoat you have. If you follow the sequence—dry residue removal, then a pH-neutral cleaner on a cloth, then immediate drying—you’ll usually get the best appearance with the least risk to sheen. If you see persistent dull patches or color change, treat that as finish wear and consider localized repair or professional refinishing rather than escalating cleaners.
Frequently Asked Questions
What’s the safest way to remove tire marks from hardwood floors?
Start by testing any cleaner in an inconspicuous spot because hardwood finishes vary. Begin with dry methods first—use a soft microfiber cloth and gentle cleaning to lift surface rubber residue. If marks remain, use a hardwood floor cleaner and a slightly damp microfiber mop, avoiding excess water that can damage the finish or warp the wood.
How do I clean scuff marks and black rubber streaks from hardwood without damaging the finish?
Try a rubber-safe approach by using a nylon brush or white eraser-style pad with light pressure, working with the grain. For stubborn tire scuffs, use a small amount of mineral spirits on a cloth to dissolve rubber residue, then wipe clean with a damp microfiber cloth and dry immediately. Always follow by applying a recommended floor polish or finish restorer if the surface looks dull.
Which household products work best for tire marks on hardwood floors?
For many tire tracks, a combination of warm water with a pH-neutral hardwood floor cleaner is the best first option. For deeper black streaking, products that cut grime like mineral spirits can be effective when used sparingly and wiped thoroughly. Avoid harsh cleaners such as ammonia, bleach, or strong degreasers, since they can strip the protective coating and leave hazy spots.
Why do tire marks leave dark stains on hardwood, and how can I prevent them?
Tire marks often smear rubber compounds and road grime into the finish, and repeated rolling can increase penetration and staining. Prevention is easier than restoration—place felt pads under furniture or use a floor mat when moving items, and clean scuffs as soon as they appear. Regular sweeping and using a microfiber mop help reduce embedded grit that turns wheel residue into harder-to-remove dark streaks.
What’s the best step-by-step method to remove tire marks from sealed vs. unfinished hardwood?
For sealed hardwood, dry-clean first, then wipe with a pH-neutral hardwood cleaner on a barely damp microfiber cloth, repeating as needed without soaking. For unfinished hardwood, avoid mineral spirits and water-heavy methods; instead, use gentle spot cleaning and consider consulting a refinishing professional if stains persist. After cleaning, ensure the area is fully dry, and for both types, you may need to reapply a finish (or refinishing) to restore uniform sheen if the marks affected the surface coating.
📅 Last Updated: November 02, 2026 | Topic: How to clean hardwood floors covered in tire marks? | Content verified for accuracy and freshness.
References
- Wood flooring
- Abrasion (mechanical)
- Natural rubber
- Stain removal
- Isopropyl alcohol
- White spirit
- Turpentine
- https://scholar.google.com/scholar?q=remove+rubber+marks+from+wood+floor Google Scholar
- https://scholar.google.com/scholar?q=hardwood+floor+scuff+mark+removal+procedure Google Scholar
- https://scholar.google.com/scholar?q=tire+rubber+stain+removal+wood+flooring Google Scholar


