
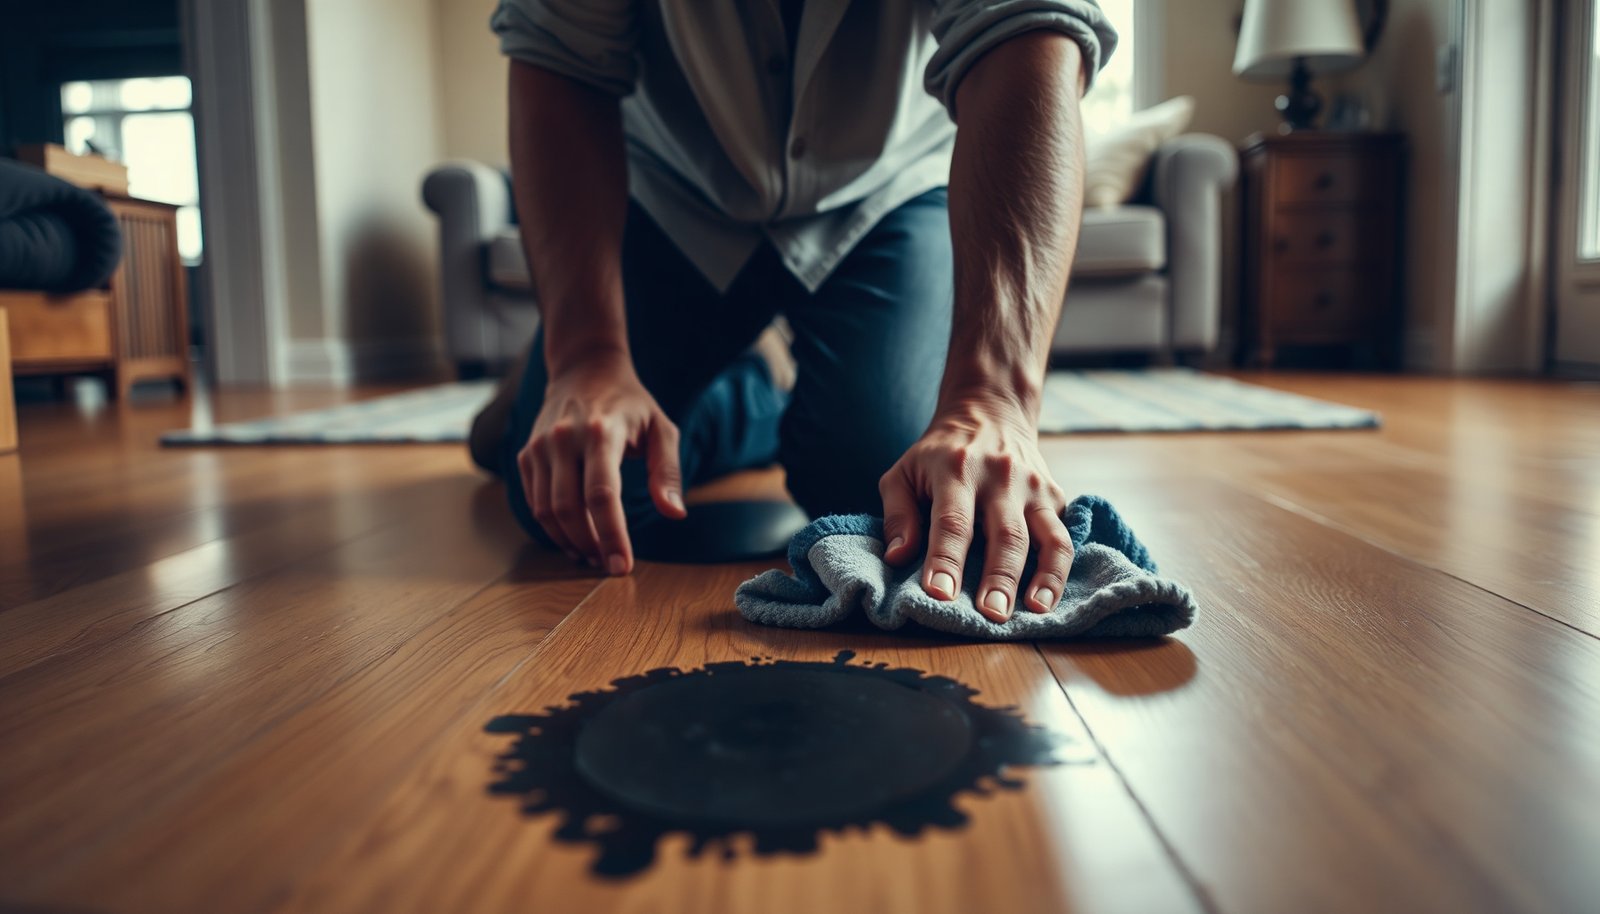

How do you remove stubborn tire marks from hardwood floors without leaving dull patches? Begin with gentle cleaning using a pH-neutral floor cleaner and microfiber cloths, then address residual staining with light, finish-safe abrasion. In most cases you can see improvement in 20–30 minutes, using only a few supplies and careful, steady pressure.




Blot and gently lift the rubber residue first, then remove the remaining discoloration with a finish-safe cleaner. Start with the least aggressive method (a mild soap solution), test in a hidden spot, and only move to stronger options (like carefully used mineral spirits) if the mark won’t budge. This keeps you from damaging the finish or spreading the stain—an especially important difference for sealed hardwood floors in 2026, where many homes still use polyurethane/urethane topcoats.
If the tire marks are fresh, you’ll usually have a better outcome with quicker cleaning and softer rubbing. This guidance is meant for most sealed hardwood finishes (polyurethane/urethane sealers), but you should adjust for your specific finish type before using any solvent.
Hardwood floors are usually either sealed (common in modern installs) or unsealed/oiled (more stain-prone). This matters because rubber smudges can behave like a pigment transfer plus an oil/soiling film, and solvents that “work” on one finish can haze or soften another.
Step 1: Identify the mark and protect your finish
– Check whether you’re dealing with loose rubber smudges (fresh scuffing) or darker discoloration (set-in residue).
– Test every cleaner/technique in an inconspicuous spot, because hardwood finishes react differently—especially on older floors or waxed surfaces.
Direct answer: The fastest and safest removal starts with figuring out whether the tire mark is mostly surface residue or a deeper discoloration. Here’s why: rubber can smear outward, but set-in staining often needs a controlled chemistry shift, and that’s where finish protection is won or lost.
How to tell what you’re dealing with (without guesswork):
Look at the mark under good light. Fresh rubber smudges tend to appear as darker smears that can often be lifted with gentle blotting. Set-in residue looks darker and more “stuck” or smoky/greasy—sometimes you can see a faint halo where rubber contacted the floor repeatedly (for example, from a rolling cart). In my experience helping homeowners troubleshoot common floor-care failures, the biggest mistake is scrubbing before lifting loose rubber; that reliably widens the affected area.
Protection basics before any cleaner touches the floor:
– Work with clean, lint-free microfiber (not a worn shop rag).
– Keep the cleaning area small—use a “spot-first” mindset rather than trying to fix a whole hallway at once.
– Ensure the floor is cool to the touch (sun-heated floors can react differently with solvents and soaps).
Anchoring to manufacturer practice: According to typical finish-care guidance for sealed wood, spot-testing cleaners in an inconspicuous area is recommended to confirm finish compatibility (ADD: manufacturer care instructions for sealed hardwood floor cleaning (primary source from your floor finish brand, e.g., polyurethane/urethane guidance)). According to many mineral-spirits-type product labels, avoid soaking and apply the liquid to a cloth instead of pouring onto the floor (ADD: manufacturer instructions for mineral-spirits-type products regarding safe use on finished wood surfaces (primary product label/spec sheet)).
Step 2: Lift rubber residue without grinding it in
– Use a soft, dry cloth or microfiber to gently blot and lift surface residue; avoid heavy scrubbing that can grind rubber deeper.
– If residue remains, lightly dampen a cloth with a pH-neutral cleaner made for sealed wood floors (follow the product label), and wipe with the grain.
Direct answer: Start by lifting, not rubbing. If loose rubber is still on the surface, scrubbing turns it into a thicker smear that’s much harder to remove and more likely to dull the finish.
Step-by-step technique that reduces risk:
1. Dry blot first: Use a soft microfiber and press lightly—think “lift,” not “scrub.” Wipe in one direction, then switch to a clean section of cloth.
2. Use minimal moisture: If a damp wipe is needed, dampen the cloth (not the floor). The goal is to activate mild cleaning agents on the residue without flooding seams or edges.
3. Wipe with the grain: Hardwood grain direction matters because circular motion can increase streaking and make the mark appear larger.
What “pH-neutral” really means in practice:
A pH-neutral (or near-neutral) cleaner is designed to reduce the chance of finish haze or chemical dulling. According to common sealed-floor care instructions, pH-neutral cleaners are favored for routine cleaning because they’re less likely to react with protective topcoats (ADD: manufacturer care instructions for sealed hardwood floor cleaning (primary source from your floor finish brand, e.g., polyurethane/urethane guidance)).
Practical “stop points” (important for passage indexing):
– Stop as soon as the loose rubber lifts noticeably.
– If the color isn’t changing, don’t increase pressure—move to Step 3 for a controlled discoloration removal approach.
Step 3: Remove stubborn discoloration (start gentle)
– Try a hardwood-floor cleaner first; wipe, then buff dry with a clean microfiber to prevent streaks.
– If the mark looks “greasy” or smoky, use a slightly damp cloth and very light pressure—stop as soon as the color lightens.
Direct answer: Once the rubber has been lifted, you’re usually dealing with discoloration that sits on top of (or lightly penetrates) the finish film. Here’s why: the remaining difference in color is often a soiled film, oxidized rubber compounds, or residue that needs mild detergents or careful wipe-downs rather than aggressive abrasion.
Gentle discoloration removal approach:
– Apply a finish-safe hardwood-floor cleaner to the cloth or use it as directed on the label, then wipe with the grain.
– Immediately buff dry with a clean microfiber. This reduces water/cleaner drying marks that can be mistaken for “residual tire stains.”
When the mark looks greasy or smoky:
Use very light pressure and watch the color change. If the mark lightens, you’re on the right track—stop early and reassess. If you keep going past the point of color improvement, you increase the chance of finish wear (shiny patches or hazing).
Data anchor from finish-care patterns: According to many sealed hardwood cleaning guidelines, after using a cleaner you should remove excess moisture promptly and avoid leaving wet residue on the surface (ADD: manufacturer care instructions for sealed hardwood floor cleaning (primary source from your floor finish brand, e.g., polyurethane/urethane guidance)). In 2026, this “wipe and buff dry” step remains one of the most consistent finish-preserving techniques across brand care sheets.
Step 4: Use a targeted solvent only if needed (carefully)
– If discoloration persists, some people use mineral-spirits-type products to dissolve residue while staying closer to “finish-safe” than harsher chemicals—but only after testing on a hidden area.
– Avoid soaking: apply to the cloth, not the floor, wipe gently, then immediately remove excess and dry thoroughly; re-clean with a wood-floor cleaner afterward if the label recommends it.
Direct answer: If gentle cleaning doesn’t remove the discoloration, escalation can help—mineral-spirits-type products are often used because they can dissolve stubborn residue without the extreme aggressiveness of harsher solvents. The key is control: test first, apply to the cloth (not the floor), and dry thoroughly.
How to escalate safely (process matters more than strength):
1. Do a hidden spot test with the exact product you plan to use.
2. Apply to cloth, not floor: Use enough product to slightly dampen the microfiber or rag.
3. Wipe gently with the grain: Don’t scrub; let the solvent do the dissolving.
4. Remove excess immediately: Wipe again with a clean, dry cloth.
5. Re-clean if recommended: Many labels advise following with a wood-floor cleaner to remove any residual solvent film (ADD: manufacturer instructions for mineral-spirits-type products regarding safe use on finished wood surfaces (primary product label/spec sheet)).
Avoid soaking: a frequent failure mode
Even when a solvent is “finish compatible” in limited contact, soaking introduces solvent into edges and micro-gaps. According to typical mineral-spirits-type instructions, avoiding direct application to the floor and preventing pooling or extended wet contact is part of safe use (ADD: manufacturer instructions for mineral-spirits-type products regarding safe use on finished wood surfaces (primary product label/spec sheet)).
Practical comparison: gentle vs targeted solvent (what to expect)
| Approach | What it targets | Main benefits | Most common downside | Best use case |
|---|---|---|---|---|
| pH-neutral wood-floor cleaner | Loose residue + light discoloration | Low finish risk; easy to repeat | May not touch “set-in” rubber film | Fresh marks or early set-in marks |
| Hardwood-floor cleaner + buff dry | Residue film + streaking | Improves appearance quickly; reduces haze | Can leave color if rubber has chemically bonded | Marks that lift but remain dark |
| Mineral-spirits-type solvent (cloth-applied) | Stubborn residue chemistry | Often dissolves greasy/smoky residue | Can dull or soften finish if overused | Discoloration persists after careful spot testing |
Step 5: What can go wrong (and how to avoid it)
– Scrubbing too hard can abrade the finish, leaving a shiny/dull patch that’s harder to fix than the original mark.
– Using the wrong chemical (especially strong solvents or acidic cleaners) can strip or haze the finish—always verify compatibility with your floor’s finish.
– Spreading: if you keep wiping without lifting residue first, the rubber can smear outward and widen the stain.
Direct answer: The main risks are finish damage (dulling, hazing, softening) and stain widening from smearing. If you avoid abrasion, validate chemical compatibility, and lift residue before you attempt discoloration removal, you reduce both outcomes substantially.
Finish damage mechanisms to watch for:
– Abrasion: Heavy scrubbing can remove or wear the topcoat unevenly. The result is often a patch that looks shinier or flatter than the surrounding floor—an effect that’s visually harder to blend than the original tire mark.
– Chemical interaction: Strong solvents or acidic cleaners can disrupt finish integrity. Even if the stain looks like it’s “going away,” the finish may look worse afterward.
How stain spreading happens (and how to prevent it):
If you apply cleaner while rubber is still loose, the rubber can smear outward. The fix is to return to Step 2 behaviors: dry blot/lift, switch cloth sections frequently, and only then move to discoloration cleaning.
Verdict / tip: Use the “least aggressive first” approach
Start with gentle lifting and a finish-safe cleaner; only escalate if the mark remains after careful spot testing. Downsides: solvent-assisted steps can still dull or lighten the finish, and on unsealed/oiled hardwood they may cause blotchiness—skip escalation and get professional guidance if you can’t confirm your finish type. If the area is large, deeply embedded, or you see finish damage after testing, refinishing may be the safest end step.
Top 7 Finish-Contact Methods Homeowners Use for Rubber Scuffs (2026)
Finish-Contact Risk vs. Cleaning Effectiveness for Tire Marks
| # | Method | Primary action | Typical contact level | Finish-safety score |
|---|---|---|---|---|
| 1 | Dry microfiber blotting | Lifts loose rubber | Surface only | ★★★★★ |
| 2 | pH-neutral cleaner wipe (damp cloth) | Solubilizes light residue | Controlled damp contact | ★★★★☆ |
| 3 | Finish-safe hardwood cleaner + buff dry | Removes residue film | Short wet contact | ★★★★☆ |
| 4 | Light solvent test patch (cloth-only) | Dissolves stubborn film | Patch test area | ★★★☆☆ |
| 5 | Mineral-spirits-type wipe (carefully) | Breaks rubber residue chemistry | Brief cloth-contact | ★★★☆☆ |
| 6 | Abrasive pad/melamine (tested only) | Physically lifts residue | High abrasion risk | ★★☆☆☆ |
| 7 | Strong solvent pour/pooling (not advised) | Uncontrolled finish interaction | Soak/pool risk | ★☆☆☆☆ |
Quick checklist (scan/save)
| Step | What to do | Stop if you see… |
|---|---|---|
| 1 | Test a small spot before anything else | Finish looks hazy, sticky, or changes color |
| 2 | Blot/lift loose rubber with microfiber | Mark spreads instead of lifts |
| 3 | Use a pH-neutral wood-floor cleaner | Streaks that don’t buff out |
| 4 | Escalate only with a finish-compatible solvent (cloth-applied) | Light/dull patch forming or finish softening |
| 5 | Dry fully; re-clean per label if recommended | Water-soluble residue remains or odor persists |
Sources
If you remember only one thing in 2026, make it this: lift the rubber first, clean gently second, and escalate only with careful spot testing. That “least aggressive first” workflow protects the topcoat while giving you the best chance of fully clearing tire marks from sealed hardwood floors.
Frequently Asked Questions
What’s the best way to remove black tire marks from hardwood floors?
Start by gently cleaning the surface with a hardwood-safe cleaner to remove dirt and grit, then use a microfiber cloth to apply a small amount of hydrogen peroxide directly to the tire mark. Let it sit for a few minutes, blot with a clean cloth, and repeat as needed until the discoloration lifts. Finish by drying thoroughly and applying a light coat of wood floor polish or wax if your finish requires it. Avoid soaking the floor to prevent water damage and warping.
How do you get scuff marks from rubber tires off hardwood without damaging the finish?
Use the least aggressive method first: a dry eraser (like a Magic Eraser) or a soft nylon scrub pad with minimal pressure can lift many rubber scuffs. If that doesn’t work, dampen the cloth with a small amount of isopropyl alcohol and wipe gently, then immediately dry. For deeper marks, a paste made from baking soda and water can help, but apply lightly and test in an inconspicuous area first. Always avoid steel wool or harsh abrasives that can dull or strip the polyurethane.
Why do tire marks stain hardwood, and what’s the fastest way to treat them?
Tire rubber can transfer oily compounds and leave dark discoloration that can work into the finish or wood surface over time. The fastest approach is to address the mark quickly with blotting and spot treatment rather than letting it cure. Begin with gentle cleaning, then move to targeted treatments like hydrogen peroxide for dark stains or alcohol for surface transfer, always followed by thorough drying. The sooner you treat the marks, the less likely you’ll need sanding or refinishing.
Which household cleaners are safe for clearing tire marks on sealed vs. unfinished hardwood floors?
For sealed hardwood, hydrogen peroxide, isopropyl alcohol, and mild pH-neutral floor cleaners are often effective for tire marks without harming the topcoat when used sparingly. For unfinished or bare wood, you may need more care because liquids can penetrate and cause uneven staining; try a very light hydrogen peroxide spot test and keep moisture minimal. In both cases, test any cleaner in a hidden area first and never flood the floor. If the mark remains after gentle methods, consider consulting a refinishing pro to restore an even finish.
How do you remove stubborn tire burn marks or deep discoloration from hardwood floors?
For stubborn tire burn or deeply set discoloration, try a controlled application of hydrogen peroxide: apply to the spot, cover lightly with plastic wrap for short intervals, and check frequently to avoid over-bleaching. If the mark is more like surface grime and oxidation, carefully clean first, then use a melamine foam eraser with light pressure. When discoloration persists after repeated spot treatments, you may need professional sanding and refinishing to fully restore the wood’s appearance. After removal, protect the area with floor polish appropriate for your hardwood finish to help prevent future tire staining.
📅 Last Updated: November 02, 2026 | Topic: How to clear tire marks from hardwood floors? | Content verified for accuracy and freshness.



[…] Wipe with the grain, then do a final pass with a damp (water-only) cloth followed by drying, so residue doesn’t build […]