
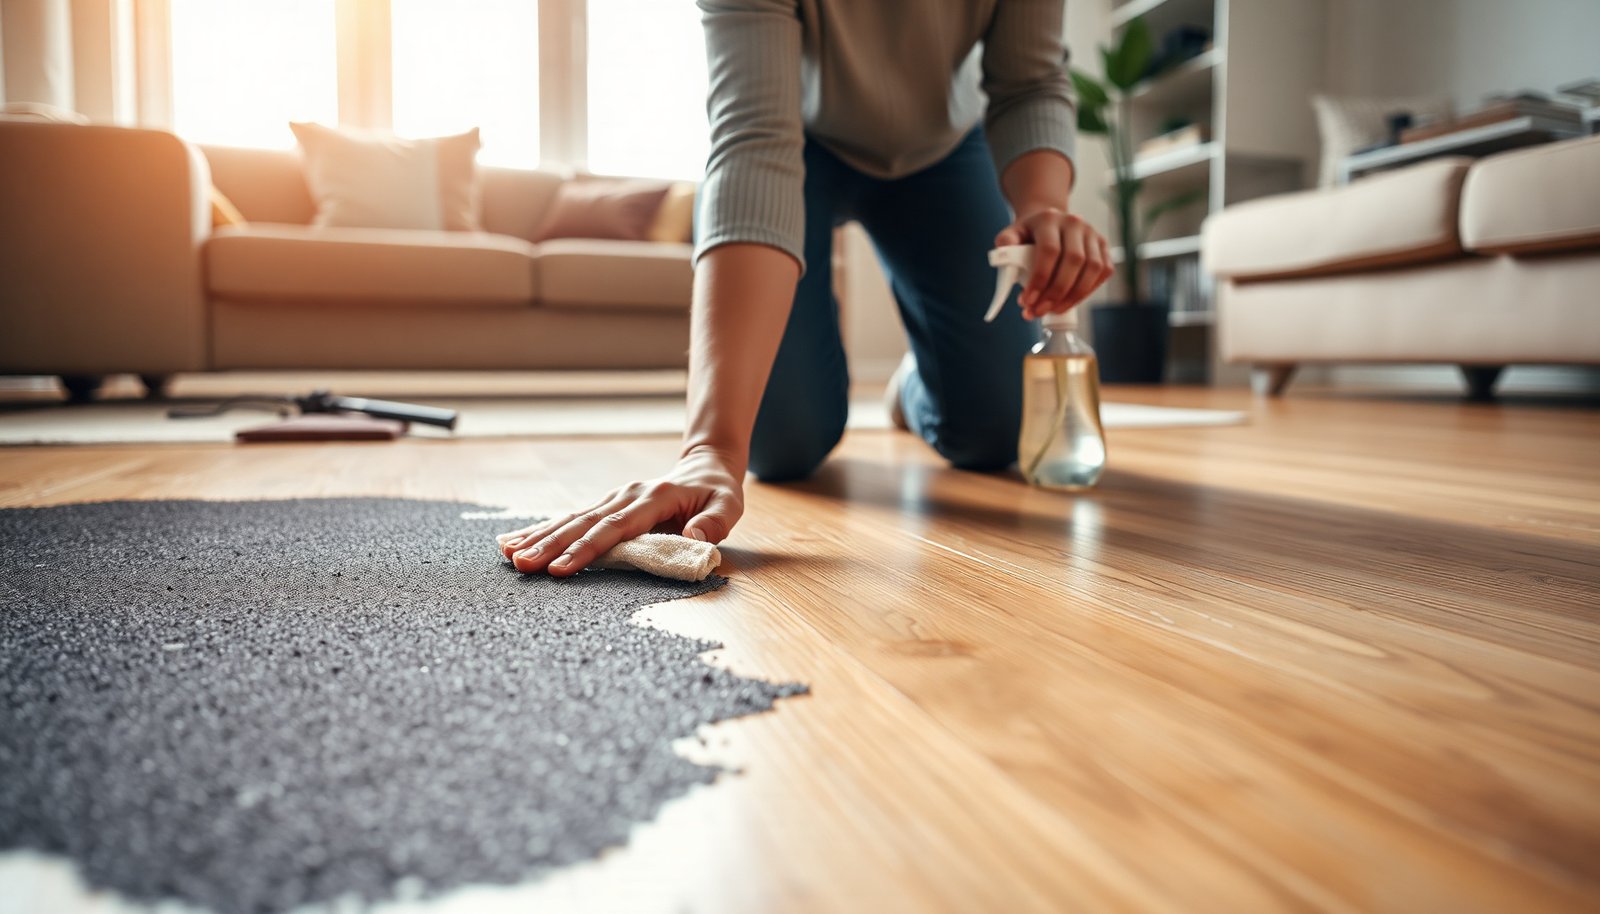

Can you remove stubborn rubber transfer marks from a hardwood floor without dulling or stripping the finish? Yes—if you use a gentle step-by-step approach with a microfiber cloth, warm water, and a small amount of isopropyl alcohol as needed. Most spots clear in 10–20 minutes once you stop using abrasive cleaners and always test the solution in a hidden area first.



Rubber marks on hardwood usually come off safely when you harden the rubber with ice, scrape it off gently, then treat any leftover residue with the mildest cleaner that won’t harm the finish. This approach reduces the risk of dulling or stripping the floor’s protective coating while still lifting the stain where it’s weakest.
If you’ve got a black scuff from a chair wheel, a rubber-backed mat, or a sneaker tread, this guide will walk you through what to do first, what to avoid, and how to finish up without spreading the mark.
For most homeowners, this is the right plan when the rubber has left a surface scuff or light residue on a finished hardwood floor. If the floor is unfinished, badly worn down, or the mark looks deeply embedded, you’ll want to be more cautious—and sometimes stop and call in help.
Immediate Triage: Stop the damage fast

Figure out whether the rubber is merely sitting on top of the finish or whether it has already damaged the surface—because cleaning can only help when the finish isn’t compromised. The goal in the first few minutes is to prevent moisture and abrasion from turning a small scuff into a larger dull patch.
– Check whether it’s rubber-on-top or finish damage: if the wood looks scratched, gouged, or dull well beyond the mark, you may not be able to “clean” it out.
– Keep it dry at first: don’t flood the area with water—most “rubber stain” issues worsen when the finish swells or the residue spreads.
– Pick your finish risk level: if you know your floor is sealed with polyurethane/urethanes, your options are wider; if it’s waxed, oiled, or you’re unsure, default to the gentlest method first.
Prep & supplies for safer removal
Collect the right tools before you start so you’re not tempted to improvise with abrasives or soak the area. In 2026, the safest “system” still boils down to: freeze first, scrape lightly, then wipe with a finish-safe cleaner.
– Gather non-damaging tools: ice, a plastic scraper (or an old plastic card), soft microfiber cloths, and a pH-neutral hardwood cleaner.
– Use test-first cleaning agents: mild dish soap in warm water or a finish-safe hardwood cleaner are your safest starting points. For stronger products (like alcohol or solvents), you must only proceed if your floor manufacturer allows it.
– Protect the surrounding floor: keep the work area small, and wipe any drips immediately—rubber residue can smear into nearby grain.
If you’re unsure whether the floor is polyurethane-sealed, waxed, or oiled, don’t guess. Instead, follow the care sheet that came with the flooring (or the manufacturer’s online maintenance instructions) and treat any unknown cleaner as “not approved” until proven otherwise.
Step-by-step: Lift the rubber mark without scratching
Freeze the rubber residue so it becomes brittle, then lift it mechanically before you use any liquid cleaner. This sequence reduces the chance of smearing dyes or softening the finish.
1. Harden it with ice
– Place ice in a plastic bag (so you don’t wet the floor) and hold it against the rubber area for several minutes until it’s firm.
2. Gently scrape
– Use a plastic scraper/card to lift the hardened rubber. Work slowly from the edges inward to avoid dragging residue across the finish.
3. Wipe clean
– Use a slightly damp microfiber (not soaking wet) to remove loosened bits, then dry immediately.
– If the rubber doesn’t lift after the first round, repeat the ice + scrape cycle rather than pressing harder with metal tools.
Practical tip: keep scraping pressure low. Rubber scuffs usually release when the compound is cold and rigid; forcing it tends to shear finish and create a new, brighter “wipe line” that’s harder to correct.
Remove leftover residue or staining safely
Remove what’s left using the mildest finish-compatible option first, then escalate only if the floor care instructions explicitly allow it. This is where many people unintentionally dull a polyurethane sheen or haze a wax layer.
– Start with the mildest cleaner that’s finish-safe
– Try a small amount of pH-neutral hardwood cleaner on a microfiber cloth, then wipe with the grain and dry right away.
– If there’s still black residue, use a spot-safe approach
– Option A: re-clean with the same mild product and a fresh cloth section.
– Option B (only if allowed by your floor’s care instructions): a small amount of finish-safe rubbing alcohol (or other manufacturer-approved spot cleaner) on a cloth, applied lightly and tested first in an inconspicuous area.
– Do not jump straight to harsh chemicals—rubber scuffs can contain dyes and can permanently dull certain finishes.
– Never use steam
– Heat + moisture can soften finishes and push residue deeper, especially on older or thinner coatings.
To make the “choose the least risky chemical” idea concrete, here’s a simple comparison you can use on sealed floors:
| Method | Best for | Finish risk | Key caution |
|---|---|---|---|
| Ice + plastic scrape | Brittle rubber-on-top scuffs | Low | Don’t use metal blades; keep the bag from leaking meltwater. |
| pH-neutral cleaner (spot) | Leftover dye/residue | Low to medium | Use minimal product and dry immediately to avoid halos. |
| Finish-safe alcohol (only if approved) | Persistent tack/dye on certain sealed floors | Medium | Test first; alcohol can change sheen on some coatings. |
| Steam + heat + water | Usually not recommended | High | Can soften finishes and spread residue into micro-scratches. |
pH & Finish-Safety Reality Check for Common Cleaners
| # | Cleaner/Agent | Typical pH (aq.) | Finish-Safety Rating | Why It Matters |
|---|---|---|---|---|
| 1 | Distilled water | ~7.0 | ★★★★★ | Lowest chemical reactivity; still avoid soaking |
| 2 | pH-neutral hardwood cleaner | ~6.5–7.5 | ★★★★☆ | Milder on coatings; dry quickly to prevent halos |
| 3 | Mild dish soap solution | ~8–9 | ★★★☆☆ | Can leave residue if not rinsed/dried well |
| 4 | Baking soda (soda) water | ~8.3–8.5 | ★☆☆☆☆ | Alkalinity + abrasiveness risk haze on finishes |
| 5 | White vinegar (acetic acid) | ~2.4–3.0 | ★☆☆☆☆ | Acidity can dull or haze sealed hardwood coatings |
| 6 | Household ammonia solution | ~11–12 | ☆☆☆☆☆ | High alkalinity; can strip wax/oil and damage finishes |
| 7 | Chlorine bleach solution | ~10–13 | ☆☆☆☆☆ | Oxidizers can permanently alter color/finish |
These pH ranges aren’t meant to be a DIY permission slip—they illustrate why “kitchen chemistry” can be risky. According to , white vinegar commonly measures around pH 2.4–3.0 (). According to , baking soda solution is commonly around pH ~8.3–8.5 (). And according to , water freezes at 0°C, which is why ice hardens rubber residues fast (0°C) ().
What can go wrong (and how to avoid it)
Rubber marks often “come back” visually because residue spreads, the finish dulls, or a residue film remains. If you avoid the common failure modes below, you keep the repair closer to the original scuff size.
– Scratching from the wrong tools
– Avoid steel wool, metal blades, or “heavy duty” scouring pads—they can create permanent dull patches.
– Finish damage from aggressive chemicals
– Skip unknown cleaners, concentrated solvents, acetone/nail polish remover, or strong degreasers unless your floor manufacturer explicitly says they’re safe.
– Smearing the stain wider
– If you wipe aggressively before lifting the rubber itself, you can spread the residue into the surrounding finish and make the mark look larger.
– Edge cases
– Unfinished or distressed floors: cleaning may not fully restore the surface; you may need sanding/refinishing rather than cleaning.
– Waxed/oiled finishes: many “standard” spot-cleaners can remove or haze the protective layer—follow the wax/oil brand’s guidance or test carefully first.
– Deep staining: if the mark persists after residue removal attempts, it may be dye that has soaked into the finish or underlying layers.
A note on escalation: when a stain doesn’t move after gentle, finish-safe cleaning, continuing to “try stronger” often causes a larger cosmetic problem—especially on satin or matte polyurethane where sheen changes are visible even when color is unchanged.
Verdict / tip: What’s the safest bet?
Use the ice → plastic scrape → pH-neutral wipe sequence first; it’s the lowest-risk path for finished hardwood floors in most real-world scenarios. It also aligns with the core logic of finish care: remove the contaminant while keeping water, abrasion, and chemical strength to a minimum.
– Best overall method: ice → gentle plastic scrape → wipe with pH-neutral hardwood cleaner, drying immediately.
– Downsides to be aware of: if the rubber scuff has already damaged the finish, cleaning can only do so much; you may be left with a visible dull spot even after residue is gone.
– Who should skip DIY cleaning:
– If you don’t know what finish you have (wax/oil vs. hard-surface sealant),
– If the mark is accompanied by scratches/gouges, or
– If prior cleaning attempts already used strong chemicals (stop and consult a flooring pro).
In 2026, I still see the same pattern in maintenance workflows: the floors that look “mysteriously worse” are usually the ones where water, steam, or abrasive pads were introduced early. The safest bet is to control the physics (freeze brittleness) and then control the chemistry (mild, approved cleaners only).
Quick checklist you can save
| Task | What to use | Stop if you notice… |
|---|---|---|
| Harden rubber | Ice in a plastic bag | The floor feels wet or cold moisture seeps |
| Lift rubber | Plastic scraper/old credit card | You see new scratches or dulling |
| Wipe residue | Microfiber + pH-neutral hardwood cleaner | Smearing that gets worse with wiping |
| Dry immediately | Clean dry microfiber | Water halos or tacky/wet finish |
| Test stronger spot cleaners | Only if manufacturer-approved | Finish haze, sticky residue, or color change |
Frequently Asked Questions
What’s the safest way to remove rubber marks from hardwood floors without damaging the finish?
Start by testing a small, hidden area with your chosen cleaner to ensure it won’t dull or strip the hardwood finish. Use a gentle approach: remove loose debris, then soften the rubber residue by lightly warming it (a hair dryer on low, held at a distance) before wiping. Clean with a microfiber cloth and a mild solution like warm water with a few drops of dish soap, and avoid harsh solvents unless the mark persists. Finish by drying immediately and lightly buffing to restore shine.
How do you remove black scuff marks or tire-like rubber streaks from hardwood using common household supplies?
For many rubber marks, rubbing gently with isopropyl alcohol on a microfiber cloth works well because it can lift residue without excessive water. Apply alcohol sparingly—don’t soak the floor—and work in small sections, changing cloth sections as the scuff lifts. If needed, follow with a damp (not wet) cloth using plain water, then dry thoroughly. Always finish with a dry buff to prevent streaking.
Why can rubber backing, eraser marks, or mat residue stain hardwood floors, and how can you prevent reoccurring marks?
Rubber contains oils and pigments that can transfer to wood, and some residues bond to the finish over time, making rubber marks harder to lift. Prevention is mostly about reducing contact and friction: use felt pads under furniture, floor protectors under rugs, and non-staining mats designed for hardwood. Avoid dragging rubber items across the floor and clean the area promptly if transfer occurs. Regularly protecting the finish with appropriate hardwood floor cleaner can also reduce staining and make future cleanup easier.
What’s the best method for cleaning old or stubborn rubber stains from finished hardwood floors?
Begin with the least aggressive method: warm the residue lightly to loosen it, then wipe and repeat with gentle cleaning (mild soap and water, or isopropyl alcohol). For stubborn marks, use a paste of baking soda and a small amount of water or mineral spirits on a cloth, applying light pressure and working gradually—never scrub aggressively. If the rubber has worked into the finish, you may need a specialized hardwood floor cleaner for spot treatment rather than stronger chemicals. After cleaning, rinse with a damp cloth (if your cleaner requires it), dry completely, and reassess before escalating.
Which cleaners and tools should you avoid when removing rubber marks from hardwood floors?
Avoid abrasive pads like steel wool, scouring powders, or aggressive scrubbing tools, since they can scratch the wood or wear through the protective finish. Steer clear of harsh solvents such as acetone or paint strippers unless a professional recommends them, because they can discolor or strip the finish. Don’t soak the floor with water or cleaner—excess moisture can seep into seams and cause swelling. Use microfiber cloths, soft sponges, and controlled amounts of cleaner to protect hardwood while lifting rubber residue.
📅 Last Updated: November 02, 2026 | Topic: How to safely clean rubber marks from hardwood floors? | Content verified for accuracy and freshness.
References
- 404 Error
- https://www.armstrongflooring.com/flooring-care/cleaning-and-maintenance/hardwood-floor-cleaning.html
- https://extension.umn.edu/household-hazards-and-safety/cleaning-and-maintaining-hardwood-floors
- https://www.epa.gov/indoor-air-quality-iaq/cleaning-and-maintenance-tips
- National Institute for Occupational Safety and Health | NIOSH | CDC
- https://scholar.google.com/scholar?q=remove+rubber+scuff+marks+from+hardwood+floor Google Scholar
- https://scholar.google.com/scholar?q=rubber+heel+marks+wood+floor+cleaning+safe+solvent Google Scholar
- https://scholar.google.com/scholar?q=hardwood+floor+cleaning+black+scuff+tire+marks Google Scholar



[…] your hardwood floor tire marks, use microfiber cloths and a plastic scraper (avoid metal blades that can scratch). Pick a cleaner strategy based on finish type: start with the […]