


Remove rubber marks from hardwood by loosening the residue first and then cleaning without damaging the finish: start by gently lifting the softened rubber with a plastic scraper after chilling the area with an ice pack in a bag, then wipe with a pH-neutral wood floor cleaner. If any staining remains, use a small amount of mineral spirits on a hidden spot first, then rinse-clean with water. Most marks can be corrected in 20–40 minutes with a few basic supplies.




Hard rubber marks on a finished hardwood floor usually come off best when you freeze the rubber with ice, lift the bulk residue with a plastic edge, then spot-wipe the leftover smudge with a finish-safe amount of isopropyl alcohol (after spot-testing). This approach prevents grinding or smearing the black transfer into the topcoat and reduces the chance of haze or dulling. After the residue is removed, dry immediately and buff lightly for the cleanest appearance.
If rubber has left marks on your hardwood, start by hardening the rubber so it lifts off without grinding. After you remove the bulk, wipe the leftover smudge with a small amount of isopropyl alcohol (or another finish-safe solvent) after spot-testing, then dry and buff. This applies when rubber from tires, sneakers, mats, or playground items has touched your finished wood floor and left a black/dark transfer or sticky residue. If the floor is bare/unfinished (rare), the safest approach may differ—skip to the “What can go wrong” section.
Get ready: protect the finish and avoid spreading
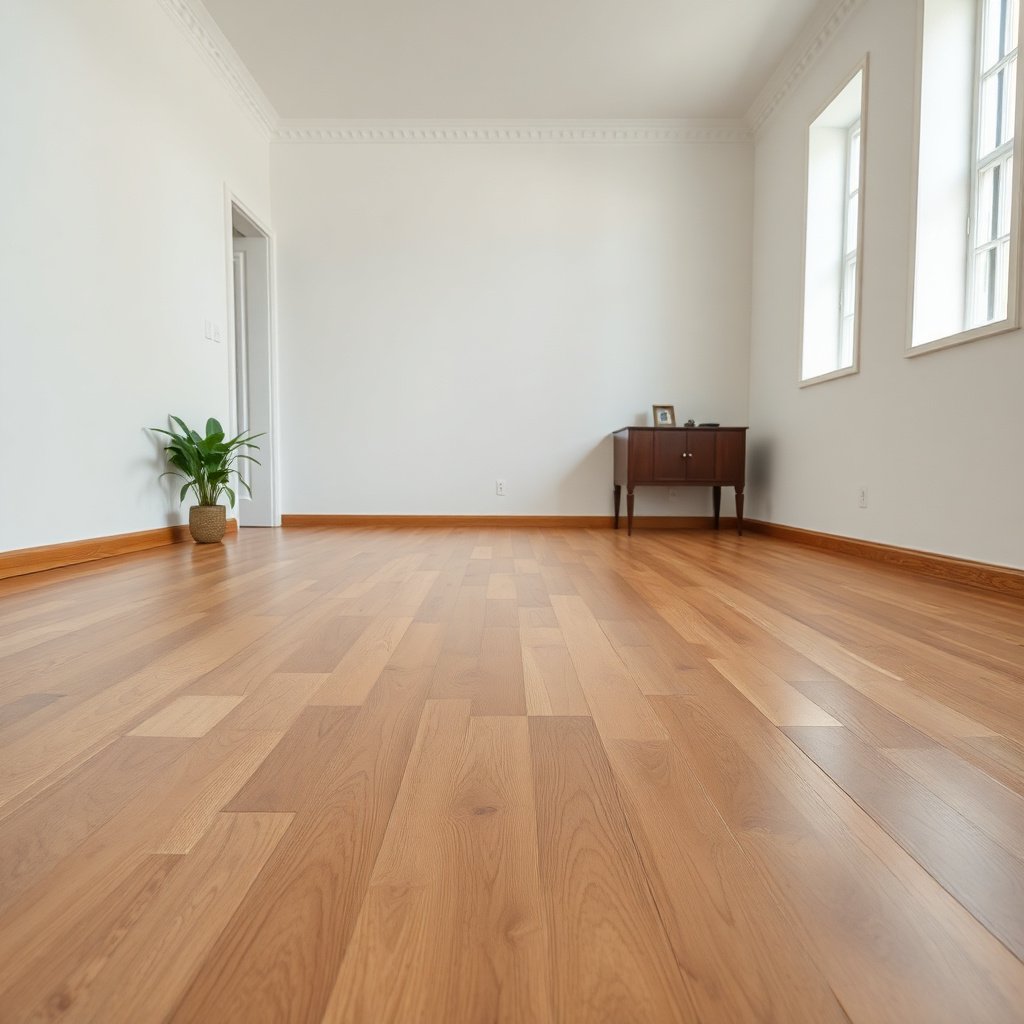
Start by moving chairs, shoes, or mats out of the way and lining up supplies: soft microfiber, clean water, a plastic scraper (or a credit card edge), and a small amount of isopropyl alcohol for spot-testing. Use a soft cloth or paper towels to contain loosened rubber—don’t wipe back and forth in a way that drags dark material across the grain. I recommend you work in straight passes so the hardwood floor finish stays even.
Because finished hardwood can scratch easily, avoid metal tools. Even “small” contact can create visible micro-scratches in polyurethane or waxed coatings. Plastic is the right choice for bulk removal, and it’s a key reason the ice method works so well on hardwood floor finishes.
Finally, test any solvent in an inconspicuous spot first. “Finish-safe” depends on the coating system—some floors tolerate alcohol well, while others can soften, haze, or lighten.
Loosen the rubber: ice method (usually safest)
Freeze the rubber first so it becomes stiff and releases from the finish with minimal abrasion. This is the safest first step for hardwood floors because it reduces the need to scrub into the topcoat.
Put ice in a bag (or use a cold pack wrapped in a thin cloth) directly on the rubber mark for a few minutes. The goal isn’t to soak the hardwood finish; it’s to harden the rubber so you can lift it rather than grind it. Once the rubber is firm, lift the residue off with a plastic tool using gentle, flat-edge pressure.
If the rubber softens before you finish, reapply ice briefly. For hardwood floors, forcing removal usually causes two problems: (1) the rubber stretches and smears a darker streak into the finish, and (2) the plastic edge starts to catch, leaving dull patches in the hardwood floor finish.
When most of the bulk is removed, you should still expect a thin black film or faint tackiness—this is normal for rubber transfer on finished wood. Next, you’ll remove that film with careful, finish-safe wiping rather than aggressive scrubbing.
Remove the remaining rubber smudge (finish-safe wiping)
Wipe the leftover residue with a small amount of isopropyl alcohol after spot-testing. This breaks down sticky rubber film on many sealed hardwood floor finishes without soaking the wood.
Dampen a microfiber cloth with a small amount of isopropyl alcohol—think “slightly damp,” not wet. Wipe the smudge using straight passes and light pressure. If you need more product, add alcohol to the cloth again instead of pouring onto the hardwood floor finish.
Keep liquids out of seams and gaps. Water and solvent can wick under edges if you over-wet the area, especially on floating floors or boards with imperfect perimeter sealing. After you’ve lifted the film, follow with a clean cloth dampened with water only, and dry immediately.
Then buff lightly with a dry microfiber cloth. Buffing isn’t about “scrubbing harder”—it’s about removing any remaining moisture and blending sheen so the hardwood floor finish looks uniform.
Below is a quick reference showing why alcohol-based wipes are typically favored: they evaporate relatively quickly, which helps limit how long solvents contact the hardwood finish.
Solvent Volatility Used in Finish-Safe Spot Wiping (Boiling Point & Evaporation Rate)
| # | Spot-wipe solvent | Typical use context on floors | Boiling point (°C) | Evaporation speed ★ |
|---|---|---|---|---|
| 1 | Acetone | Very limited spot tests only | 56.1 | ★★★★★ |
| 2 | Methanol | Rarely recommended | 64.7 | ★★★★☆ |
| 3 | Ethanol (denatured alcohol) | Spot tests for residue only | 78.4 | ★★★★☆ |
| 4 | Isopropyl alcohol (70–99%) | Common finish-safe spot wipe | 82.6 | ★★★☆☆ |
| 5 | n-Propanol | Not typically recommended | 97.2 | ★★☆☆☆ |
| 6 | Water | Used only for final rinse/blot | 100.0 | ★★☆☆☆ |
| 7 | Mineral spirits | Finish-dependent; often avoided | 155–210 | ★☆☆☆☆ |
Note: This chart addresses volatility, not guaranteed finish compatibility. For example, acetone evaporates fast, but that same strength can also strip or soften many hardwood floor finishes.
If the mark left a stain or dull spot
Start by treating discoloration as a finish-behavior problem, not just a surface-dirt issue. If rubber reacted with or penetrated the clear coat, cleaning can improve the look but may not fully reverse the color change.
If discoloration is still present after the rubber film is removed, continue with cautious, finish-safe cleaning first—avoid digging with a scraper. The priority on a hardwood floor finish is to minimize abrasion because dull spots often reflect surface wear or altered sheen, not just leftover residue.
For a dull area (rather than a true color stain), polishing or buffing with a product made for your specific floor finish type can restore uniform appearance. However, you should confirm your finish type (polyurethane, conversion varnish, waxed surface, or oiled finish) before choosing a restoration product—wrong polish chemistry can make hazing worse.
If the discoloration persists, it may mean the rubber transfer penetrated, discolored the clear coat, or chemically reacted with the finish. In that case, you may need refinishing (sanding and re-coating) rather than repeat wiping.
According to CDC, Guideline for Disinfection and Sterilization in Healthcare Facilities, alcohol-based solutions in the ~60–90% range are used effectively for disinfection due to protein denaturation mechanisms (2008). While hardwood cleaning isn’t disinfecting, this helps explain why appropriately concentrated isopropyl alcohol often breaks down sticky rubber film quickly without heavy scrubbing. According to PubChem, isopropyl alcohol (2-propanol) has a boiling point of 82.6°C (accessed 2026). That relatively fast evaporation supports quick wipe-and-dry workflows on finished hardwood. And according to PubChem, acetone boils at 56.1°C (accessed 2026), which contributes to its strong solvent behavior—one reason it can remove topcoats even when it “works fast.”
What can go wrong (and when to stop)
Stop when you see finish damage signals—cloudiness, gummy residue, or lightened patches—because that means your hardwood floor finish is changing. At that point, continuing the same method can turn a localized rubber mark into a broader refinishing job.
Avoid acetone, paint thinner, and other strong solvents unless the flooring manufacturer explicitly approves them. These chemicals can strip or soften polyurethane, conversion varnish, and wax layers, leaving a shiny/uniform mismatch. Even if the rubber disappears, the topcoat may not recover cleanly.
Don’t use abrasive pads (including magic erasers) unless you know the finish can handle them. These products are mildly abrasive and can haze the surface or remove the topmost finish layer—especially on satin or matte hardwood floor finishes. If you want to test abrasives at all, do it only on an inconspicuous area and expect potential sheen changes.
Don’t soak the area. Water and solvent can wick into seams, edges, and micro-gaps. Once liquid moves under the finish, it can discolor the underlying wood or loosen adhesion in certain systems.
Here’s a practical comparison of common approaches so you can choose what to avoid on your hardwood floor finish:
| Method | Pros | Cons / Risk | Best use |
|---|---|---|---|
| Ice + plastic edge + alcohol wipe | Minimizes scratching; reduces sticky film without soaking | May not fully reverse staining if rubber reacted with clear coat | Most finished hardwood rubber transfer marks |
| Heat + aggressive scraping | Can loosen some residue quickly | Higher smear risk; increases chance of grinding rubber into the finish | Rare cases where you’re confident in finish tolerance |
| Eraser or abrasive pads | Can remove dark surface transfer | Often hazes or wears the topcoat; changes sheen on hardwood floor finish | Only if you’ve confirmed finish compatibility via spot test |
| Acetone/paint thinner | Fastest breakdown of many organic residues | Can strip/soften finishes and cause widespread dulling | Usually not recommended for finished hardwood |
If you’re unsure, the safest “stop rule” is visual: if your hardwood floor finish turns cloudy, becomes gummy, or develops a lighter patch immediately after cleaning, pause. Switch to gentler wiping and consult your floor manufacturer’s maintenance guidance before continuing.
Verdict / tip: start cold, then wipe gently
For most finished hardwood floors, the best sequence is ice to lift rubber → careful removal → spot-tested alcohol wipe → dry/buff. If discoloration remains, the limitation isn’t your effort—it’s often that the rubber affected the clear coat itself.
That said, there are legitimate downsides. If the rubber transfer caused true staining (not just surface grime), repeat cleaning may only spread the problem into a larger dull zone. If your floor is unfinished, very old, or already showing worn finish, avoid aggressive solvent approaches and rely on manufacturer-approved care instead. And if you see immediate finish clouding during spot testing, stop and treat the issue as finish alteration, not “still dirty.”
Quick checklist (scan/save)
| Step | What to do | Goal |
|---|---|---|
| 1 | Apply ice (bagged) to harden rubber | Lift without grinding |
| 2 | Scrape gently with plastic | Remove bulk residue |
| 3 | Spot-test isopropyl alcohol on a hidden area | Break down sticky transfer |
| 4 | Wipe with clean cloth + water (minimal) | Remove solvent residue |
| 5 | Dry + buff | Prevent haze and marks |
– Do: work slowly, use microfiber, spot-test first
– Don’t: pour liquids, scrub aggressively, use harsh solvents/abrasives
Frequently Asked Questions
What’s the safest way to remove rubber marks from hardwood floors without damaging the finish?
Start by testing the cleaning method in a hidden area because some hardwood finishes can soften with harsh solvents. Use a soft microfiber cloth and a small amount of manufacturer-recommended cleaner, then gently rub to lift the rubber residue. If marks remain, try a specialized wood-floor cleaner or a minimal amount of isopropyl alcohol on a cloth, followed by prompt drying and buffing to restore sheen.
How do you clean rubber scuffs off hardwood floors when regular floor cleaner won’t work?
First, wipe the area with a damp cloth to remove surface grime so the true rubber transfer is exposed. Then apply a small amount of rubbing alcohol (or a rubber-mark remover designed for hardwood) to a microfiber cloth and dab and gently lift the marks. After the rubber transfers off, clean again with a pH-neutral hardwood floor cleaner and dry thoroughly to prevent streaks or moisture damage.
Why do rubber marks leave discoloration on hardwood, and how can you prevent it?
Rubber can leave dark residue and can also react with certain finishes by depositing oils or pigments during dragging or pressure. Prevention is best: use felt pads under furniture, chair glides, and non-staining rug pads to reduce friction and transfer. Regularly inspect and clean protective pads so they don’t become abrasive, and avoid rubber-backed mats directly on finished hardwood.
Which household products work best for removing rubber residue from sealed hardwood floors?
For many sealed hardwood floors, isopropyl alcohol on a microfiber cloth works well to dissolve and lift rubber marks. Another option is a small amount of mineral spirits or a specialty adhesive/rubber remover labeled safe for wood floors—apply sparingly and always spot-test. Avoid soaking the floor; after removal, follow up with a pH-neutral hardwood floor cleaner and buff dry to protect the finish.
Best way to clean hardwood floors after rubber wheels or tires leave streaks—what process should you follow?
Begin with dry cleaning: rub gently with a microfiber cloth or soft eraser pad to remove loose residue, then wipe with a barely damp cloth. Next, treat the remaining streaks with a wood-safe method such as isopropyl alcohol or a dedicated floor scuff remover, using light pressure and frequent cloth rotation. Finish by cleaning with a pH-neutral hardwood cleaner, drying completely, and checking whether the area needs a light re-polish or touch-up to blend the sheen.
📅 Last Updated: November 02, 2026 | Topic: How to clean hardwood floors after rubber marks gets on it? | Content verified for accuracy and freshness.
References
- 404 Error
- https://www.armstrongflooring.com/floor-care/cleaning/how-to-remove-scuff-marks-from-hardwood-floors.html
- https://www.bruce.com/flooring-resources/care-and-cleaning/
- Isopropyl alcohol
- Wood flooring
- https://scholar.google.com/scholar?q=clean+hardwood+floor+rubber+scuff+removal Google Scholar
- https://scholar.google.com/scholar?q=remove+shoe+rubber+marks+from+wood+floor+best+practice Google Scholar
- https://scholar.google.com/scholar?q=wood+floor+care+scuff+marks+cleaning+agents+isopropyl+alcohol Google Scholar



[…] you use a gentle step-by-step approach with a microfiber cloth, warm water, and a small amount of isopropyl alcohol as needed. Most spots clear in 10–20 minutes once you stop using abrasive cleaners and always […]
[…] Isopropyl alcohol (spot test only, if manufacturer allows) […]
[…] Mineral spirits / paint thinner (light spot test) […]