
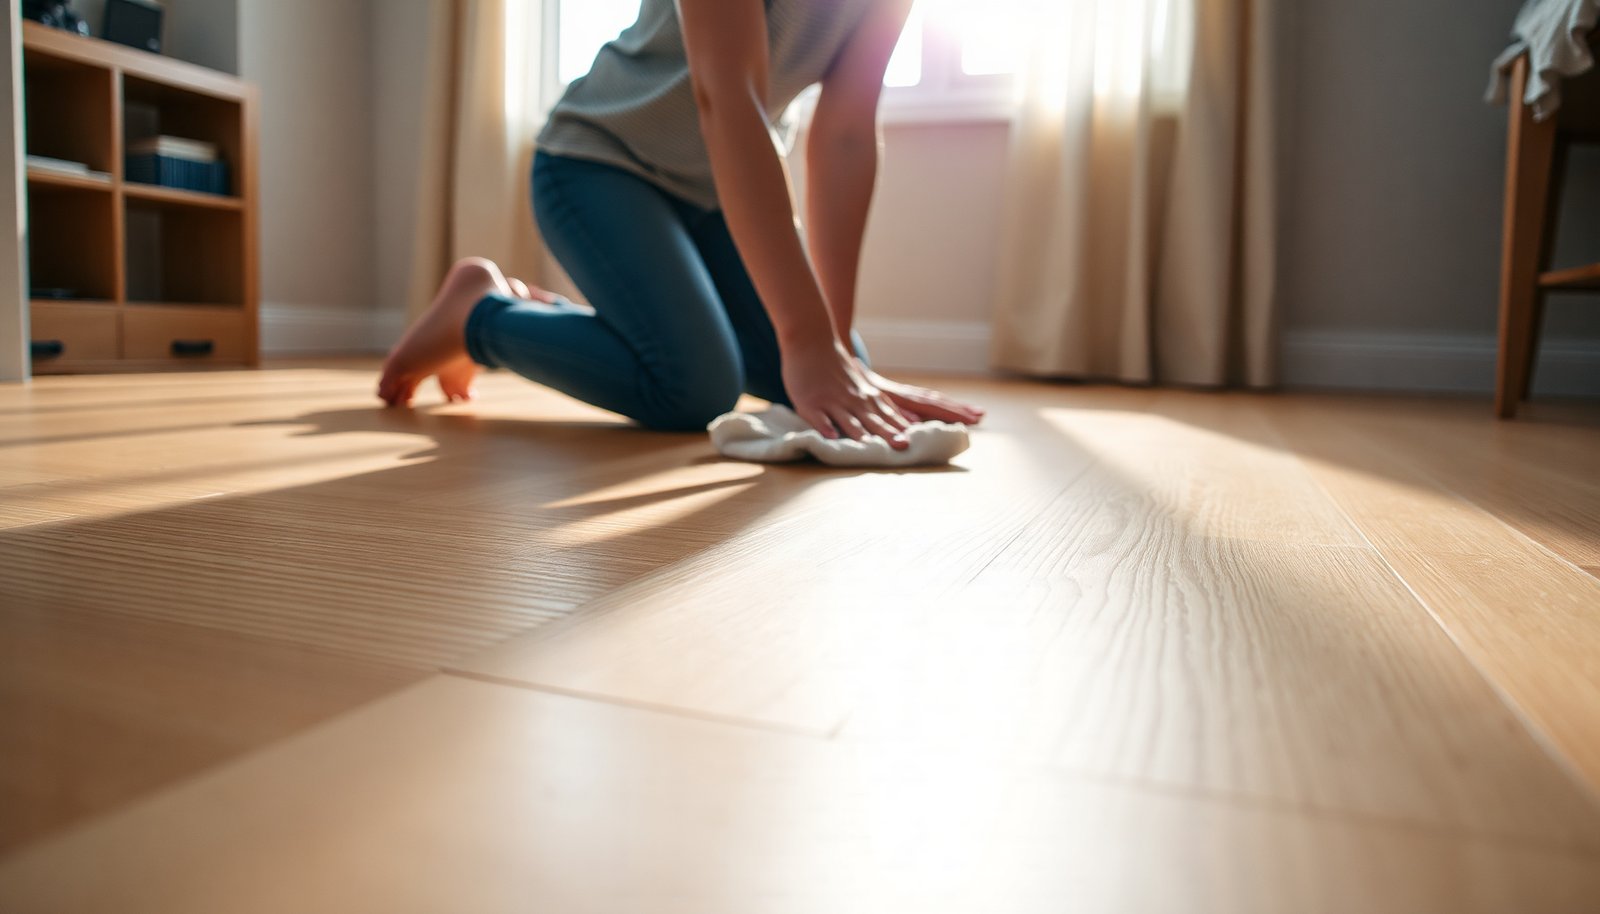

Fresh scuff marks on hardwood floors usually come off with gentle cleaning using a barely damp microfiber cloth and a mild, pH-neutral cleaner. Work in small sections, lightly rub in the direction of the grain, then wipe with a clean damp cloth and dry thoroughly to prevent dull spots. If a mark remains, try a soft nylon pad or a small amount of the same cleaner on the cloth, testing in an inconspicuous area first.




Fresh scuff marks on hardwood are usually easiest to remove by starting gently: rub with a clean microfiber dampened with plain water (or a manufacturer-approved wood cleaner), then move to a very light abrasive like a melamine “magic eraser” only if the scuff remains. The key is to protect the finish—don’t scrub hard, and avoid soaking the floor. If you’re dealing with fresh marks from shoes, furniture, or moving items, this guide walks you through a step-by-step process that goes from safest to strongest options, plus what to do when a scuff turns out to be a deeper scratch. As of 2026, this approach still matches how most flooring manufacturers advise treating scuffs on finished hardwood floor surfaces: controlled moisture, minimal friction, and early stopping when the mark lifts. If you’ve got a recently scuffed, finished hardwood floor (most residential floors), these methods are the most practical. If your floor is unfinished, heavily waxed, or you’re unsure what finish you have, pause and follow the manufacturer’s care instructions first.
If you’re a homeowner, property manager, or facilities team member trying to keep hardwood looking uniform after everyday traffic, this is the practical playbook. The goal is simple: remove surface transfer without dulling the sheen or pushing grime deeper into the wood-floor finish.
Gather the right supplies (start with the gentlest option)
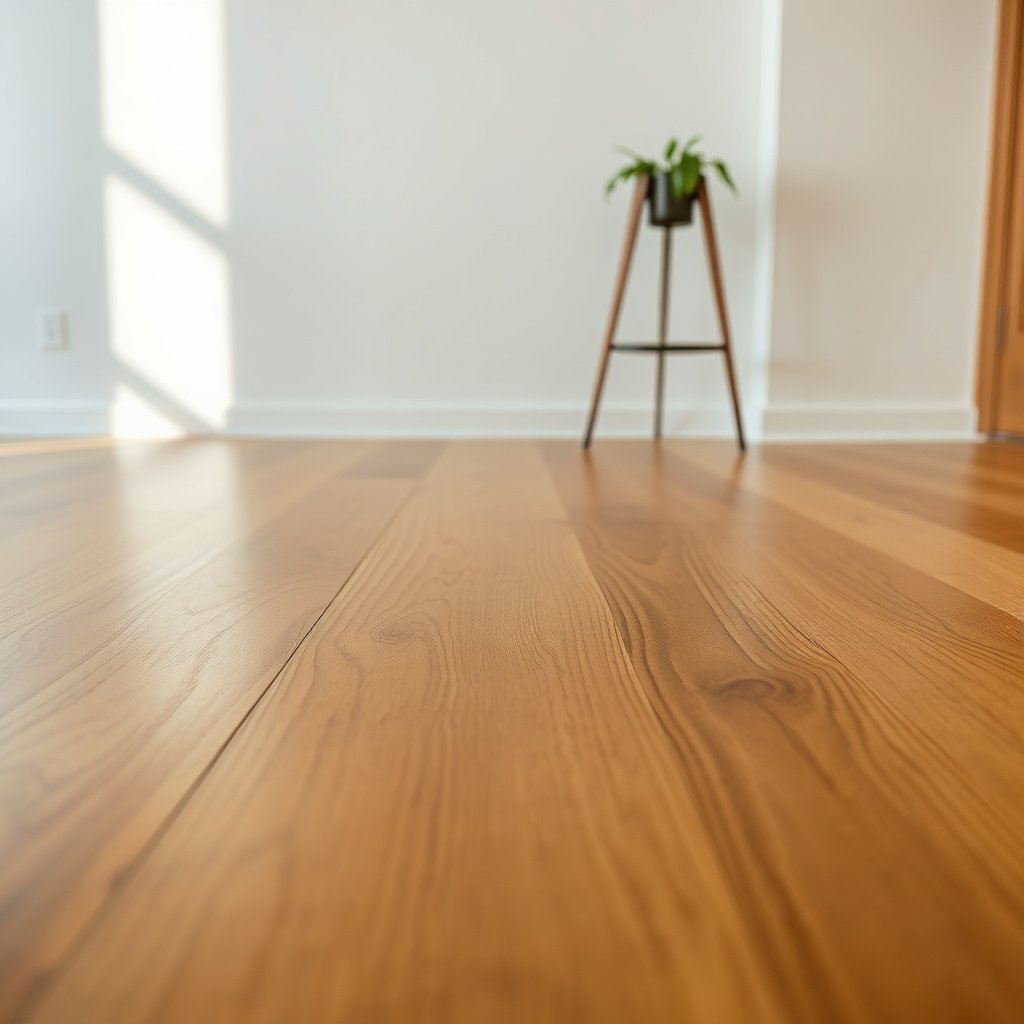
The fastest safe removal starts with the least aggressive tools: clean microfiber, controlled moisture, and a finish-appropriate cleaner if you need one. This matters because the hardwood floor finish can be altered by excess water or repeated friction, even when the scuff “looks” removable.
– Soft microfiber cloths (at least 2): one for dampening, one for drying/buffing
– Plain water and/or a pH-neutral, wood-floor cleaner that matches your finish
– Optional: melamine foam (magic eraser–type) + a small, hidden test area
Before you start, confirm whether the mark is a true scuff (surface transfer) or a scratch (finish damage). A quick visual cue helps: scuffs often look like transferred color (black/gray from rubber), while scratches may look like a change in texture that catches light even after you wipe.
To make the selection clearer, here’s how common “scuff sources” typically respond when you start gently and then escalate only if needed.
Typical Hardwood Scuff Causes and Safest First Response (2026)
| # | Scuff source | Most common look | Safest first method | Lift likelihood (★) | Finish safety rating (1–5) |
|---|---|---|---|---|---|
| 1 | Rubber shoe soles | Black/gray heel transfer | Barely-damp microfiber + grain wipe | ★★★☆☆ | 5 |
| 2 | Office chair casters | Dark streaks along caster path | Dust wipe → damp wipe → dry buff | ★★★★☆ | 5 |
| 3 | Couch or table legs | Pale scuffs from contact | Microfiber water wipe + immediate dry | ★★★★☆ | 5 |
| 4 | Moving dolly / appliance skid | Wider transfer marks | Clean, then damp wipe (no puddles) | ★★★☆☆ | 4 |
| 5 | Sand or grit dragged by shoes | Smear + dull look | Dry dust wipe first, then damp wipe | ★★☆☆☆ | 2 |
| 6 | Pet nails (surface contact) | Tiny pale streaks | Dry dust wipe; try damp micro wipe | ★★★☆☆ | 4 |
| 7 | Basket bottoms / hard plastic slides | Scuffs with light abrasion | Barely-damp wipe, then stop if texture changes | ★★★☆☆ | 3 |
Step-by-step: remove fresh scuffs without damaging the finish
The best approach for a hardwood floor finish is a controlled escalation: dust off first, then a barely-damp microfiber wipe, then only a very light melamine test if the scuff remains. This minimizes finish wear because friction and moisture are the two biggest risks.
– Lightly clean the area first by wiping away dust with a dry microfiber (grit can act like sandpaper).
– Dampen a microfiber with plain water (or your wood-floor cleaner) and wipe in the direction of the grain; immediately dry with a clean cloth.
– If the scuff remains: use a melamine foam very lightly (minimal pressure), test first in an inconspicuous spot, and stop as soon as the mark lifts.
Why “barely-damp” matters for hardwood floor finish
Hardwood expands and contracts with indoor humidity, and finishes are vulnerable to haze when excess water sits on the surface or migrates toward seams. According to the National Wood Flooring Association, maintaining indoor relative humidity in the 35–55% range is a common target to reduce moisture-related movement risk (2024) National Wood Flooring Association (NWFA) humidity/temperature guidance. While cleaning isn’t the same as seasonal acclimation, the principle carries over: you want minimal liquid contact during scuff removal.
Water microfiber vs melamine: the practical tradeoff
If you choose melamine too soon—or repeatedly—the sheen can look different even when the mark is gone. Here’s a clear comparison for a finished hardwood floor surface:
| Method | Best for | Pros | Cons / risks |
|---|---|---|---|
| Barely-damp microfiber + water or pH-neutral cleaner | Fresh surface transfer, especially pale scuffs | Lowest friction; easy to control; minimal finish alteration when dried immediately | May not lift dark rubber transfer if it’s bonded to the finish |
| Melamine (magic eraser-type) test | Remaining black/gray scuffs after gentle wipe | Often lifts embedded transfer quickly when used lightly | Can change sheen/polish level; repeated pressure can create a visible “shiny patch” on some hardwood finishes |
A quick, repeatable technique (so you don’t overwork the spot)
On the finished hardwood floor surface, aim for small working time: wipe once, then dry; if you need another pass, reassess the look under bright light. According to Bona’s hardwood-care guidance, using the right cleaner and avoiding excess water helps prevent finish haze and dulling Bona — Hardwood Floor Care and Cleaning instructions. If your cleaning product is pH-neutral, it’s typically gentler on many common topcoats than alkaline/acidic detergents .
Deal with different scuff types (black vs. pale marks)
The key is matching the cleaning action to the scuff color and behavior: pale scuffs often lift with microfiber alone, while black/gray rubber transfer may need a very light melamine test. Both approaches still protect the hardwood floor finish by minimizing repeated pressure and immediate drying.
– Rubber/heel scuffs (often darker/gray-black): you’ll usually need the gentle wipe first, then a light melamine pass—avoid repeated pressure.
– Pale scuffs (often from scraping without rubber transfer): they often lift with damp microfiber and buffing, no “abrasive” needed.
– If the mark doesn’t improve quickly, it may be a scratch that needs a different repair approach (touch-up, refinishing, or professional help).
How black/gray scuffs typically behave
Black heel scuffs are often rubber residue. A damp microfiber wipe can lift the surface portion, but if residue remains, melamine foam can abrade residue and slightly disturb the topcoat micro-surface. That’s why the correct sequence is dust → damp wipe → dry → test melamine once, lightly.
How pale scuffs differ
Pale scuffs usually indicate micro-transfer (light contact) rather than deep finish damage. When you wipe in the grain direction and dry promptly, many pale marks disappear without changing the finish sheen.
When you should stop and reassess
If the scuff doesn’t improve within a couple of careful attempts, keep in mind that you may be looking at a scratch—where the coating is physically impacted. Further abrasion can make the damage more obvious, especially on satin or matte hardwood floor finishes where sheen differences are easier to spot under angled light.
What can go wrong (and how to avoid it)
The most common failures come from using too much moisture or too much friction too soon. To avoid finish damage on hardwood floor surfaces, follow the gentlest-to-strongest escalation and stop immediately when the scuff lifts.
– Over-wetting the floor: hardwood finishes can haze, dull, or allow moisture to creep at seams—use a barely-damp cloth, not a soaked one.
– Scrubbing aggressively: friction can wear down the finish and leave a dull spot even if the scuff looks “gone.”
– Using the wrong chemicals: avoid harsh cleaners (like bleach or strong solvents) and stick to pH-neutral options that match wood-floor guidance.
– Applying melamine too broadly: melamine can polish/wear the finish—always test and limit contact time/pressure.
Practical “do not” list for 2026 maintenance routines
If you’re cleaning in 2026 and want consistent results across rooms, these “shortcut” habits are the ones that most often create lasting sheen variation:
– Don’t soak a microfiber and then “ring it out on the floor.”
– Don’t use bleach, ammonia, or solvent-based cleaners unless your specific finish manufacturer allows it.
– Don’t keep rubbing after the scuff looks lighter—finish wear can progress even while the visible transfer is reduced.
If you’re unsure about your finish
If your hardwood floor is unfinished, heavily waxed, or you don’t know whether it’s polyurethane, aluminum oxide, oil-modified, or a film-forming coating, pause. The safe method is to follow the manufacturer’s care instructions before trying melamine or any cleaner beyond water. Many manufacturer care guides emphasize finish-specific cleaning practices .
Verdict / tip (what’s worth trying—and when to stop)
For most fresh scuffs on finished hardwood, the safest win is: dust wipe → damp microfiber wipe → dry buff, then only a light melamine test if needed. Skip melamine (or stop early) if the floor is unfinished, unknown finish, or already has a delicate topcoat—those situations are where “safe” abrasion can still cause visible finish wear.
Downsides to know up front:
– Water-only cleaning may not remove black rubber residue in one attempt.
– Melamine can sometimes create a slight sheen change even when it removes the mark completely, especially on satin/matte finishes.
– If the scuff is actually a scratch, DIY abrasion typically won’t restore the original surface; you may need a spot repair or refinishing plan.
Who should not push past the gentle steps:
– Anyone with uncertain finish type (no manufacturer guidance available).
– Properties with extensive pre-existing dull spots (sheen comparisons become harder).
– Floors showing edge lifting or seam gaps where moisture can migrate.
Quick checklist (scan before you start)
| Step | What to do | Stop if you see… |
|---|---|---|
| 1 | Wipe up dust with a dry microfiber | Grit-like debris smearing |
| 2 | Wipe lightly with barely-damp microfiber (water or approved cleaner) | Hazy dullness spreading |
| 3 | Dry/buff immediately | Finish looks worn in the test area |
| 4 (only if needed) | Test melamine lightly in a hidden spot; minimal pressure | A lighter “shiny” patch or damage-looking finish |
| 5 | If no improvement, stop | The mark looks like a scratch, not a surface scuff |
Sources
– Bona — Hardwood Floor Care and Cleaning instructions (manufacturer cleaning guidance for finished wood floors; includes advice on appropriate cleaners and moisture control)
– National Wood Flooring Association (NWFA) — Humidity/temperature recommendations for wood flooring care (guidance commonly cited for maintaining indoor conditions)
If you remember one principle for cleaning fresh scuff marks, make it this: start with a dry dust wipe and a barely-damp microfiber, dry immediately, and only escalate to melamine as a small test on a finished hardwood floor surface. When you stop early and avoid soaking or aggressive scrubbing, you get the best chance of removing the scuff while keeping the original sheen consistent.
Frequently Asked Questions
What’s the fastest way to clean fresh scuff marks from hardwood floors?
For fresh scuff marks, start by wiping the area with a slightly damp microfiber cloth to remove surface dirt and grit. Then apply a small amount of hardwood floor cleaner or a few drops of mild dish soap diluted in water, and buff gently in the direction of the wood grain. Dry immediately with a clean towel to prevent moisture from soaking into the finish.
How do you remove scuff marks from hardwood without damaging the finish?
Use the gentlest method first: a microfiber cloth and a cleaner meant for hardwood floors, then soft pressure and careful buffing along the grain. Avoid abrasive pads, steel wool, and harsh cleaners like bleach or ammonia, which can dull or strip the protective finish. If the scuff remains, try a “damp cloth + soft scrub” approach using a non-scratch eraser or melamine sponge lightly, then re-wipe and dry.
Why do scuff marks show up more on certain hardwood finishes, and how should you adjust cleaning?
Scuffs stand out more on glossy, urethane, or high-sheen finishes because the surface reflects light differently where the coating is worn. On matte finishes, scuffs may blend more but still need gentle cleaning to avoid further dulling. Match your approach to the floor’s finish—use minimal moisture and the least abrasive tools first, and consider testing any cleaner or eraser in an inconspicuous spot.
Which home remedies work best for fresh scuffs on sealed hardwood floors?
A reliable option is a diluted mixture of mild dish soap and warm water, applied with a microfiber cloth and followed by immediate drying. For many fresh scuffs, a small amount of white vinegar diluted with water (lightly damp cloth, not soaking) can help lift residue, but don’t use it on unsealed wood. For stubborn marks, a non-scratch magic eraser can work well when used sparingly and carefully, with quick follow-up wiping to remove any residue.
What’s the best way to prevent scuff marks on hardwood floors in high-traffic areas?
Place felt pads under furniture legs and use entry mats or rugs to reduce tracked grit that scuffs the finish. Encourage a “no dragging” routine and consider protective floor coatings or regular maintenance with a hardwood floor polish compatible with your finish. For ongoing protection, clean promptly after spills and wipe scuffs early—fresh marks are much easier to remove than dried-in marks.
📅 Last Updated: November 02, 2026 | Topic: How to clean fresh scuff marks from hardwood floors? | Content verified for accuracy and freshness.
References
- Wood flooring
- https://extension.umn.edu/how/clean-and-care-hardwood-floors
- 404 Error
- https://www.armstrongflooring.com/cms/armstrong/en_US/residential/flooring-resources/care-and-maintenance/hardwood-floor-care.html
- https://www.bruce.com/flooring-resources/care-and-maintenance/how-to-clean-hardwood-floors
- https://scholar.google.com/scholar?q=remove+scuff+marks+hardwood+floor Google Scholar
- https://scholar.google.com/scholar?q=cleaning+finished+wood+floor+scuff+marks Google Scholar
- https://scholar.google.com/scholar?q=hardwood+floor+care+abrasion+cleaning+methods Google Scholar



[…] 1. Dampen, don’t flood. Use a microfiber cloth that’s slightly damp (not dripping). Wipe gently in the direction of the grain. […]