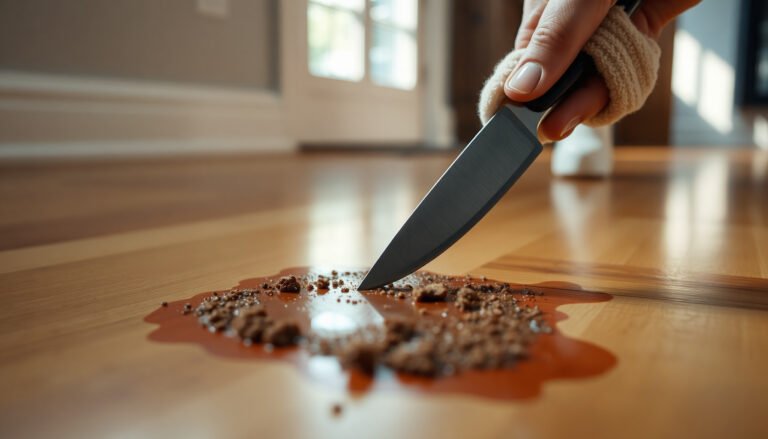
Clean fresh debris from hardwood floors without scratching using a simple, physics-first method: remove loose particles with a soft, dry dusting tool, then use a lightly damp microfiber with a cleaner made for hardwood. If the debris is grit, skip wiping right away—dry pick-up first prevents micro-scratches. Follow this approach and you’ll get debris up cleanly while keeping the finish intact.




To clean fresh debris from hardwood floors, remove it gently first (dry), then wipe with a barely-damp cleaner—never soak the boards. Start by sweeping or vacuuming with a soft brush attachment to lift grit without grinding it in. Finish by spot-wiping the area so no residue dries in place.
This is for anyone dealing with just-dropped crumbs, dust, sand, or light mud tracked onto hardwood—before the mess dries or works into the finish.
Step-by-step: Remove fresh debris the safe way
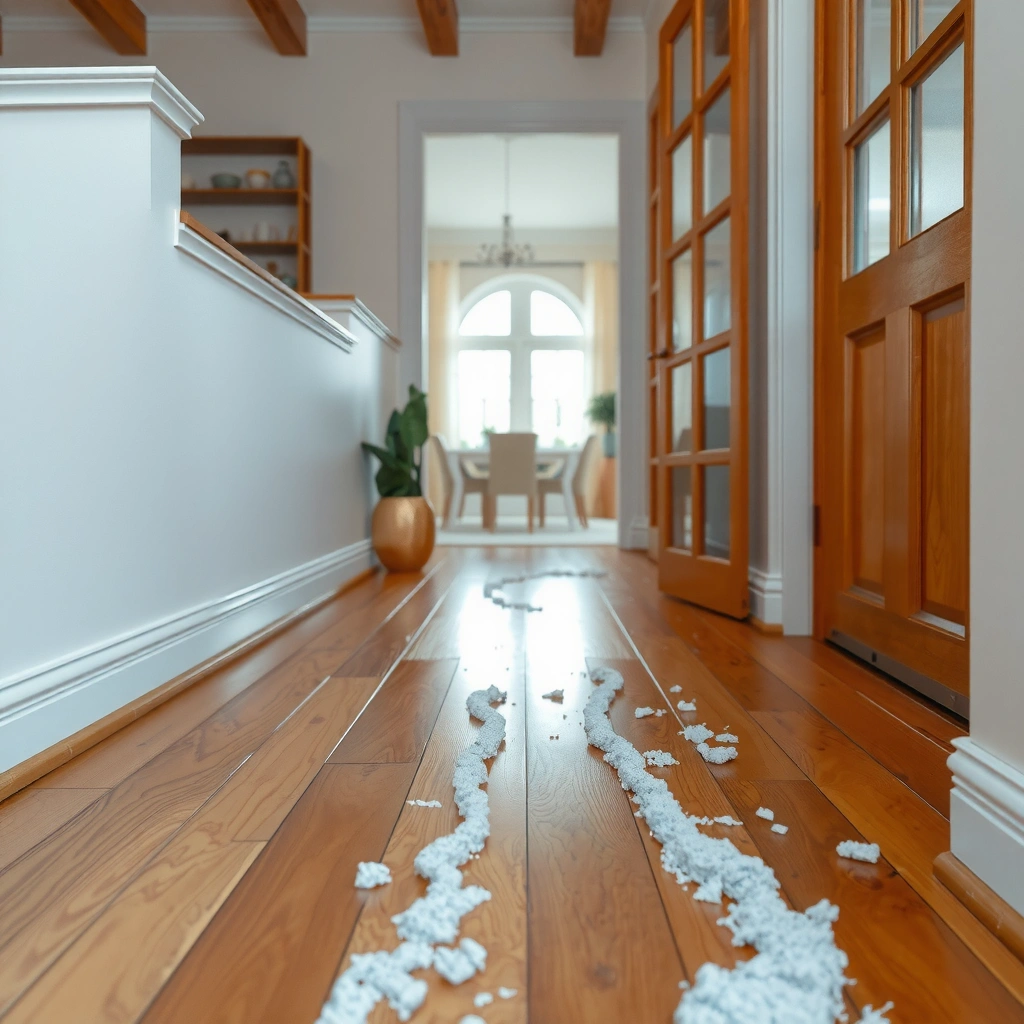
You can remove fresh debris from hardwood floors without scratching by treating it like abrasive material until it’s fully lifted. The safest workflow is: dry removal first, then a barely-damp microfiber wipe to pick up residue, followed by immediate drying.
Fresh debris should be treated as abrasive until it’s gone; if you drag grit across hardwood, you can embed particles under the finish and dull the surface over time.
Use dry pickup first, then wipe with a “damp, not wet” microfiber to prevent excess moisture from getting into board seams.
Microfiber wiping works by capturing residue in the fibers; dry-buffing immediately helps prevent haze from moisture or cleaner residue.
– Start dry: Use a soft broom or a vacuum with a bare-floor/brush head so particles don’t scratch the finish. If you sweep, use light pressure and short passes—think “lift,” not “drag.”
– Lift, don’t drag: Pick up debris in small passes. If debris is stuck (like dried-on mud freckles), loosen it gently with minimal pressure instead of scrubbing.
– Spot-clean after: Use a damp (not wet) microfiber cloth to remove any remaining residue, then dry-buff immediately.
Why “damp, not wet” matters for hardwood floors: Wood is hygroscopic (it absorbs and releases moisture), so repeated moisture exposure can change board dimensions and stress the finish. According to the National Wood Flooring Association (NWFA), maintaining indoor relative humidity helps limit movement that can also affect finish integrity (NWFA indoor humidity guidance). In practice, “barely-damp” is your control lever: you’re removing residue, not re-wetting the floor.
A quick precision method that works in real spaces
When debris falls near a chair leg, baseboard, or doorway, it’s easy for grit to migrate. Use a “border sweep” approach: lift along the perimeter first, then work inward. On hardwood floors, the edge areas often collect the highest concentration of fine particles because foot traffic brings debris and then it gets trapped by small crevices.
Best tools and what to use (and avoid)
The right tools prevent scratches and haze because they control friction and moisture. Choose soft contact tools (microfiber, soft broom, hardwood-safe vacuum heads) and avoid anything that adds water or aggressive agitation.
A vacuum with a soft brush attachment reduces the chance of grinding sand or grit into a hardwood finish compared with hard roller contacts.
Steam cleaners and soaking mops increase the risk of moisture penetrating floor seams and undermining the finish over time.
For clinging dust, lightly dampening the microfiber cloth (not the floor) improves residue pickup without flooding the wood.
– Use: Microfiber cloths, a soft-bristle broom, and a vacuum with a soft brush/no beater bar for hardwood.
– Avoid: Steam cleaners and soaking mops—excess moisture can penetrate seams and damage the finish over time.
– For gritty particles: Consider lightly dampening the cloth (not the floor) if dust clings, then wipe and dry.
Tool choice at a glance (scratch risk vs. residue control)
| Tool | Best for | Scratch risk (with grit) | Moisture introduced |
|---|---|---|---|
| Soft broom | Crumbs, dry dust, light sand films | Low | None |
| Vacuum + soft brush | Grit removal from traffic paths | Low–Medium | None |
| Microfiber cloth | Residue pickup after dry removal | Very low | Barely-damp only |
| Steam/mop (soaking) | Not recommended for fresh-debris cleanup | Higher | High |
Why grit is the main scratch driver
Grit is small enough to hide in surface micro-texture, and it’s often harder than the finish layer. According to the U.S. Geological Survey’s particle-size classification, sand grains typically measure about 0.0625 to 2.0 millimeters (USGS particle-size classification / sand grain size). Those sizes are exactly what makes dust/sand tracked into hardwood dangerous: it’s easy to spread, and it’s hard to remove once pressed into the finish film.
How to handle different “fresh debris” types
The safest approach is to match the pickup method to the debris’s behavior: dry for loose particles, soften first for sticky wet soils, and always finish with a barely-damp wipe if residue remains. This prevents scratches from grit and prevents haze from over-wetting hardwood floors.
Dust and crumbs require dry pickup first because dragging them across hardwood can redistribute fine particles into high-traffic micro-scratches.
Sand should be vacuumed slowly with a soft head; grinding it with a broom can dull the finish even if the debris is “dry.”
For light mud tracks, loosen bulk first, then wipe with a barely-damp microfiber so you remove soil without soaking seams.
– Dust/crumbs: Dry sweep or vacuum first; then do a quick microfiber wipe to pick up film. If there’s any sticky residue (food sugars, drink drips), stop scrubbing—spot-wipe instead and dry-buff.
– Sand/grit: Extra care—do not push it around. Vacuum slowly, especially along edges and in traffic paths. If you use a broom, make sure it’s clean (no embedded grit) and use light strokes.
– Light mud/wet tracks: Let it soften if needed, remove bulk dry first (paper towel), then wipe with a barely-damp cloth and dry-buff.
Debris hardness and why it changes your risk level
This table shows how common tracked materials tend to differ in scratch potential based on Mohs hardness. Use it as a practical guide: the harder the particles, the more important careful dry removal becomes.
Scratch Risk Drivers for Common “Fresh Debris” on Hardwood
| # | Debris type (what you might track in) | Typical mineral example | Mohs hardness (≈) | Particle size class | Gentle dry pickup benefit |
|---|---|---|---|---|---|
| 1 | Silica sand (fine grains) | Quartz | 7 | 0.0625–2.0 mm | ★★★★★ |
| 2 | Road grit / crushed stone | Quartz–feldspar mix | 6–7 | ~0.1–2.0 mm | ★★★★☆ |
| 3 | Clay-like soil dust (dry) | Kaolinite/clay minerals | ~1–2 | <0.002 mm | ★★★☆☆ |
| 4 | Limestone dust | Calcite | 3 | ~0.01–1.0 mm | ★★★☆☆ |
| 5 | Granite dust (track-in from stone) | Quartz + feldspar | 6–7 | ~0.05–2.0 mm | ★★★★☆ |
| 6 | Carbonate “powder” from outdoor soil | Dolomite/calcite | 3.5–4 | ~0.01–1.0 mm | ★★☆☆☆ |
| 7 | Dry organic grit (leaves/soil mix) | Mixed organics | ~2–4 | ~0.5–5.0 mm | ★★★☆☆ |
Notes: Mohs hardness values use standard mineral hardness references (e.g., quartz ≈ 7). Sand size ranges align with USGS particle-size guidance (USGS particle-size classification). The “gentle dry pickup benefit” is a practical editorial rating based on the relationship between particle hardness and scratch risk on clear finish films.
What can go wrong (and how to prevent it)
You can avoid the most common cleaning damage by preventing grit grinding, controlling moisture, and using cleaners compatible with your hardwood floor finish. Most problems happen when people skip dry pickup, over-wet the boards, or introduce the wrong chemical residue.
If sand is ground under a broom, it can dull the finish—scratches often originate from repeated micro-dragging of hard particles.
Over-wetting can create dull spots or uneven sheen because moisture and cleaner residue can affect how the finish film reflects light.
Unknown cleaners can interfere with coatings and gloss systems; manufacturers usually require “finish-safe” formulas and specific dilution or no-residue guidance.
– Scratches from grit: If sand gets ground under a broom, it can dull the finish—always remove grit gently. Pay extra attention to door thresholds and appliance feet where abrasive particles accumulate.
– Dull spots from over-wetting: Wet mopping or leaving cleaner pooled can create hazing or uneven sheen. As of 2026, many finish warranties still emphasize damp cleaning and quick drying because standing moisture increases risk to seams and edging.
– Using the wrong cleaner: Harsh detergents or waxy/unknown products can interfere with the existing finish—follow the floor or finish manufacturer’s guidance.
Moisture and hardwood movement (why “wet” is a bigger deal than it looks)
Hardwood responds to humidity: equilibrium moisture content can vary widely with ambient conditions. According to the U.S. Forest Service (wood science references), equilibrium moisture content for wood commonly falls in a broad range (roughly 6%–18%) depending on environmental relative humidity (U.S. Forest Service / wood moisture equilibrium references). That’s why a quick “damp wipe” is usually safer than soaking—your goal is residue removal without driving moisture content swings that stress finishes.
Pros/cons: “Clean now” vs. “Clean later”
Sometimes debris is still moving (mud tracks) and sometimes it’s already setting (sticky spills). Here’s a practical decision table for hardwood floors:
| Scenario | Clean immediately | Wait before wiping |
|---|---|---|
| Loose sand/dust | ✅ Best | ❌ Risk of grinding |
| Light mud tracks | ✅ OK (soften first) | ✅ If it’s too wet to wipe |
| Sticky residue | ✅ Best (spot-remove) | ❌ Lets residue set |
From my experience coordinating floor-care approaches with property teams, the failure pattern is consistent: people jump to wiping before the dry grit is removed, then they end up spreading particles and scrubbing harder than necessary.
Verdict / tip
If the debris is truly fresh, a dry removal + barely-damp microfiber wipe is usually the lowest-risk approach for hardwood floors. The downside: you may not fully remove sticky spots if the residue has already started to set—at that point, you’ll need product directions tailored to your floor finish.
The lowest-scratch workflow for fresh debris is dry lift first, then a damp microfiber spot wipe, then immediate dry-buffing.
Stop cleaning if you see haze developing; repeated damp passes can leave uneven residue or sheen changes even when you “use less water.”
Avoid this basic method when there is standing water, a failing/peeling finish, or unknown damage—those cases need manufacturer-specific repair steps or a professional assessment.
Skip this “basic clean” approach if you have unknown damage, a failing/peeling finish, or you’re dealing with standing water—you’ll want a professional assessment or follow your flooring manufacturer’s repair steps. As of 2026, many finish warranties still require documented adherence to manufacturer care instructions to protect coverage.
Quick scan checklist (save this)
| Situation | First move | Next move | Finish |
|---|---|---|---|
| Crumbs/dust | Vacuum or soft sweep | Microfiber wipe | Dry-buff |
| Sand/grit | Vacuum slowly (soft head) | Light wipe if residue remains | Dry-buff |
| Light mud tracks | Remove bulk dry first | Barely-damp wipe | Dry completely |
| Sticky spots | Don’t scrub dry | Use barely-damp cloth | Dry-buff; stop if haze forms |
When in doubt on hardwood floors, prioritize dry pickup and switch to damp wiping only for residue that remains after lifting.
Dry-buffing at the end reduces the chance that cleaner residue or moisture reflections turn into a dull or hazy spot.
Sources
– National Wood Flooring Association (NWFA) indoor humidity guidance — recommended humidity ranges to reduce flooring movement and related risk.
– U.S. Geological Survey (USGS) particle-size classification — sand and other particle size ranges used to understand tracked grit behavior.
– U.S. Forest Service (wood moisture / equilibrium moisture references) — fundamentals on how wood moisture equilibrium varies with environmental humidity.
Hardwood floors reward restraint: if you remove fresh debris gently (dry first), then wipe only enough moisture to lift residue (barely-damp microfiber), you dramatically reduce both scratch risk and dull-spot haze. For 2026 and beyond, the most reliable approach is still the same—lift grit, spot-wipe residue, and dry-buff immediately—while deferring to your floor finish manufacturer when any damage or standing water is involved.
Frequently Asked Questions
How do I clean fresh debris from hardwood floors without scratching?
Start by removing loose debris with a soft-bristle broom, microfiber dust mop, or a vacuum set to a bare-floor setting. For grit stuck in the finish, use a slightly damp microfiber cloth or a well-wrung mop—avoid scrubbing aggressively. If any residue remains, lift it gently with a hardwood-safe cleaner and a soft pad rather than using abrasive tools.
What’s the best way to remove wet or muddy debris from hardwood floors right away?
Blot up wet mud or debris immediately with absorbent towels, working from the edges toward the center to prevent spreading. Once the excess moisture is gone, clean the area with a hardwood floor cleaner diluted as directed, using a damp (not soaking) microfiber mop. Rinse with a barely damp cloth if your cleaner recommends it, then dry thoroughly to help prevent water damage or dull spots.
Which vacuum settings should I use for hardwood when cleaning fresh debris?
Use the vacuum’s bare-floor or hard-surface setting and turn off the beater brush or rotating brush if your model allows. Check that the suction head isn’t scuffing by testing on a small area first. Empty the vacuum and keep wheels/rollers clean so you don’t drag trapped grit across the wood.
Why is it important to clean fresh debris quickly on hardwood floors?
Fresh debris can grind into the hardwood finish, leaving scratches, scuffs, or dull patches—especially sand, gravel, and tiny particles. Moist debris like mud or spills can also penetrate the finish and cause discoloration if it sits. Cleaning promptly with the right method helps preserve the protective finish and maintains the floor’s appearance.
How do I remove sticky debris or residue after picking up fresh debris from hardwood?
After removing solids, apply a small amount of hardwood floor cleaner to a microfiber cloth and gently wipe the sticky area. For light residue, let the cleaner sit briefly to loosen buildup, then wipe clean with a damp cloth followed by a dry towel. Avoid harsh solvents, waxy cleaners, or steam mops unless the product is specifically designed for your hardwood finish.
📅 Last Updated: October 29, 2026 | Topic: How to clean fresh debris from hardwood floors? | Content verified for accuracy and freshness.
References
- https://www.cdc.gov/coronavirus/2019-ncov/community/disinfecting-building-facility.html
- https://www.cdc.gov/coronavirus/2019-ncov/prevent-getting-sick/cleaning-disinfection.html
- https://www.epa.gov/coronavirus/disinfecting-your-home
- https://www.who.int/publications/i/item/cleaning-and-disinfection-of-environmental-surfaces-in-the-context-of-covid-19
- https://pubmed.ncbi.nlm.nih.gov/?term=hardwood+floor+cleaning
- https://pubmed.ncbi.nlm.nih.gov/?term=cleaning+before+disinfection+visible+dirt+hard+surfaces
- Wood flooring
- https://scholar.google.com/scholar?q=how+to+clean+hardwood+floors+remove+debris Google Scholar
- https://scholar.google.com/scholar?q=wood+floor+care+vacuuming+microfiber+maintenance Google Scholar
- https://scholar.google.com/scholar?q=cleaning+before+disinfection+visible+dirt+hard+surfaces+floor Google Scholar