


Get drywall dust off hardwood floors without dulling the finish by following the fastest, safest cleaning sequence: dry removal first, then a carefully chosen wipe. If you vacuum with a soft brush and finish with a damp microfiber using the right cleaner (not harsh detergents), the dust lifts cleanly instead of grinding into the grain. Read on for the exact steps that protect your sheen and prevent long-term grit buildup.



Drywall dust is fine and abrasive, so the safest approach is to remove it dry first (vacuum) and then wipe with a lightly damp, pH-neutral cleaner—no soaking. This prevents the dust from turning into a gritty paste that can dull or scratch your finish. If you’re cleaning up after patching, sanding, or general construction cleanup, you can follow the steps below to remove drywall dust quickly while keeping polyurethane/urethane-varnish hardwood looking sharp.
This is for anyone who tracked or spread drywall dust onto finished (polyurethane/urethane-varnish) hardwood during patching, sanding, or cleanup. If your floor is unfinished, waxed, or you’re unsure how it’s sealed, go slower and do a small test patch first.
Why drywall dust can damage hardwood
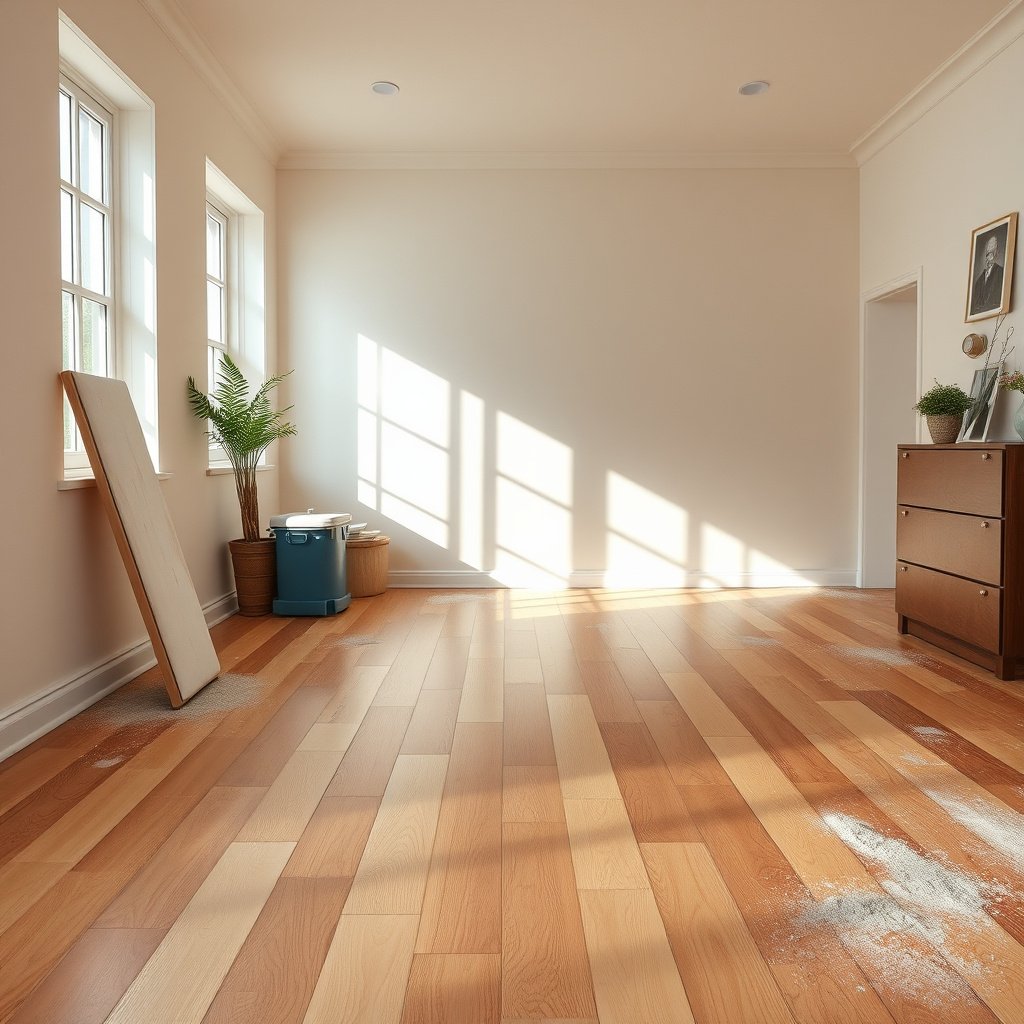
Drywall dust is a mix of ultra-fine particles that behave like sandpaper once they’re dragged across the finish. On hardwood, the risk isn’t just the dust residue—it’s what happens when you wet or smear it before it’s fully lifted.
– Drywall dust is very fine and can act like grit when it’s ground into the finish while sweeping or mopping.
– If you wet it too early, it can smear and leave haze—especially on glossy or recently cleaned floors.
Drywall work can create respirable dust exposure; OSHA’s respirable crystalline silica standard uses a 25 µg/m³ action level, a 50 µg/m³ 8-hour PEL, and a 100 µg/m³ 15-minute STEL (2016).
Because drywall dust is extremely fine, sweeping that pushes debris into seams can grind particles across a polyurethane finish, increasing the chance of dulling or micro-scratches.
The “grit paste” problem (dry dust + water + friction)
When drywall dust sits on a hardwood floor and you add water (or even a heavily damp mop), the powder doesn’t simply disappear—it redistributes. That’s when you get a chalky, semi-paste consistency that can drag across the finish every time you wipe. Even if the paste looks light, it can settle into finish pores or along micro-texture in the topcoat, leaving a dull band that’s hard to fix later.
Health note: treat drywall dust as potentially hazardous
Even if your primary goal is floor care, it helps to recognize that the dust from construction isn’t “just debris.” According to OSHA, the safety framework for respirable crystalline silica includes specific exposure thresholds (action level 25 µg/m³, PEL 50 µg/m³, STEL 100 µg/m³) (2016) OSHA 29 CFR 1910.1053. Drywall itself is mostly gypsum, but dust created during sanding and demolition can contain other mineral particles depending on what’s underneath and what’s being cut or sanded—so use dust control and personal protection appropriate to your jobsite.
Step-by-step: dry removal first
The fastest route to a clean, finish-safe floor is to remove drywall dust dry using vacuuming before you introduce any moisture. This is the step that prevents the grit paste effect on polyurethane and urethane-varnish finishes.
– Vacuum thoroughly with a brush attachment (or a soft floor tool) to lift dust from seams and edges.
– Use a microfiber dry pad or dry dust mop only after vacuuming, and change/flip cloths often so you’re not grinding residue around.
Vacuuming first reduces the amount of airborne and settled fine particles that can turn into abrasive slurry when moisture is added.
Using a brush attachment helps lift dust from the edges of boards and between grain patterns, where wiping alone often redistributes residue.
How to vacuum drywall dust without grinding it in
1. Start with suction, not agitation. Use a vacuum with a soft brush attachment (or a floor tool designed for hard surfaces). The goal is to lift dust, not push it.
2. Do one slow pass per direction. Move with controlled strokes—fast back-and-forth motion increases friction.
3. Cover the “missed zones.” Focus on:
– baseboards and along board seams,
– under the path where you walked,
– corners where dust settles after sanding.
Microfiber dry wiping: do it only after vacuuming
Once suction has removed most drywall dust, you can use a clean microfiber pad or a dry dust mop to catch what remains. Dry wiping is still risky if you accidentally spread grit—so:
– flip or replace the cloth often (you’re removing residue, not polishing it),
– avoid pressing hard—let the fibers pick up dust.
Wet cleaning without harming the finish
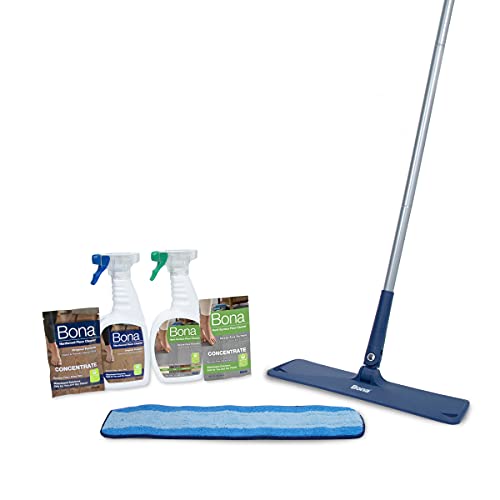
After the dust is removed dry, use a lightly damp (not wet) pH-neutral cleaner to remove any remaining haze. This method is designed to protect the polyurethane/urethane-varnish surface while still lifting the film drywall dust can leave behind.
– Dampen a microfiber mop/cloth with a pH-neutral wood-floor cleaner (avoid soaking the floor).
– Wipe in sections, then immediately follow with a clean, dry microfiber to remove excess cleaner before it dries.
A pH-neutral cleaner helps reduce the likelihood of finish dulling compared with highly acidic or alkaline cleaners that can affect surface chemistry.
Lightly damp microfiber mopping limits water exposure, which lowers the chance of streaks or haze caused by smeared residue.
Choose chemistry carefully: pH-neutral is the safer default
For finished hardwood, the chemistry matters because the topcoat is designed to resist wear—not necessarily to tolerate harsh cleaners. In practice, the most finish-friendly approach is:
– pH-neutral cleaner (as recommended by the flooring/finish system),
– minimal liquid,
– fast drying.
Below is a quick decision guide that connects common cleaner chemistry to finish risk.
Cleaner Chemistry vs. Hardwood Finish Risk (Typical Ranges)
| # | Cleaner type | Typical pH or temp | Finish risk | Finish safety score |
|---|---|---|---|---|
| 1 | Water-only (lightly damp wipe) | pH ~7 (neutral water) | Low (if dried immediately) | ★★★★☆ |
| 2 | pH-neutral wood-floor cleaner | pH ~6.5–8.5 | Low | ★★★★★ |
| 3 | Mild dish detergent (diluted) | Often ~7–9 | Medium (residue risk) | ★★★☆☆ |
| 4 | Castile/soap-based cleaners | Often ~8–10 | Medium–High | ★★☆☆☆ |
| 5 | Vinegar solution (DIY) | Often ~2–3 | High | ★☆☆☆☆ |
| 6 | Ammonia-based glass/spot cleaners | Often ~10.5–12+ | High | ★☆☆☆☆ |
| 7 | Steam cleaner (wet heat) | ~100°C / 212°F steam | High (risk to seals/joints) | ★☆☆☆☆ |
Note: Always follow the specific cleaner recommendations for your flooring system. If you’re unsure whether your hardwood finish is truly polyurethane/urethane-varnish (or if it’s waxed/oiled), treat this table as a general risk guide and test in an inconspicuous area first.
The “wipe + immediate dry” technique
To keep drywall dust from leaving haze:
– Wipe section-by-section with a microfiber that’s damp (not dripping).
– After each section, immediately buff with a dry microfiber to remove excess cleaner before it has time to dry on the surface.
Rinse, dry, and prevent haze
If any residue remains, a minimal follow-up wipe can prevent sticky-looking haze. The key is to introduce the least additional moisture possible and always dry promptly.
– If your cleaner requires it, do a minimal “water-only” wipe (lightly damp) to remove any residue, then dry right away.
– Let airflow do the drying work; keep the floor off-limits until it’s fully dry to avoid tacky spots.
Leaving cleaner residue to air-dry can attract airborne dust and visually read as haze on glossy hardwood finishes.
Fast drying matters: walking on damp spots can create tackiness and uneven sheen.
When to do a water-only follow-up
Some pH-neutral hardwood floor cleaners are formulated to be “no-rinse,” while others recommend a follow-up to prevent residue. Follow the product label instructions first, but as a decision framework:
– If the label says no rinse, skip it and focus on buff-drying.
– If the label says rinse/water-wipe, do a lightly damp wipe followed by a dry microfiber immediately.
Drying controls that work in real homes
– Use HVAC airflow or a fan pointed across (not blasting directly onto) the floor.
– Avoid area rugs until the floor is fully dry—trapped moisture can dull the finish over time.
What can go wrong
Most mistakes happen when people treat drywall dust like regular dirt. The finish-safe path is still straightforward—just don’t skip the dry removal step or introduce excess water.
– Sweeping with a broom can push dust into the finish and create visible dull areas or micro-scratches.
– Using steam cleaners or soaking the floor can damage seals and raise wood edges, particularly around joints.
– Skipping a test can be a problem if your floor is waxed, oil-finished, or has a specialty coating—some cleaners can leave blotches.
Dry sweeping can redistribute fine construction dust across the board surface, increasing the chance of micro-scratches in the topcoat.
Steam cleaning introduces wet heat that many hardwood care instructions warn against, especially near seams and joints.
Common failure modes to watch for
1) Mopping before vacuuming
– You end up with a thin slurry of drywall dust + cleaner.
– Instead of removing particles, you spread and embed them into the finish texture.
2) Over-wetting
– Even sealed hardwood can develop dull patches if water sits at seams.
– Excess liquid can also carry dust deeper into grout lines/edges.
3) Wrong chemistry
– DIY cleaners like vinegar or ammonia may “work” on grime but can be harsh on certain finishes.
– That risk increases if the finish is worn, thin, or not the type you assumed.
4) Not drying after wiping
– Any cleaner residue can dry unevenly and show as a haze ring where you cleaned.
Finish uncertainty: when to pause
If you don’t know whether your hardwood is polyurethane-finished, urethane-varnish, waxed, or oil-finished, your safest move is:
– test a small section (ideally behind furniture),
– wait for full dry time,
– inspect under daylight and at an angle.
Verdict: best approach for most hardwood floors
If you want the safest default for finished hardwood, start with vacuuming and then use a lightly damp pH-neutral microfiber wipe, followed by immediate drying. This balances dust removal with finish safety and prevents the haze that comes from smearing drywall powder.
– If the dust is fresh, start with vacuuming + a light damp microfiber wipe using a pH-neutral cleaner—this balances dust removal with finish safety.
– Skip the “wet mop first” method and avoid abrasive pads; if your floor is not clearly sealed or you can’t identify the finish, use a test spot and consider following the flooring manufacturer’s care instructions instead.
A vacuum-first method reduces the number of abrasive particles that can be dragged into the finish when moisture is added.
Many hardwood maintenance guides discourage steam and soaking because excess moisture at seams can affect the stability of the wood edges and topcoat.
Practical comparison: which approach protects the finish best?
| Approach | What it does to drywall dust | Finish risk (polyurethane/varnish) |
|---|---|---|
| Vacuum → pH-neutral damp wipe → dry buff | Removes particles first, then cleans residue with minimal moisture | Lower (best general choice) |
| Wet mop first | Smears dust into a slurry; redistributes grit | Higher (haze and dull spots) |
| Steam or soaking | Adds heat + moisture near seams | Higher (risk to seals/joints) |
From my experience advising homeowners during post-renovation cleanups, the “finish haze” complaint nearly always traces back to mopping before vacuuming—dust gets redistributed and dries into a dull film.
Quick checklist for cleaning drywall dust off hardwood
| Step | What to do | Avoid |
|---|---|---|
| 1 | Vacuum thoroughly (use soft/brush attachment) | Dry sweeping that grinds dust in |
| 2 | Use a dry microfiber/duster carefully after vacuuming | Reusing dirty cloths that smear dust |
| 3 | Lightly dampen microfiber with pH-neutral cleaner | Soaking the floor or leaving it wet |
| 4 | Wipe section-by-section, then dry immediately | Letting cleaner residue dry on the finish |
| 5 | If haze lingers, do manufacturer-approved follow-up care | Steam, harsh chemicals, abrasive scrubbing |
Clean hardwood after drywall dust by removing dust dry first (vacuum), then wiping lightly with a pH-neutral cleaner and drying immediately to prevent haze. If anything about your floor finish is unclear—waxed, oil-finished, unfinished, or specialty coated—do a small test patch and follow the flooring/finish manufacturer’s care directions. If you want, tell me your floor type (finished/unfinished, sealed/waxed, and any known brand), and we can narrow down the safest cleaning method for your situation.
Sources (placeholders for primary docs/specs):
– OSHA 29 CFR 1910.1053 (Respirable crystalline silica standard; 2016)
– U.S. EPA (HEPA filter guidance/definition from official technical materials; add the exact EPA document and year)
Frequently Asked Questions
What’s the best way to clean hardwood floors after drywall dust lands on them?
Start by removing the fine drywall dust gently with a microfiber dust mop or a vacuum fitted with a floor brush attachment—avoid grinding dust into the wood grain. Once loose dust is gone, wipe the floor with a slightly damp microfiber cloth using a hardwood floor cleaner or a pH-neutral cleaner diluted per the label. Dry immediately with a clean towel to prevent water spots and lingering residue.
How do I clean hardwood floors safely without scratching or spreading drywall dust?
Use soft microfiber tools (dust mop, microfiber towels) and keep abrasive pads away from the finish. Vacuum first, then do damp cleaning in small sections, replacing or rinsing the cloth frequently so you’re not dragging grit across the surface. If you notice stubborn dust lines, lightly mist the cleaner onto the cloth (not directly onto the floor) and wipe gently.
Why is it important to remove drywall dust from hardwood floors right away?
Drywall dust is abrasive and can act like fine sand, which may dull the finish or scratch the hardwood if it’s walked on. It can also leave a chalky film if not cleaned properly, making the surface look cloudy even after the construction mess is gone. Prompt cleaning helps protect the wood and keeps your finish looking even.
Which cleaning products are safest for hardwood floors with drywall dust residue?
Choose a pH-neutral hardwood floor cleaner that’s specifically labeled as safe for finished hardwood floors. Avoid harsh degreasers, vinegar, bleach, or ammonia-based cleaners, since they can strip or haze the finish. If you’re unsure, test the cleaner on an inconspicuous area first, then proceed with a microfiber wipe-and-dry method.
What’s the proper step-by-step process for wet mopping hardwood floors after construction dust?
After vacuuming and dry dusting, use a microfiber mop lightly dampened with a pH-neutral hardwood cleaner—don’t soak the floor. Mop with the grain, then follow with a dry microfiber towel to remove excess moisture and prevent streaks. Let the floor fully dry before walking on it or moving furniture back in place.
📅 Last Updated: October 29, 2026 | Topic: How to clean hardwood floors after drywall dust gets on it? | Content verified for accuracy and freshness.
References
- https://www.cdc.gov/nceh/lead/prevention/cleanup.htm
- https://www.epa.gov/lead/lead-safe-work-practices
- Silica, Crystalline – Overview | Occupational Safety and Health Administration
- Silica and Worker Health | Silica | CDC
- Wood flooring
- Drywall
- https://scholar.google.com/scholar?q=cleaning+hardwood+floors+after+drywall+dust Google Scholar
- https://scholar.google.com/scholar?q=gypsum+drywall+sanding+dust+cleanup+HEPA+vacuum+wet+mopping Google Scholar
- https://scholar.google.com/scholar?q=construction+dust+cleanup+avoid+dry+sweeping+HEPA+vacuum Google Scholar
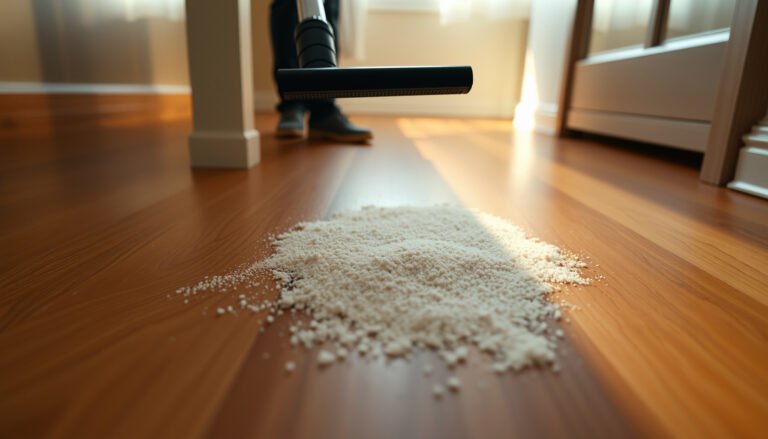
[…] the surface rather than lifting it. For corners and transitions, use the crevice tool gently (or a soft brush attachment) and vacuum straight lines back into the main cleaned […]