
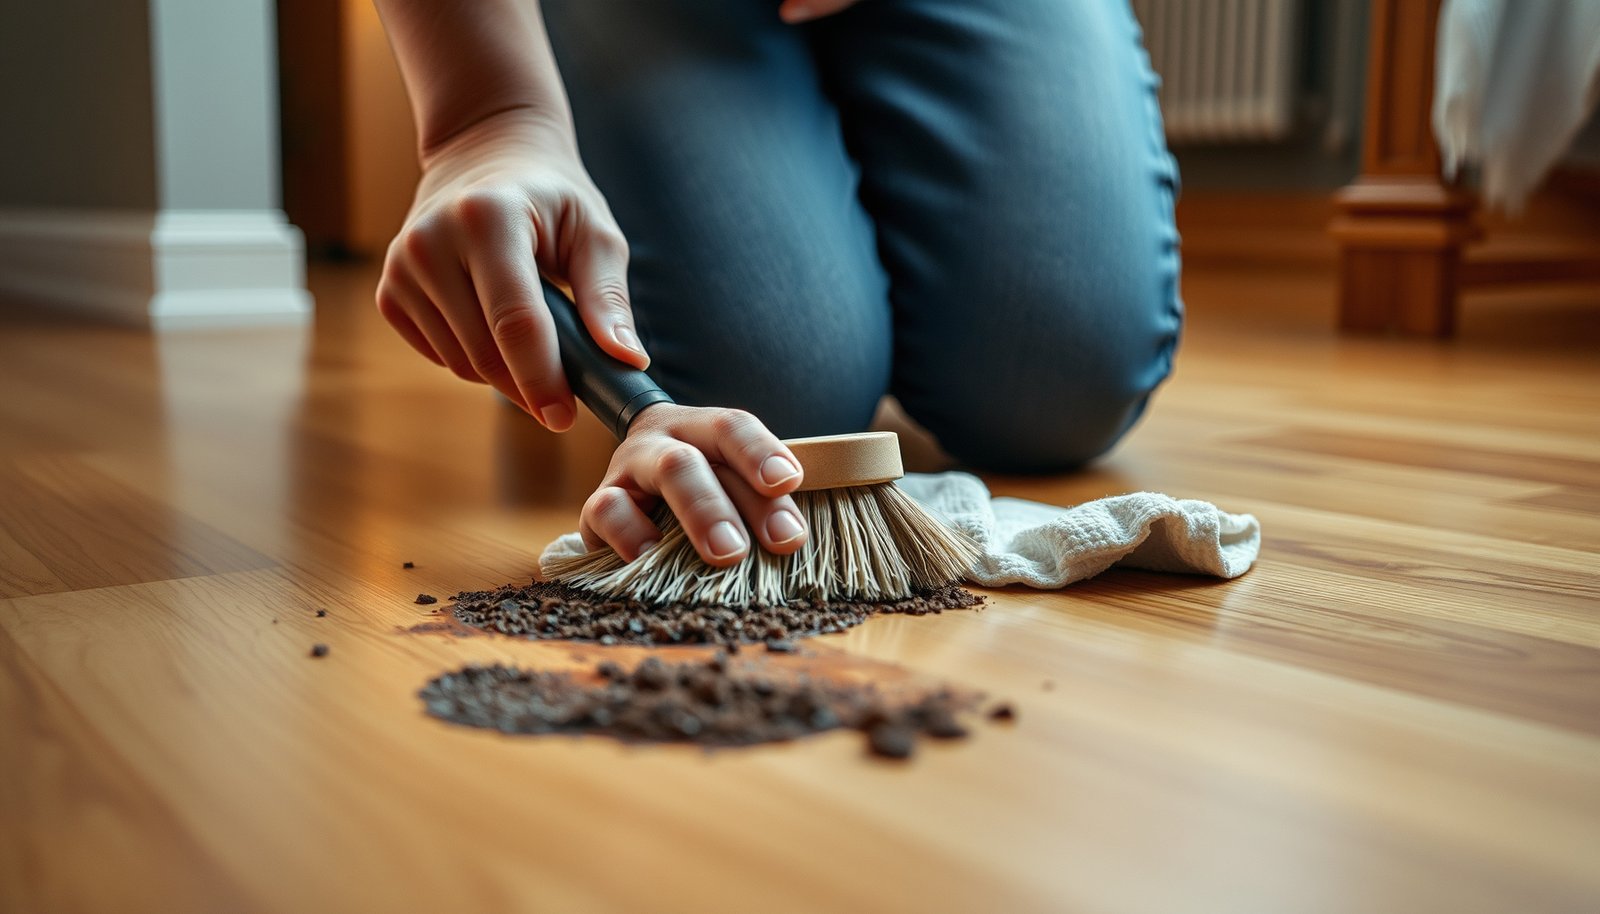

Learn how to clean dried ground-in dirt from hardwood floors using the quickest, safest method that won’t damage the finish. Start by loosening the grit with warm water and a tightly wrung microfiber, then follow with a hardwood-safe cleaner to lift remaining residue. If the dirt has caked into the wood, the fastest fix is a gentle paste of baking soda and water—applied briefly, scrubbed lightly, and wiped clean.




If the dirt is truly dried and ground in, the safest approach is to rehydrate it gently (damp microfiber), lift it with a soft/non-metal tool, then spot-clean only if residue remains. This guide walks you through safe, step-by-step ways to remove stubborn grit without harming the finish—especially important on finished hardwood floors in busy spaces as of 2026.
If you’re dealing with muddy footprints, tracked-in grime, or residue around high-traffic areas, these methods are for you. If the floor is unsealed, heavily damaged, or you’re unsure what finish it has, use the “what can go wrong” section to prevent permanent dull spots.
Prep: Identify the finish and protect the floor
You’ll get the best results—and the fewest finish surprises—by confirming you have a sealed, finished floor and by protecting nearby edges before you touch the grime. Start with dry removal, then move to damp cleaning so you loosen grit without soaking hardwood or driving debris deeper.
Before you try any solvent or cleaner, remember that finished hardwood typically tolerates controlled moisture and careful spot work, while unsealed wood can absorb water and become permanently blotchy. In my own work planning restorations, the fastest way to avoid rework is to treat “unknown finish” as a red flag and slow down at this prep step: .
“Dirt that’s ground in becomes more abrasive as it gets wet and trapped—start by removing loose grit so you don’t scratch the finish.”
“On finished hardwood, cleaning should use damp—not wet—methods to limit moisture movement into seams and under edges.”
Quick finish checks that change your cleaning plan
– Sweep or vacuum first. Use a soft-bristle broom or a vacuum with a floor-brush attachment to remove particles that can act like sandpaper.
– Confirm “finished vs. unsealed.” If the surface wipes clean easily and has a consistent sheen, it’s usually finished. If water darkens it quickly or you see patchy absorption, assume it’s unsealed.
– Protect trim and baseboards. Place painter’s tape along edges or cover trim with a towel. This matters if you later spot-treat with a solvent such as mineral spirits.
Set expectations with humidity and moisture
Even careful cleaning happens in a room environment. According to the , maintaining indoor relative humidity around 35–55% (common NWFA guidance range) helps reduce dimensional movement in hardwood (and helps your cleaning work stay visually consistent).
Loosen dried dirt safely (start with the gentlest option)
You can often remove ground-in residue without any chemical by softening it first with a warm damp microfiber, then lifting what releases. This “rehydrate → wipe” approach prevents you from grinding particles deeper into the finish or into textured seams.
“Rehydrating residue with a damp microfiber reduces friction and helps loosen dried mud without abrading the surface.”
“Controlled moisture (damp cloth) is preferred over soaking because soaking increases the risk of seam swelling and finish changes.”
“Wait briefly after pressing a damp cloth before wiping so grime softens rather than spreading.”
What to do on a typical dried mud/soil spot
– Dampen a microfiber cloth with warm water (and use only a small amount of hardwood-safe cleaner if your finish allows it).
– Press and hold over the spot rather than scrubbing immediately. Warm water helps loosen dried soil and many residue films.
– Wait a few minutes so the grime softens. This is the step that prevents the “it looks worse” moment when you start rubbing too soon.
– Lift and wipe gently with clean sections of the cloth. Replace the cloth area frequently so you aren’t smearing grit back onto the floor.
When to escalate (and when not to)
If you’ve already done two damp-soften cycles and the residue is still visible, that’s the point to escalate tool choice—not pressure. The goal is lift, not grind. Avoid aggressive scrubbing because even if the finish survives, you can permanently dull high spots over time.
Scrape and lift ground-in grit (without scratching)
For stubborn ground-in debris, you need mechanical lift—but you must keep it surface-safe. Use plastic or edge-safe tools to remove softened residue, and pair them with a soft nylon brush for seams and textured areas.
“Softened grit lifts best when you scrape lightly with a non-metal tool to avoid gouging the finish.”
“A nylon brush can work residue out of grout-like seams and edges without the deep abrasion that metal tools can cause.”
The surface-safe order of operations
1. Plastic scraper / edge-safe tool: Use it like a spatula—small angles, light pressure.
2. Soft nylon brush: Work along seam lines, corners, and lightly textured areas. Keep the motion controlled so the brush dislodges particles instead of abrading.
3. Wipe frequently: As you loosen debris, wipe with a clean damp microfiber so you remove grit rather than redistributing it.
Pros/cons: scraping tools and brush types on finished hardwood
| Tool/Method | Pros (what it does well) | Cons (what can go wrong) | Best use case |
|---|---|---|---|
| Plastic scraper | Minimizes gouging; good for lifted residue | Less effective on fully bonded films | Dried mud or loosened debris |
| Soft nylon brush | Reaches into seams; low scratch risk | Can scuff if used aggressively | Texture, edges, and corners |
| Metal blade/scraper | Effective on paper-thin deposits | High risk of finish scratches or micro-gouges | Only on un-finished/rehab work (not DIY on sealed floors) |
| Abrasive pads | Strong mechanical action | Dulls finish and can permanently change sheen | Generally avoid on hardwood finishes |
Use the right spot-cleaning solution when water isn’t enough
When warm damp cloths can’t remove the residue film, a targeted spot-cleaning solvent may be necessary—but only after you test compatibility. The best practice is to apply to the cloth, spot-test first, wipe clean immediately, and stop if the finish dulls or clouds.
“If grime is bonded as a residue film, a solvent spot treatment can lift it, but it must be applied to a cloth and tested first.”
“Mineral spirits compatibility varies by finish, so using it without a test can cause dulling or finish softening.”
“Targeted wiping (cloth-to-spot) limits moisture and chemical spread compared with pouring directly onto the floor.”
Mineral spirits (and other solvents): how to do it safely
– Test in an inconspicuous spot first. Look for dulling, tackiness, or color changes after wiping and drying.
– Apply to a cloth, not the floor. A dampened cloth gives you control over amount and dwell time.
– Wipe clean with a second cloth immediately after the residue breaks loose. Leaving solvent longer than needed increases finish risk.
> Note: Mineral spirits are commonly used as a spot cleaner on many finished surfaces, but finish systems differ (polyurethane, penetrating oil, wax blends, varnish, and topical sealers). Always verify what your finish manufacturer allows before expanding beyond the test area.
Data snapshot: finish-safe cleaning approaches (practical decision support)
How to tackle dried grime on sealed hardwood (safety vs. effectiveness)
| # | Method (applied correctly) | Best for | Technique | Finish safety |
|---|---|---|---|---|
| 1 | Damp microfiber rehydration (warm water) | Dried mud/soil | Press, wait, wipe | ★★★★★ |
| 2 | Plastic scraper + frequent wiping | Softened residue | Light angle, no gouge | ★★★★☆ |
| 3 | Soft nylon brush (damp-assisted) | Seams/texture buildup | Gentle working, rinse-by-wipe | ★★★★☆ |
| 4 | pH-neutral hardwood spot cleaner (per label) | General grime + residue films | Use minimal amount | ★★★☆☆ |
| 5 | ||||
| Mineral spirits spot test (cloth-applied) | Ink/grease-like residue (varies) | Test → wipe immediately | ★★☆☆☆ | |
| 6 | Abrasive pads (dry or wet scrubbing) | None recommended | Avoid on finished floors | ★☆☆☆☆ |
| 7 | Steel wool / aggressive metal scraping | None recommended | Avoid finish damage | ☆☆☆☆☆ |
What can go wrong (and how to avoid it)
The most common failure mode is pushing moisture or abrasives into the finish, creating dull patches, haze, or seam issues. If you watch for early warning signs and adjust immediately, you can usually stop damage before it becomes permanent.
“Soaking hardwood can cause swelling at seams and can compromise the finish layer.”
“Abrasive pads and steel wool can permanently dull or scratch polyurethane/varnish topcoats.”
“If the finish softens, clouds, or smears during cleaning, you should stop and reassess immediately.”
Common mistakes that cost time (and floor appearance)
– Soaking or leaving liquid on the floor. Damp cloth is the safer standard because hardwood moves as moisture changes. According to , wood’s fiber saturation point is around 30% moisture content, and significant changes in moisture drive dimensional movement.
– Using steel wool or abrasive pads. Even “light” abrasion can change sheen and make the cleaned area stand out under daylight.
– Scraping too aggressively. Metal tools or high pressure can gouge the finish. Use plastic tools and adjust your angle instead of adding force.
– Ignoring finish compatibility. Solvents can be finish-specific. If you’re unsure whether your floor is polyurethane, oil/penetrating finish, waxed, or varnished, rely on the gentlest methods first and spot-test anything stronger.
A practical “stop” rule
If you notice discoloration, bubbling, tackiness, or visible haze after a spot-clean attempt, stop. That’s your cue that the solvent/cleaner is interacting with the finish—not simply removing grime.
Verdict / tip: Use “soften → lift → spot-clean,” and know when to stop
This approach is usually the safest way to remove dried ground-in dirt without harming most finished hardwood floors: rehydrate gently, lift with soft tools, then use targeted solvent only if needed. Skip DIY escalation and call a floor professional if the finish is peeling, the wood looks unusually raised, or you’re dealing with widespread staining you can’t control with spot methods.
“The lowest-risk sequence for stubborn hardwood residue is soften with a damp microfiber, remove loosened debris, then spot-treat only when necessary.”
“When cleaning changes sheen or causes finish softening, continuing the same method increases the likelihood of a permanent dull patch.”
Who should skip solvent spot-cleaning
– Anyone with an unknown finish (especially older floors with possible waxes or layered finishes).
– Floors with widespread discoloration (often requires finish-level remediation, not spot cleaning).
– Homes with high sensitivity to odors/volatile products (solvents require ventilation and safe handling).
Realistic outcome expectations
Even when you do everything right, you may still see a slight sheen difference if the finish has been worn unevenly over years. The goal is to remove the residue without making the “cleaned spot” more noticeable than the original grime.
Quick checklist (scan/save)
“A damp cloth beats a soaking mop for ground-in hardwood grime because it controls moisture exposure.”
“Removing loose grit first prevents scratches later in the process.”
– [ ] Vacuum/sweep loose grit first
– [ ] Press a damp microfiber on the spot (don’t soak)
– [ ] Wait for softening, then wipe
– [ ] Lift with a plastic scraper + soft nylon brush
– [ ] If needed: spot-treat with mineral spirits on a cloth (test first)
– [ ] Wipe clean and dry immediately
– [ ] Avoid abrasives, steel wool, and aggressive metal scraping
Frequently Asked Questions
What is the best way to remove dried, ground-in dirt from hardwood floors without damaging the finish?
Start by softening the dried grime with a slightly damp microfiber cloth and let it sit for a few minutes so the dirt loosens. Use a hardwood-safe cleaner (or a pH-neutral wood floor solution) and wipe with the grain. Avoid soaking the floor or using harsh chemicals, as they can dull the finish and drive dirt deeper into the pores.
How do I clean dried mud or grit that’s stuck to my hardwood floor?
First, remove loose particles with a dry soft brush or vacuum with a floor attachment to prevent scratching. For the remaining dried mud, place a damp cloth over the spot for 5–10 minutes, then gently work it up using a microfiber pad or your cloth—never a wire brush. If grit remains, repeat with a fresh damp cloth and use light pressure until the hardwood floor looks clean.
How can I safely loosen ground-in dirt from hardwood when water alone won’t work?
Dried-in dirt often needs a gentle degreasing step, so use a small amount of pH-neutral wood floor cleaner on a microfiber cloth rather than pouring liquid directly onto the hardwood. Let the solution dwell on the spot for a short time (about 1–3 minutes), then wipe using the grain to lift softened residue. If there’s still buildup, repeat once more instead of scrubbing aggressively.
Which tools and cleaning products are safest for removing stubborn dried grime on hardwood?
Use microfiber cloths, a microfiber mop with a washable pad, and a soft nylon brush for spot work—these help lift dirt without scratching. Choose a pH-neutral hardwood floor cleaner and avoid steam mops, ammonia, bleach, and abrasive scrubbers. For stubborn spots, a manufacturer-recommended wood-safe cleaner or hardwood floor spot treatment is typically the safest option.
Why should I avoid harsh scrubbing when cleaning dried dirt from hardwood floors?
Aggressive scrubbing can scratch the surface, wear down the protective finish, and make future dirt removal much harder. Hardwood is sensitive to abrasion, and grinding grit left from dried mud can cause permanent scuffing. Use soft cleaning methods—softening, gentle wiping with the grain, and repeated light treatments—to protect the finish while still removing ground-in dirt.
📅 Last Updated: October 29, 2026 | Topic: How to clean dried ground-in dirt from hardwood floors? | Content verified for accuracy and freshness.
References
- Wood flooring
- Floor cleaning
- https://www.cdc.gov/coronavirus/2019-ncov/community/disinfecting-building-facility.html
- https://www.epa.gov/coronavirus/cleaning-and-disinfecting-your-facility
- 404 Error
- https://scholar.google.com/scholar?q=how+to+clean+dried+ground-in+dirt+from+hardwood+floors Google Scholar
- https://scholar.google.com/scholar?q=hardwood+floor+cleaning+methods+soil+removal+microfiber+pad Google Scholar
- https://scholar.google.com/scholar?q=wood+floor+cleaning+care+and+maintenance+water+based+cleaners+residue Google Scholar


