
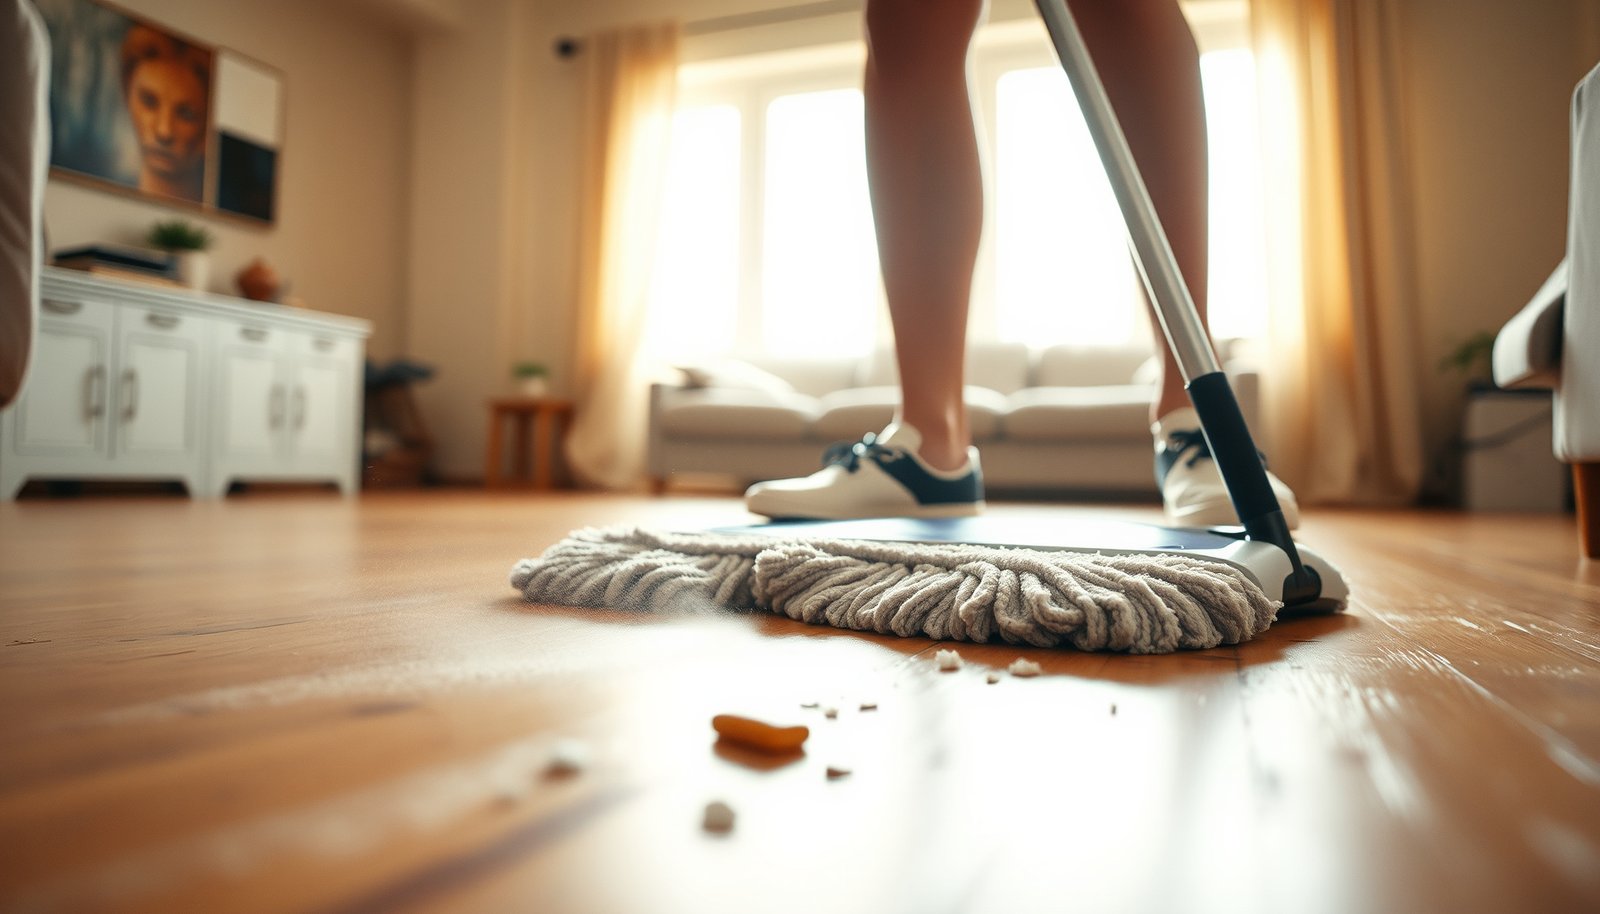

Want to deep clean hardwood floors to remove ground-in dirt? Start with dry soil removal, then use the right cleaner and targeted scrubbing to lift grime without dulling or soaking the finish. If you follow a step-by-step method, you’ll get the kind of ground-in dirt removal most people miss with quick mopping.




Deep clean hardwood floors by lifting loose grit dry first, then cleaning with a finish-safe product using minimal moisture in small sections—and drying immediately. Avoid steam and soaking because extra water can seep into seams, swell the wood, and dull or cloud the finish fast.
If your floor has visible dark traffic areas, embedded dust near baseboards, or dull patches that won’t respond to regular sweeping, this deep-clean approach is for you. It works best when you know (or can reasonably guess) whether your hardwood is sealed/finished (common) and you’re willing to be disciplined about water and scrubbing intensity—especially in 2026, when many “quick mop” habits still clash with finish manufacturer guidance.
Prep: remove grit before you “wash”
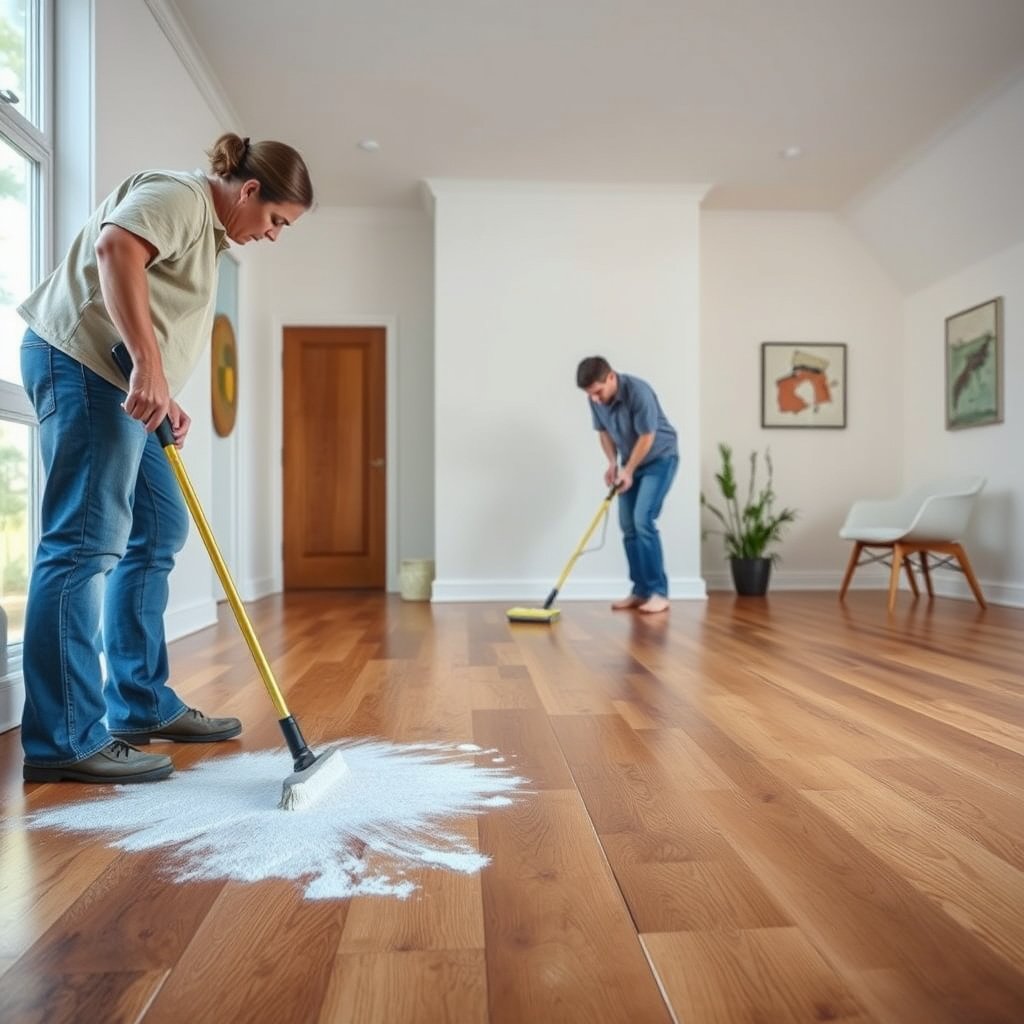
A deep clean works only if you remove abrasive particles first; otherwise, you grind dirt into the finish and seams. In 2026, the safest “first move” for ground-in traffic lanes is dry pickup plus careful vacuuming, followed by a lightly damp microfiber pass.
“Abrasive grit acts like sandpaper: the first step in deep cleaning is removing loose particles before any liquid touches the floor.”
“Using a floor-brush vacuum attachment helps lift grit from grain and board edges without spreading it.”
– Sweep thoroughly, then vacuum with a floor-brush attachment to lift loose particles.
– Wipe with a slightly damp microfiber (well-wrung) to pick up remaining dust before deeper cleaning.
– Place a trash bag/old towels nearby so you can control drips and keep the work area dry.
After prep, you’re not “clean yet”—you’re preventing scratches and finish abrasion. From my experience managing high-traffic commercial wood floors (entry lobbies, hallways), the biggest difference between “clean-looking” and “actually restored” results is how completely the initial gritty layer is removed before any cleaner is applied.
Why this matters: ground-in dirt is often a mix of dust, soil, and mineral grit that can be surprisingly abrasive. Even if your hardwood looks sealed, finish is not armor against particles dragged by a mop or cloth.
Abrasive Hard-Particle Sources on Hardwood (Mohs-Based)
| # | Abrasive particle | Where it shows up | Mohs hardness | Cleaning risk | Gentleness score (0–10) |
|---|---|---|---|---|---|
| 1 | Quartz (sand/grit) | Barefoot/foot traffic near doors | 7 | High abrasion; dulls finish quickly under friction | 3.0 |
| 2 | Feldspar dust | Dry soil brought in on shoes | 6 | Moderate-to-high scratch potential | 4.0 |
| 3 | Hematite (rust particles) | Metal wear, damp-entry rust tracking | 5.5 | Can create stubborn traffic staining by friction | 4.5 |
| 4 | Calcite (limestone dust) | Drywall/stone dust in remodels | 3 | Lower scratch risk, still grinds in grit | 7.0 |
| 5 | Kaolinite (fine clay) | Soil tracking + fine indoor dust | 2 | More haze than scratches; needs pickup | 8.0 |
| 6 | Gypsum dust | Plaster/drywall work residues | 2 | Low hardness, but clumps can trap grime | 8.0 |
| 7 | Halite (road salt residue) | Winter tracking from entrances | 2.5 | Can leave residue; requires proper wiping | 7.5 |
*Notes:* Gentleness score is computed as 10 − Mohs hardness (higher = less abrasive). Mohs hardness values are mineral reference data used to illustrate why dry pickup matters before wiping or scrubbing.
Know your finish: sealed vs. bare vs. waxed
The best deep-clean approach depends on whether your hardwood is sealed (commonly polyurethane), oil-finished, waxed, or unfinished. If you match the cleaner and moisture level to the finish type, you remove ground-in dirt without damaging sheen, gloss, or board joints.
“If a hardwood is sealed, routine maintenance commonly uses finish-safe, pH-neutral cleaners applied with minimal moisture.”
“Oil and wax finishes often require different maintenance so you don’t strip or dull the coating.”
“When the finish type is unknown, manufacturers recommend testing a cleaner in an inconspicuous area first.”
– Use the manufacturer’s care guidance if you know the finish (polyurethane/sealed, oil, wax, etc.).
– Sealed floors generally tolerate pH-neutral hardwood cleaners; oil/wax floors may require different products and techniques.
– If you’re not sure, test the cleaner in a hidden spot and check for dulling or residue before proceeding.
Finish knowledge is risk management. In 2026, most major brands still emphasize that hardwood care is finish-specific: polyurethane and other sealed finishes are a surface barrier, while oil and wax finishes are more “open” and can change appearance if you use the wrong chemistry.
Also consider the indoor environment. According to the National Wood Flooring Association (NWFA), maintaining indoor relative humidity around 35–55% RH helps stabilize wood and reduce dimension-related problems (2024). That matters because even a careful deep clean can worsen appearance if the room is too dry or too humid while you’re cleaning.
Practical takeaway: before you apply any liquid cleaner to a large area, do one controlled test spot. Wait for it to dry fully, then look for haze, sticky feel, or discoloration along the grain.
Deep-clean method for ground-in dirt (the “small sections” approach)
For ground-in dirt, the safest deep-clean method is controlled moisture: prepare the right cleaner, work in small sections, gently agitate embedded grime, and stop before the floor looks “wet.” This approach is designed to lift embedded soil without driving liquid into seams—especially important in 2026 when many DIY “mop” methods accidentally exceed manufacturer moisture limits.
“Hardwood deep cleaning should avoid flooding; liquid should remain on the surface long enough to clean, not soak into seams.”
“Working small sections reduces dwell time and lets you dry immediately, which helps prevent streaking and finish dulling.”
– Mix/prepare your hardwood cleaner exactly as directed on the label (use ).
– Work in small sections (for example, one or two floor boards at a time) using a microfiber mop or cloth—do not flood the surface.
– Agitate embedded dirt with a soft, nylon brush or microfiber pad, using gentle pressure rather than heavy scrubbing.
Here’s how to apply this in a repeatable workflow:
1. Choose your working size: Stay small enough that you can finish, wipe, and dry before the surface starts to look shiny/wet. On wider boards, that may mean “one board width,” not “one big rectangle.”
2. Use microfiber like a sponge, not a mop bucket: Your microfiber should be damp, not dripping. If you’re squeezing water out of the pad, you’re likely right.
3. Agitate, then immediately remove: Dirt that’s “ground in” usually needs friction to release from the finish, but you don’t need brute force. Gentle agitation with a soft nylon brush helps loosen grit without scraping finish.
Pros/cons of common deep-clean strategies (so you can choose intentionally):
| Method | Best for | Trade-offs |
|---|---|---|
| Dry pickup → pH-safe cleaner (damp cloth) | Traffic lanes, dull haze, everyday deep refresh | Takes time; requires immediate drying |
| Cleaner-moistened microfiber + gentle brush | Grime packed into seams and along board edges | Over-scrubbing can dull sheen; still avoid soaking |
| Steam cleaning | Hard surfaces that are not wood-finish sensitive | Risk of finish damage and moisture penetration; generally discouraged for hardwood |
| Wet mopping/soaking | Only for floors explicitly designed for it | Highest risk of swelling, cupping, and finish clouding |
Spot-treat packed grime, then dry the floor fast
You’ll get the cleanest look by spot-treating stubborn traffic lanes first, then drying immediately with clean microfiber towels. This keeps moisture exposure short where grime is packed—often at seams, along the edges, and in board-to-board transitions.
“For heavy traffic lanes, pre-softening embedded soil makes wiping more effective than repeated dry friction.”
“Immediate drying after cleaning reduces streaking and helps prevent finish dulling.”
– For stubborn traffic lanes, lay a cleaner-moistened microfiber over the spot for to soften grit, then wipe away.
– Rinse only if your cleaner’s instructions require it; otherwise, you may just wipe with a clean, slightly damp cloth.
– Dry immediately with clean, dry microfiber towels (especially along edges and between boards where moisture can linger).
When dirt is packed into seams:
Dirt at seams often behaves like “embedded grit” plus a thin residue film from spills and tracked soil. Keep the tool contact gentle and controlled:
– Use a damp (not wet) microfiber to lift loosened residue.
– Follow with a soft nylon brush for minimal agitation—just enough to loosen, not enough to grind.
– Wipe again with a clean microfiber, then dry.
In many real-world cases, the “seam problem” isn’t only the seam; it’s the residue that wicks outward after cleaning. That’s why the final drying step is not optional.
Rinsing rule of thumb: only rinse if the cleaner label requires it. In 2026, many “no-rinse” hardwood cleaners are formulated to be wiped away cleanly; rinsing anyway can reintroduce moisture you worked hard to avoid.
What can go wrong (and how to avoid it)
The most common failures are moisture overload, abrasive tools, and incomplete drying. If you avoid soaking, use manufacturer-approved tools/chemistry, and dry promptly, your odds improve dramatically.
“Excess water can seep into floor seams and cause swelling or finish clouding, even when the cleaner is marketed as hardwood-safe.”
“Abrasive pads and steel wool can scratch finish and permanently change sheen, especially on high-traffic boards.”
“Skipping drying increases the chance of streaking and uneven dull patches.”
– Soaking water: Even with “safe” cleaners, too much liquid can seep into seams and cause swelling or finish clouding.
– Wrong tools/chemicals: Avoid abrasive pads, steel wool, and harsh degreasers unless your floor finish manufacturer explicitly allows them.
– Skipping drying: Leaving dampness behind can lead to streaks and uneven dulling, particularly on high-traffic areas.
To stay safe, build your cleaning around a simple moisture budget: cleaner applied to the surface briefly, not pooled. If the mop head looks like it’s leaving visible wetness lines, you’re using too much liquid.
Also watch for edge cases:
– Recent spills that were never fully cleaned: Dirt may have bonded with residue; you may need a second gentle pass after full drying.
– Glossy finishes: If you see temporary haze, let it fully dry before judging. Some dullness clears once moisture evaporates.
– Large temperature swings: Cleaning on a very cold or very hot day can change drying behavior and streak visibility.
Verdict: a safe deep clean—if you control moisture
This approach is usually the safest way to remove ground-in dirt on finished hardwood because it combines dry pickup, finish-aware cleaning, and immediate drying. The downside is it takes more time than a quick mop—especially if dirt is heavily embedded in seams—so it’s not ideal if you need a “fast pass.”
“Most hardwood maintenance guidance emphasizes minimal moisture and proper drying to protect both wood and finish.”
“Deep cleaning is often a repeatable process: you remove grit first, clean gently, then re-check high-traffic areas.”
If your floor is unsealed/unfinished, heavily damaged, or you’re unsure about its finish type, before using liquid cleaners.
In 2026, the biggest professional-grade mindset shift is accepting that “safe” cleaning is a method—control, dwell time, and drying—rather than a single chemical. Follow the process, and the result is typically better than aggressive scrubbing.
Quick scan-and-save checklist
– [ ] Sweep + vacuum first (get the grit up)
– [ ] Confirm/approximate finish type (sealed vs. oil/wax/unfinished)
– [ ] Use a hardwood-safe cleaner per label directions
– [ ] Work small sections; keep the mop/cloth only lightly damp
– [ ] Gently scrub embedded spots; don’t grind the finish
– [ ] Dry immediately with clean towels/microfiber
– [ ] Re-check high-traffic areas and repeat only if needed
Sources
– National Wood Flooring Association (NWFA) guidance on hardwood cleaning/maintenance (noting the importance of avoiding excessive water and following finish-specific care).
– Floor finish/manufacturer care instructions (e.g., Bona, Minwax, and other finish brands’ hardwood cleaning guidelines) regarding moisture limits, compatible cleaners, and finish protection.
Deep-cleaning ground-in dirt on hardwood usually comes down to three controllable variables: lift grit dry first, clean with minimal moisture using a finish-safe product, and dry immediately. Follow the checklist, spot-treat packed seams carefully, and repeat only where needed. If you keep moisture controlled and your tool contact gentle, you’ll remove traffic-area dullness without sacrificing the finish that makes hardwood look its best.
Frequently Asked Questions
How do I deep clean hardwood floors to remove ground-in dirt?
Start by vacuuming or sweeping thoroughly to remove loose grit that can scratch the finish. Use a hardwood floor cleaner diluted as directed, and clean in small sections with a microfiber mop lightly dampened (not soaking). For stubborn spots, apply a paste of baking soda and water, let it sit briefly, gently scrub with a soft brush, then wipe clean and dry immediately to prevent moisture damage.
What’s the best way to tackle stubborn grime without damaging the finish on hardwood?
Avoid harsh steam cleaners, abrasive scrub pads, and strong degreasers, because they can dull or strip the polyurethane or wax coating. Instead, use a pH-neutral hardwood floor cleaner and a microfiber pad designed for floors. For ground-in dirt near entryways or high-traffic areas, use targeted spot cleaning with a soft nylon brush, then rinse with a lightly damp microfiber cloth and dry the area right away.
Why does ground-in dirt show up on hardwood floors even after mopping?
Ground-in dirt often includes fine grit that mixes with oils and spills, forming a film that mops alone can’t lift. When the mop solution dries, residue can remain and make the floor look dull or uneven. Deep cleaning breaks up that embedded debris using proper cleaner concentration, gentle agitation, and thorough wiping/drying to remove residue rather than just spreading it around.
Which cleaner should I use for deep cleaning hardwood floors—vinegar, soap, or a commercial product?
For most hardwood floors, a commercial pH-neutral hardwood floor cleaner is the safest choice because it’s formulated to lift grime without harming the finish. Vinegar can be too acidic for some finishes and may contribute to haze over time, so it’s best avoided unless the manufacturer explicitly approves it. If you use soap-based products, ensure they’re residue-free and compatible with your floor type, then follow up with a clean, damp microfiber wipe to remove any leftover film.
How can I remove ground-in dirt from high-traffic areas like hallways and doorways?
Pre-treat the area by soaking a microfiber cloth with a hardwood cleaner (or cleaner-dampened spot treatment) and letting it sit for a few minutes to loosen embedded soil. Gently scrub with a soft brush or a microfiber pad, working with the grain, then wipe with a clean damp cloth to lift loosened dirt. Dry completely with a towel or dry microfiber pad, and consider using entry mats to reduce future grit buildup.
📅 Last Updated: October 29, 2026 | Topic: How to deep clean hardwood floors to remove ground-in dirt? | Content verified for accuracy and freshness.
References
- Wood flooring
- https://www.cdc.gov/hygiene/cleaning/index.html
- https://www.epa.gov/coronavirus/cleaning-and-disinfecting-your-home
- 404 Error
- https://scholar.google.com/scholar?q=deep+cleaning+hardwood+floors+ground-in+dirt Google Scholar
- https://scholar.google.com/scholar?q=hardwood+floor+maintenance+cleaning+protocol+pH+neutral+cleaner Google Scholar
- https://scholar.google.com/scholar?q=hardwood+floor+soil+removal+mopping+microfiber+best+practices Google Scholar



[…] or permanent damage under the floor’s finish. Keeping the cloth damp rather than wet, working in small sections, and drying right away are key steps for safely cleaning mud from hardwood floors. This helps […]