
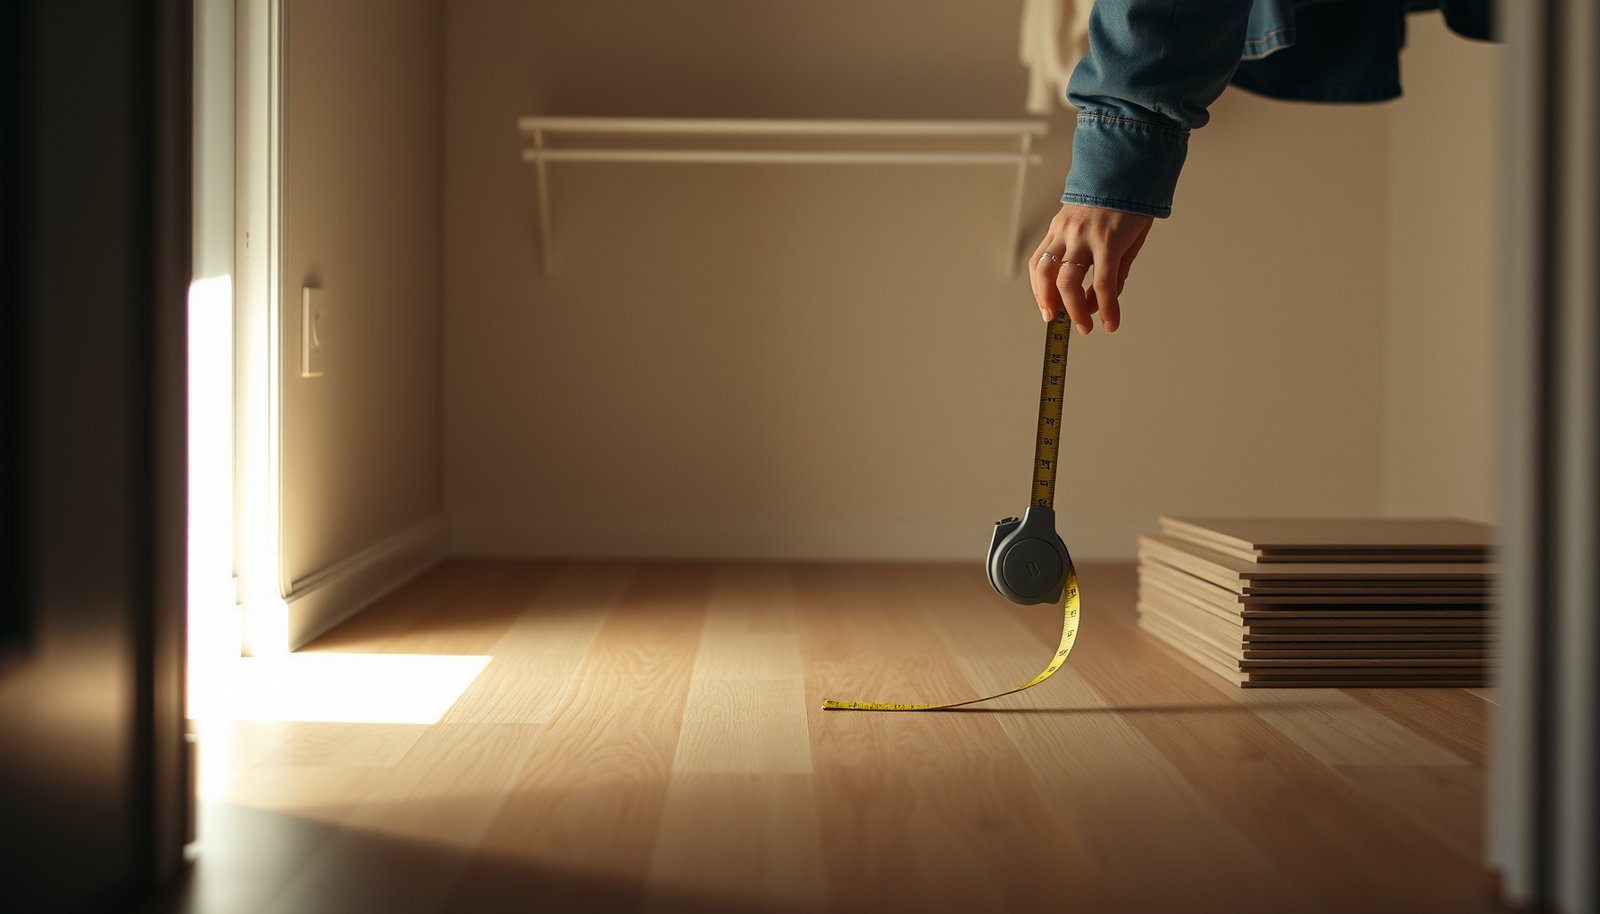

Get the exact steps for how to measure vinyl floors for a closet—right down to the square footage you need. This guide gives you the quickest, most accurate method for measuring closet floors that are rarely perfectly square, so you can calculate cuts and avoid ordering too much or too little. Follow it and you’ll have a clear measurement plan before you buy or install your vinyl.


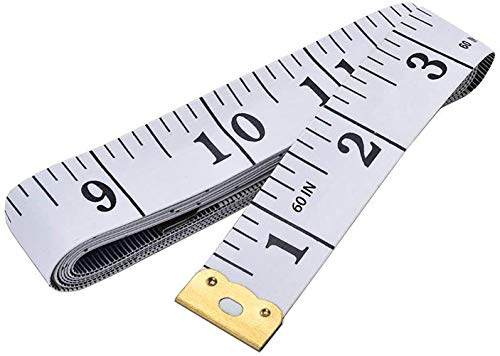

Measure your closet floor by using the clear interior length × width to get square footage, then adjust for non-rectangular areas and cutouts. If your closet has built-ins, a closet rod, vents, or toe-kicks, measure those obstacles too and subtract their cut areas so you order a realistic amount of vinyl plank or vinyl tile.
This guide is for anyone installing vinyl plank or vinyl tile in a closet and needs a reliable way to calculate how much flooring to buy. It’s especially helpful if your closet has built-ins, odd corners, or you’re unsure whether to measure “wall to wall” or “trim removed” dimensions.
This is especially relevant in 2026, because most vinyl flooring systems (including click-lock and glue-down) still require careful perimeter handling—so the measurements you take today determine how smoothly the install goes tomorrow.
Prep your closet layout and grab the right tools
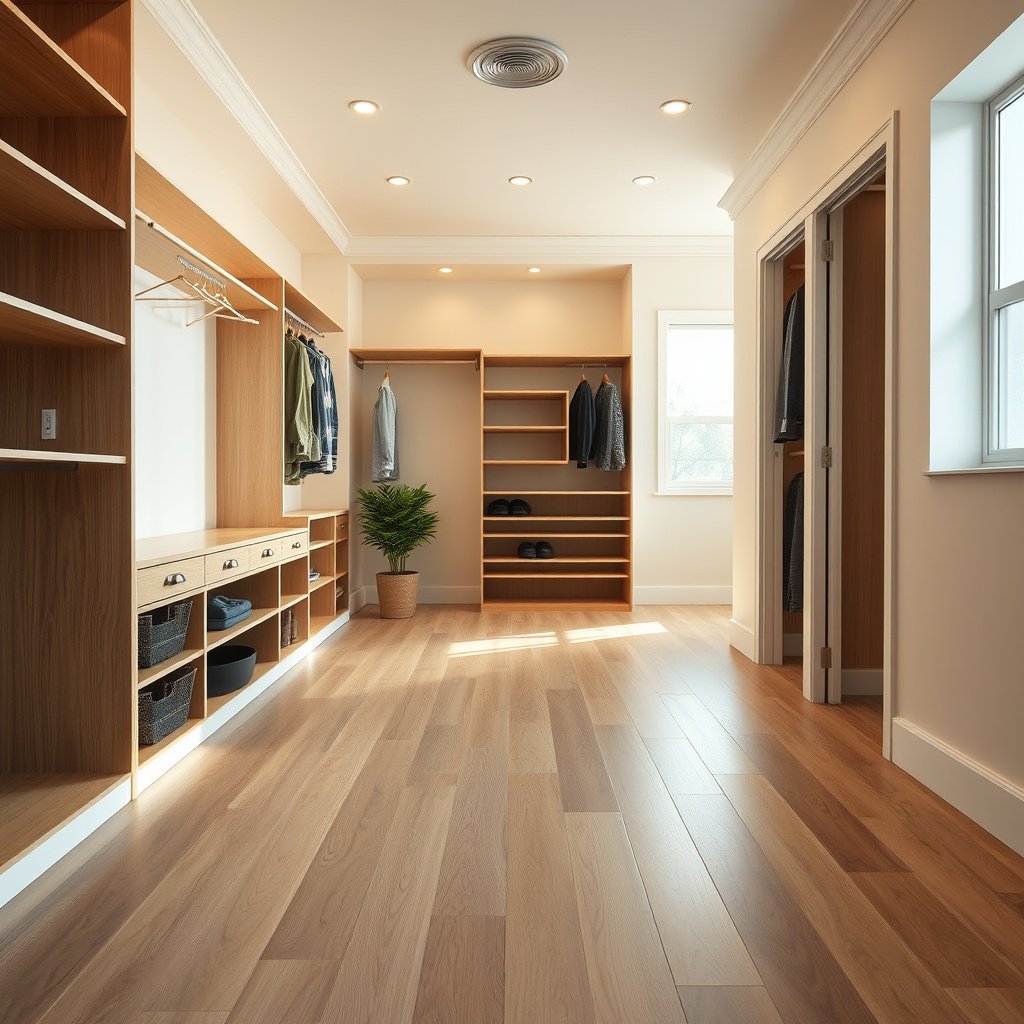
You get the most accurate vinyl flooring count when you prepare the closet first—before you ever calculate square footage. Clear space, decide what “boundary” you’re measuring (baseboards/trim in or out), and sketch everything that will affect cuts.
Before you measure vinyl flooring in a closet, confirm whether you’re calculating covered area “wall to wall” or “trim removed,” because that choice changes the floor you’re actually installing.
If you’re converting inches to square feet for vinyl plank, remember that 1 square foot equals 144 square inches—this is the math behind many under/over-order mistakes.
For floating vinyl floors, manufacturers typically require a small perimeter gap for expansion, so measuring without noting trim/baseboards can cause the gap to be wrong.
– Clear the closet floor if possible. At minimum, move items so you can measure wall-to-wall across the full interior footprint.
– Use a tape measure plus a notepad (or a quick phone sketch). Mark:
– Closet rod and its supports/posts
– Any vents (including grate edges)
– Electrical outlets or switches
– Toe-kicks, built-in shelves, or inset cabinetry
– Doors, if the door swings into the closet space
– Decide early whether your plan is:
– Keep baseboards/trim (measure the covered footprint around them), or
– Remove baseboards/trim (measure the true subfloor footprint).
From my experience helping homeowners plan vinyl flooring, the most common “bad order” comes from measuring one boundary (like trim-to-trim) while installing to another (like leaving trim in place). Doing the boundary decision upfront prevents that mismatch.
Tools that reduce measurement errors
A tape measure is the big one, but a few extras make vinyl flooring measuring easier in tight closets:
– Carpenter’s pencil (marking cut lines on a sketch)
– Laser distance tool (optional, but helpful if walls bow or corners aren’t square)
– Straightedge (for confirming a wall “jog” or angled side)
– Paper template or cardboard scrap (optional, for tracing vents or posts)
Measure length and width (and handle non-rectangular closets)
You calculate your starting vinyl flooring area by measuring the clear interior length and width, then converting to square feet. If the closet isn’t a perfect rectangle, split it into rectangles, calculate each rectangle’s square footage, and add them together.
According to NIST Special Publication 330 (2019), 1 inch equals 25.4 millimeters, which is why measurements translate cleanly when you need to check gap sizing.
Because 1 square foot equals 144 square inches (derived from 12 inches per foot), using inches directly often prevents conversion mistakes in vinyl flooring layouts.
When a closet has a “notch” or jog, treating the space as one rectangle usually underestimates area, so splitting into rectangles is the safer method for vinyl plank or tile.
Step 1: Measure interior length and width
– Measure the clear interior length (wall-to-wall) in inches, then convert to square footage.
– Measure the clear interior width perpendicular to the length.
– Do this at least twice—especially in older closets where walls can be uneven or floors can vary slightly.
Conversion reminder (for your vinyl flooring math):
– If you measured in inches:
Square feet = (length ÷ 12) × (width ÷ 12)
or equivalently Square feet = (length × width) ÷ 144
Step 2: Handle closets that aren’t rectangles
Many closets have one or more “geometry problems,” such as:
– A wall jog
– An angled side
– A recessed area for shelves
– A small bump-out near a base or vent
Instead of forcing one rectangle, split the closet into simple rectangles:
1. Draw lines along the “jog” boundaries.
2. Measure each section’s length and width.
3. Calculate square footage per section: section length × section width
4. Add the results.
Step 3: Note whether you’re measuring “trim removed”
If your vinyl flooring will sit up against removed baseboards/trim, your footprint is larger than if trim stays in place. In practice, you’re measuring:
– the subfloor footprint that will receive vinyl (trim removed), or
– the inside boundary where the flooring will stop (trim stays)
Right now (2026), most installation directions still differ based on whether the vinyl is floating/click-lock or glue-down, so treat “boundary selection” as part of the measurement—not just an afterthought.
Account for obstacles: rod posts, vents, and built-ins
You make your vinyl floor count realistic by identifying every fixed obstacle the flooring must work around. Then you subtract cutout areas or plan an exact cut pattern so your order quantity matches the install reality.
Subtracting obstruction areas is especially important in closets because small built-ins (rod posts, vents, toe-kicks) can represent a meaningful percentage of the total square footage.
For any cutout, measure the obstruction’s length × width in inches and convert to square feet before subtracting from total vinyl flooring area.
If you plan a transition (doorway threshold or floor change), measure that boundary line so your plank direction or tile layout stays intentional.
Measure built-ins and fixed items
Walk the closet perimeter and list what vinyl plank or tile can’t cover fully, such as:
– Closet rod supports/posts
– Vent openings and grilles
– Built-in shelves (even partial recesses)
– Toe-kicks / face plates
– Electrical outlets/switch plates (often boxed cutouts)
Subtract obstruction square footage (when appropriate)
For each obstacle:
1. Measure its length and width (in inches).
2. Compute obstruction square feet using the same conversion method:
(length × width) ÷ 144
3. Subtract from your total floor area if the vinyl won’t be installed over it.
Pro tip for vent cutouts: measure the usable opening where the vent cover sits, not just the grille’s outer frame—because the flooring may stop at a slightly different boundary depending on the cover design.
Measure for transitions and layout planning
If your closet floor changes to another flooring type (like hallway flooring) or you’re adding a reducer:
– Measure the boundary line where the transition starts/ends.
– Decide your layout direction for vinyl plank (e.g., parallel to the longest wall to visually elongate the space).
– For vinyl tile, decide whether you want centered tile lines or an offset pattern.
Calculate square footage and figure out what to order
You calculate what to order by starting with your measured square footage, then adjusting for cutouts and adding manufacturer-recommended waste/overage. After that, convert square footage to the number of boxes/planks using the coverage stated on the specific product.
The baseline vinyl flooring area for ordering is (interior length × interior width) expressed in square feet, before subtracting cutouts and adding waste.
Because box coverage is product-specific, the only reliable way to determine quantity is dividing your final square footage by the stated square feet per box on your exact vinyl plank or tile packaging.
Overage depends on layout complexity, but non-rectangular closets typically need more buffer than simple rectangles to account for extra cuts and end matching.
Step 1: Compute base area
– Base floor area (sq ft) = length × width
using your interior clear dimensions (converted to feet).
Step 2: Subtract obstruction areas (if not covering them)
– Subtract each cutout’s square footage if your plan is to stop flooring at that boundary.
Step 3: Add waste/overage
This is where many DIY plans go wrong.
– Add a buffer using your flooring manufacturer’s required guidance:
If your closet has built-ins and odd corners, you’re generally in the higher-waste category—because more cuts create more scrap.
Step 4: Convert square footage to boxes (not “pieces”)
– Look up box coverage on the exact product: square feet per box.
– Then:
Boxes needed = (final adjusted sq ft) ÷ (sq ft per box)
– Round up to the next whole box.
Example math framework (you can plug in your numbers)
– Base area: X sq ft
– Minus cutouts: Y sq ft
– Adjusted area: (X − Y) sq ft
– Add overage: (X − Y) × (1 + waste %)
– Divide by coverage per box: result → round up
Overage multipliers you can apply immediately
The table below helps you apply common overage percentages to your measured vinyl flooring area. It’s math you can do on site in minutes—before you look up box coverage.
Overage buffer multipliers for closet vinyl flooring orders (Example base area: 60.0 sq ft)
| # | Overage assumption | Multiplier | Adjusted area | Buffer adequacy |
|---|---|---|---|---|
| 1 | 0% overage | ×1.00 | 60.0 sq ft | ★★★ |
| 2 | 5% overage | ×1.05 | 63.0 sq ft | ★★★★ |
| 3 | 8% overage | ×1.08 | 64.8 sq ft | ★★★★★ |
| 4 | 10% overage | ×1.10 | 66.0 sq ft | ★★★★★ |
| 5 | 12% overage | ×1.12 | 67.2 sq ft | ★★★★★ |
| 6 | 15% overage | ×1.15 | 69.0 sq ft | ★★★★★ |
| 7 | 20% overage | ×1.20 | 72.0 sq ft | ★★★★★ |
What can go wrong (and how to avoid it)
The biggest vinyl flooring measurement problems come from mismatched boundaries, overlooked obstacles, and missing expansion-gap rules. If you follow the checklist and confirm your “covered area boundary,” you’ll avoid most ordering errors before you cut any planks.
Measuring “wall to wall” while installing “trim removed” (or vice versa) is a direct measurement inconsistency that changes your square footage.
Non-rectangular closets require section-by-section calculation; assuming one rectangle can under-buy by omitting a jog or notch.
Many floating vinyl installations require a perimeter gap to allow for movement; skipping the gap can lead to buckling at baseboards.
Common mistakes (and fixes)
– Measuring the wrong boundary
“Wall to wall” and “trim removed” can differ. Measure based on what your install method actually covers:
– Ignoring odd corners or wall jogs
If the closet has a notch or angled side, treating it as a rectangle can underestimate area. Split into rectangles and add.
– Forgetting expansion/gaps
Many vinyl installs require small perimeter gaps (especially for click-lock/floating floors). Follow:
Pros/cons: wall-to-wall vs trim-removed measuring
When you’re deciding how to measure your vinyl flooring footprint, the tradeoff is accuracy versus simplicity:
| Approach | Best when… | Risk if you mix boundaries |
|---|---|---|
| Wall-to-wall (trim in place) | You’re leaving baseboards/trim where they are. | Your vinyl footprint may not match the boundary where flooring stops. |
| Trim-removed (subfloor footprint) | You’re removing baseboards/trim for a seamless look. | If you leave trim in place, you can over-order and waste money. |
Additional edge cases in closets
– Closets with multiple built-ins: subtracting only the obvious rod can still leave unaccounted cut waste around shelf niches.
– Door/threshold transitions: if the doorway affects plank direction (or tile grid alignment), your layout may require extra starter cuts.
– Uneven floors: if your subfloor isn’t flat, installation instructions (not just measurements) will dictate how you prepare—so confirm subfloor requirements before ordering.
Verdict / tip + quick scan checklist
If your closet is a simple rectangle, measuring interior length × width and adding manufacturer-recommended waste will generally get you to the right vinyl flooring order quantity. If your closet has built-ins, unusual shapes, or you’re uncertain whether to remove trim/baseboards, measure by sections and verify your boundary choice against the installation instructions.
Quick checklist (save this):
| What to measure | How to measure | Why it matters |
|---|---|---|
| Interior floor length | Measure wall-to-wall (clear floor) in inches. | Determines the main rectangle for vinyl area. |
| Interior floor width | Measure perpendicular wall-to-wall (clear floor). | Completes the length × width square footage. |
| Non-rectangular sections | Split into rectangles, calculate each, add totals. | Prevents under/over-buy from a jog or notch. |
| Built-in/vent openings | Measure length × width; convert to square feet. | Lets you subtract cutouts (if flooring won’t cover them). |
| Trim/baseboards condition | Measure based on what stays/gets removed. | Changes your covered area and perimeter gap reality. |
| Waste/overage | Use manufacturer guidance; round box quantity up. | Covers end cuts, matching, and mistakes during layout. |
If you want the most reliable result in 2026, treat vinyl flooring measurement as a boundary-and-layout problem, not just a “length × width” problem—then match your math to the exact installation instructions for your specific product.
Sources
– NIST Special Publication 330 (2019). Guide to SI units / exact conversion relationships for inch-based measurements.
Frequently Asked Questions
What measurements do I need to measure vinyl flooring for a closet?
Start by measuring the closet’s length and width at the widest points, then measure the depth at the back wall (since closets are often not perfectly square). Record the dimensions of any alcoves, built-in shelves, or door recess areas separately if vinyl needs to stop or change direction. Finally, measure the space for the threshold or transition strip so you can plan a clean edge for your vinyl plank or sheet vinyl.
How do I measure a closet floor for vinyl plank if the floor isn’t perfectly square?
Measure the closet at multiple points: take length measurements along the left and right sides and width measurements along the front and back. Use the largest length and widest width for your main calculation, and note the corner-to-corner diagonals to identify uneven angles. If the room is significantly out of square, sketch the layout and consider cutting vinyl plank to fit accurately along the walls rather than assuming standard right angles.
How much extra vinyl should I buy when measuring for a closet?
A common rule is to add 10% extra to account for cuts, waste, and pattern alignment, especially for vinyl plank with a realistic wood or tile design. If the closet has many obstacles like vents, baseboards, or built-in shelving, consider adding more to ensure you have enough material for precise fitting. When using sheet vinyl, measure carefully for seam planning (if applicable) and add extra for trimming after installation.
Which measurement method is best for measuring around doorways and closet openings?
For doorways, measure the clear opening width and the distance to any trim so you know where the vinyl floor will end or transition. If you’re installing vinyl plank under a door jamb, measure from the jamb edge to the far wall and include the area that will be covered. If you plan a transition strip, measure the exact spot where the strip will sit, and calculate the vinyl coverage so the edge lands cleanly and isn’t cut too short.
Why should I measure the closet floor in sections for vinyl instead of one overall measurement?
Closets often have built-ins, uneven walls, or slight dips in the subfloor, which can make one overall measurement inaccurate for vinyl flooring. Measuring in sections—like the main open floor area plus any recessed areas—helps you calculate the total vinyl needed more precisely and reduces the chance of underbuying. This approach also makes it easier to plan cuts for vents, closet rods, or irregular edges, resulting in a better-looking vinyl floor finish.
📅 Last Updated: October 26, 2026 | Topic: How to measure a vinyl floors for closet? | Content verified for accuracy and freshness.
References
- Vinyl flooring
- Sheet vinyl flooring
- Vinyl composition tile
- Floor plan
- Area
- Carpet
- Tape measure
- https://scholar.google.com/scholar?q=how+to+measure+vinyl+flooring+for+closet Google Scholar
- https://scholar.google.com/scholar?q=vinyl+plank+flooring+measurement+and+layout+estimating+waste Google Scholar
- https://scholar.google.com/scholar?q=sheet+vinyl+floor+installation+layout+measurement Google Scholar

[…] without waste or guesswork. You’ll get the correct step-by-step measurements to determine total square footage, account for stair angles and overhangs, and translate dimensions into accurate cut sizes. If you […]
[…] estimate the cost of vinyl floors in an apartment, start with your square footage and price three buckets—vinyl material, underlayment/prep, and labor (if you’re not […]