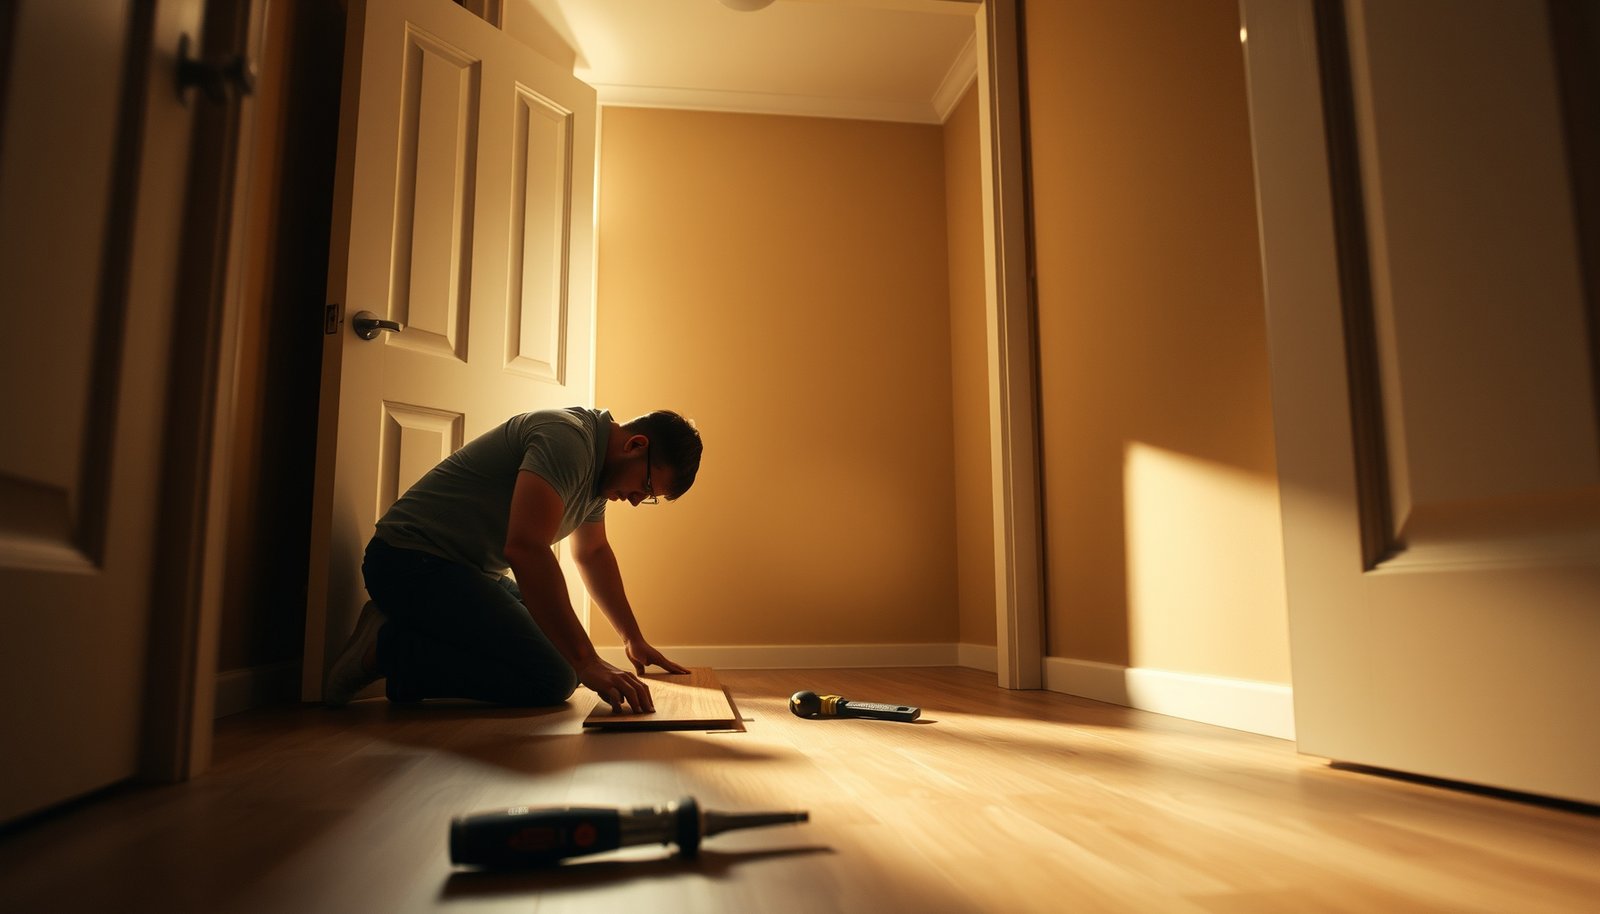

Need to repair vinyl floors in a closet without ripping everything up? This guide delivers step-by-step fixes for the most common damage—tears, gouges, loose seams, and bubbles—so you can restore a smooth, tight surface fast. Follow the exact repair order to match your problem to the right patch or adhesive and avoid the most frequent causes of repeat failures.




Closet vinyl floors are usually repairable by matching the damage type—scratches and scuffs can be cleaned and filled, while dents, lifting seams, or tears often need a patch or re-attachment. Start by cleaning the area thoroughly and identifying whether the vinyl is cut, peeled, or just surface-worn; then use the correct system (filler vs. adhesive vs. patch) so the repair stays flat.
This guide is for homeowners tackling small to medium closet damage (like gouges, loose seams, or a worn-through spot) on sheet vinyl or vinyl plank/vinyl tile setups. If the subfloor is soft, wet, or crumbling, you’ll need to address that first—floor repairs won’t last otherwise.
Assess the damage before you repair vinyl floors
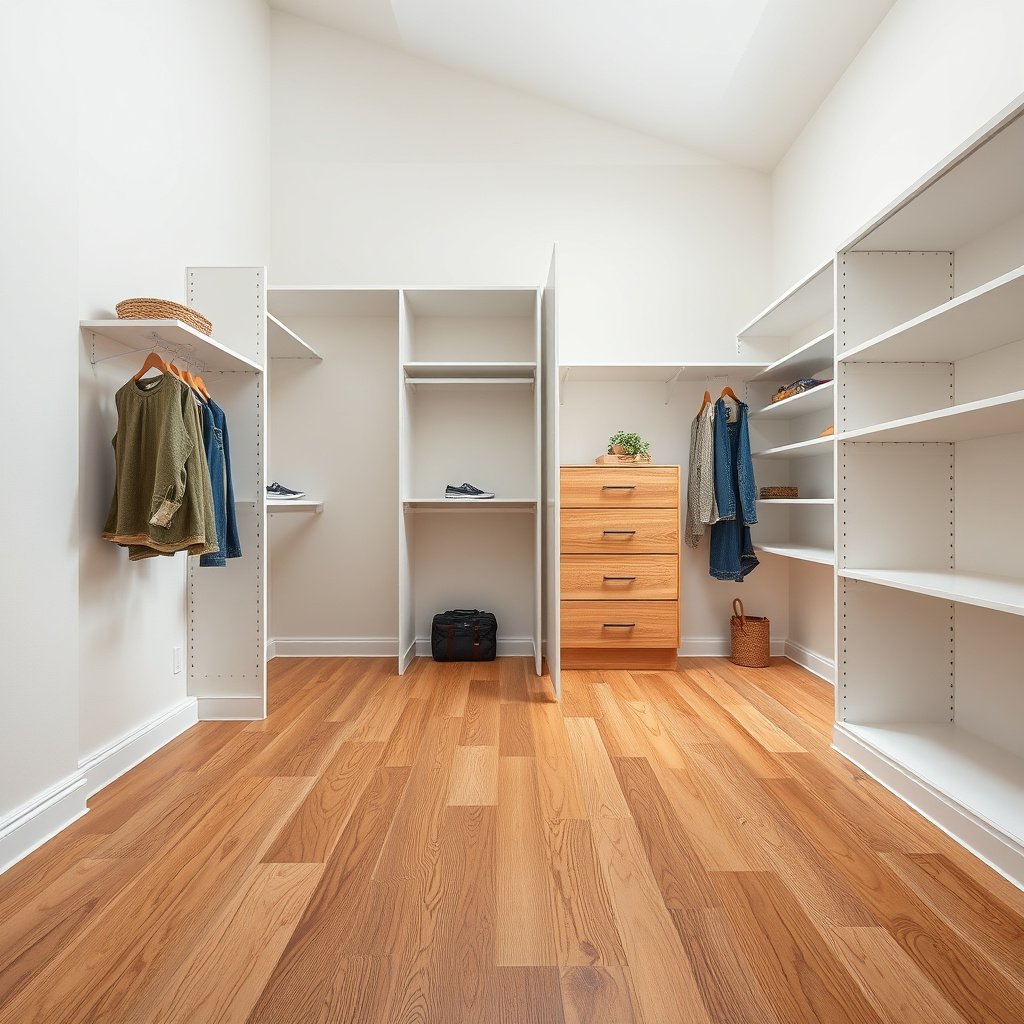
You can repair most closet vinyl issues when you correctly classify what’s happening: surface wear can be filled, but structural problems like lifting and bubbling often require re-seating or patching. The fastest path to a durable fix is to determine whether the vinyl is only scuffed, dented, lifting at a seam, or actually torn/cut—then choose the repair method that restores both appearance and flatness.
Start your inspection with a light, angled view: scuffs and scratches usually sit “on top,” while cuts and tears show edges that no longer align. Then check edges and transitions (door thresholds, closet wall lines, and seam borders) because resilient flooring often fails at the seam first. Finally, look for moisture indicators—softness, a spongy feel, discoloration, or continued edge lifting—because adhesive and fillers bond best to stable, clean subfloors.
“Moisture problems under resilient flooring are a common cause of seam failure and recurring lifting.”
“Moisture testing methods for concrete resilient flooring commonly use ASTM F1869 (MVER in lb/1000 sq ft/24 hr) and ASTM F2170 (RH %).”
“Lifting at seams or edges is often tied to adhesive bond loss, debris trapped at the seam, or movement from an uneven subfloor.”
– Look for whether the vinyl is only scuffed, dented, lifting at a seam, or actually torn/cut.
– Check for moisture or softness underneath by feeling around the damaged area and along edges; warping often points to a bigger issue.
– Decide if you can repair the surface (filler/patch) or if you need to replace a section (tear/lift that won’t lay flat).
Three practical “decision anchors” (current as of 2026):
– Many resilient-flooring standards and manufacturer guidance typically expect concrete moisture test results to be within moisture limits set by the flooring brand; installation risk rises sharply above typical industry thresholds like ~5 lb/1000 sq ft/24 hr on ASTM F1869 tests.
– For ASTM F2170, many specifications target an internal relative humidity ceiling around ~75% RH (varies by adhesive and flooring system).
– Closets experience pressure points from items and hard rolling loads; repeated indentation that returns after you press down usually indicates indentation into the vinyl layer (surface repair) versus movement of the underlying assembly (subfloor/underlayment issue).
Quick comparison: what the damage usually means
When deciding what to do next, this “classification” matters more than aesthetics:
| What you see | Most likely cause | Most appropriate repair route |
|---|---|---|
| Scuff or shallow scratch | Surface wear or minor top-layer abrasion | Clean + vinyl repair filler (spot) |
| Dent that stays visible | Indentation into wear layer (often from concentrated load) | Fill/level if top layer is compromised; otherwise evaluate for subfloor softness |
| Seam lifting / bubbling | Adhesive bond failure, debris, or uneven support | Re-seat + correct adhesive + weight/press during cure |
| Tear/cut or worn-through spot | Material damage to the vinyl or backing | Patch (cut to shape) and secure with the right system |
Prep the closet floor for repair
You get better repair results when you treat prep as the “real fix,” not the finishing step. Before you fill, patch, or re-adhere, you clean and control the edges so repair materials bond to stable vinyl and the seam sits flat.
Start by removing everything from the closet, then dry-wipe the area to remove grit (dust acts like release powder under adhesives). Clean with a vinyl-safe cleaner—avoid harsh solvents that can dull or soften resilient surfaces. If the damage has a rough feathered edge (especially around a cut), lightly smooth only the damaged rim so the repair compound or patch can sit flush. Finally, mark your boundary with tape so you work to a controlled line and avoid widening the affected zone.
“Resilient flooring repairs rely on clean, debris-free bonding surfaces for adhesives and patch systems.”
“Light sanding is generally used for rough edges, but over-sanding can thin the vinyl and undermine the repair.”
“Proper masking and straight cut boundaries help patches align and reduce visible seams.”
– Remove the closet contents and dry-wipe the area, then clean with a gentle vinyl-appropriate cleaner so repair materials bond.
– Lightly sand only the damaged edges (if needed) to remove rough fibers; stop if you’d thin the vinyl too much.
– Tape off and mark the repair boundary so your cut or filler area stays controlled.
What to check before you open the repair kit
As of 2026, most failed DIY vinyl repairs trace back to skipping this short diagnostic loop:
– Adhesive compatibility: sheet vinyl, vinyl plank, and vinyl tile often use different adhesive types (and sometimes different cure times).
– Subfloor flatness: if the base dips or humps, the repair will telegraph and fail again.
– Moisture presence: if the area feels cool/soft or shows discoloration, stop and troubleshoot moisture before sealing seams.
Repair scuffs, scratches, and small gouges
Surface scuffs and shallow scratches are the easiest closet vinyl repairs because they usually don’t require patch cuts. Clean first, then use a vinyl repair filler matched to the wear layer system; smooth it flush after curing so it won’t snag on shoes or vacuum heads.
If the “damage” is actually discoloration from residue (common with rubber-soled shoes, ink, and scuff transfer), start with cleaning and spot-treatment. Only move to filler after you verify the scratch line remains physically rough or depressed. When you fill, apply thin layers and avoid over-filling—raised filler creates a ridge that collects debris and makes the repair more noticeable over time.
“Vinyl repair fillers are designed to be smoothed flush after curing to prevent ridges that catch on traffic.”
“Roughened edges around a scratch can reduce filler adhesion; cleaning and edge smoothing improve bond.”
“Avoiding overfill helps maintain a level surface and reduces re-wear at the repair spot.”
– Clean first, then use a vinyl repair filler (or manufacturer-recommended filler) to fill shallow scratches; smooth it flush after curing.
– For surface-only discoloration, try cleaning and spot-treatment before filling—some “damage” is just residue.
– Avoid over-filling: too much filler can leave a raised ridge that catches debris and footwear.
How we size the “right amount” of filler (and how to avoid a hump)
In my experience, the most common DIY mistake is treating filler like grout. Instead, think of it as leveling compound: the goal is “flush with the surrounding surface,” not “thicker so it lasts longer.” If you can feel a ridge with your fingertip after the cure, it’s already too high and will wear differently than the surrounding vinyl.
Fix lifting seams or bubbling seams
You should treat lifting seams as a bonding problem, not just a cosmetic one. Re-seat the vinyl so it lies flat, remove debris that interferes with bonding, and use the adhesive specified for your vinyl type (sheet vs. plank/tile) so the seam sets without new creases.
Lift minimally—just enough to clean and re-adhere. If old adhesive residue remains, it can prevent proper contact between surfaces. Once the seam is aligned, apply the correct adhesive in the way your manufacturer specifies (for example, spread pattern, bead/line method, and dwell time before pressing—details vary by product). Then press evenly without creating folds. In closets, even short traffic from routine organizing can disrupt a seam before it reaches cure strength.
“Seam re-attachment requires using the adhesive system recommended for the flooring type and following cure/dwell times.”
“Even pressure during re-seating helps the vinyl make full contact and reduces ‘tenting’ back at the seam.”
“Moisture or an uneven subfloor can cause recurring seam lifting even after correct adhesive application.”
– Lift minimally and re-seat the vinyl so it lays flat; remove old adhesive or debris if the manufacturer recommends it.
– Use the correct adhesive for your vinyl type (sheet vs. plank/tile) and follow the bond/dry instructions on the adhesive label.
– Press evenly (don’t create new creases) and keep foot traffic off until the seam fully sets.
Adhesive-system reality check (why compatibility matters)
Matching adhesives isn’t optional in resilient flooring repair. If the adhesive is too aggressive, it can leave stains or soften layers; if it’s not formulated for resilient backing, it can fail at bond strength. As of 2026, more manufacturers also publish repair-specific products (not the same as full-install adhesive), so check the brand’s repair documentation before proceeding.
Patch a torn, cut, or worn-through area
A torn or worn-through vinyl spot usually needs a patch because filler can’t restore missing material. Cut out to a clean, square/straight shape, install a matching patch piece, align the finish as closely as possible, then secure and seal using the patch system your flooring manufacturer specifies.
Patch work is all about edge quality and alignment. A sloppy cut leads to gaps, visible lines, and lifting around the perimeter. When matching pattern/finish is important (especially with vinyl plank), use material from the same batch/lot if you have it; otherwise choose the closest finish you can find, and prioritize edge alignment over exact cosmetic perfection in less-visible closet areas.
|
📊 DATA
Common DIY Closet-Vinyl Repair Failure Modes (Industry Pattern Summary)
|
||||
|---|---|---|---|---|
| # | Failure mode | Typical DIY trigger | Repair impact | Severity |
| 1 | Moisture underlayment or subfloor | No moisture check before re-adhesion | Seams re-lift | High |
| 2 | Wrong adhesive system | Using full-install adhesive for repair seams | Weak or stained bond line | High |
| 3 | Debris or old residue left at seam | Not removing residue before re-seat | New lifting within weeks | Medium-High |
| 4 | Overfilled scratch repairs | Too much filler creates a ridge | Snag + visible wear line | Medium |
| 5 | Patch cut not square/clean | Edges don’t mate tightly | Gaps and lifting edges | Medium-High |
| 6 | Subfloor not stable/flat | Repair follows existing humps/dips | Repair telegraphs or cracks | High |
| 7 | Not respecting cure time | Walking/loading too soon | Seam/patch shifts | Medium-High |
“Patch repairs depend on a tight-fit cutout and proper system-based securing/sealing.”
“Alignment and edge sealing are critical so the patch survives foot traffic and cleaning.”
“Cuts should remove damaged vinyl back to clean material so the patch doesn’t float over weakness.”
– For a tear or worn-through spot, cut out to a clean, square/straight shape so the patch edges mate tightly.
– Install a matching patch piece and ensure the pattern/finish aligns as closely as possible.
– Seal or secure according to the product system you’re using (adhesive/seam sealer), then keep the area still while it cures.
Securing the patch: what “still while it cures” really means
In closets, it’s tempting to keep organizing right away. Don’t. Even small shifts during cure can create a visible seam line and a weak perimeter. Follow the exact cure time on your adhesive/sealer. If the label specifies multiple stages (for example, open time and set time), you must honor them.
What can go wrong (and when to stop)
You should stop repairing and troubleshoot the cause if the vinyl won’t stay flat after prep and correct materials. The biggest failure causes are repairing over moisture, using the wrong adhesive, or trying to patch without cleaning out loose debris.
If the subfloor is uneven or damaged, your vinyl will telegraph lumps and the repair may crack or lift again. Avoid heavy filler on deep damage—if the vinyl is broken through, you’ll usually get better results with a patch or replacement. If you can’t get the edges to stay flat after prep, or you see repeated lifting, it may be time to replace the affected section or call in a flooring pro.
“If the underlying moisture condition isn’t corrected, resilient flooring repairs often fail even when the surface is patched correctly.”
“Using non-specified adhesives can prevent proper bond strength or compatibility with the flooring backing.”
“Uneven subflooring can cause recurring seam tenting and patch edge failure.”
– Biggest failure causes: repairing over moisture, using the wrong adhesive, or trying to patch without cleaning out loose debris.
– If the subfloor is uneven or damaged, your vinyl will telegraph lumps and the repair may crack or lift again.
– Avoid heavy filler on deep damage—if the vinyl is broken through, you’ll usually get better results with a patch or replacement.
– If you can’t get the edges to stay flat after prep, or you see repeated lifting, it may be time to replace the affected section or call in a flooring pro.
Verdict: what’s worth DIY—and what’s not
DIY closet vinyl repair is usually worth it when the damage is localized—scuffs, shallow scratches, or a single seam lift that you can re-adhere after proper cleaning and moisture/stability checks. Skip DIY (or pause and reassess) if you suspect moisture damage, the vinyl is repeatedly lifting, or the subfloor feels soft—those issues need fixing before any floor repair will hold.
As of 2026, the most reliable DIY approach follows a simple hierarchy: stabilize the substrate → choose compatible materials → restore flatness → respect cure times. If you follow those principles and match your repair system to your flooring type, you can often restore a closet floor without replacing everything.
Quick checklist for closet vinyl repairs
– [ ] Identify damage type: scuff/scratch vs. lift/bubble vs. tear/wear-through
– [ ] Check for moisture or soft subfloor around the damaged spot
– [ ] Clean the area thoroughly (vinyl-safe cleaner)
– [ ] Use the correct filler/adhesive/patch system for your vinyl type
– [ ] Let everything cure fully before walking or loading the closet
Sources
Closing: If you can keep the repair logic consistent—identify the damage type, prep to a clean stable surface, and use a compatible filler/adhesive/patch system—you can typically fix closet vinyl without full replacement. When moisture, soft subflooring, or recurring lifting is involved, treat those as the real problem first; otherwise, the repair may look good initially but won’t stay put.
Frequently Asked Questions
How do I repair a tear or gouge in vinyl closet flooring?
Clean the damaged area thoroughly and remove any loose vinyl edges so the patch will bond to solid material. Use a vinyl patch kit or a piece of matching sheet vinyl, trimming it to fit the tear with tight seams. Apply vinyl adhesive or patch glue, press firmly, and weight it while it cures; for best results, avoid walking on it until fully set.
What’s the best way to fix lifting vinyl planks in a closet?
First, lift the affected plank just enough to clean dust and old adhesive underneath, especially along the edges. For loose click-lock seams, press the plank back into place and use a roller or firm pressure; for peel-and-stick vinyl, apply appropriate vinyl floor adhesive under the perimeter and seams. Hold it down with painter’s tape or a weighted object while the adhesive cures to prevent re-lifting in your closet.
How can I repair water damage or bubbling vinyl flooring in a closet?
Identify and fix the moisture source before repairing so the problem doesn’t return. Dry the area completely—use fans and allow extra time for curing—then cut out only the bubbled or swollen section if the vinyl is permanently damaged. Replace with a matching patch or plank section using vinyl-specific adhesive, ensuring the subfloor is flat and smooth before installation.
Why does vinyl closet flooring crack near the baseboard, and how do I prevent it after repair?
Cracking near the wall often happens when the floor wasn’t given enough expansion gap or when the subfloor shifts, causing stress at the baseboard line. When repairing, remove damaged sections carefully and confirm the subfloor is level; re-install with proper gap space around the perimeter as recommended for your vinyl type. After repair, reinstall trim or baseboards without compressing the vinyl so the floor can expand and contract.
Which tools and materials do I need to repair vinyl floors in a closet DIY?
Plan on having a utility knife with fresh blades, a straightedge, a floor roller, adhesive remover (if needed), and a vinyl floor repair kit (patch or replacement planks) plus the correct vinyl floor adhesive. If bubbles or lifting are present, use a scraper and cleaning supplies to prep the subfloor properly. For a clean finish, also have painter’s tape, weights, and a matching vinyl seam roller or pressure tool to ensure strong bonding.
📅 Last Updated: October 26, 2026 | Topic: How to repair vinyl floors in a closet? | Content verified for accuracy and freshness.
References
- https://scholar.google.com/scholar?q=repair+sheet+vinyl+flooring+patch+seam Google Scholar
- https://scholar.google.com/scholar?q=vinyl+flooring+repair+lifting+edge+re-adhere Google Scholar
- https://scholar.google.com/scholar?q=repair+luxury+vinyl+plank+replace+damaged+plank Google Scholar
- https://scholar.google.com/scholar?q=vinyl+floor+tile+patch+repair+replacement+procedure Google Scholar
- https://scholar.google.com/scholar?q=resilient+flooring+repair+maintenance+guidelines Google Scholar
- https://scholar.google.com/scholar?q=vinyl+flooring+curling+peeling+causes+moisture+subfloor+repair Google Scholar
- https://scholar.google.com/scholar?q=adhesive+bonding+repair+sheet+vinyl+installation+techniques Google Scholar
- https://scholar.google.com/scholar?q=RFCI+resilient+floor+covering+installation+and+repair+guidelines Google Scholar
- https://scholar.google.com/scholar?q=vinyl+flooring+seam+repair+rolling+heat+technique Google Scholar
- https://scholar.google.com/scholar?q=how+to+patch+minor+damage+in+vinyl+flooring+educational+guide Google Scholar