
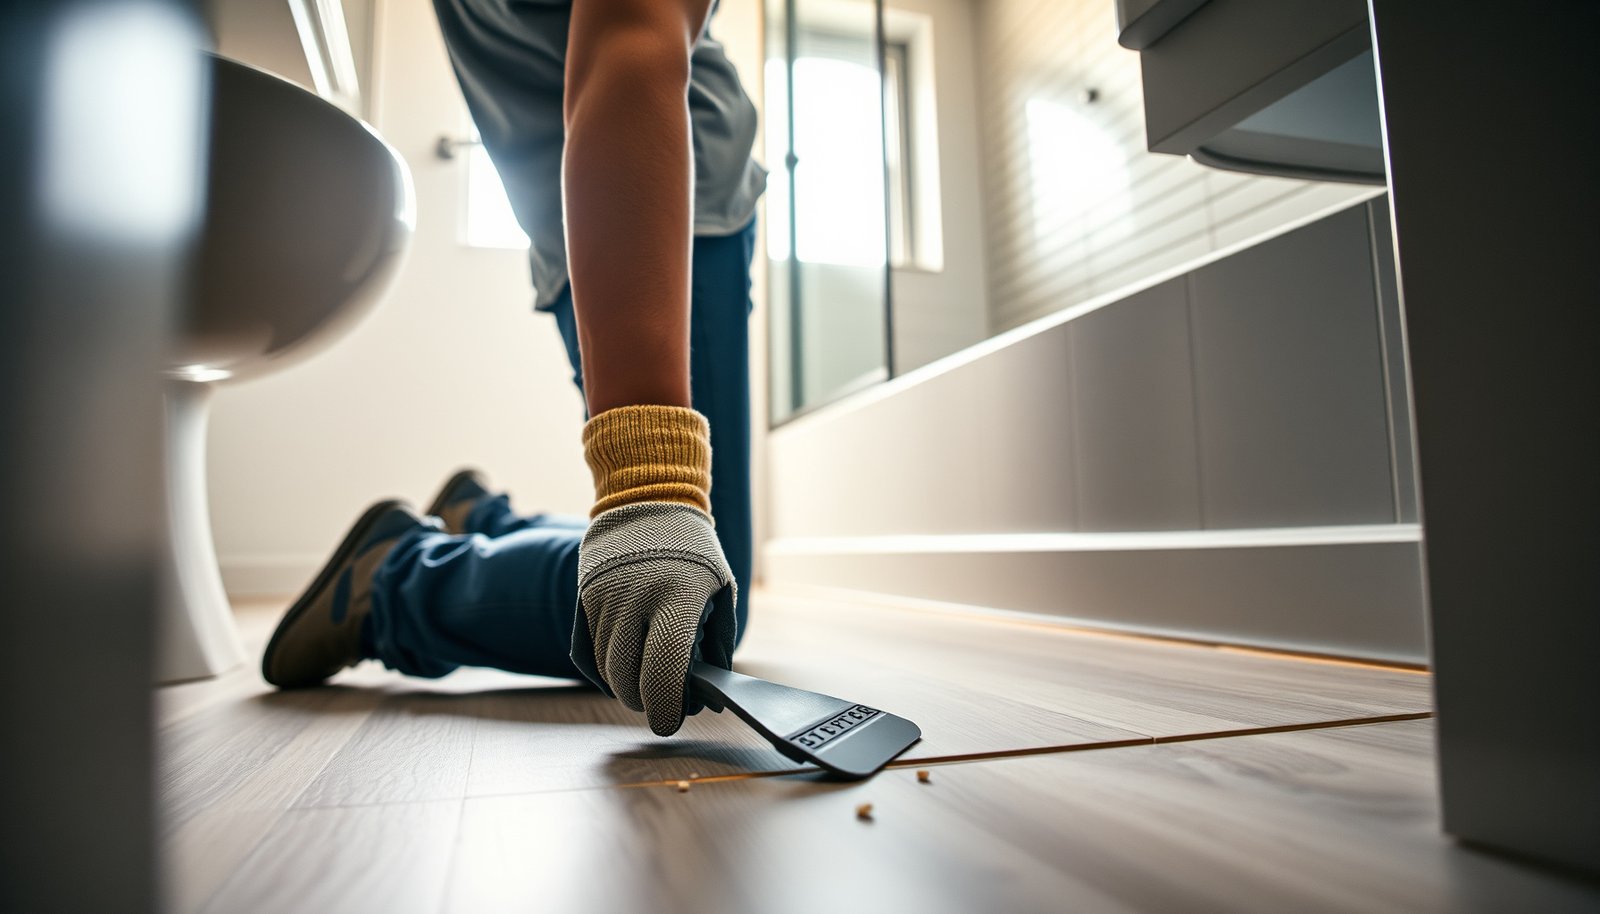

Want to remove vinyl floors in a bathroom without damaging the subfloor? This guide gives you the fastest, cleanest removal method based on what you’re working with—peel-and-stick, glued-down, or sheet vinyl. You’ll learn exactly how to lift the material, handle adhesive, and prep the surface for the next flooring.



Remove bathroom vinyl flooring by first figuring out whether it’s a “click-lock/float” floor or a glue-down (peel-and-stick or full-spread) floor, then using the matching removal method. Plan on pulling up the vinyl, scraping off remaining adhesive, and cleaning the subfloor so it’s flat and ready for your next flooring.
If you’re doing a DIY bathroom demo (or prepping for a remodel) and you want to avoid damaging the subfloor, the key is correct identification first—because “glue-down” vinyl behaves very differently than floating/click-lock vinyl. Also, bathrooms are moisture-prone and often have older materials in renovations, so your safest route is to control dust, protect yourself, and address flatness and moisture issues before installing anything new (as of 2026, this “identify → remove → prep” workflow is still the fastest path to predictable results).
This is for homeowners doing a DIY bathroom demo (or prepping for a remodel) who want a practical, step-by-step approach without damaging the subfloor.
Prep and identify the vinyl type
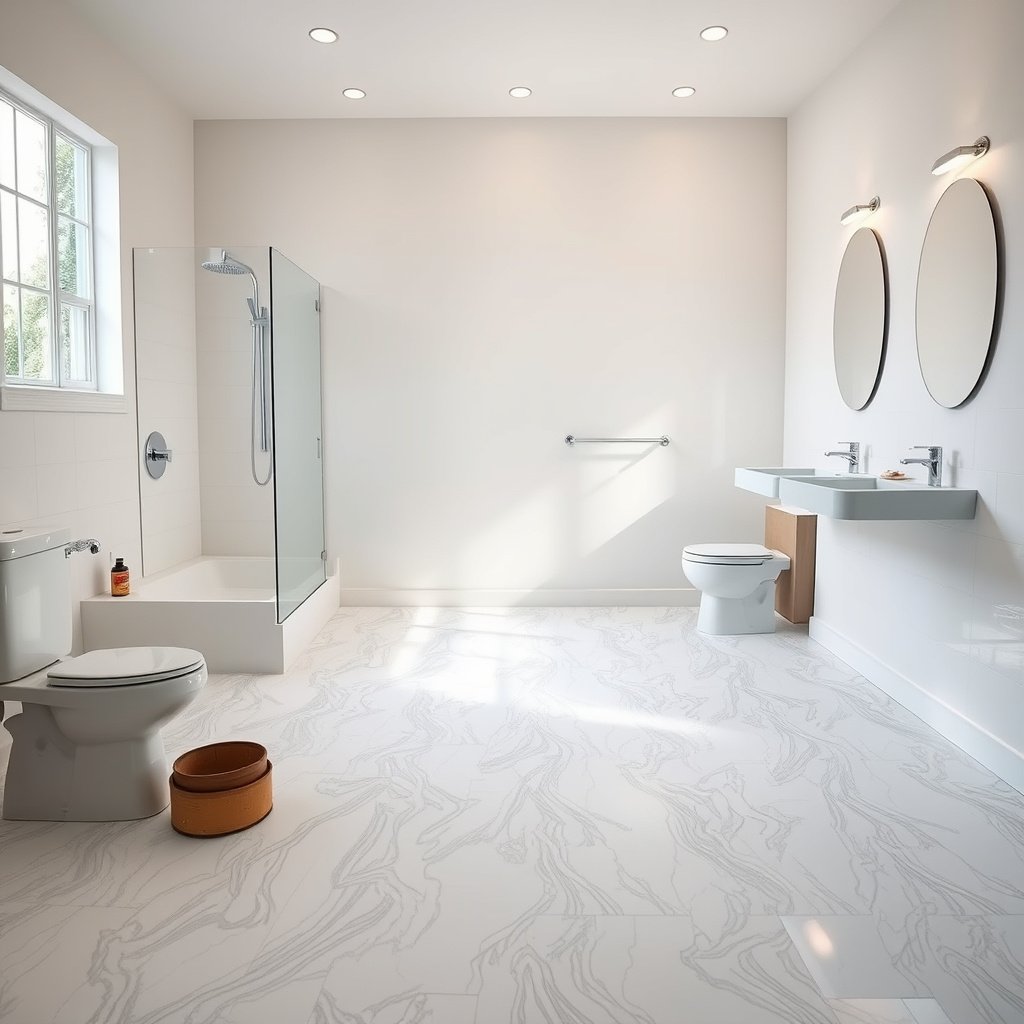
The fastest (and least destructive) way to remove bathroom vinyl flooring is to identify the installation method before you touch a blade. The vinyl type controls whether you can lift in sections or whether you should plan on cutting and scraping.
Here’s the identification logic we use on real bathroom vinyl removal jobs:
– If it’s click-lock/“floating,” the pieces connect mechanically and typically lift in rows once trim and edge constraints are removed.
– If it’s glue-down (including peel-and-stick), the vinyl is bonded to the subfloor with adhesive, so it often tears if you pull without first cutting.
“Click-lock” vinyl flooring is designed to release when you lift the locking edge; glued-down vinyl generally resists lifting and tears unless cut.”
“In bathroom vinyl flooring removal, the underlayment (if present) changes how residue behaves and whether you can scrape aggressively.”
“OSHA treats asbestos dust as a serious health hazard; if older flooring/backing is suspect, you should stop and follow asbestos-safe removal steps.”
Check how the pieces connect (click-lock vs glue-down)
Start by inspecting seams and edges at a doorway threshold or wall perimeter.
– Click-lock/float: Look for plank-to-plank locking seams. When you lift an edge or corner, the vinyl typically peels up without leaving the full backing behind.
– Glue-down: Seams may still look “finished,” but pulling usually causes tearing. You’ll often see the vinyl stretching or the top layer separating from the backing.
In my experience coordinating bathroom remodel planning, the most common failure is forcing a glue-down floor to lift like it’s click-lock—this is where people gouge plywood underlayment with pry tools or drag blades across the subfloor.
Confirm what you’re working over
Bathroom vinyl flooring can be:
– Vinyl sheet (one large sheet)
– Vinyl tile (square pieces)
– Vinyl planks (often click-lock, sometimes glue-down)
Also check whether there’s underlayment (for floating floors) or a foam backing (common with some glue-down products). That detail matters during residue removal—what’s left behind might be adhesive, backing, or both.
Protect the room (bathroom-specific realities)
Before removal, set up the space like it’s a dusty demolition—because it is, even when done carefully. Ventilate with fans to the exterior when possible, and wear:
– eye protection
– gloves
– a dust mask or respirator appropriate for the materials involved
If the bathroom is operational in a household, keep water pathways controlled (close doors, prevent tracked moisture, and avoid saturating the subfloor). Bathrooms can already have unevenness from prior leaks; sanding and patching only work when the subfloor is stable and dry.
Remove floating/click-lock vinyl floors (usually easiest)
If your bathroom vinyl flooring is click-lock/float, you typically remove it by lifting edges and releasing planks in rows. This method is usually the least risky for the subfloor because it relies on mechanical separation, not adhesive failure.
Here’s what to do first: start at an edge (usually where trim was attached) and test the lifting direction before using force. When the vinyl won’t lift, stop—re-check for glue-down.
“Floating click-lock vinyl floors typically come up in board rows once edge constraints are removed.”
“If a corner won’t lift with gentle pulling, treat it as glue-down and switch to scoring/cutting before prying.”
Remove trim and obstacles carefully
Trim pieces and transition strips often pin floating floors. Remove them in the order that preserves access:
1. Disconnect/remove quarter-round, base shoe, or transition trim as needed.
2. Remove the threshold/transition pieces if the floating floor tucks underneath them.
Go slowly. Bathroom vinyl flooring removal frequently involves tight corners near toilets, vanity bases, and door jambs—rushing these steps leads to gouges and cracked subfloor edges.
Pull up in rows (avoid gouging)
Once you’ve freed the perimeter:
– Start at a transition or an exterior wall edge.
– Lift the first few boards to see if they release cleanly.
– Work section-by-section so you’re not levering against the subfloor.
When you lift, keep the motion smooth and controlled. A pry bar should support the work, not “dig” into the subfloor.
Clean debris as you go
As you remove bathroom vinyl flooring, vacuum debris frequently. Small stuck pieces (torn backing, dust, or grit) can scratch the subfloor and will telegraph through many “thin” replacement floors.
Remove glue-down vinyl floors (peel-and-stick or full-spread)
If your bathroom vinyl flooring is glue-down, plan on cutting the vinyl and scraping residue in manageable sections. Glue-down vinyl often tears if you only try to peel, so scoring first is usually the difference between controlled demo and subfloor damage.
“Glue-down vinyl flooring removal often requires scoring cut lines first so the vinyl lifts in smaller sections instead of ripping.”
“Heat can soften certain adhesives during bathroom vinyl flooring removal, but it must be used carefully to avoid damaging the subfloor.”
Score cut lines first
Use a utility knife to cut through the vinyl so you can lift smaller pieces. Practical approach:
– Cut a grid pattern (smaller sections reduce tearing).
– Lift each scored section and clear it before moving on.
This “cut → lift” sequence typically preserves the subfloor better than pulling large areas.
Use heat if appropriate (and only as needed)
A heat gun on low/medium can soften some adhesives. Keep the heat moving, and stop as soon as the material loosens. Avoid overheating—bathroom vinyl flooring removal can expose moisture-sensitive subfloors or cause bubbling if heat is excessive.
Pull slowly and scrape stubborn areas
When vinyl won’t lift:
– cut again along a new line
– lift what you can
– scrape residue after the vinyl is removed (not during, if you can avoid it)
From my experience in DIY bathroom demos, the adhesive phase is where most time gets spent. If you rush and gouge the subfloor during glue-down bathroom vinyl flooring removal, you can lose time later on patching and re-leveling.
Click-lock vs glue-down: what changes (and why it matters)
The “right tool for the right install method” is the whole story in bathroom vinyl flooring removal.
| Feature | Floating / Click-lock | Glue-down (peel-and-stick/full-spread) |
|---|---|---|
| Primary release mechanism | Mechanical locking seam | Adhesive bond to subfloor |
| Best first move | Lift edges/rows after trim removal | Score cut lines before lifting |
| Common subfloor risk | Less adhesive damage; still possible gouges from force | Scrape damage from adhesive removal if you dig |
| Expect residue | Usually minimal adhesive | Often significant adhesive and/or backing residue |
Remove adhesive and prep the subfloor for what’s next
Once the bathroom vinyl flooring is off, your success depends on how clean and flat the subfloor is. Plan on scraping residue carefully, controlling any chemical remover use, and finishing with a “flat check” before you install replacement flooring.
“Most resilient floor products require a smooth subfloor so ridges and lumps don’t telegraph through.”
“In bathroom vinyl flooring removal, avoid soaking the subfloor—bathrooms are prone to moisture problems and delayed drying.”
Scrape residue (without digging)
Use a floor scraper designed for flat scraping rather than prying. The goal is to remove:
– leftover glue ridges
– backing remnants (if present)
– high spots that would block new adhesive or create unevenness
Switch blades sooner rather than later—dull blades increase the chance of gouging.
Avoid soaking with removers
If you choose an adhesive remover:
– follow the product directions exactly
– apply as directed (don’t flood)
– ventilate the bathroom
Bathrooms increase the risk of trapped moisture. If the subfloor absorbs chemicals or water, it can complicate future flooring adhesion or cause swelling.
End with a “flat” check
After adhesive removal:
– vacuum thoroughly
– sand high spots
– patch depressions
– re-check flatness
A common target used in resilient-floor installations is no more than 1/8 inch (3 mm) variation over 6 feet for subfloor flatness, which helps reduce telegraphing through thin coverings.
Here are the OSHA asbestos numbers you should keep in mind if you suspect older bathroom vinyl flooring backing or adhesive contamination:
– OSHA sets an action level of 0.1 asbestos fibers per cubic centimeter (f/cc) as an 8-hour time-weighted average. OSHA 29 CFR 1926.1101 (Construction) / 1910.1001 (General Industry)
– OSHA sets a PEL (permissible exposure limit) of 0.1 f/cc as an 8-hour TWA. OSHA 29 CFR 1926.1101 (Construction) / 1910.1001 (General Industry)
As of 2026, these thresholds matter because “scraping for speed” can turn into airborne dust if asbestos is present—so controlled removal and safety planning are part of floor prep, not just personal protection.
📊 DATA: OSHA asbestos-control triggers that matter during renovation
OSHA Asbestos Limits & Medical Trigger Points (U.S.)
| # | OSHA item | Numeric threshold | Timeframe / condition | Regulatory priority |
|---|---|---|---|---|
| 1 | Action level | 0.1 f/cc | 8-hour TWA | ★★★★★ |
| 2 | PEL (permissible exposure limit) | 0.1 f/cc | 8-hour TWA | ★★★★★ |
| 3 | Excursion limit | 1.0 f/cc | Any 30 minutes | ★★★☆☆ |
| 4 | Medical surveillance trigger | 30+ days | At/above action level | ★★★☆☆ |
| 5 | Fit testing cycle | At least yearly | Respirator use readiness | ★★☆☆☆ |
| 6 | Regulated area requirement | Required | When determined | ★★★★☆ |
| 7 | Training requirement | Required | For exposed workers | ★★★★☆ |
Note: This table summarizes OSHA asbestos-control triggers and limits; confirm the exact scope for your work setup (construction vs general industry) in the OSHA standard text before planning DIY dust-generating tasks. OSHA 29 CFR 1926.1101 and OSHA 29 CFR 1910.1001
What can go wrong (and how to avoid it)
Bathroom vinyl flooring removal is usually straightforward until one of the common “surface damage” or “hidden material” problems shows up. If you plan for these issues, you can protect the subfloor and reduce rework.
“Mistaking glue-down for click-lock can rip the subfloor—test gently and cut if it doesn’t release.”
“Aggressive scraping can gouge plywood and underlayment; use smaller passes and sharper blades for bathroom vinyl flooring removal.”
Mistaking glue-down for click-lock
If you pull and the planks tear, stop. Switch to cutting and section-based removal. Forcing lift can pull up underlayment layers or damage the edge of the subfloor.
Damaging the subfloor during adhesive cleanup
Adhesive residue removal is where people “chase” every last speck and accidentally carve the subfloor. Use:
– smaller scraper passes
– frequent blade checks
– vacuuming to see what’s left
Asbestos risk in older homes
If your bathroom vinyl flooring (or backing/adhesive) is older and you can’t confirm materials, treat asbestos as a possibility. OSHA/EPA guidance emphasizes avoiding actions that generate dust if asbestos is present.
According to OSHA’s asbestos health standard, workers must comply with strict exposure limits and work practices to prevent airborne fiber exposure (OSHA 29 CFR 1926.1101 / 1910.1001).
Critical safety rule: do not dry-scrape or create dust if you suspect asbestos; stop and follow EPA guidance and local rules. Bathrooms are common renovation areas, and older vinyl assemblies can include hazardous backing or cutback adhesives.
Moisture surprises
If the subfloor feels damp, soft, or shows swelling, you’ll need to fix the moisture issue before installing new flooring. In bathroom vinyl flooring removal, “good-looking” surfaces can still hide subfloor problems that will ruin adhesion later.
Verdict / tip (when to DIY vs when to stop)
DIY is usually reasonable if you correctly identify whether your bathroom vinyl flooring is click-lock or glue-down, remove it in controlled sections, and keep adhesive removal careful. The downside is that glue-down products can leave stubborn residue that takes longer than expected—especially in bathrooms where moisture control matters.
“DIY bathroom vinyl flooring removal works best when you remove in sections, avoid gouging, and verify subfloor flatness after adhesive removal.”
“Stop DIY if asbestos is suspected, the subfloor is compromised, or moisture is present—those are conditions where professional remediation is the safer choice.”
Skip DIY and get professional help if:
– asbestos is suspected (older flooring/backing/adhesive)
– the subfloor is soft, delaminating, or repeatedly damp
– you discover widespread structural damage or need significant subfloor reconstruction
As of 2026, the safest rule for bathroom vinyl flooring removal is: if the risk profile rises, the plan shifts from “demo fast” to “demo controlled,” or to hiring help.
| Quick bathroom vinyl removal checklist |
|---|
| ✅ Identify: click-lock vs glue-down (test a small corner) |
| ✅ Remove trim/fixtures that block access (as needed) |
| ✅ Lift/cut in sections; avoid tearing |
| ✅ Scrape adhesive residue carefully (don’t gouge) |
| ✅ Vacuum thoroughly and check flatness |
| ✅ If asbestos is suspected: stop and follow EPA safety steps |
| ✅ Fix moisture/damage before new flooring |
Sources
– U.S. Environmental Protection Agency (EPA) — asbestos renovation/demolition safety guidance (including flooring/backing considerations). EPA Asbestos renovation/demolition guidance (exact page/section: )
– Occupational Safety and Health Administration (OSHA) — PPE and hazard protection requirements for asbestos and general renovation safety. OSHA 29 CFR 1926.1101 (Construction) and OSHA 29 CFR 1910.1001 (General Industry); OSHA 29 CFR 1910.132 and 29 CFR 1910.133 (PPE and eye/face protection)
– Flooring/adhesive manufacturers’ installation and subfloor-prep instructions — for your specific vinyl type and any adhesive remover/solvent directions.
Frequently Asked Questions
What’s the safest way to remove vinyl flooring from a bathroom?
Start by turning off electrical power to nearby outlets and using a utility knife to carefully cut the vinyl into manageable strips. Work slowly to avoid damaging the subfloor, especially around the toilet flange, vanity base, and any wet-area seams. Wear gloves, eye protection, and a mask because old vinyl and adhesives can contain irritating fumes or dust. After removal, inspect the subfloor for moisture damage before installing new bathroom flooring.
How do I remove vinyl flooring if it’s glued down in a bathroom?
If the vinyl is glue-down, you’ll typically need a floor scraper and heat to soften the adhesive—use a heat gun or adhesive remover gel for stubborn areas. Lift the vinyl slowly, keeping the blade angle low to reduce gouging the subfloor. Then remove leftover adhesive by scraping first and finishing with a manufacturer-approved adhesive remover, followed by thorough cleaning. Allow the area to dry completely and check for remaining adhesive lumps that can cause new flooring to telegraph.
How can I remove bathroom vinyl flooring around the toilet and other fixtures?
For tight areas, remove trim pieces and underlayment sections as needed so you can access the vinyl edge without tearing it. Turn off the water supply and consider removing the toilet to get a clean, safe edge—many installers prefer this for proper subfloor prep. If you don’t remove the toilet, you can cut the vinyl carefully around the base and then pull layers section-by-section, but be cautious not to damage the toilet flange. Afterward, clean and level the floor so the new bathroom vinyl or tile can sit flat.
Which tools and supplies work best for removing vinyl flooring in wet bathrooms?
The most common tools include a sharp utility knife, floor scraper, pry bar, heat gun (optional), putty knives, and a vacuum with a HEPA filter for dust control. For glue-down vinyl, adhesive remover or a commercial floor adhesive solvent can make the job faster and reduce subfloor damage. Use plastic sheeting to contain dust and protect bathroom fixtures, and keep a bucket and rags handy for adhesive cleanup. Having a scraper blade set and replacement blades is key because vinyl can dull blades quickly.
Why does the subfloor matter after removing vinyl bathroom flooring, and what should I check?
Bathroom vinyl removals often reveal moisture-related issues because vinyl can trap water at seams and edges. After pulling up the vinyl, check the subfloor for softness, swelling, moldy odors, or unevenness caused by old adhesive buildup. Use a straightedge to identify high spots and low areas, and remove residue so the new flooring adheres or locks properly. If you find moisture damage, address it before installing new bathroom flooring to prevent future failures.
📅 Last Updated: October 25, 2026 | Topic: How to remove vinyl floors from a bathroom? | Content verified for accuracy and freshness.
References
- Asbestos | US EPA
- Asbestos – Overview | Occupational Safety and Health Administration
- https://www.cdc.gov/niosh/topics/asbestos/default.html
- https://www.cdc.gov/nceh/lead/prevention/default.htm
- Lead Renovation, Repair and Painting Program | US EPA
- Asbestos – HSE
- Vinyl flooring
- https://scholar.google.com/scholar?q=how+to+remove+vinyl+sheet+flooring Google Scholar
- https://scholar.google.com/scholar?q=remove+vinyl+floor+tiles+adhesive+scraping Google Scholar
- https://scholar.google.com/scholar?q=asbestos+vinyl+floor+removal+safety Google Scholar


[…] – [ ] Confirm vinyl type (click-lock vs glue-down) […]
[…] only if your manufacturer requires it, and then installing using the exact method for your product (click-lock vs glue-down) with the required expansion gap. You’ll also need to plan cuts for doorways and transitions so […]