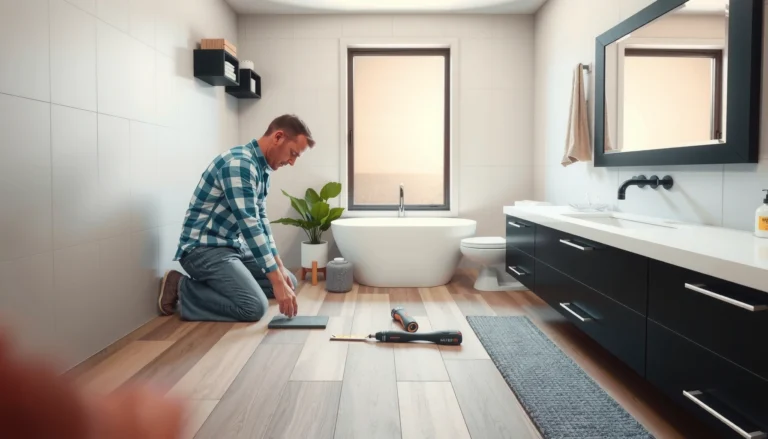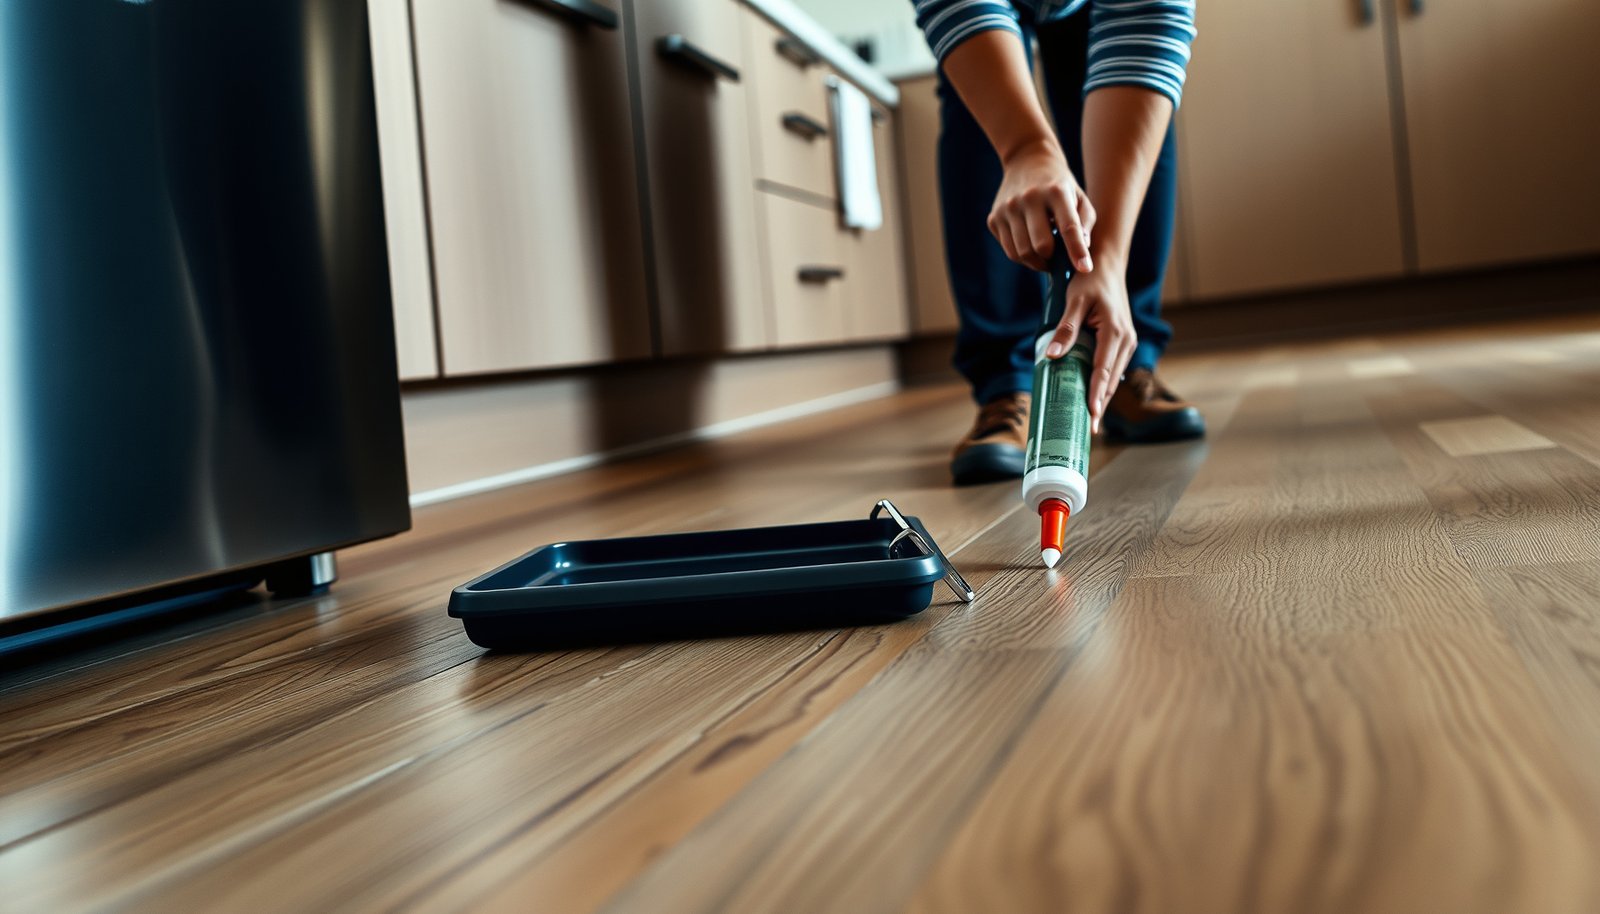

Want to waterproof laminate floors in your kitchen properly? The clear winning approach is using a full, seam-focused protection system—quality waterproof underlayment plus waterproofing tape or membrane at every joint and around the edges—then sealing high-risk zones like the doorway, cabinets, and wet appliance areas. Follow that method and you’ll stop kitchen moisture from creeping under the planks, which is the main failure point for laminate.




Waterproofing laminate in a kitchen is mainly about stopping water at the laminate’s weakest entry points—its edges, click-joints, and wet-zone interfaces—because laminate cores (often HDF) are not designed to handle standing water. The practical goal is risk reduction: seal approved seams, manage transitions around the sink/dishwasher, and prevent water from traveling underneath the planks.
This guide is for homeowners installing laminate in a kitchen (new or already installed) who want to reduce moisture risk from everyday spills and splashes. It’s especially relevant around sinks, dishwashers, and door thresholds where water tends to travel and pool in low spots—then wick into joints.
Step 1: Confirm your laminate and warranty allow waterproofing

If your laminate manufacturer doesn’t approve seam/edge sealing (or if it limits “waterproof” claims to certain conditions), the safest answer is to follow the warranty guidance first—even before you buy any sealer. Waterproofing laminate is only effective when it’s compatible with the specific click-lock system and the product’s intended moisture rating.
Manufacturer warranties for laminate typically reference specific installation methods and approved joint/seam products, and they can be voided by incompatible sealers used outside the documented “approved” areas.
Laminate flooring that is marketed as “water-resistant” is usually describing short-term exposure, not standing water at joints and edges.
If your laminate instructions require an expansion gap, sealing over that gap can restrict movement and create buckling that increases moisture risk over time.
Before you seal anything, treat the laminate’s documentation as the “spec sheet” for what you’re allowed to do. In 2026, manufacturers’ guidance still varies widely by brand and by click-lock design, so you can’t safely assume that “waterproof laminate sealer” is universally compatible.
What to check in your paperwork (or on the manufacturer’s website):
– Waterproof vs water-resistant definition: Look for how the manufacturer defines performance—often it’s about resistance to spills rather than flood-style exposure.
– Approved seam/edge treatments: Many brands specify exactly which joint/seam sealer type (or even brand) can be used, and where.
– Standing water limits and wet-zone allowances: Even “water-resistant” laminate may restrict warranty coverage around sinks/dishwashers unless additional wet-zone steps are taken.
– Underlayment requirements: Some installations require a moisture barrier underlayment; others explicitly prohibit certain products.
Use industry moisture-test terminology correctly
Laminate waterproofing decisions often come down to subfloor moisture risk, not just surface splashes. If you’re dealing with a kitchen slab, consider how your installer (or you) would test moisture using recognized methods. For example, ASTM test methods define results in specific units and timeframes, which matter when you compare to a flooring manufacturer’s expectations.
According to ASTM F1869, calcium chloride results are reported on a per-24-hour basis (lbs per 1,000 sq. ft. over a 24-hour reporting window).
According to ASTM D4263, the plastic sheet test evaluates moisture by observing condensation/darkening under an impermeable sheet for a specific test period (often 24 hours in practice).
According to ASTM F2170, in-situ RH testing measures relative humidity in drilled holes before installation decisions are made.
> Practical note: If your laminate’s docs don’t explicitly support wet-zone sealing at kitchen sink/dishwasher perimeters, you may be better served by improving substrate flatness and using spill-management (mats + fast cleanup) instead of trying to “force” waterproof performance.
Quick compatibility comparison (so you don’t waste money)
You can think of the choice as: approved sealing + correct wet-zone detailing vs changing the floor system.
| Feature | Approved sealing of seams/edges (this guide) | Switch to truly waterproof surface (e.g., tile/LVP with tested waterproof backing) |
|---|---|---|
| Primary goal | Reduce spill pathway risk | Eliminate standing-water pathway risk |
| Depends on warranty | Yes—follow approved products/placement | Often—still requires correct installation |
| Failure mode | Sealer incompatibility or missed wet-zone interfaces | Subfloor movement/edge sealing still matters, but risk is lower |
| Best for | Normal kitchen spills and splashes | Frequent standing-water exposure or high leak risk |
| Wet zone coverage | Sink/dishwasher perimeters + transitions (where supported) | Broad coverage when system is tested waterproof |
| Maintenance focus | Speedy cleanup + dry mats | Still dry for best appearance/adhesion, but more forgiving |
| Downtime | Sealer cure windows + careful handling | Full replacement timeline |
| Cost alignment | Lower than replacement if your laminate is otherwise good | Higher upfront cost |
| Subfloor sensitivity | Higher—bad flatness increases joint stress and gaps | Lower—still depends on flatness, but tolerates moisture better |
| Best for row | Dry kitchens with occasional spills | High-spill households or leak-prone plumbing layouts |
Step 2: Prep the subfloor and fit expansion gaps
If you want laminate waterproofing to hold up, the direct answer is: prep for tight joint contact and correct movement—because sealing can’t fix gaps caused by uneven subfloors or blocked expansion space. Flatness and expansion gaps determine how well click-joints stay engaged when your kitchen heats up and when people move furniture.
Floating laminate requires the manufacturer-specified perimeter expansion gap so the floor can expand and contract without buckling.
Sealer placed over poorly bonded joints (or over debris-filled locks) won’t stop water if the joint never fully closes during installation.
If underlayment seams are not treated per the underlayment system instructions, moisture barriers can become continuous pathways under laminate.
Here’s how to approach subfloor prep for laminate moisture control as cleanly as possible:
Flat, clean, and dry—before you think about water
– Flatness matters at the joint line. Even small ridges can prevent the click-lock from seating, leaving “micro-gaps” that are invisible at first but can widen over time.
– Remove debris from the seam area. Dust, old adhesive residue, and grit can create stress points where laminate expands.
– Confirm moisture condition of the substrate. Kitchens are notorious for slab moisture variation, especially near exterior walls or plumbing trenches. If you’re unsure, follow the flooring manufacturer’s moisture testing method and acceptance criteria.
Maintain expansion gaps (and don’t seal them)
Your laminate needs movement. That movement is why waterproofing that “locks” everything in place can backfire.
– Keep the required perimeter gap around all walls and fixed objects.
– Do not fill that perimeter gap with caulk intended for joint sealing or “watertight” purposes.
– Where baseboards or shoe molding will cover gaps, still follow the documented depth/clearance so the floor can move freely.
Underlayment: use the right system and treat seams
Many laminate warranties depend on whether you installed the recommended underlayment (including whether it includes a moisture barrier or is specified for in-slab moisture). If you use an underlayment system:
– Ensure underlayment seams are overlapped and taped exactly as directed.
– Avoid creating “hills” at underlayment seams; those can push up planks and weaken joint engagement.
Step 3: Seal laminate seams, edges, and click joints
To waterproof laminate in a kitchen correctly, you must seal the water entry routes your laminate exposes—typically the click-joint and certain edges—using a sealer your flooring maker approves. If you seal the wrong areas (or use the wrong chemistry), the floor may still move normally, but the seam pathway might be left open.
Laminate seam sealing is only as good as joint contact quality—if the click-lock never fully engages, sealer can’t compensate for a mechanically open joint.
Many installers avoid bathroom-grade silicone at laminate seams because it can interfere with movement and may not match the manufacturer’s approved bonding behavior.
After installation, “micro-gaps” may appear where joints weren’t seated; addressing them according to the laminate’s locking design is critical.
Use the manufacturer-approved joint/seam sealer (not generic caulk)
Most successful laminate waterproofing follows a simple pattern:
1. Apply only in recommended locations (often the click-joint and/or edges).
2. Use the application method the manufacturer specifies (e.g., whether the sealer goes on the tongue/groove, or whether you wipe off excess).
3. Allow cure/handling time before exposing the floor to heavy traffic or water.
Avoid common chemical and placement mistakes
– Don’t substitute silicone on the plank surfaces where the flooring needs to move.
– Don’t “over-seal” so much that it prevents proper locking or forces planks upward.
– Don’t seal over areas the manufacturer says must remain clean or uncoated (especially at expansion-adjacent points).
Locate micro-gaps the right way
After install, you’re looking for:
– slight visual gaps along joint lines,
– joints that flex more than neighboring boards,
– areas near obstacles or transitions.
From a practical standpoint: This is the kind of step that prevents “paper waterproofing” from turning into future swelling.
Step 4: Waterproof kitchen wet zones (sink, dishwasher, transitions)
To reduce moisture damage in a kitchen, you waterproof the wet zones first—not the entire floor surface. The direct target is where water repeatedly gets to: sink perimeter, dishwasher opening, plumbing penetrations, and transitions like thresholds and where laminate meets tile/LVP.
Sink and dishwasher perimeters are common laminate failure points because water can wick along edges and travel under planks if transitions aren’t detailed correctly.
Penetrations around supply lines and drain assemblies need manufacturer-supported penetration sealing methods, because leaks behind the front edge are difficult to detect.
Transitions (door thresholds, tile-to-laminate interfaces, and cabinetry edges) often require different detailing than interior plank joints.
Prioritize wet zones that “receive” water most often
Treat these zones as moisture-priority areas:
– Sink cabinet perimeter (front edge, corners, and any gaps where the counter/base meets the floor)
– Dishwasher opening area
– Fridge toe-kick / ice maker lines (if applicable)
– Plumbing penetrations (supply lines, shutoffs, drain pipes, and any electrical/plumbing channels)
Seal transitions without blocking required movement
Transitions are where water loves to travel because materials meet at different movement behaviors.
– At thresholds and doorways, follow the flooring maker’s transition method (often a compatible trim system).
– At tile/LVP-to-laminate interfaces, use an approach your flooring maker supports for moisture-prone interfaces—typically a controlled gap detail plus approved sealant/trim, not “fill everything” caulking.
– Around cabinet edges: keep in mind that cabinets often act as fixed points, so water control must rely on detailing at the perimeter rather than trying to force sealants into expansion spaces.
Penetrations: the part most homeowners miss
If water finds a penetration and travels under the floor, the whole seam-sealing effort can be undermined.
– Follow the penetration sealing method from your flooring manufacturer (and compatible penetration sealants).
– After installation, verify that hoses sit correctly and that drain fittings aren’t weeping.
Pros/cons reality check (so you don’t overestimate waterproofing):
– Sealing wet zones reduces risk, but it does not prevent damage from an ongoing leak.
– Fast cleanup still matters, because standing water can exceed what even “water-resistant” laminate can handle.
Step 5: Protect the floor after sealing (spill control and maintenance)
Waterproofing only works when water exposure is controlled after install. The direct answer is: clean up quickly, prevent prolonged dampness at the sink, and keep humidity within the manufacturer-recommended range to reduce stress on joints and edges.
Even with sealed seams, laminate performance depends on limiting time-in-water and preventing repeated damp conditions at edges and wet-zone mats.
Using a purpose-built sink-drying mat and replacing it when it holds water reduces the chance of repeated moisture exposure at seam lines.
Maintaining indoor humidity within the flooring manufacturer’s recommended range helps limit expansion and contraction stress on laminate joints over time.
Use spill management as part of your waterproofing system
– Clean splashes immediately—especially around the sink front edge and dishwasher area.
– Avoid leaving wet mops or dripping dish racks directly on the floor.
– Use a sink mat or drying mat designed for hard floors (and replace it when it stays damp rather than drying fully).
Watch for slow leaks (they’re the real enemy)
In kitchens, the most damaging moisture problems are often slow:
– dishwasher hose seepage,
– drain clogs that back up slightly,
– under-sink supply line sweating,
– wet spots that repeat after use.
If you notice recurring dampness, stop and address the source before it works its way into the laminate’s weakest pathways.
Keep the indoor environment stable
Laminate responds to moisture in the air too. If your kitchen runs unusually humid during daily cooking (or your HVAC dries the space hard), joint stress and edge behavior can change.
📊 DATA — Moisture testing thresholds commonly used in flooring installation decisions
Typical Slab Moisture Pass Thresholds Used with Major Flooring Moisture Tests
| # | Test method (ASTM) | What’s measured | Typical pass basis | Installer confidence |
|---|---|---|---|---|
| 1 | ASTM F2170 (in-situ RH probe) | Relative Humidity (RH) | ≤ 75% RH | ★★★★★ |
| 2 | ASTM F2170 (in-situ RH probe) | Relative Humidity (RH) | ≤ 80% RH | ★★★★☆ |
| 3 | ASTM F1869 (calcium chloride) | Moisture vapor emission | ≤ 3.0 lb / 1,000 sq. ft / 24h | ★★★★★ |
| 4 | ASTM F1869 (calcium chloride) | Moisture vapor emission | ≤ 5.0 lb / 1,000 sq. ft / 24h | ★★★☆☆ |
| 5 | MVER test basis (often aligned to ASTM F2170 usage) | Moisture vapor emission rate | ≤ 3.0 lb / 1,000 sq. ft / day | ★★★★☆ |
| 6 | MVER test basis (often aligned to ASTM F2170 usage) | Moisture vapor emission rate | ≤ 5.0 lb / 1,000 sq. ft / day | ★★☆☆☆ |
| 7 | ASTM D4263 (plastic sheet) | Condensation/darkening evidence | No visible change after ~24h | ★★★☆☆ |
(Note: These are commonly used thresholds to support flooring installation decisions; always defer to your laminate manufacturer’s specific limits and test method.)
What can go wrong (and when to stop)
Even after careful sealing, laminate can still fail when water exposure is excessive, the wrong materials are used, or movement is restricted. The direct answer is: stop if you see swelling, abnormal joint movement, or signs that the source leak isn’t fixed—because continuing to “seal more” won’t address the underlying cause.
Seam sealing does not replace fixing active leaks; ongoing moisture sources can overwhelm even well-sealed joints.
Blocking expansion gaps or using sealants that prevent movement can cause buckling, which then increases the chance of water intrusion at edges and transitions.
Incompatible sealers can fail adhesion or cure properly with laminate locking systems, reducing the intended water-blocking effect.
Common failure points you should actively prevent
– Standing water or slow leaks: dishwasher hoses and drain backups are classic “it looks fine until it isn’t” problems.
– Wrong products or wrong placement: sealing outside the manufacturer’s approved areas can both void warranty and reduce effectiveness.
– Sealed expansion gaps: if you trap movement, the floor can lift and open gaps again.
– Improper transitions: door thresholds and tile/LVP interfaces often fail first because they have different movement and water behaviors than interior joints.
When to stop and reassess
Stop the project (or pause the sealing stage) if you notice:
– boards are not fully locking or are popping loose,
– visible gapping grows after installation,
– edges lift during cure/traffic,
– water is already present under the underlayment layer (common after slab issues).
VS: “Approved waterproofing detailing” vs “Unapproved ‘flood-proof’ sealing”
| Criteria | Manufacturer-approved seam/edge sealing + wet-zone detailing | Unapproved “flood-proof” sealing on click-joints/expansion areas |
|---|---|---|
| Warranty compliance | Follows documented approved methods (reduces void risk) | Higher risk of warranty disputes/voiding |
| Click-lock movement | Sealer is designed to work with the locking system | Sealer can interfere with movement or curing behavior |
| Expansion gap respect | Perimeter gaps remain free to move | Sealing gaps can cause buckling and new water pathways |
| Wet-zone interfaces | Targets sink/dishwasher perimeters and penetrations | Often misses interface detailing and penetration sealing |
| Transition detailing | Uses supported trim/seal strategy for tile/threshold edges | Over-caulked transitions can trap movement and fail early |
| Best use scenario | Everyday splashes + prompt spill cleanup | Standing water or ongoing leaks (laminate still vulnerable) |
| Moisture pathway control | Seals the planned water entry routes only | May seal the wrong surfaces and leave gaps elsewhere |
| Cleanup and repair | Localized remediation is more feasible | Water damage may be harder to localize after improper sealing |
| Long-term behavior | More predictable joint performance when installed correctly | Higher chance of gapping, lifting, and edge failures |
| Risk of repeat failures | Lower when wet-zone and substrate issues are handled | Higher if movement is restricted or leaks aren’t fixed |
| Verdict | Recommended approach for laminate kitchens (within warranty limits) | High-risk approach—don’t attempt unless documented and compatible |
Verdict: Waterproofing can help—skip it if your laminate or warranty won’t support it
If your laminate is rated for moisture-resistant use and your manufacturer approves seam/edge sealing plus correct wet-zone treatment, waterproofing your kitchen laminate is a practical way to reduce risk from everyday splashes. The downside is that it won’t make laminate truly “flood-proof,” and the process depends heavily on compatibility—if documentation doesn’t support sealing, you’re better off improving substrate prep and managing water exposure instead of forcing it.
If you’re uncertain about any of these steps, the safest move is to pause and confirm with the flooring maker (or a qualified installer) before applying sealers to click-joints or transitions.
Next step: pull your laminate installation instructions and warranty, identify the approved seam/edge sealer and wet-zone method, then map your sink/dishwasher transitions before you touch any joints.
Quick checklist before you seal
| Area to check | What to do | Why it matters |
|---|---|---|
| Flooring rating + warranty | Verify kitchen/moisture guidance and approved sealers | Prevents voided warranty and incompatibility |
| Subfloor condition | Confirm flatness and cleanliness per instructions | Improves joint contact before sealing |
| Expansion gaps | Keep the required perimeter gap clear | Allows laminate movement and reduces buckling risk |
| Joint/seam sealing plan | Use the manufacturer-approved method/product | Seals the path water would use |
| Wet zones (sink/dishwasher) | Seal per manufacturer guidance at perimeters and penetrations | Stops water from traveling underneath |
| Post-seal maintenance | Clean spills quickly and manage humidity | Reduces long-term moisture pressure |
Sources
– Your laminate flooring manufacturer’s installation instructions and warranty documentation (primary source for approved underlayment, joint/seam sealing, and wet-zone guidance):
– Manufacturer documentation for any seam/joint sealer you plan to use (primary source for compatibility with laminate click-joints):
– Manufacturer documentation for underlayment use (primary source for moisture barrier requirements and seam treatment):
– ASTM standards for moisture testing methods and evaluation basics referenced in the guide: ASTM F1869, ASTM F2170, ASTM D4263 ()
Waterproofing kitchen laminate correctly is less about “making it waterproof” and more about sealing the exact pathways water uses—joints, edges, transitions, and wet-zone penetrations—while still respecting expansion and warranty requirements. If your laminate’s documentation supports approved seam/edge sealing and you manage sink and dishwasher perimeters properly, you can meaningfully reduce moisture-related problems.
Frequently Asked Questions
How do I waterproof laminate flooring in a kitchen near the sink and dishwasher?
Start by installing or upgrading to water-resistant laminate with an attached underlayment rated for kitchens. Seal all joints and seams using a laminate manufacturer-approved waterproof seam sealer, paying extra attention to the areas around the sink, dishwasher, and plumbing penetrations. Apply a high-quality caulk (silicone or polyurethane recommended by the flooring brand) around the perimeter and any pipe entry points to prevent moisture from creeping underneath the laminate. Finally, ensure there are no gaps at transitions to tile or other flooring, and use transition strips designed for wet zones.
What is the best way to waterproof laminate floors against spills and standing water?
Use a two-layer approach: waterproof seams plus a moisture-resistant perimeter. Seal the tongue-and-groove seams (or click joints) thoroughly, then protect edges by caulking where the laminate meets baseboards, cabinet toe-kicks, and door thresholds. For ongoing protection, place absorbent mats in high-spill areas and clean up spills quickly—water resistance is not the same as full submersion protection. If you expect frequent standing water (for example, a leaking fridge line), address the source immediately before sealing, since prolonged moisture can still damage subfloors.
Why does laminate flooring swell in kitchens, and how can I prevent it with waterproofing?
Laminate typically swells when water reaches the core or the edges of the planks through unsealed joints or gaps around plumbing. Even if the surface looks fine, moisture can travel along seams, underlayment, or the under-edge areas, especially near wet appliances. Prevention comes from waterproofing the seams, using the correct underlayment for moisture control, and sealing all penetrations and perimeter gaps so water can’t migrate beneath the floor. Keeping humidity in check and fixing leaks quickly also significantly reduces risk.
How do I seal laminate floor joints properly to make a kitchen more water-resistant?
Apply seam sealer as directed by your laminate manufacturer, spreading it evenly along each joint before and after boards are locked together. Wipe off excess sealer immediately to avoid haze, but ensure the joint is fully filled so water can’t penetrate the edges. For kitchens, also check expansion gaps—seal around the perimeter after installation (not inside the expansion gap), using an appropriate caulk so the floor can move while still blocking moisture. If your planks have attached pads or specific installation requirements, follow the recommended waterproofing method to avoid voiding warranties.
Which underlayment is best for waterproofing laminate floors in a kitchen?
Look for an underlayment specifically designed for laminate and moisture protection, such as a vapor barrier system with the correct thickness and an integrated moisture shield if your installer recommends it. Many kitchens benefit from underlayment with a polyethylene or similar vapor barrier that helps reduce moisture transfer from the subfloor. Avoid mismatched underlayment types that don’t meet the flooring’s installation instructions, because they can undermine waterproofing performance or warranty coverage. When installing, tape seams of the underlayment according to the product guidance, then complete the waterproofing with seam sealer and perimeter caulking for full kitchen protection.
📅 Last Updated: October 20, 2026 | Topic: How to waterproof a laminate floors with kitchen? | Content verified for accuracy and freshness.
References
- Laminate flooring
- https://www.cdc.gov/mold/default.htm
- https://www.epa.gov/mold/moisture-control-and-mold-prevention
- https://www.pergofloors.com/en-us/installation
- Home – Tarkett Commercial
- E1745 Standard Specification for Plastic Water Vapor Retarders Used in Contact with Soil or Granu…
- https://scholar.google.com/scholar?q=laminate+flooring+waterproofing+underlayment+moisture+barrier Google Scholar
- https://scholar.google.com/scholar?q=laminate+floor+installation+kitchen+water+damage+seams+caulking Google Scholar
- https://scholar.google.com/scholar?q=ASTM+moisture+testing+subfloor+relative+humidity+laminate+flooring Google Scholar