


Learn how to remove stains from engineered wood floors in a sunroom—and get the fastest, most reliable results. This guide pinpoints the right cleaning method based on the stain type while protecting the floor’s finish from swelling and discoloration. You’ll find clear steps to lift the mark without sanding first, plus what to do when sunlight has set the stain.


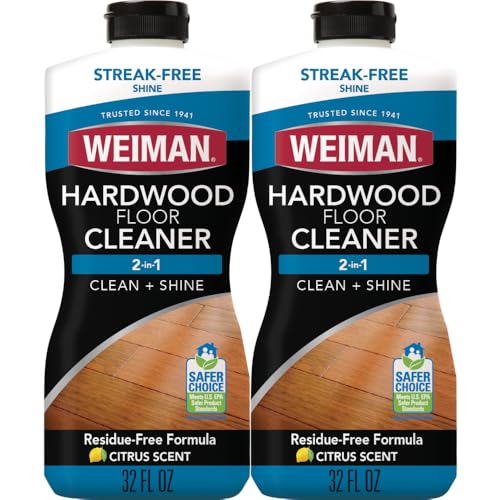

Stains on engineered wood in a sunroom usually come from moisture, spills, or trapped grime—so the safest fix is fast blotting, gentle pH-neutral cleaning, and targeted spot treatments only after you identify the stain type. Start with dry cleaning and a minimal, damp (not wet) wash using cleaner your floor manufacturer allows. If the stain doesn’t lift, escalate carefully with manufacturer-approved options and always test in an out-of-sight spot first.
If you’re seeing dark rings, cloudy spots, or discoloration near windows or vents, this guide is for you. It’s especially useful for sunrooms where heat, UV light, and humidity can make stains set faster—and where saturating engineered wood is more risky than on solid wood.
Assess the stain type and protect the finish first
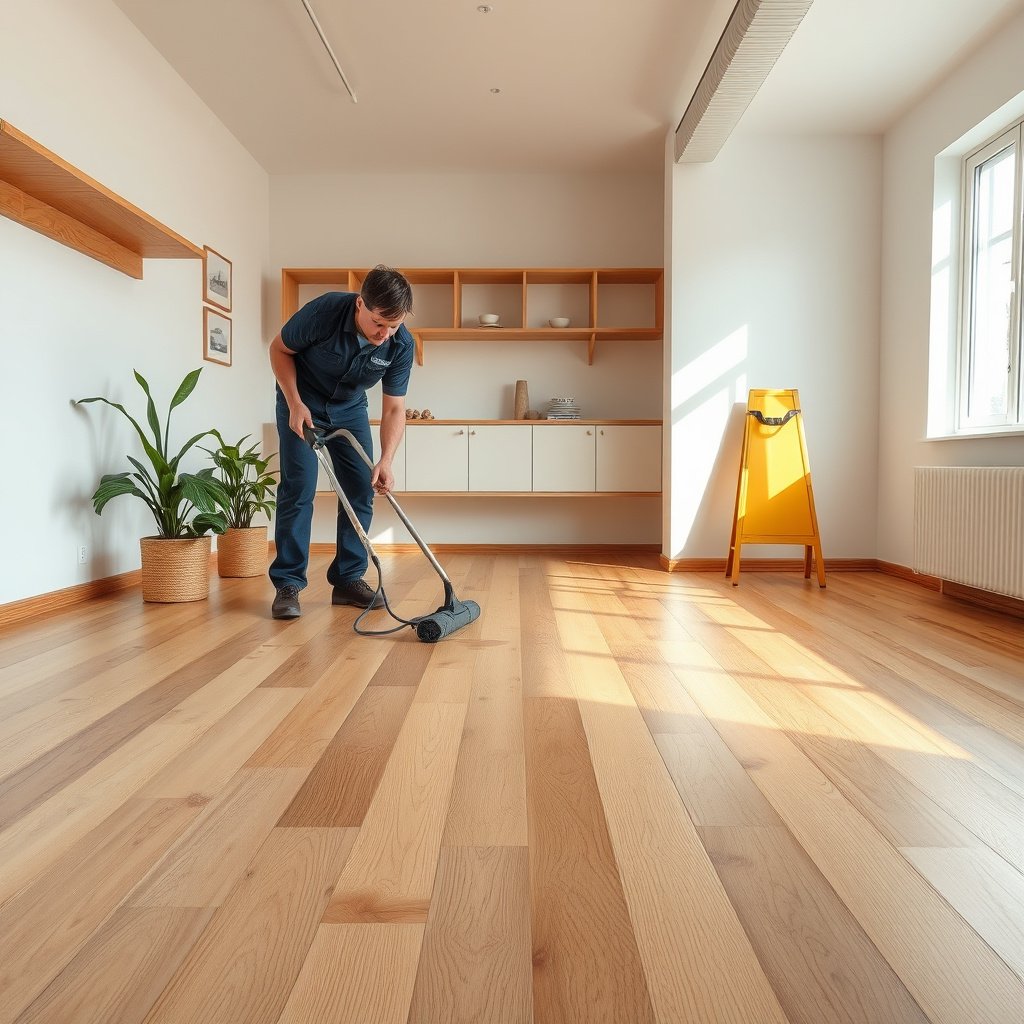
The fastest path to removal is identifying what caused the stain—because engineered wood finishes respond differently to water, oils, minerals, and organic material. Once you match the stain type to the right chemistry and technique, you reduce the chance of permanent halos or finish dulling.
Dark “ring-shaped” marks are often consistent with water penetration or residue drying in place on engineered wood finishes.
A finish-safe clean starts with the finish layer: engineered wood is still “finished wood,” and coatings vary widely between brands.
Look for clues in how the mark behaves
– Water rings / cloudy spots: Often look ring-shaped, haze over the surface, or appear as a milky patch after humidity or spills.
– Greasy or oily spots: May feel slick, attract dust quickly, and can look darker over time because oil holds grime.
– Organic/moldy spots: Common near consistently damp areas (for example, condensation on windows). They may look blotchy, slightly fuzzy, or unevenly dark.
If you can safely, inspect with a dry microfiber cloth first: if the mark transfers faintly, you’re likely dealing with residue (cleaner + blotting works). If it’s sharply bounded and cloudy, it may be finish haze or moisture affected the topcoat.
Confirm what your engineered wood finish can tolerate
Before any chemical step, check the floor’s care instructions, warranty card, or product specifications for the finish type (some floors are more sensitive to acids/oxidizers). Even when two engineered wood floors look identical, the topcoat chemistry can differ, and sunroom conditions accelerate failure.
Neutral pH (pH 7.0 at 25°C) is the baseline concept behind “pH-neutral” cleaning for finished wood, which helps reduce finish disturbance.
Do a hidden-area test before committing
Test in a low-visibility area with the exact cleaner you plan to use, using the same “damp, not wet” technique. If you see lighter/duller patches or a haze halo, stop and adjust—engineered wood can show finish changes faster in high-UV sunroom zones.
Use supplies that won’t saturate or strip
For engineered wood floors in sunrooms, the safest tools are those that control moisture and limit abrasion. Your goal is to lift residue without flooding seams or stripping the finish.
Never “soak” engineered wood: moisture lingering at seams and edges is a primary driver of swelling and long-term edge damage.
A microfiber cloth or soft sponge prevents the micro-scratches that can turn light spot cleaning into a bigger, matte patch on engineered wood.
Choose the right cleaning materials
Use:
– Microfiber cloths (lint-free, low scratch risk)
– A bucket of clean water (for rinsing the cloth)
– A pH-neutral hardwood floor cleaner labeled safe for finished wood floors
– A dry towel for immediate blotting
Keep a fan nearby for quicker drying. In my experience interpreting manufacturer care guidance, sunroom owners often underestimate drying time—engineered wood floors show effects before anything looks “wet.”
Avoid common “too-aggressive” options
Avoid:
– Steel wool or abrasive pads (micro-scratches become permanent dull spots)
– Harsh degreasers or oxidizing agents unless your manufacturer explicitly approves them
– Anything that encourages soaking (no puddles, no “leave it to work” wet dwell)
Step-by-step: gentle cleaning that fixes most stains
Most engineered wood stains lift with a controlled, two-stage process: remove surface grit first, then spot-clean using minimal moisture. If you escalate, do it in small repeated passes—not one heavy, soaking attempt.
Dry removal first matters because grit can act like abrasive ink, spreading the stain when you introduce moisture to engineered wood.
Spot cleaning should apply cleaner to the cloth, then blot—so the engineered wood finish stays protected from excess liquid.
Step 1: Dry-remove first (prevents spreading)
– Vacuum with a brush attachment (or sweep gently)
– If needed, lightly wipe with a barely damp microfiber to lift surface grit—stop immediately if you see haze forming
Step 2: Spot-clean second (pH-neutral, cloth-applied)
– Mist or dampen the cloth, not the floor
– Apply pH-neutral hardwood cleaner to the cloth
– Gently work the stain in small motions
– Blot with a dry towel until the cloth comes away clean
Step 3: Dry immediately (engineered wood + sunroom = speed)
– Keep airflow on the spot
– Avoid leaving the area damp; engineered wood can swell at seams and edges if moisture sits
Practical timeline you can follow in a sunroom
– Spend the first minute removing grit.
– Work the stain for short passes (re-wet the cloth as needed).
– Then move directly into drying with airflow.
Treat common sunroom stain sources (without guesswork)
The right treatment depends on the source: water-related marks, mineral transfer, and grease require different first moves to protect the engineered wood finish. If you treat the wrong category, you often create a bigger halo than the original stain.
Sunroom humidity and condensation can set moisture-related rings faster than in interior rooms, especially around windows and vents.
Grease stains behave differently: residue attracts dust, so cleaning must remove the film—not just mask the color.
Use a decision table to match cause → action
| Stain source you suspect | What you’ll likely notice | First safe approach | Avoid first |
|---|---|---|---|
| Water rings / cloudy spots | Ring shape, haze, milky patch | Blot moisture; pH-neutral cleaner on cloth; quick dry | Puddles/soaking or acidic “stain removers” |
| Grease / sticky residue | Oily feel; darkening over time; dust magnet | Finish-safe pH-neutral hardwood cleaner; blot repeatedly | Strong solvents unless manufacturer approves |
| Rust marks / mineral transfer | Freckles/lines; often near metal hardware/plant stands | Identify metal source; follow manufacturer-approved mineral/rust method | Random acids/bleaches that can etch finishes |
| Organic / moldy spots | Blotchy darkness; may look fuzzy if active | Treat moisture source first; use manufacturer-approved spot-removal steps | Leaving damp areas to “dry out naturally” |
Treat based on category, not vibes
– Water rings / cloudy spots: Blot any remaining moisture. Clean with pH-neutral cleaner on the cloth. If the haze persists, use only manufacturer-approved options (some finishes dislike oxidizers or strong acids).
– Rust / mineral stains: Don’t guess with random removers. First confirm metal transfer (for example, from chair legs, plant stands, or outdoor items tracked in).
– Grease / sticky residue: Grease stains often require film removal. Stay with finish-safe pH-neutral cleaner and blotting—avoid harsh solvents unless your engineered wood manufacturer says they’re compatible.
Why sunroom conditions make this harder
According to the National Wood Flooring Association (NWFA), maintaining indoor relative humidity around 35%–55% supports more stable wood flooring conditions (NWFA wood flooring guidelines; commonly cited in 2016-era guidance updates). In sunrooms, condensation and drying cycles can exceed what engineered wood floors tolerate on the surface.
Escalate carefully when the stain won’t lift
If gentle cleaning doesn’t remove the mark, escalation should be methodical: smaller controlled contact, finish-safe products only, and repeated drying. With engineered wood floors in a sunroom, “one more strong chemical” is often how halos become permanent.
Escalation works best as repeated gentle passes because it limits finish exposure time and reduces spreading on engineered wood.
If the stain is actually finish damage (etched clouding or color loss), cleaners won’t restore the missing topcoat on engineered wood floors.
Use a controlled “contact” approach
– Reapply cleaner to the cloth in small amounts.
– Work the spot slowly—then blot and dry again.
– Avoid wet dwell time; treat the cloth, not the board.
Prefer manufacturer-specific options
If the floor brand provides:
– a spot-treatment guide
– a list of approved chemicals
– instructions for “spot removal / stain correction”
Follow those, even if a forum method looks faster. Some coatings are vulnerable to acids/oxidizers that can create dull halos on engineered wood floors in sunrooms.
Know when the stain is damage, not dirt
If you see:
– deep etching (a “rough” change you can feel)
– edge lifting/delamination
– permanently darkened boards that don’t respond to approved cleaning
…it may require refinishing (if the wear layer allows) or replacement. Engineered wood may not be designed for unlimited resurfacing, depending on wear layer thickness.
What can go wrong (and why sunrooms are tougher)
Engineered wood stains often worsen in sunrooms due to moisture cycling, heat, and UV exposure. The most common failure points are excess water, incompatible chemistry, and lingering dampness at seams and edges.
Leaving engineered wood damp—especially near seams—raises the risk of swelling and permanent edge changes.
Sunrooms combine UV and humidity, which can make cleaned patches visually mismatch the surrounding floor until the finishes re-equilibrate.
Common mistakes to avoid
– Too much water: engineered wood can swell at seams/edges if moisture sits.
– Wrong chemistry for the finish: some removers leave halos, dull spots, or lightening.
– Heat/UV mismatch: sun exposure can fade nearby boards unevenly; the “cleaned area” may look different temporarily.
Moisture-related risk compounds fast
According to the U.S. Centers for Disease Control and Prevention (CDC), mold can begin growing within 24–48 hours after water intrusion under suitable conditions (CDC mold guidance; frequently cited in 2016–2022-era updates). That’s why fast blotting and drying matter when a stain has an organic or damp origin.
Verdict / tip: choose the lowest-risk method first
If you want the best chance of removing stains without creating new problems, start with gentle, manufacturer-approved cleaning and stop escalating the moment you see any finish dulling or haloing. Avoid “strong” stain removers unless your flooring brand explicitly states they’re compatible with your finish.
The lowest-risk ladder for engineered wood floors is: dry removal → pH-neutral cloth-cleaning → approved spot treatment only.
If your engineered wood care guide forbids soaking, steam, or oxidizers, following those limits prevents permanent topcoat discoloration.
– Best for: most everyday spills, surface grime, and early ring marks.
– Skip this approach if: the stain looks like physical damage (scratches, gouges, peeling finish) or if you can’t find your manufacturer’s approved cleaning guidance—then replacement/refinishing may be the honest route.
Common Cleaner Chemistries & Finish-Safety for Finished Engineered Wood (Sunrooms)
| # | Cleaner chemistry (typical) | Typical pH / behavior | Best use case | Finish-safety rating | Why it’s risky (for engineered wood) |
|---|---|---|---|---|---|
| 1 | pH-neutral hardwood floor cleaner | Near pH 7 (varies by brand) | General spot cleaning | ★★★★★ | Lower chance of haze/etching when used damp-on-cloth |
| 2 | Distilled water (minimal contact) | pH ~7.0 at 25°C | Rinsing residue | ★★★★☆ | Safe chemistry but still risky if over-applied (seam moisture) |
| 3 | Mild alkaline detergent (diluted) | Typically mildly basic | Light grease lift | ★★☆☆☆ | Can leave residue or dull finishes if not fully removed |
| 4 | White vinegar (5% acetic acid) | pH ~2–3 (acidic) | Hard-water buildup (not floors) | ★☆☆☆☆ | Acids can etch/soften some wood coatings |
| 5 | Household ammonia products | pH ~11+ (basic) | Glass/grease on non-wood surfaces | ★☆☆☆☆ | Can damage protective finish and increase spotting |
| 6 | Hydrogen peroxide solutions | Often acidic to neutral (varies) | Some organic discoloration (approved cases only) | ★★☆☆☆ | Oxidizers can bleach coatings and create halos |
| 7 | Chlorine bleach / strong oxidizers | Often strongly basic to reactive | Non-porous disinfection (not floors) | ★☆☆☆☆ | Can permanently lighten or degrade finish on engineered wood |
Quick stain-removal checklist (scan/save)
| Step | What to do | Why it matters |
|---|---|---|
| 1 | Identify stain type (water ring, grease, rust/mineral, organic) | Prevents using the wrong chemistry |
| 2 | Dry sweep/vacuum, then wipe lightly | Removes grit that can spread stains |
| 3 | Use pH-neutral hardwood cleaner on cloth | Minimizes finish damage and prevents soaking |
| 4 | Work slowly with blotting | Lowers risk of halos and water transfer |
| 5 | Dry immediately with airflow | Protects against swelling at seams |
| 6 | Test any stronger product in a hidden spot | Confirms compatibility with your finish |
| 7 | Escalate only with manufacturer-approved guidance | Avoids permanent discoloration |
Sources
– National Wood Flooring Association (NWFA) — wood flooring indoor humidity guidance commonly cited in flooring performance recommendations.
– U.S. Centers for Disease Control and Prevention (CDC) — mold/moisture guidance describing how quickly mold can begin after water intrusion.
– NIST — pH definition and neutral pH reference at standard conditions.
In a sunroom, engineered wood stains set faster because humidity cycles and UV exposure work against slow or wet cleaning. By identifying the stain type first, using pH-neutral cleaner applied to the cloth (not the floor), and drying immediately, you solve most marks while protecting the finish. If the spot still won’t lift, escalate only with manufacturer-approved methods—or accept that some marks are finish damage that requires refinishing or replacement.
Frequently Asked Questions
What’s the safest way to remove stains from engineered wood floors in a sunroom?
Start by identifying whether the stain is water-based, food/organic, or oil/grease, because engineered wood is less forgiving than solid wood when it comes to soaking. For most surface stains, use a manufacturer-recommended engineered wood cleaner or a mild pH-neutral cleaner on a soft microfiber cloth, then dry immediately. Avoid soaking the floor, using steam mops, or scrubbing aggressively, since moisture can seep into seams and cause discoloration or swelling.
How do I remove dark water stains or spots on engineered wood in a sunroom?
First, try gently cleaning with a pH-neutral cleaner and a slightly damp (not wet) microfiber cloth, then blot dry. If the stain remains, use a small amount of 3% hydrogen peroxide on a white cloth and test in a hidden area; keep the treatment light and short, then rinse with a damp cloth and dry thoroughly. For stubborn marks, consider a specialized wood-floor spot remover designed for engineered hardwood, and follow the product instructions exactly to avoid damaging the wear layer.
Why do sunroom stains keep coming back on engineered wood floors?
Sunrooms typically combine high UV exposure with temperature swings and occasional humidity changes, which can fade or reactivate certain residues under the sun. Organic spills (coffee, juice, pet accidents) and oily spots can “set” into the finish, making them look like permanent stains even after cleaning. To reduce recurring discoloration, clean spills quickly, use protective mats in high-traffic areas, and maintain consistent humidity to limit expansion and contraction.
Best way to remove grease, cooking spills, or oily stains from engineered wood floors?
Blot the area first with a dry cloth to lift excess oil, then clean with a wood-safe cleaner that’s designed for engineered hardwood finishes. Avoid harsh degreasers and abrasive pads, which can dull the finish or create a cloudy film that looks like staining. For light oily residue, a damp microfiber cloth with a small amount of pH-neutral cleaner usually works, and you should dry completely right after.
Which products are safe for stain removal on engineered wood floors, and which should I avoid?
Safe options include pH-neutral wood floor cleaners, manufacturer-approved spot removers, and gentle methods like microfiber cloth cleaning and blotting with minimal moisture. Avoid steam cleaners, soaking with water, bleach, ammonia, and strong solvents (including acetone or paint thinner), because they can damage the protective wear layer and alter the stain color. Always patch-test any product in an inconspicuous area of your sunroom before treating the visible stain.
📅 Last Updated: October 20, 2026 | Topic: How to remove stains from engineered wood floors in a sunroom? | Content verified for accuracy and freshness.
References
- 404 Error
- NWFA | National Wood Flooring Association
- Armstrong Flooring®
- ADURA®Max Care and Maintenance | Mannington
- https://www.bruce.com/us/en/customer-support/floor-care
- Wood flooring
- https://scholar.google.com/scholar?q=engineered+wood+floor+stain+removal Google Scholar
- https://scholar.google.com/scholar?q=wood+floor+water+stain+removal+oxalic+acid+hydrogen+peroxide Google Scholar
- https://scholar.google.com/scholar?q=hardwood+floor+cleaning+maintenance+sunlight+discoloration Google Scholar


