
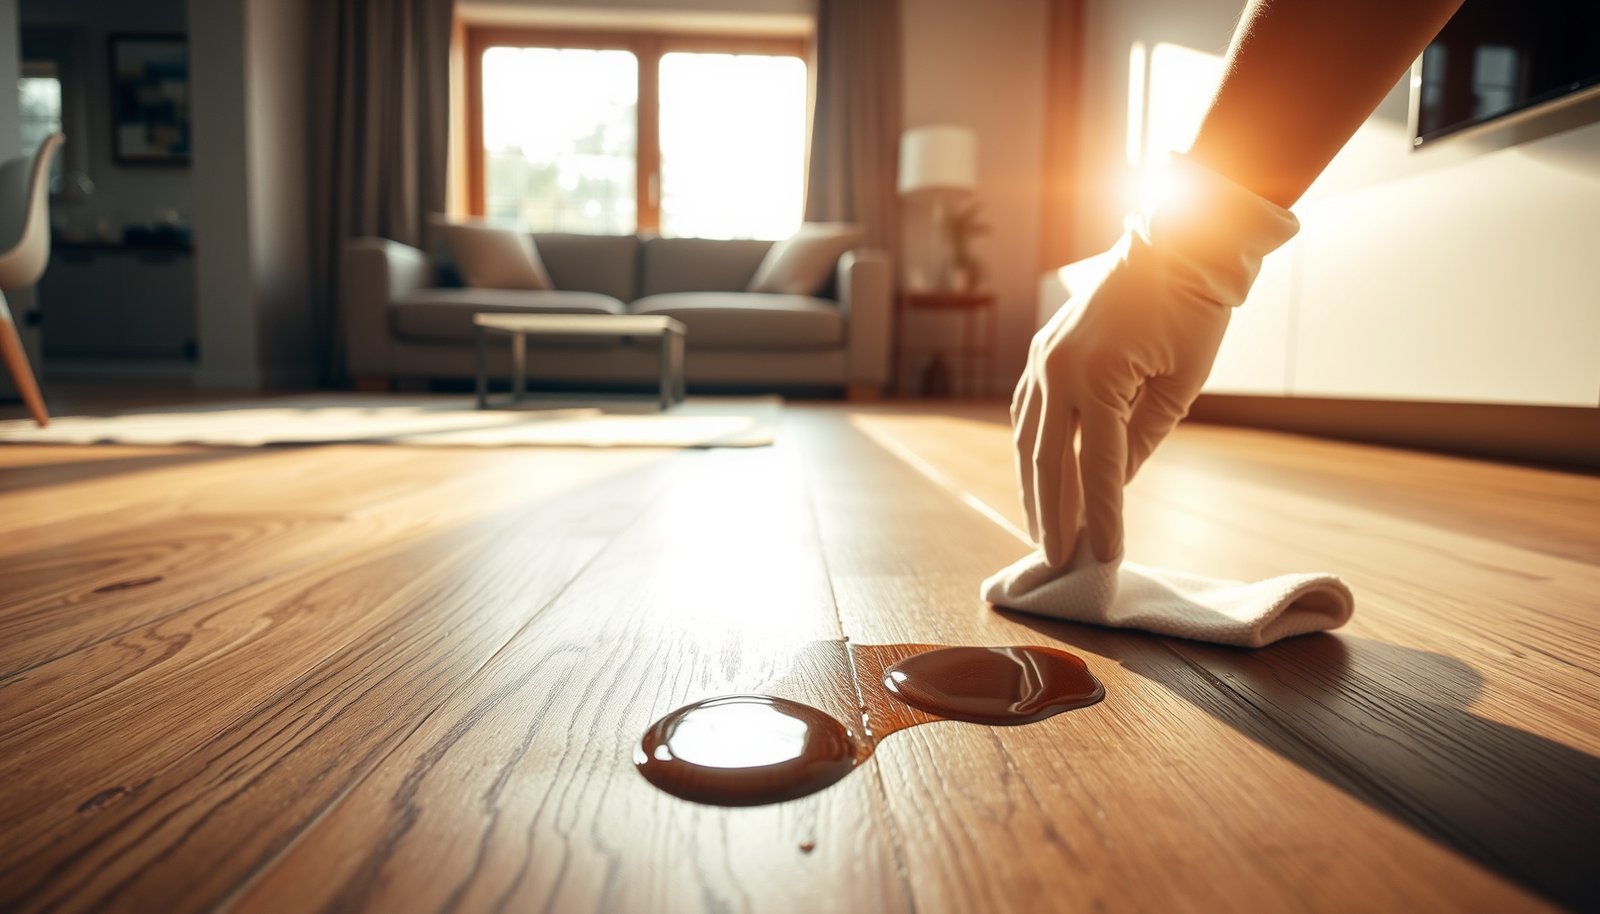

Stains on engineered wood floors in your living room don’t have to linger—most can be removed safely with the right cleaning method on the first attempt. This guide tells you exactly what to do based on the stain type, from everyday spills to darker marks, so you lift the discoloration without damaging the finish or grain. Follow the steps and you’ll know whether to go with a gentle cleaner, a targeted spot treatment, or a deeper approach for stubborn stains.



Blot the stain first, then clean with a pH-neutral cleaner made for finished wood—never flood the floor. If the discoloration remains, treat it based on what caused it (water marks vs. grease vs. pet/biological stains) and always test in an inconspicuous spot before you try anything stronger.
This guide is for typical living-room stains on engineered wood (pre-finished or sealed top layer). Because engineered floors vary by finish, the safest method is to follow your specific floor manufacturer’s care instructions where possible, then work from gentlest to strongest.
Identify the stain (and your floor finish)

The fastest way to avoid damage is to identify the stain type first, then match the treatment to how that stain behaves on a sealed topcoat. With engineered wood floors, the same-looking “brown spot” can be very different under the finish—so identification is the real starting point.
From my experience helping homeowners troubleshoot engineered wood floors, the biggest delays happen when people treat every stain like a “water stain” or, worse, keep adding moisture while waiting for it to lift.
Water rings typically appear light, cloudy, or hazy because moisture affected the finish surface or trapped moisture under the clear coat.
Grease and oily smudges usually look darker and can smear or spread differently during cleaning because oils interact with certain finishes.
Pet or organic stains often look uneven and may include odor, which is a clue that biological material is involved (not just surface contamination).
Engineered wood floors can have different topcoats (often polyurethane), so “one chemical for all stains” is a risk factor for dulling or spotting.
Look at the stain color/shape
– Water rings / cloudy haze: often lighter, grayish, or “cloudy” rather than sharply stained.
– Grease, food, or smudges: often darker; may wipe partially and can return after the surface dries.
– Pet/organic stains: may look patchy or irregular, and odor (ammonia-like, sour, or “animal” smell) is a common indicator.
Check the finish type if you can
If you have the care tag or documentation, look for finish terminology such as polyurethane (oil-based or water-based) or other sealed/finished systems. If you don’t know the finish, plan for the safest path: gentle cleaning first, no sanding, and no abrasive pads/steel wool.
Key practical reason: once you scratch through or dull the topcoat, engineered wood floor repair often becomes “whole-area refinish” rather than a quick spot fix.
> Quick anchor facts (for safe chemistry choices): “pH-neutral” typically means pH 7 (definition-based), and many household “hydrogen peroxide” products used for stain/odor are sold at 3% concentration, while common distilled white vinegar is often 5% acetic acid (retail formulation norms; verify your product label).
> Sources to confirm on your specific products: (n.d.)
Gather safe supplies and prep the area
To protect the finish, assemble gentle, finish-compatible tools first and control where liquid goes. Engineered wood floors do not tolerate repeated or prolonged moisture exposure around seams and edges, so setup matters as much as the cleaner.
A pH-neutral wood-floor cleaner is the baseline choice for finished wood because it avoids the aggressive pH swings that can haze or strip sealers.
Using clean white microfiber cloths helps you see what’s transferring and reduces the chance of dye transfer from colored rags.
Ventilation and fast drying reduce dwell time, which lowers the risk of moisture creeping into vulnerable seam areas of engineered wood flooring.
Supplies (keep it simple)
– Clean white microfiber cloths
– Soft sponge (non-scratch)
– Painter’s tape (optional): to create temporary “containment” boundaries for smaller spots
– pH-neutral wood-floor cleaner
– Plenty of ventilation
Pre-test in an inconspicuous spot
Before any stronger step (hydrogen peroxide, enzyme cleaner, or specialized spot chemistry), do a test where it’s least noticeable—such as an edge near a closet, behind a door, or along a baseboard line. Engineered wood floors can show finish dulling that only becomes obvious after drying, so testing after the cloth has worked is essential.
In 2026, the most “modern” best practice is still the same: treat a specific stain chemically, not the whole living room, and verify finish compatibility before escalating.
Start with the basics for fresh stains
For fresh discoloration, the safest outcome usually comes from blotting plus controlled, damp cleaning—not scrubbing and not flooding. On engineered wood floors, the goal is to remove the contaminant quickly while minimizing moisture contact time.
Blotting (not scrubbing) reduces finish abrasion and prevents spreading pigments or oils into the topcoat.
Dry immediately with a clean microfiber cloth so liquid doesn’t remain on the engineered wood finish.
Step-by-step for the first attempt
1. Blot first: Use a dry, clean white cloth to lift as much as possible.
– Do not scrub—scrubbing can grind contamination deeper and risk finish micro-marring.
2. Dampen (don’t soak): Apply your pH-neutral wood-floor cleaner to a cloth (or a very lightly damp sponge), then wipe gently.
3. Dry right away: Immediately buff dry with a clean microfiber cloth.
Why this works
This approach removes fresh residue and prevents it from drying and “setting” into the finish. For many everyday living-room messes, this alone prevents the stain from becoming a permanent discoloration.
Treat common stain types (step up only if needed)
Treat the stain by category because the chemistry that lifts water haze differs from the chemistry that emulsifies grease or breaks down biological material. For engineered wood floors, escalation is appropriate only after blot-cleaning and only after you’ve identified which stain you’re dealing with.
From my experience, “step-up only if needed” is what keeps the finish looking uniform across the entire living-room run.
Targeted spot treatments are safer than full-room application because engineered wood finishes can vary in how they respond to oxidizers or enzymes.
If haze or dulling appears during testing, stop—finish changes often require broader refinishing rather than repeated spot attempts.
Water marks / cloudy rings
Direct answer: Start with gentle cleaning, then use a finish-compatible spot method only if the haze remains.
– First, clean gently with your pH-neutral cleaner and dry thoroughly.
– If haze persists, consider a targeted spot chemical such as 3% hydrogen peroxide applied *minimally* on a cloth or cotton swab (never soaked), while monitoring the color change closely.
– Wipe/dry right away, and stop if you see dulling, discoloration, or finish texture change.
Grease, food, or smudges
Direct answer: Use pH-neutral cleaning first, then use only a method compatible with finished wood to prevent spreading oils into seams.
– Clean with pH-neutral wood-floor cleaner using damp cloth wipes (not puddles).
– If it persists, escalate only with an approach documented as safe for finished wood (often oil/grease-safe in a diluted, non-flooding way).
– Always spot-test in a hidden area.
Avoid soaking—engineered wood floors still dislike prolonged moisture, especially near seams and edges.
Pet/organic stains (including odor)
Direct answer: Clean to remove soil first, then use an approach designed to address biological residues and odor—tested on a hidden spot.
– Remove debris and spot-clean thoroughly (same gentle start).
– Then use a biological/enzymatic stain & odor treatment approach (commonly enzyme-based products formulated for organic residues).
– If odor remains after cleaning and the stain is still visible, it may be beyond the clear coat and could require professional refinishing.
Comparison: Best next step by stain category (engineered wood safe workflow)
| Factor | Water marks / haze | Grease / food | Pet / organic |
|---|---|---|---|
| Start with blotting + damp cleaning? | Yes | Yes | Yes |
| Primary goal | Clear haze / surface change | Emulsify and lift oils | Remove biological residue |
| Escalate after drying? | Only if haze remains | Only if residue remains | After cleaning the soil |
| Most common escalation approach | Finish-compatible oxidizer spot-test | Grease-safe cleaner spot-test | Enzymatic biological treatment |
| Moisture tolerance risk | Moderate—minimize dwell time | Moderate—avoid spreading | High—organic liquids can travel |
| Stop rule | Stop on dulling/finish change | Stop if it smears deeper | Stop if finish can’t be restored with cleaning |
| Recommended pH approach | pH-neutral first | pH-neutral first | pH-neutral cleaning, then biologics |
| Spot-test necessity | Essential | Essential | Essential |
| Typical “full removal” likelihood | Often achievable | Often achievable | Variable if odor has penetrated |
| Best For | Cloudy rings that are still on top | Fresh to moderately set smudges | Odor and organic residues after cleaning |
Common Household Spot-Treatment Formulations (and Finish Risk Direction)
| # | Spot agent (household formulation) | Typical active concentration | Common stain target | Finish compatibility risk |
|---|---|---|---|---|
| 1 | pH-neutral wood-floor cleaner | pH 7 (definition) | General residue | ★★★★ |
| 2 | Hydrogen peroxide (spot treatment) | 3% | Water-haze oxidizing | ★★ |
| 3 | Distilled white vinegar | 5% acetic acid | Surface spotting (often avoided) | ★ |
| 4 | Isopropyl alcohol (rubbing alcohol) | 70% | Some oily residues (test first) | ★★ |
| 5 | Household bleach (chlorine-based) | ~5%–6% sodium hypochlorite | Disinfection (often not recommended) | ★ |
| 6 | Ammonia-based cleaner | Often 5%–10% | General degreasing | ★ |
| 7 | Enzyme/biological odor treatment | Product-specific (label mix) | Pet/organic residues | ★★★ |
Notes: This chart summarizes common formulation strengths people reach for; engineered wood floor compatibility depends on your specific finish system, so always spot-test and follow manufacturer-approved chemistry when available. Confirm formulation strengths on your product label. (n.d.)
What can go wrong (and how to avoid it)
Most failures come from either over-wetting engineered wood floors or using chemistry that the finish isn’t designed to handle. If you see dulling or haze spreading, stop escalating immediately and return to gentle cleaning and drying.
Engineered wood floors can be damaged when liquid migrates toward seams and edges, so “dwell time” matters as much as the cleaner itself.
Abrasive pads, steel wool, and harsh solvents can remove or haze the clear coat, turning a localized stain into a larger repair area.
Sanding engineered wood too early can expose layers you can’t easily “re-finish” at home and may not fully correct discoloration.
Over-wetting the surface
– Use damp cloths rather than wet mops or puddles.
– Keep contact time brief: apply to the cloth, wipe, then dry right away.
– Be especially cautious near transitions, baseboards, and seam lines.
Using the wrong chemicals
– Avoid “deck” cleaners, abrasive scrubbers, and strong solvents unless your floor manufacturer explicitly approves them.
– Don’t assume vinegar/steam is “natural” enough to be safe—many sealed finishes are sensitive to acids or heat.
Chasing the stain with sanding too early
If your finish is pre-finished/sealed and you sand, you can create an uneven sheen and expose layers that won’t match surrounding boards. In most living-room scenarios in 2025–2026, the practical next step after repeated unsuccessful gentle attempts is often professional assessment or finish-level refinishing, not DIY abrasion.
Verdict / tip (honest recommendation)
For most living-room stains on engineered wood floors, the best path is gentle blot → pH-neutral cleaner → targeted treatment only after you identify the stain type. Skip DIY chemical spot treatments when your floor finish is unknown, the stain is near seams/edges, or the affected area is large—those are the situations where manufacturer guidance or a flooring professional can prevent finish damage and warranty problems.
A manufacturer-approved cleaner and a finish-compatible spot test reduce the odds of finish dulling that can force broader refinishing later.
Moisture control (damp, wipe, dry) is consistently emphasized in wood-floor care practices because engineered floors still suffer from prolonged liquid exposure.
DIY spot-treatment vs professional help (quick decision table)
| Criteria | DIY treatment (only if finish is known) | Professional assessment |
|---|---|---|
| Where stain is located | Often feasible for small, surface-level spots | Best for seams, transitions, or unknown penetration |
| Finish identification | You can follow the care tag | They can evaluate coating and sheen consistency |
| Risk of finish haze | Higher if chemistry is guessed | Lower when methods match the finish system |
| Time to resolution | May take multiple attempts | Often faster after diagnosis |
| Odor/biological stains | Can work if caught early and treated correctly | Recommended if odor returns after cleaning |
| Large-area discoloration | Usually poor fit for spot methods | More realistic for finish-level correction |
| Warranty considerations | May void coverage if wrong chemicals are used | Aligns with documentation and approved methods |
| Moisture management | Depends on careful technique | Managed with controlled application and drying |
| Cost control | Lower initial cost | Higher upfront but can reduce rework |
| Control of finish sheen | Hard to match across board runs | Better for uniform appearance |
| Verdict | Choose DIY for small, identified stains after a spot-test. | Choose a pro when the finish is unknown, the stain is near seams, or odor/penetration is suspected. |
Quick checklist: stain removal on engineered wood
| Step | Do this | Avoid |
|---|---|---|
| 1 | Blot immediately (dry cloth) | Scrubbing while fresh |
| 2 | Clean with pH-neutral wood-floor cleaner (damp cloth) | Soaking or puddles |
| 3 | Dry right away | Leaving moisture overnight |
| 4 | Identify stain type (water/grease/organic) | Using the same method for everything |
| 5 | Spot-test any stronger treatment | Applying chemical to the whole room first |
| 6 | Stop if finish dulls or changes | “Doubling down” on a failing method |
Sources
If you do only one thing after reading this, make it the workflow: identify the stain type → blot and pH-neutral clean → dry immediately → escalate only after spot-testing. That approach keeps engineered wood floors looking consistent and reduces the chance that a small living-room spot becomes a larger finish repair.
Frequently Asked Questions
How do I remove water stains from engineered wood floors in my living room?
First, blot up any remaining moisture and let the area dry completely. For light water marks, use a slightly damp microfiber cloth with clean water, then dry immediately. If the stain remains, use a small amount of manufacturer-approved wood floor cleaner and finish by buffing with a dry cloth to restore the surface appearance.
How can I remove dark coffee, tea, or wine stains without damaging the finish?
Start by blotting the spill quickly—never scrub aggressively, since engineered wood has a protective top layer that can be worn down. Clean with a pH-neutral cleaner recommended for engineered hardwood, applying with a soft cloth and working from the outside of the stain inward. If the stain lingers, try a damp cloth with a tiny amount of diluted mild soap, then dry thoroughly; avoid acetone, bleach, and harsh solvents because they can discolor the finish.
Why do stains on engineered wood sometimes look “dull” even after cleaning?
Many “stains” on engineered wood floors are actually finish haze or uneven surface grime rather than deep penetration into the wood. That dull look can result from water sitting on the surface, repeated cleaning with the wrong product, or rubbing with rough materials. Use a gentle wood floor cleaner and a microfiber pad to clean without scratching, and if the sheen isn’t restored, follow up with a finish-safe wood floor polish if your flooring manufacturer recommends it.
What’s the best way to lift grease or oil stains from an engineered wood living room floor?
Remove excess grease first by gently blotting with a clean absorbent cloth—do not wipe, which can spread the stain. Use a small amount of a degreasing, wood-floor-safe cleaner (pH-neutral, non-alkaline) applied to a microfiber cloth rather than poured directly onto the floor, then wipe clean and dry. For stubborn areas, repeat carefully in small steps and avoid steam cleaners, because heat and moisture can damage the engineered wood’s top layer and seams.
Which products should I use (or avoid) when removing stains from engineered hardwood flooring?
Use products specifically labeled safe for engineered hardwood, such as pH-neutral wood floor cleaners, and apply them with a soft microfiber cloth to protect the finish. Avoid abrasive pads, steel wool, and “all-purpose” cleaners that may contain ammonia or strong detergents, since they can strip or cloud the protective coating. Also avoid acetone, paint thinner, bleach, and wax-based removers unless the manufacturer explicitly approves them for your engineered wood floor.
📅 Last Updated: October 19, 2026 | Topic: How to remove stains from engineered wood floors in a living room? | Content verified for accuracy and freshness.
References
- 404 Error
- https://www.armstrongflooring.com/support/care-and-maintenance/hardwood-flooring.html
- https://www.bruce.com/support/care-and-cleaning/engineered-wood-floor-care
- https://www.fpl.fs.usda.gov/documnts/fplgtr/fplgtr190.pdf
- Wood flooring
- Wood stain
- https://scholar.google.com/scholar?q=engineered+wood+floor+stain+removal Google Scholar
- https://scholar.google.com/scholar?q=hardwood+floor+finish+stain+removal+water+ring Google Scholar
- https://scholar.google.com/scholar?q=wood+floor+cleaning+and+spot+repair+stains Google Scholar


