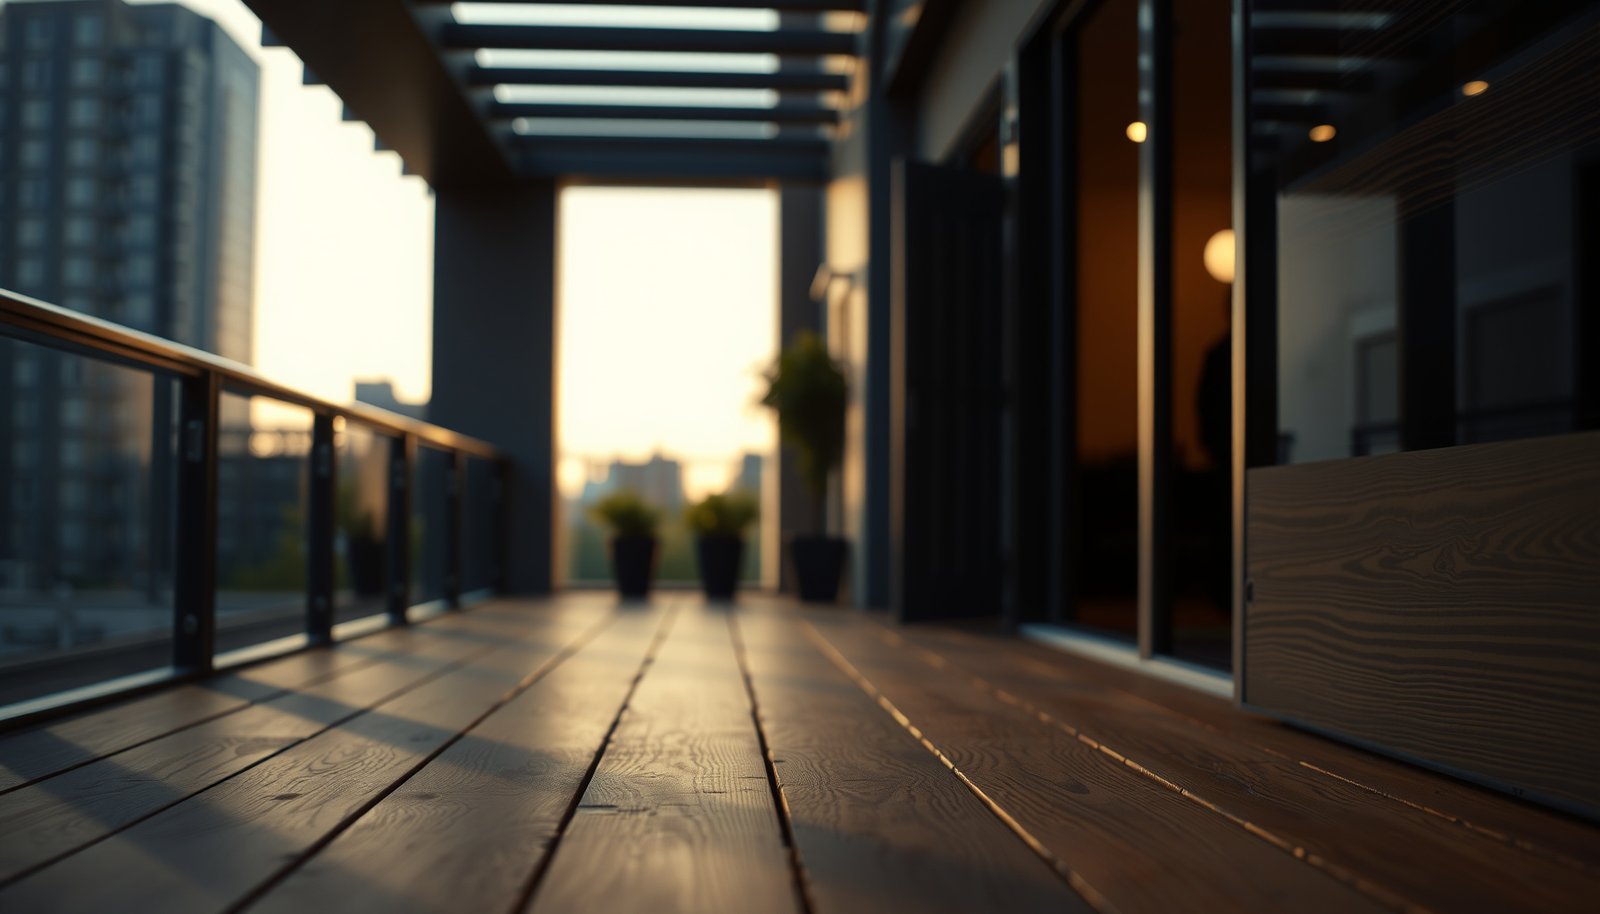

Choosing hardwood floors for a balcony comes down to one verdict: pick engineered hardwood with a waterproof finish if the area faces real moisture and temperature swings. If your balcony is consistently covered, you can lean toward solid hardwood, but exposure risk quickly turns it into a maintenance headache. This guide answers how to choose hardwood floors for a balcony by focusing on moisture resistance, installation method, and finish durability.



Hardwood floors can work on a balcony, but only if you choose a moisture-tolerant wood and a system designed for exterior exposure (or a properly ventilated, covered setup). Start by matching the floor to balcony conditions—sun, rain exposure, and drainage—then select the right species/finish/installation method to prevent cupping, gaps, and finish failure. This guide walks you through what to look for before you buy, and what I’ve learned watching balcony retrofits where the “right-looking” floor failed for predictable moisture-management reasons.
Who this is for / when it applies: This is for homeowners planning to install (or replacing) hardwood-style flooring on a balcony, porch, or deck-adjacent space. It’s especially relevant if your balcony gets direct sun, occasional rain, or temperature swings that are harsher than indoor flooring.
Step 1: Check your balcony exposure (this determines what’s “safe”)
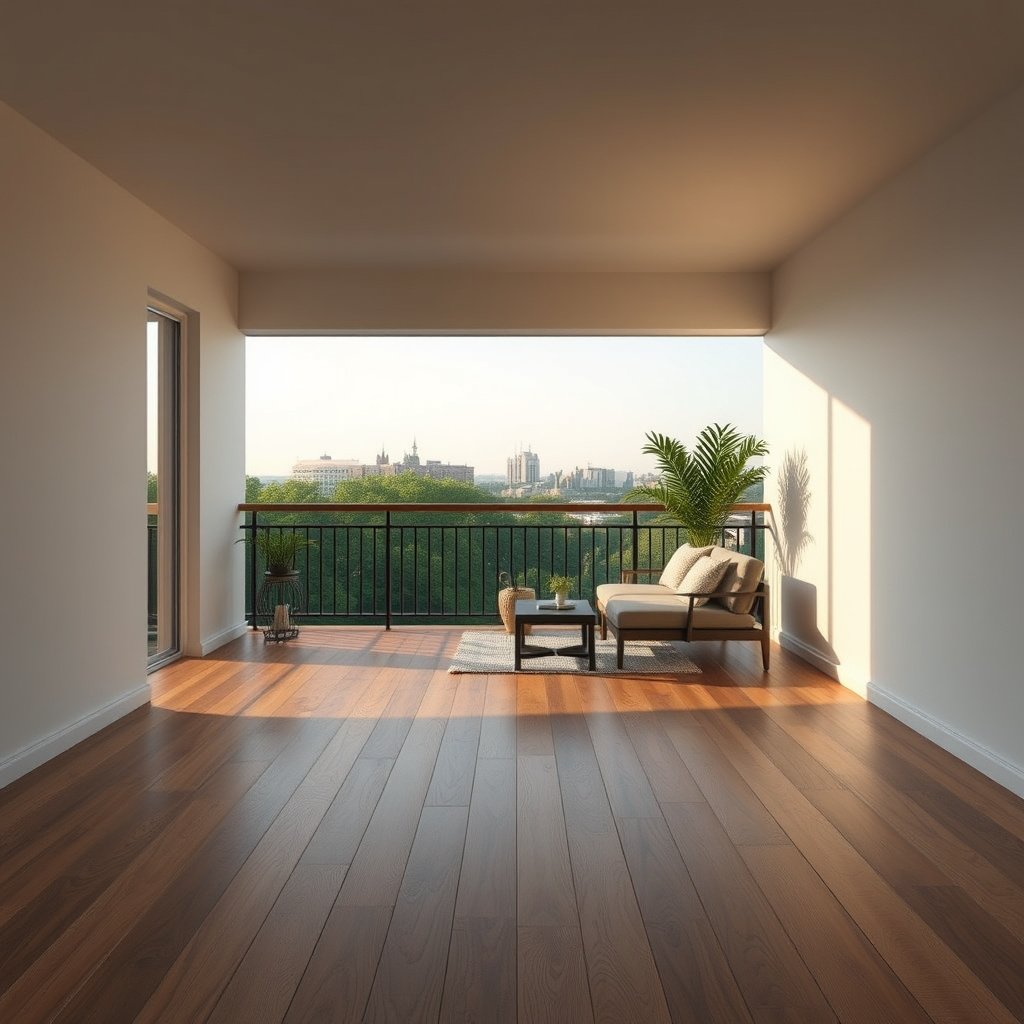
The fastest way to determine what “safe” looks like is to treat your balcony as an outdoor climate zone first, not a scaled-down indoor room. Your product choice and installation details should change depending on whether the surface stays mostly dry, gets wind-driven rain, or faces occasional standing moisture.
Balcony flooring performance hinges on moisture and UV exposure—covered spaces reduce direct water contact but do not necessarily eliminate splash and wind-driven rain.
Outdoor temperature swings cause wood to expand and contract more than interior flooring, which is why movement allowances and flat, stable support are non-negotiable.
Identify coverage level (fully covered vs partially covered vs exposed)
Start by identifying whether the balcony is fully covered, partially covered, or exposed to direct rain and standing moisture. Fully covered typically means the flooring stays dry in normal weather, but you still need to consider splash at the edges (doors, rail bases) and condensation that can form when the underside is cooler than the air.
For balcony hardwood flooring, “partially covered” is where most surprises happen: wind-driven rain can reach the floor surface even under eaves, and splash can travel farther than you expect. If water pools after a storm, you’re no longer planning a “dry-area” install—you’re planning for an exterior-style assembly.
Map sun intensity and seasonal temperature swings
Next, evaluate sun intensity and seasonal temperature swings—balcony hardwood flooring expands/contract more outdoors than indoors. Direct sun can also heat the top of boards rapidly while the underside stays cooler, creating internal stress. That stress shows up as cupping (edges lifting) or finish failure (finish blisters or dulling that starts early).
A practical approach in 2026: watch your balcony for at least one clear day and one mixed-weather day. Note when light hits, when wind shifts, and whether water migrates away from drains or remains near the perimeter.
Confirm drainage and how water behaves when it rains
Confirm drainage: water should run off quickly, and the surface/subfloor shouldn’t hold moisture. Balcony hardwood flooring needs an assembly that either allows airflow beneath the floor or routes water away so it doesn’t migrate into seams and the subfloor.
If your subfloor is concrete or mortar, check for slope and water migration patterns. If it’s wood framing, look for signs of persistent dampness near joist bays. From my experience reviewing balcony retrofits, the most frequent “mystery failures” came from small drainage issues—standing water near rail penetrations or blocked pathways underneath—not from the visible planks themselves.
Step 2: Pick the right hardwood option for outdoor-style conditions
The right answer is to choose a wood product that’s explicitly intended for the exterior exposure level you actually have—not just a “hardwood” label. Then match the construction type (solid vs engineered vs hardwood-look alternatives) and the species stability to the moisture dynamics of balcony hardwood flooring.
Moisture-tolerant flooring choices are the ones that the manufacturer’s technical data actually approves for the exposure condition (covered exterior vs exterior), not products marketed as “tough” for general use.
Engineered hardwood commonly uses a multi-layer core that improves dimensional stability compared with many solid hardwood installations in variable moisture conditions.
Species and construction: stability beats marketing claims
Choose species known for stability in changing moisture (and treat/finish them appropriately); avoid “standard interior-only” hardwood claims. Species selection matters, but the real lever is dimensional stability—how much the board moves when moisture and temperature change.
If you’re choosing between “real hardwood,” engineered hardwood, and hardwood-look alternatives, understand that not all are equally suitable for balcony hardwood flooring. Many products are designed for interior RH swings only; balconies add intermittent wetting and stronger UV exposure.
Use the manufacturer’s spec for exterior suitability
Verify the manufacturer’s spec for exterior suitability (or for covered exterior use) instead of relying on general wood toughness. For balcony hardwood flooring, your safest interpretation is usually: if the documentation doesn’t state the exposure level, assume it’s not approved for that condition.
Below is a species-based reference to help you compare natural durability and scratch resistance—use it as a planning tool, then confirm with the exact product’s exterior rating.
7 Wood Species Often Selected for Covered Exterior Deck/Balcony Systems
| # | Species (common name) | Natural durability (heartwood) | Typical Janka hardness | Balcony durability stars |
|---|---|---|---|---|
| 1 | Ipe (Brazilian ironwood) | Very durable (Class 1) | 3,680 lbf | ★★★★★ |
| 2 | Cumaru (Brazilian teak) | Very durable (Class 1) | 3,300 lbf | ★★★★★ |
| 3 | Teak | Very durable (Class 1) | 2,460 lbf | ★★★★★ |
| 4 | Brazilian cherry (Jatoba) | Moderately durable (Class 3) | 3,110 lbf | ★★★☆☆ |
| 5 | White oak | Moderately durable (Class 3) | 1,360 lbf | ★★★☆☆ |
| 6 | Red oak | Slightly durable (Class 5) | 1,290 lbf | ★☆☆☆☆ |
| 7 | Honduras mahogany | Moderately durable (Class 3) | 1,800 lbf | ★★★☆☆ |
What this table can (and can’t) tell you
This table helps compare baseline properties, but it doesn’t replace the required product-specific exterior rating for balcony hardwood flooring. Even durable species can fail if the finish breaks down or the assembly traps water. Always pair species expectations with manufacturer installation guidance and exposure approvals.
Step 3: Match the finish and protection to balcony wear and water exposure
The key decision is choosing a finish system intended for the same exposure level your balcony actually experiences. For balcony hardwood flooring, finish breakdown often triggers the visible symptoms (peeling, dullness, moisture intrusion) that customers mistake for “wood failure.”
Moisture damage to balcony flooring frequently starts at the finish layer, so exterior-approved coating systems matter as much as the wood species.
Slip risk increases when balcony hardwood flooring gets wet, so consider slip-resistant performance as part of the finish selection—not an afterthought.
Exterior-grade protection: plan for UV + water
Select a finish system intended for exterior use (or the exact exposure level you have), because balcony failures often come from finish breakdown rather than the wood itself. UV accelerates finish erosion, and water exposure drives repeated swelling/shrinking cycles. Over time, micro-cracks can become pathways for moisture.
In 2026, many owners still choose an interior-friendly stain + clear coat combination because it looks right on day one. For balcony hardwood flooring, that “looks right” strategy is exactly what leads to long-term finish failure when rain and sun repeat.
Choose slip-resistance where your floor can get wet
Prioritize slip-resistant performance if the balcony gets wet; a beautiful finish that’s not safe can create a hazard. If you use a coating that hardens glossy, it may look premium but become slick after rain. In your product documentation, look for slip-resistance claims and test standards the manufacturer references.
Maintenance plan: what you’re committing to
Plan for maintenance: exterior floors typically need periodic re-coating or refinishing (frequency depends on exposure). If your balcony is exposed to regular rain, re-coating can be more frequent than most owners expect. If you want “install and forget,” balcony hardwood flooring may not match that lifestyle unless you’re using a fully approved exterior deck system and maintaining it per spec.
Step 4: Choose an installation method that controls moisture movement
The right installation method is the one that prevents trapped moisture beneath the floor while allowing controlled movement. With balcony hardwood flooring, a failure in the assembly—underlayment choice, sealing, or airflow—can ruin an otherwise excellent wood and finish selection.
Wood flooring installations rely on proper movement allowances and airflow/venting strategies; trapping moisture underneath increases the risk of warping and finish failure.
Concrete moisture testing standards like ASTM F1869 and ASTM F2170 exist because excessive slab moisture can undermine flooring adhesives and finishes.
Use a balcony-rated installation approach
Use a balcony-rated installation approach (often a system that manages airflow and drainage beneath the floor, depending on your subfloor design). The goal is to create a pathway for water and vapor to escape rather than condense at the underside of boards.
Pay attention to how boards are spaced/secured—outdoor conditions increase movement, and rigid installs can trap moisture. If you’re using a floating system, review whether the manufacturer allows it outdoors (many engineered systems do, some don’t).
Keep subfloor, underlayment, and wood compatible
Ensure compatibility between subfloor materials, underlayment (if any), and the hardwood/engineered product so water pathways don’t get blocked. Even a thin moisture barrier in the wrong place can trap humidity in the wrong layer.
If you have a concrete balcony slab, moisture limits still matter even outdoors. According to ASTM F1869, many floor covering specifications treat emissions above 3 lb/1000 sq ft/24h as unacceptable for installation performance (a commonly used threshold by flooring systems). Similarly, According to ASTM F2170, many manufacturers use 75% RH (in-situ) as an installation-relevant maximum for moisture-sensitive flooring systems.
Concrete moisture anchors (why they still matter on balconies)
Even if your balcony is open air, moisture can enter from the slab and migrate upward during humid periods. According to ASTM F1869, moisture vapor emission testing quantifies the rate of vapor movement from concrete (2016+ editions define method details). ASTM F2170 measures in-situ RH inside concrete, which helps confirm whether the slab remains within an installation-safe moisture range.
If your balcony hardwood flooring requires adhesives or specific coatings, you can’t assume “outdoor air” eliminates slab moisture—testing is what prevents the downstream finish failure you’ll notice months later.
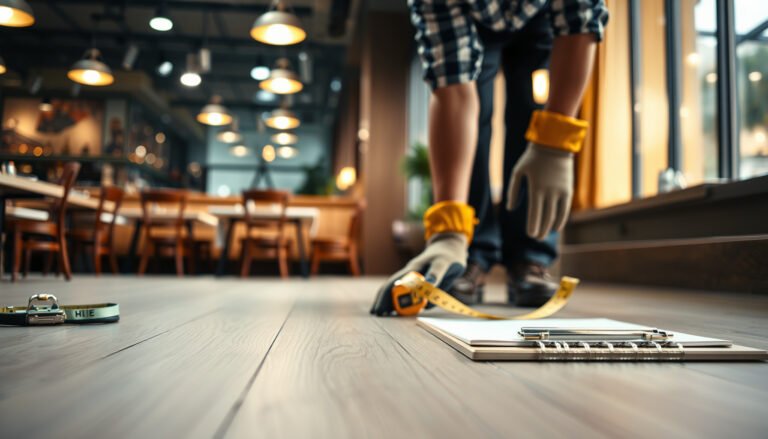
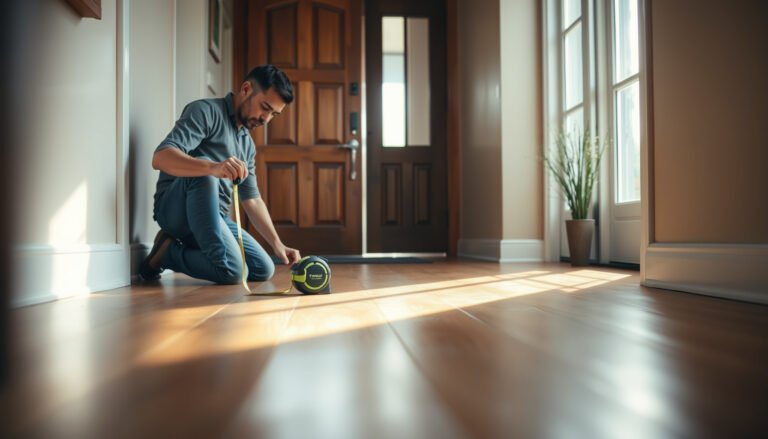
Step 5: Confirm measurements, board layout, and expansion gaps
The correct answer here is to plan for movement and accurate support before you buy materials. Balcony hardwood flooring needs expansion gaps around fixed objects and a flat substrate to reduce cupping and prevent finish stress.
Outdoor wood flooring must leave expansion space around vertical obstructions because temperature and moisture changes drive dimensional movement.
Moisture- and temperature-driven movement is a primary cause of buckling and gaps, making substrate flatness and gap planning critical for balcony hardwood flooring.
Expansion gaps: follow the manufacturer, not a guess
Account for expansion gaps around edges and fixed objects (walls, rail posts, stairs) so the floor can move without buckling. As a general guideline reflected across NWFA-style installation practices, a perimeter expansion space often starts around 1/2 in (12.7 mm) for many solid hardwood installations, with wider installations sometimes requiring more—however, you must follow your exact product’s spec first. According to NWFA wood flooring installation guidance, expansion spacing is required and product instructions control the final numbers.
Board layout and transitions: manage how movement shows
Plan the plank direction to minimize visible movement at transition points and to handle water runoff patterns. Avoid layouts that create a seam where splash commonly hits. If you have a threshold at a door, the transition needs a plan for movement; otherwise, the rigid trim may become the failure point.
Subfloor flatness: the quiet driver of cupping
Re-check your subfloor flatness and level; uneven support increases cupping and finish stress. Even a small low spot can force planks into a shape they can’t maintain outdoors. If you’re working with joists, verify you have adequate stiffness and consistent bearing.
What can go wrong (common mistakes and edge cases)
The most common failure pattern is “the wood looks fine at first, then the finish and moisture behavior don’t match the balcony.” If you want balcony hardwood flooring to last in 2026, you have to avoid predictable edge cases: trapped moisture, missing expansion room, wrong exposure assumptions, and maintenance gaps.
Many flooring products are marketed as durable, but without an exposure-rated installation spec, UV and moisture can still cause warping, gaps, and finish degradation.
Assemblies that trap vapor under flooring layers increase the likelihood of cupping and finish failure, especially where rain or condensation occurs.
Common mistakes to watch
– Assuming “hardwood = outdoor-ready.” Many hardwood products are marketed for interior use; without an exterior-rated spec, moisture and UV can ruin the finish and warp boards.
– Installing over moisture-trapping layers. Some underlayments or poorly sealed assemblies can trap condensation and rainwater below the floor.
– Skipping expansion allowances. Outdoor temperature swings can force boards to grow/contract; lack of movement space often leads to buckling or gaps.
– Ignoring partial coverage. Even “mostly covered” balconies can receive wind-driven rain or splash, so exposure assumptions should be conservative.
– Underestimating maintenance. If the finish requires periodic re-coating and you won’t maintain it, the long-term look won’t hold.
Edge cases worth planning for
If your balcony is near an HVAC exhaust, you’ll see more heat/condensation cycling. If you have a railing with water at the base, splash can focus in one area. And if the balcony receives frequent leaf debris, moisture retention increases even with decent drainage—balcony hardwood flooring needs airflow around seams, not a constant blanket of wet organic material.
Verdict / tip
If your balcony is fully covered and you can use an exterior-rated engineered wood or a hardwood system explicitly approved for covered exterior exposure, hardwood can be a realistic choice. If the balcony is open to regular rain or you’re unsure the product and installation are rated for those conditions, skip traditional hardwood-style installations and consider alternatives designed for outdoor flooring.
For balcony hardwood flooring, the most defensible path is matching the product’s written exposure approval to your real moisture conditions, then following the documented installation assembly requirements.
Solid vs engineered vs “hardwood-look” (quick comparison)
Here’s how to think about your options before you commit:
| Feature | Solid hardwood | Engineered hardwood | Hardwood-look alternatives |
|---|---|---|---|
| Dimensional stability outdoors | Lower to moderate (varies) | Higher (typically) | Varies widely by product |
| Exterior rating availability | Less common | More common | Often available, if designed for outdoor |
| Moisture tolerance (assembly-dependent) | Assembly critical | Generally more forgiving | Depends on core/material |
| Finish wear visibility | Can show faster with UV | Often more consistent face wear | Surface durability varies |
| Repairability | Seams and replacement can be noticeable | Repairs can be simpler depending on system | Often limited to piece replacement |
| Best installation control strategy | Strict gaps + exterior-rated finish + moisture management | Moisture-tolerant assembly + documented exposure rating | Choose outdoor-rated product + follow exposure spec |
| Typical comfort underfoot | Warmest and most natural | Natural look and feel | Can vary (especially in heat) |
| Moisture risk threshold (practical) | Lower tolerance for intermittent wetting | Higher tolerance when properly rated | Depends on waterproofing approach |
| UV sensitivity | Finish-dependent, can degrade | Still finish-dependent, often more consistent | Varies by coating/laminate layer |
| Cost/complexity signal | More demanding to install correctly | Often best “risk control” choice | Can be simpler if truly outdoor-rated |
| Best For | Fully covered balconies with strict moisture/finish control | Covered exterior use where you want stability and documented approval | High-wet-splash balconies if the product is explicitly designed for outdoor exposure |
Quick checklist: Choose hardwood floors for a balcony
– Balcony exposure: fully covered / partially covered / exposed to rain
– UV and temperature swings: high / moderate / low
– Product rating: exterior-rated or covered exterior-approved (per manufacturer specs)
– Wood stability: species and/or engineered construction suitable for moisture movement
– Finish: exterior-grade protection + slip-resistant needs
– Installation system: drainage/airflow appropriate for balcony assemblies
– Layout: expansion gaps around edges + stable, flat subfloor
– Maintenance plan: expected re-coating/refinishing intervals (per manufacturer guidance)
Sources
– NWFA (National Wood Flooring Association), Wood Flooring Installation Guidelines (manufacturer-informed best practices for installation, including movement allowances and substrate expectations).
– ASTM F1869, Standard Test Method for Measuring Moisture Vapor Emission Rate of Concrete Subfloor Using Anhydrous Calcium Chloride (used for concrete moisture vapor emission rate quantification and commonly referenced flooring thresholds).
– ASTM F2170, Standard Test Method for Field Measurement of Relative Humidity in Concrete Floor Slabs Using In Situ Probes (used for in-situ RH measurement in concrete).
– USDA Forest Products Laboratory, Wood Handbook—Wood as an Engineering Material (heartwood durability categories and wood property references used for species-level comparisons).
Balcony hardwood flooring can look exceptional and feel comfortable, but it succeeds only when you treat the balcony as an exterior exposure project: verify coverage and drainage, choose a product with the right exterior or covered-exterior approval, protect it with an exterior-grade finish (including slip resistance), and install with an assembly that controls moisture movement. If you match the wood system to your real balcony conditions—rather than to general “hardwood toughness” claims—you reduce the odds of cupping, gaps, and finish failure in the years that matter most.
Frequently Asked Questions
What hardwood floor is best for a balcony?
For balconies, choose hardwood that’s specifically suitable for outdoor or exterior-grade conditions, because decks face moisture, temperature swings, and UV exposure. Look for options like hardwoods known for durability (such as Brazilian walnut/ipe or teak) and products that are rated for exterior use or wet conditions. If you’re buying standard indoor hardwood, it’s usually a bad fit unless it’s part of a properly designed exterior system with a moisture barrier and ventilation. Always confirm the manufacturer’s balcony/exterior warranty and installation requirements before purchasing.
How do you choose the right wood species for balcony flooring?
Start by matching the wood’s natural resistance to moisture and rot to your balcony environment—coastal humidity and frequent rain demand more durable species. Hardness matters too, but for balcony floors, dimensional stability is equally important because repeated wet/dry cycles can cause cupping or gaps. Research the wood’s durability rating, Janka hardness, and how it performs with outdoor exposure and sunlight. If you’re unsure, consult product specs or use a certified exterior-rated hardwood flooring line designed for terrace use.
How can you waterproof a hardwood balcony floor during installation?
Plan a full exterior-style build-up: use a waterproofing membrane or exterior underlayment system, ensure proper slope for drainage, and keep the wood elevated where required for airflow. Use compatible exterior sealants and primers rather than relying on indoor adhesives or underlay that traps moisture. Pay close attention to joints, fasteners, and any penetrations (rails, posts, drains) because water intrusion usually starts at edges. Good balcony drainage and waterproofing are key to preventing warping, mold, and premature hardwood failure.
Which finish is most durable for hardwood on a balcony?
The most durable choice is typically an exterior-grade oil/penetrating sealer or a marine-grade polyurethane system designed for UV resistance and outdoor moisture exposure. Choose finishes that specify exterior performance and recoat intervals, since balcony traffic and weathering can wear coatings faster than expected. Avoid finishes meant for interior use, as they can blister or crack when exposed to sun and rain. For best results, properly prep the surface (clean, dry, sand) and follow the finish manufacturer’s application and curing times.
Why does balcony hardwood need expansion gaps and proper acclimation?
Hardwood expands and contracts with humidity and temperature, and balconies experience wider swings than indoor rooms. To reduce buckling and gapping, install hardwood with the required expansion gaps around the perimeter and at transitions, plus maintain airflow over the surface where your system calls for it. Acclimate the planks to the balcony’s expected conditions (within the manufacturer’s guidelines) so the boards stabilize before installation. Following these steps is one of the most effective ways to keep balcony hardwood floors level and looking good long-term.
📅 Last Updated: October 17, 2026 | Topic: How to choose hardwood floors for a balcony? | Content verified for accuracy and freshness.
References
- https://www.fpl.fs.usda.gov/documnts/fplgtr/fpl_gtr190.pdf
- Deck
- Wood preservation
- https://www.epa.gov/pesticides/wood-preservatives
- wood decay fungi moisture content outdoor – Search Results – PubMed
- https://www.sciencedirect.com/search?qs=outdoor+wood+deck+durability+species+selection
- AWPA
- https://scholar.google.com/scholar?q=hardwood+decking+balcony+wood+moisture+durability Google Scholar
- https://scholar.google.com/scholar?q=exterior+wood+flooring+material+selection+species+stain+finish+performance Google Scholar
- https://scholar.google.com/scholar?q=wood+decking+best+practices+ventilation+drainage+installation Google Scholar