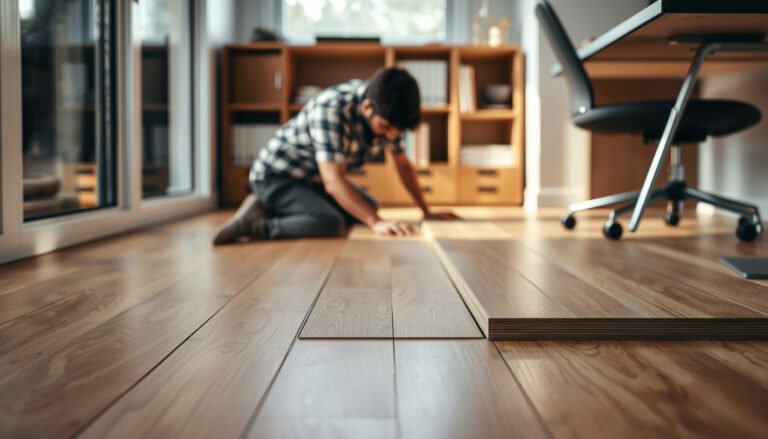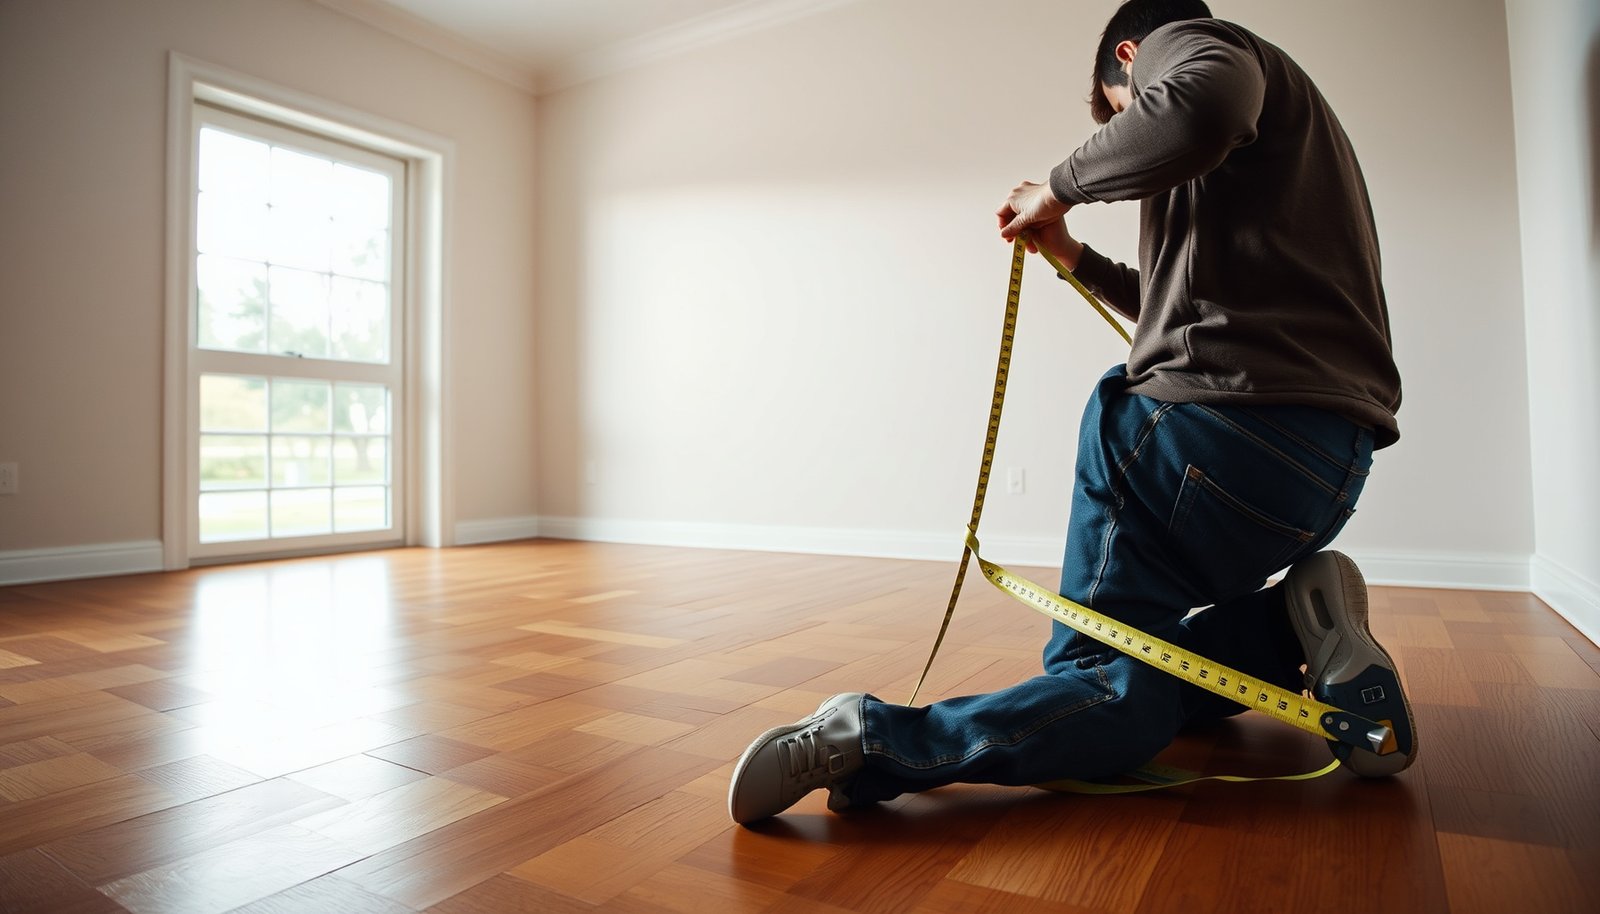

Learn exactly how to measure hardwood floors for a home gym setup so you can plan your layout with confidence and avoid expensive mistakes. You’ll get a clear step-by-step method for taking accurate room dimensions, identifying unusable edge areas, and calculating the safe space for equipment and clearance. Follow it once, and you’ll know precisely how much floor you have for your gym—without guesswork.




To measure hardwood floors for a home gym, start by measuring the usable floor space (length and width) and then subtract areas you can’t use due to doors, baseboards, and transitions. Next, measure and sketch each equipment’s footprint and add clearance for safe movement—then size your mats/rugs or training zone to match. You’ll end up with a practical “gym area” measurement you can trust before you buy anything.
If you’re setting up a small strength area, a home CrossFit-style corner, or even just want to place a treadmill/bike on wood flooring, this helps you avoid buying mats that are too small or leaving equipment too close to walls. The steps below work whether you’re planning one zone or multiple training spots.
What you’ll need before you start measuring
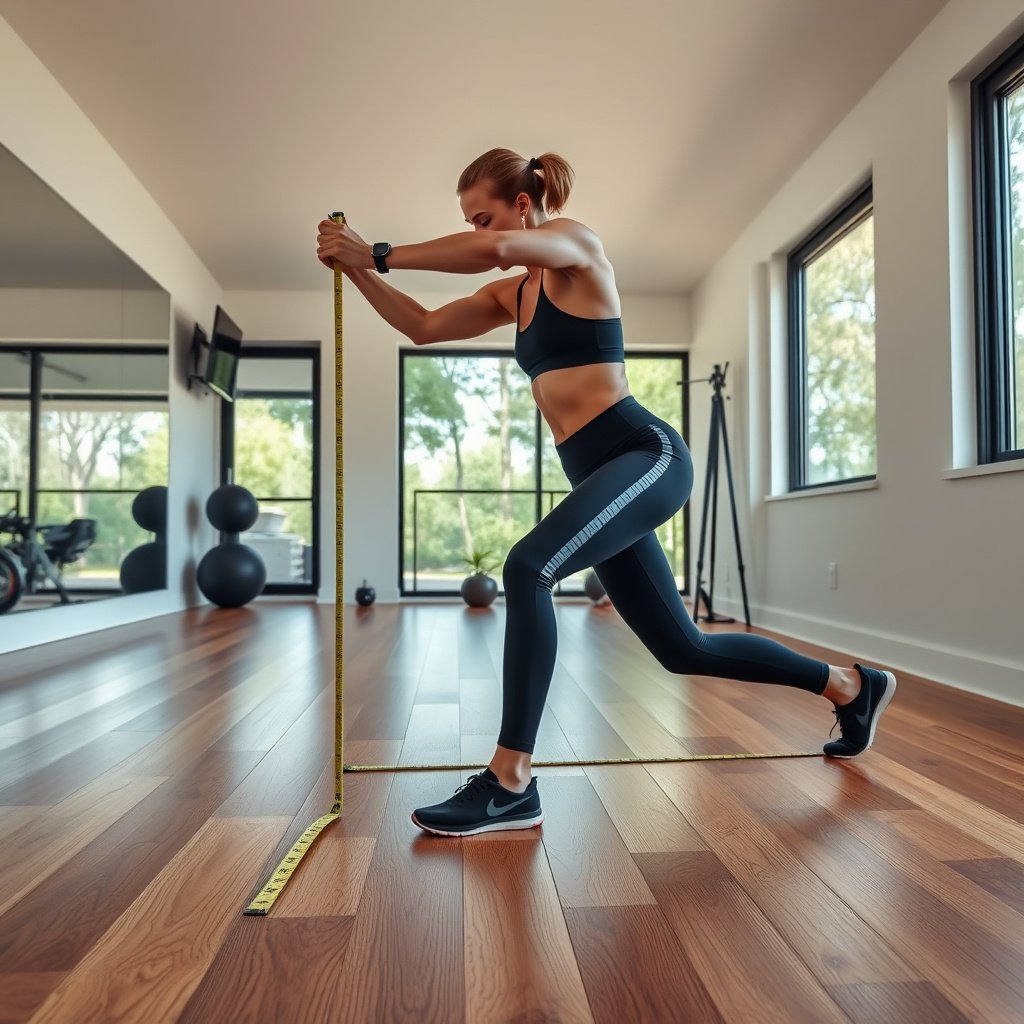
Start by gathering basic measuring and recording tools so your hardwood floor measurements are accurate and easy to verify. This reduces the most common failure mode: transcribing a number wrong and then discovering it only after you’ve ordered mats.
A tape measure and a labeled sketch prevent “mental math” errors when converting usable hardwood areas into mat sizes.
Recording measurements immediately (instead of later) improves consistency when you’re calculating multiple zones for a home gym on hardwood flooring.
– A tape measure (25 ft/7.5 m is usually enough), pencil, and graph paper or a notes app
– A way to mark the layout on the floor (painter’s tape works well for planning areas)
– Optional but helpful: a straightedge/level for checking flatness and a notepad for recording numbers
From my experience helping homeowners map a hardwood floor for a gym, the layout goes smoother when you treat measurements like a mini project: capture raw data first, then do calculations second. If you’re working alone, use your phone notes app as the “single source of truth,” and photograph the sketch next to the room.
Measure the room’s usable floor size (not just the wall-to-wall area)
Measure usable space where the hardwood floor gym setup can actually sit, not the full wall-to-wall rectangle. Doors, fixed trim, and transitions usually shrink the practical footprint enough to matter—especially when you’re planning a compact lifting zone.
Wall-to-wall dimensions often overestimate usable space because baseboards, trim, and thresholds consume real placement area for hardwood floor home gyms.
If your room has alcoves or cut-ins, measuring section-by-section is more accurate than trying to force a single rectangle for your gym on wood.
– Measure the longest wall-to-wall length and the perpendicular width, then write both down in the same unit (feet/inches or centimeters)
– If the room isn’t a perfect rectangle (closets, alcoves, odd corners), measure each section and add them into a simple sketch
– Identify the “usable footprint” by noting where baseboards, trim, or fixed features reduce where equipment or mats can sit
As you measure, keep two “accounts” separate in your notes for the hardwood floor gym setup:
1) Room envelope (the full room), and
2) Gym usable envelope (where equipment and mats can physically go).
Tip: When you’re using painter’s tape to mark a rectangle or a training lane on the wood, tape a few reference lines that match your sketch. That makes it much easier to spot where your gym area stops short of trim and why.
Conversions you’ll use while calculating (optional but handy)
If you switch between feet/inches and metric, use exact conversions so the hardwood floor measurements stay consistent.
Common Clearance Buffers for Hardwood Floor Gym Layouts (Exact Conversions)
| # | Planning Buffer (in) | Metric (cm) | Typical Use in a Zone | Fit Confidence |
|---|---|---|---|---|
| 1 | 6 | 15.24 | Tight edge spacing for sleds or small cardio moves | ★★☆☆☆ |
| 2 | 9 | 22.86 | Narrow side access for bikes or wall-mounted racks | ★★★☆☆ |
| 3 | 12 | 30.48 | Common “comfort buffer” for stepping around a bench | ★★★★☆ |
| 4 | 15 | 38.10 | Better clearance for kettlebell swing lanes | ★★★★☆ |
| 5 | 18 | 45.72 | Smoother access to plate storage and rack uprights | ★★★★★ |
| 6 | 24 | 60.96 | Comfortable clearance for “transition steps” between zones | ★★★★★ |
| 7 | 30 | 76.20 | Extra margin for turning, mounting, and moving large items | ★★★★★ |
Plan your gym layout: footprints + clearance
Plan by mapping each equipment footprint onto the hardwood floor, then expanding it by a practical clearance so you can use the space safely. This is where most “it fits on paper” problems get solved before you buy mats, floor protection, or a rack.
Using equipment footprints plus clearance paths is the most reliable way to translate room dimensions into usable hardwood floor gym zones.
A “zone” approach (impact area vs. movement area) helps ensure mats protect the spots that actually take load.
– Measure each equipment’s footprint (manufacturer-listed dimensions if you have them), then decide how much space you need to move safely around it
– Create a simple layout: “zone” for heavy impact (weights, slam balls), and “zone” for movement (cardio, cable station routes)
– Add clearance in your sketch for things people forget—stool movement, door swing, cable pull paths, and where you’ll step when mounting equipment
To anchor clearance planning, you can use accessibility-based turning benchmarks as a conservative sanity check for your hardwood floor gym setup. For example, According to the U.S. Access Board’s 2010 ADA Standards for Accessible Design, the minimum wheelchair turning space diameter is 60 inches (2010) (U.S. Access Board, 2010 ADA Standards for Accessible Design). You’re not building an accessible route, but the benchmark helps prevent layouts that feel cramped when you’re turning with plates, a step stool, or a bench.
Here’s how I recommend treating zones in your sketch:
– Impact/landing zone (mats must fully cover): rack work, slam landings, plate drops, dumbbell control areas
– Movement/approach zone: loading plates, stepping into position, cable travel lanes, mounting cardio
A quick calculation method: after you draw equipment rectangles on your hardwood floor plan, expand the rectangle edges outward by your clearance buffer (inches or centimeters—use the same unit everywhere). Then size your mats to the outer edges of those expanded zones.
Clearance reality check: door swing + operation paths
Door swing is often underestimated on hardwood floors because people think “the door opens into empty space.” In a home gym, that empty space might be your mat edge or your approach lane. Mark the door arc on the floor plan, and keep the mat (or rolled gym flooring) behind the arc if the door needs clearance.
Also, for cable systems and adjustable stations, measure the full travel. A cable pull path can “reach” farther than your initial equipment footprint suggests, so mat coverage should follow the path of the machine’s operational movement.
Account for obstacles and floor changes
Account for obstacles by measuring around fixed items and marking floor transitions so your hardwood floor protection doesn’t end where stress concentrates. This step prevents seam/threshold surprises that can cause mat gaps, squeaks, or finish damage.
Fixed obstacles like columns, built-ins, and radiators reduce usable hardwood floor area and should be treated as hard boundaries in your gym layout sketch.
Floor transitions (tile-to-wood, carpet-to-wood, or separate wood runs) influence how far mats should extend to stay supported during use.
– Measure around fixed obstacles: columns, built-ins, radiators, stairs, or thresholds into other rooms
– Note floor transitions (to tile/carpet/another wood run) so your mat or flooring protection doesn’t end where you’ll stress it
– If your home gym will cross a seam in the hardwood run, mark it on your sketch—this matters for where mats will be placed and how edges are supported
In practice, transitions and seams are the “edge cases” that create failures later. If you place a mat so one edge lands right on a seam, you may see:
– uneven mat contact (a wobble you’ll feel),
– concentrated wear under heavy feet or moving stands,
– and gaps that let dust/grit collect at the boundary.
To make this concrete for hardwood floor measuring: mark the seam location on your sketch, then ensure your mat overlaps the seam by enough width that footfalls remain on supported material.
When wall trim still matters (even if equipment “fits”)
Baseboards and trim don’t just reduce placement depth; they can also change the angle at which you stand when lifting. If you’re planning a squat rack or a bench station, measure not only the base clearance but also the upright work area where your torso and bar path require alignment.
What can go wrong when measuring hardwood for a gym
Most measurement problems come from treating the room like a perfect rectangle or ignoring access and flatness realities on hardwood floors. Fix your process by verifying the details that affect real-world movement—not just whether rectangles overlap.
Treating a non-rectangular room as a perfect rectangle causes systematic mat-sizing errors, especially in small hardwood floor home gyms.
Skipping access-space checks can produce layouts where equipment fits in plan view but cannot be used comfortably or safely.
– Mistake: treating the room like a perfect rectangle—if you round up or ignore alcoves, your mats/equipment will be short by inches
– Mistake: forgetting door swing and access space—your equipment may fit on paper but becomes hard to use or move later
– Mistake: skipping flatness checks—hardwood can show unevenness, and mats won’t “fix” a bumpy surface; you’ll feel it and may stress equipment feet
From my day-to-day observations working through home gym layouts, the “door swing” issue is especially common in narrow rooms because people focus on the equipment footprint and forget the way you step around it. A simple check is to stand where you expect to load the bar, rotate your body as if you’re setting up the lift, and confirm your feet land fully within the protective zone.
Wall-to-wall vs. usable zone sizing: a quick comparison
When you measure hardwood floors for a home gym, “wall-to-wall” and “usable zone” are not interchangeable.
| Approach | Pros | Cons |
|---|---|---|
| Wall-to-wall measurement | Fast starting point; useful for an initial sketch of the hardwood floor home gym setup | Overstates usable area once baseboards, trim, and transitions are included |
| Usable zone measurement (mats + equipment path) | More accurate mat sizing; better matches how people actually move in the space | Takes longer to measure (but prevents costly re-orders) |
Verdict / tip (what to do next, and who should skip this)
If you want a reliable plan, measure in this order: (1) usable room area, (2) equipment footprints, (3) clearance paths, and (4) obstacles/transitions—then convert your sketch into one or more protection zones sized to your exact layout. The downside: measurements alone don’t guarantee the hardwood will be protected—finish condition, mat type, and how you distribute load matter too.
A simple Plan–Do–Check–Act workflow (plan zones, measure, verify clearance paths, then finalize mat sizes) reduces errors when sizing hardwood floor gym protection.
Skip DIY measurement-as-a-fix if your hardwood has loose boards, squeaks from movement, or warranty requirements for floor coverings.
Who should skip this step (or be extra cautious):
– If your hardwood shows looseness, noticeable movement underfoot, or recurring squeaks.
– If you suspect significant cupping/warping—your mat might bridge uneven areas rather than protect consistently.
– If your flooring warranty requires specific installation/maintenance practices for mats, pads, or covering types.
What to do next:
Turn your sketch into a “buy list” measurement set:
– Zone A (impact): mat/rug footprint = expanded impact footprint
– Zone B (movement): mat coverage = approach + return lane widths
– Zone edges: note seam/transition overlap so edges remain supported
If you want, tell me your room shape (rough dimensions), which equipment you’re planning, and whether you’ll use rubber mats or a roll-out gym floor—I can help you translate it into a clean “zone” measurement plan.
Quick measurement checklist (scan and save)
| Item to measure | What to write down |
|---|---|
| Usable room length + width | [Length] × [Width] |
| Odd corners/alcoves | [Section measurements] |
| Fixed obstacles | [Distance from walls/clearances] |
| Each equipment footprint | [L × W for treadmill/bike/rack/etc.] |
| Clearance paths | [Side spacing] + [front access] |
| Floor transitions/seams | [Where they are + approximate location] |
| Final protected gym zones | [Zone sizes for mats/rugs] |
Sources
– Use your hardwood flooring manufacturer’s installation/maintenance guidance for protection recommendations and any requirements related to mats or floor coverings:
– For equipment footprints and clearance needs, use the equipment manufacturer/spec sheet for each item you plan to place:
Accurate hardwood floor measurements are what turn a home gym from “planned” into “workable”—especially in smaller rooms where door swing, seams, and transitions shrink usable space fast. If you follow the sequence (usable area → footprints → clearance paths → obstacles/seams) and size mats to your expanded zones, you’ll minimize wasted purchases and create a safer, more functional training area on wood.
Frequently Asked Questions
What is the best way to measure hardwood floors for a home gym before buying equipment?
Measure the exact usable workout area by taking wall-to-wall dimensions in both length and width, then multiply to get square footage. Account for fixed obstacles like built-ins, radiators, or door swings that reduce usable space. If you plan to place heavy equipment like a squat rack or treadmill, also measure the clear floor space around those items for safe movement.
How do I measure for a home gym layout on hardwood floors if the room isn’t a perfect rectangle?
Break the room into simple shapes by dividing it into rectangles and adding them together to estimate total area. Measure each section along the hardwood floor, recording length and width for every “piece” of the layout. For corners, alcoves, or irregular edges, take multiple measurements from the same reference point so you can accurately map where equipment will fit on the floor plan.
Why do I need to measure hardwood flooring square footage and load zones for a gym?
Square footage determines how much equipment and flooring coverage you can fit without overcrowding, while load zones help prevent damage from concentrated weight. Hardwood floors can be sensitive to point loads from squat racks, heavy sleds, or storage stacks, so it’s important to identify where weight will be concentrated. Planning the placement before installation helps you choose appropriate protective mats, rubber flooring, and spacing to safeguard the hardwood.
Which measurements should I take for home gym flooring mats or rubber tiles on hardwood floors?
Measure both the area you want to cover and any “buffer zones” around equipment—especially under racks, benches, and areas with dropped weights. Use measurements that include transitions, like stopping before baseboards or fitting around columns, then add 5–10% extra for trimming and overlap. Record thickness and spacing needs too, since thicker mat systems may require clearance for doors, threshold edges, or furniture.
How do I measure clearance for walking paths, mirrors, and lifting space on hardwood floors?
Measure clearances from the furthest edges of equipment to walls, mirrors, and other obstacles, using the actual footprint dimensions of each item. Common pain points include tight paths for treadmills, limited barbell swing clearance, and restricted access to storage, so measure pathways in a few places to ensure consistent room to move. For lifting areas, confirm you have clearance for racking/unracking and safe stepping space so your home gym workflow works smoothly on hardwood floors.
📅 Last Updated: October 17, 2026 | Topic: How to measure a hardwood floors for home gym? | Content verified for accuracy and freshness.
References
- E1155/E1155M Standard Test Method for Determining FF Floor Flatness and FL Floor Levelness Numbers
- Floor area
- Square foot
- Area
- Tape measure
- Shoelace formula
- Polygon
- https://scholar.google.com/scholar?q=how+to+measure+hardwood+floors+for+installation Google Scholar
- https://scholar.google.com/scholar?q=wood+flooring+installation+estimating+square+footage+waste+factor Google Scholar
- https://scholar.google.com/scholar?q=ASTM+E1155+floor+flatness+measurement+F-number Google Scholar