
Hardwood floors are the right choice for a home gym when you want quiet, durable footing with a clean, professional finish. This step-by-step guide walks you through prepping the subfloor, planning layout and underlayment, installing each plank correctly, and finishing the surface so it holds up to daily training. If you follow these instructions in order, you’ll get a stable floor that reduces slip and impact—not a project that turns into rework.




Install hardwood floors in a home gym by prioritizing moisture control, proper acclimation, and careful subfloor prep—those three steps prevent most long-term problems like gaps and cupping. Then choose the right installation method (nail-down, glue-down, or engineered over concrete) and finish in a way that can handle rolling equipment and sweat-prone workouts. This guide walks you through the process from planning to final surface protection.
Hardwood floors in a gym live a different life than in a bedroom: you’ll drag dumbbells, roll carts, and introduce sweat and occasional moisture (especially around benches, treadmills, and storage racks). This step-by-step walkthrough is for homeowners and installers planning a residential gym floor in 2026 who want a practical, spec-driven approach that reduces callbacks—especially when the room sits on concrete or has variable indoor humidity.
Plan for gym-specific moisture and load

Moisture control and load planning are the fastest way to prevent most hardwood floor failures in a gym. Before you buy boards, you should confirm slab/crawlspace moisture risk and think through point loads from equipment bases so your installation system can tolerate real-world stress.
Relative humidity (RH) is the practical driver of wood movement, so keeping RH stable before and after installation is essential for minimizing gapping and cupping in hardwood floors.
When hardwood floors are installed over concrete, you must manage both liquid water and water vapor (measured via ASTM testing) to protect the wood and finish over time.
Gym point loads—like a treadmill base or rack feet—require a subfloor that’s flat and structurally sound, because movement under concentrated weight can telegraph as squeaks or surface wear.
– Confirm your gym’s moisture risk first (especially if the space is on a slab, below grade, or over a damp crawlspace).
Start by identifying the substrate: slab-on-grade, basement slab, raised wood subfloor, or crawlspace. For slab installations, ASTM testing methods are commonly used to quantify moisture conditions. For example, ASTM F2170 measures in-slab moisture vapor emission rate; ASTM F2170 is a standard method referenced in many flooring moisture workflows.
– Think about impact and concentrated weight: choose flooring/installation details that tolerate point loads from equipment bases and moving machines.
A gym isn’t uniformly loaded. Most damage concentrates around treadmill mats, weight racks, bench bases, and where you roll a chair or cart. That means your planning should cover:
– Flatness tolerances (a wavy substrate can cause squeaks and finish stress)
– Vibration paths (the gym’s floor assembly should not flex excessively)
– Protection strategy for “maintenance moisture” (sweat, wipe-downs, and occasional spills)
Moisture and load planning data point you can act on
According to the National Wood Flooring Association (NWFA), many residential installations aim for indoor relative humidity within the general range of 35%–55% before, during, and after installation (exact targets depend on the product and climate). NWFA guidance on indoor environmental conditions.
Also note: per ASTM moisture testing standards such as ASTM F2170, the test output is a rate (not just “wet/dry”), and thresholds vary by adhesive and vapor retarder system—so you’ll still need to follow your flooring manufacturer’s installation limits.
Choose the right hardwood type and underlayment
Choosing the right hardwood type isn’t about “best-looking,” it’s about mechanical fit to your substrate and moisture plan. Match your flooring construction (solid vs engineered) and your underlayment/vapor barrier system to what your manufacturer explicitly approves.Solid hardwood and engineered hardwood respond differently to moisture, so selecting the correct product for concrete vs wood subfloors is a fundamental warranty consideration.
Underlayment and vapor barriers are not interchangeable—manufacturers specify approved combinations because they control drying behavior and moisture vapor transmission.
For gyms, a finish system matters as much as the boards, because sweat exposure and rolling equipment increase abrasion and chemical/cleaner contact over time.
– Match the flooring product to your subfloor: solid hardwood is often installed differently than engineered hardwood, and concrete typically changes your approach.
In practical residential terms:
– Solid hardwood is commonly installed over wood subfloors using a nailing/stapling method (depending on product thickness).
– Engineered hardwood is often the practical choice over concrete, because its construction is designed to better tolerate dimensional movement across variable slab conditions—*when paired with the manufacturer’s approved moisture-control layers.*
– Use the underlayment/vapor barrier system recommended by the flooring manufacturer (don’t mix “compatible” layers unless the manufacturer approves the combination).
This is where many “almost right” projects fail. Even when two products claim compatibility, they may control vapor transmission differently. In a gym, where sweat and occasional water introduce more cleaning cycles, you want a system that stays predictable.
Installation Systems for Hardwood in Moisture-Prone Home Gyms
| # | Installation system | Typical substrate | Vapor control priority | Gym rolling load resistance | Moisture tolerance |
|---|---|---|---|---|---|
| 1 | Solid hardwood nail-down (wood subfloor) | Plywood/OSB | Medium (environment-driven) | ★★★★☆ | ★★★★☆ |
| 2 | Engineered hardwood glue-down (approved adhesive) | Concrete | High (test + membrane as required) | ★★★★☆ | ★★★★☆ |
| 3 | Engineered hardwood floating/click (with vapor barrier) | Concrete | High (continuous vapor layer) | ★★★☆☆ | ★★★☆☆ |
| 4 | Engineered hardwood nail/staple (wood subfloor) | Plywood/OSB | Medium (environment-driven) | ★★★★☆ | ★★★★☆ |
| 5 | Solid hardwood nail-down (over concrete slab—generally avoided) | Not recommended | Very high (system dependent) | ★★☆☆☆ | ★☆☆☆☆ |
| 6 | Engineered hardwood glue-down with specified primer + membrane | Concrete | High (vapor retarder continuity) | ★★★★☆ | ★★★★★ |
| 7 | Engineered hardwood floating with matched underlayment + barrier | Concrete | High (layer-by-layer compliance) | ★★★☆☆ | ★★★★☆ |
Note: Moisture tolerance depends on test results, product approvals, and the approved vapor retarder system—not stars alone. Always confirm your exact flooring/underlayment/membrane pairing with the manufacturer’s installation instructions.
Prep the subfloor (this is where installations succeed or fail)
Subfloor prep is the difference between a gym floor that feels tight and quiet versus one that squeaks, moves, or wears unevenly. For hardwood floors, you’re aiming for flatness, cleanliness, and structural integrity before any boards get installed.
Hardwood floors fail early most often due to poor flatness or poor contact (fasteners or adhesive not fully engaging), not because the wood “was bad.”
Acclimation is the process of letting flooring reach equilibrium moisture conditions indoors, which reduces dimensional movement that shows up as gaps and cupping.
A gym magnifies subfloor issues because concentrated loads and vibration transfer surface problems faster than in low-traffic rooms.
– Make sure the subfloor is flat, clean, and structurally sound; roughness can lead to squeaks, movement, and premature wear.
Start with:
– Flatness checking using a straightedge or laser level
– Removing drywall dust, paint overspray, and contaminants that interfere with adhesives/adhesion
– Repairing loose sections, protrusions, and uneven patches before you install hardwood flooring
– Acclimate the wood according to the manufacturer’s schedule and target indoor conditions before you install—this reduces gaps and cupping later.
Acclimation depends on species, thickness, and the product’s construction. In 2026, many flooring manufacturers still require you to bring cartons into the jobsite and maintain stable HVAC operation so moisture content can equalize. NWFA wood flooring conditioning best practices emphasize controlling indoor environment as part of conditioning.
Install and finish for a gym-ready surface
Installation and finishing are where you make hardwood flooring performance-proof against rolling equipment and sweat-prone workouts. Follow your flooring system’s fastening/adhesive method exactly, then choose a finish package and cure schedule that supports durable, everyday gym use in the real world.
The fastening or adhesive method is product-specific, so nailing patterns, adhesive type, spacing, and installation tolerances come from the manufacturer—not general rules of thumb.
Finish performance is strongly tied to cure time: adhesives and coatings may feel “dry” early but still lack final hardness until cured.
In a home gym, a finish must resist abrasion from shoes and equipment wheels and withstand routine cleaning chemicals—within the finish manufacturer’s guidelines.
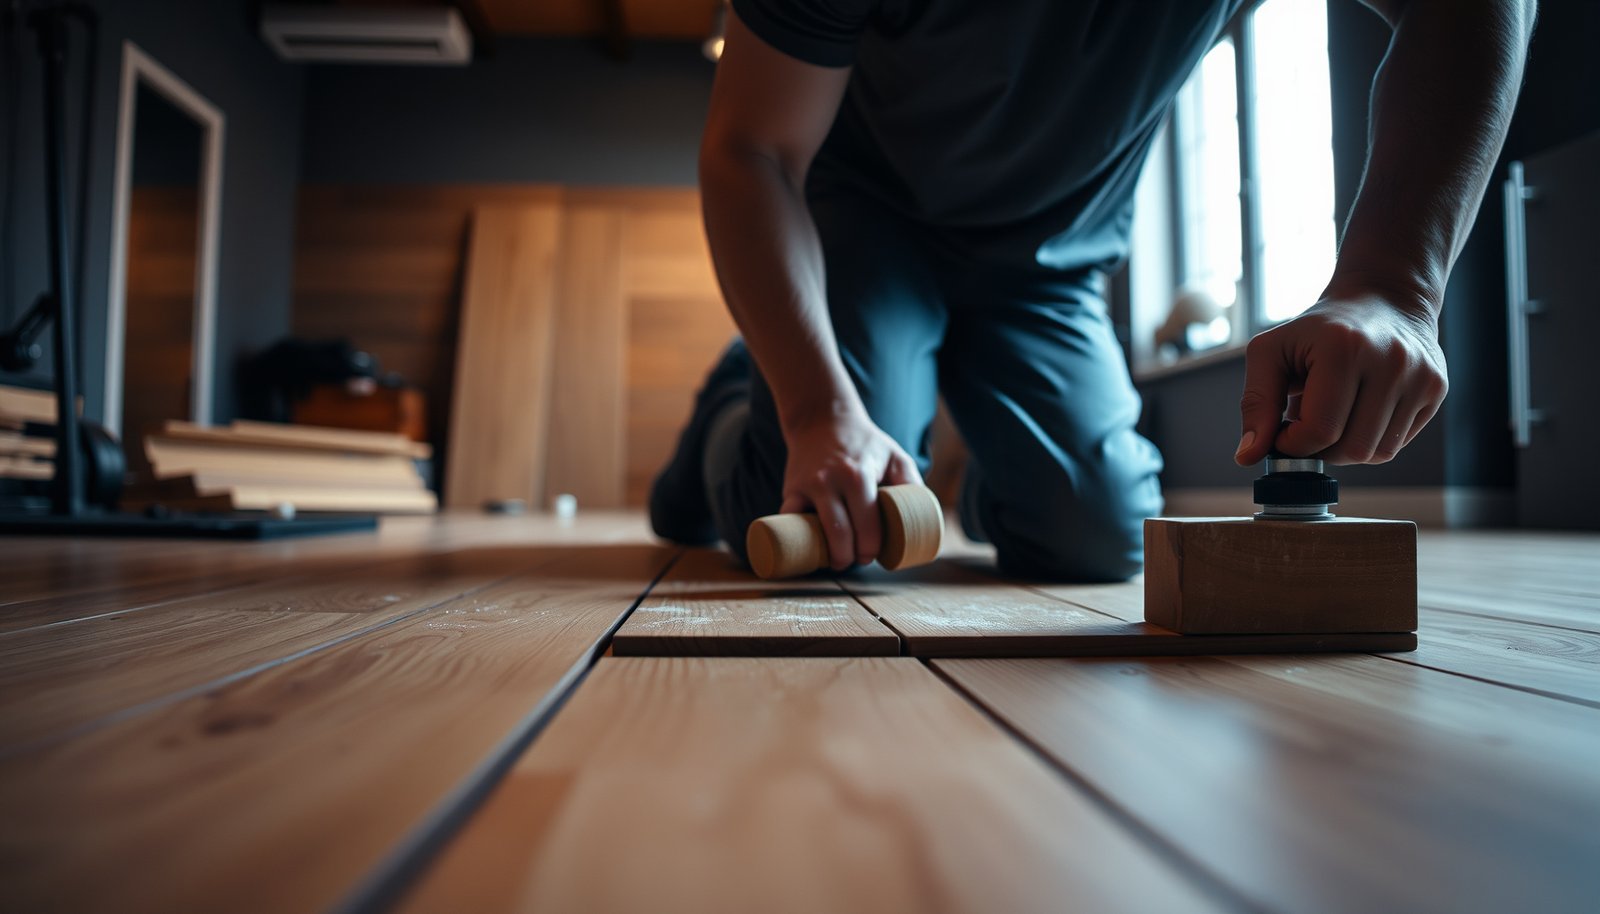
– Follow the fastening/adhesive method specified for your flooring (nailing patterns, glue types, and spacing requirements differ by product system).
Key points to respect:
– Solid nail-down: nail/staple placement, required underlayment (if any), and expansion spacing at walls/transitions
– Engineered glue-down: subfloor moisture limits, primer/adhesive compatibility, and spread rate/working time
– Engineered over concrete (floating/click): underlayment and vapor barrier continuity, plus expansion allowances and locking integrity
– Finish with a gym-appropriate approach: protect against sweat and water exposure, and allow full cure time before using the space (cure schedules come from the finish manufacturer, not guesswork).
For gyms, plan for:
– Protective mats where treadmill bases and heavy equipment sit (even when floors are “durable”)
– Regular cleaning that doesn’t violate finish chemistry (many finishes require cleaner types that won’t strip topcoats or soften resins)
– Aftercare that respects cure/rehardening windows—especially right after installation
Installation-method tradeoffs (fast comparison)
| Feature | Nail-down solid hardwood | Glue-down engineered hardwood | Engineered floating/click over concrete |
|---|---|---|---|
| Best substrate type | Wood subfloor (plywood/OSB) | Concrete (with approved moisture system) | Concrete (with approved vapor barrier + underlayment) |
| Moisture tolerance (typical) | Moderate (environment driven) | High (if moisture tests pass) | Moderate to high (depends on vapor barrier continuity) |
| Gym rolling comfort | Usually good when subfloor is flat | Very good due to solid bonding | Can be good, but depends on underlayment and flatness |
| Resistance to squeaks | Better with solid subfloor prep | Better with proper adhesive coverage | More sensitive to subfloor movement/flatness |
| Install speed | Moderate (fasteners + patterning) | Moderate (adhesive workflow) | Typically faster (but details matter) |
| “Miss a step” risk | Medium | Medium to high (moisture/adhesive compatibility) | Medium (layer mismatches and barriers) |
| Expansion allowance requirements | Required | Required (product-specific) | Required (floating design rules) |
| Weight/rack placement | Works well if floor stays flat | Works well if slab moisture is controlled | Works best when base spread is managed and floor is stable |
| Maintenance & cleaning | Follow finish/system | Follow finish/system | Follow finish/system + avoid trapped moisture at seams |
| **Best for** | Gyms over wood subfloors with stable HVAC | Gyms over concrete where moisture testing and vapor control are addressed | Gyms where a simpler install is desired and manufacturer approvals match slab conditions |
What can go wrong (and how to avoid it)
The most common problems—gaps, cupping, and crowned boards—almost always trace back to moisture imbalance or inadequate acclimation. Squeaks and uneven floors usually come from subfloor flatness issues or incomplete fastening/contact.
Gapping and cupping are classic symptoms of moisture movement, so a gym’s HVAC humidity swings can be as damaging as an installation mistake.
Squeaks often indicate that boards aren’t fully supported or that fasteners/adhesive didn’t achieve the required bond/contact.
Concrete-related failures are usually moisture-driven, so skipping slab testing or ignoring an approved vapor barrier system increases risk.
– Gaps, cupping, and crowned boards usually trace back to moisture and acclimation issues—tight indoor humidity control matters as much as installation skill.
Practical causes include:
– HVAC running inconsistently (season changes hit gyms hard)
– Wet construction phase lingering moisture before flooring is installed
– Incorrect or rushed acclimation timeframe
– Skipping approved vapor barrier/retarder requirements on slab
– Squeaks and uneven floors often come from subfloor flatness problems or incomplete fastening/contact; re-check flatness and follow the product’s fastening specs.
In a gym, vibration and foot traffic can magnify small issues. If you detect movement while installing, correct the substrate immediately—don’t “work around” it with shimming that may violate manufacturer instructions.
Verdict / tip
DIY hardwood flooring can work if you’re comfortable with subfloor prep and you can follow a detailed manufacturer installation guide exactly. If your gym sits on concrete, has known moisture issues, or uses a product system that requires strict layer compatibility, consider hiring an experienced installer—those edge cases are where “almost right” turns into expensive callbacks.
Quick downside to plan for: hardwood in a gym can show dents/scuffs faster than you’d see in a formal living room, and you’ll still need to manage humidity long-term even after the install.
Frequently Asked Questions
What underlayment should I use when installing hardwood floors in a home gym?
Choose an underlayment designed for hardwood and moisture control, such as a thin foam pad or cork/rubber composite that’s compatible with your specific plank system. For a home gym, also look for underlayments that help reduce impact noise from dropped weights while maintaining proper floor flatness. If your basement or slab is involved, prioritize a full vapor barrier to protect the hardwood from humidity. Always follow the manufacturer’s guidance on underlayment thickness so your warranty and floor locking system work correctly.
How do I prepare a concrete subfloor before installing hardwood floors for a gym?
Start by checking moisture levels in the concrete with a calcium chloride test or in-slab probe testing, since excess moisture can cause cupping or gaps in hardwood. Then verify flatness with a straightedge—most installs require the subfloor to be within a small tolerance (often 3/16 in over 10 ft). Remove paint, dust, and high spots by grinding, and repair cracks or low areas with appropriate patching compound. A proper vapor barrier over concrete is especially important in a home gym where HVAC cycles, sweating, and humidity can fluctuate.
Which hardwood flooring type is best for a home gym?
In most home gyms, engineered hardwood is often the best choice because it handles minor subfloor movement and humidity swings better than solid hardwood. If you’re frequently using cardio equipment, consider wider boards for stability and reduced plank-to-plank movement, and choose a finish that’s rated for durability and easy cleaning. Thicker wear layers (for engineered) help the floor withstand scuffs from shoes, equipment legs, and weights. If you use heavy barbells or racks, prioritize a strong finish and a stable installation over purely visual factors.
How do I handle expansion gaps and transitions in a gym where temperatures change?
Maintain the recommended expansion gap around the perimeter and at doorways, because hardwood floors expand and contract with temperature and humidity changes common in home gyms. Use the correct transition pieces at thresholds (like T-molding or reducers) so the floor can move without buckling. For rooms with frequent HVAC cycling, keep a consistent temperature and use a humidifier or dehumidifier if needed to prevent cupping or gapping. Installing door jambs and ensuring proper clearance under trim helps your engineered or solid hardwood installation remain stable long-term.
Why should I choose nail-down, glue-down, or floating installation for a gym floor?
Your subfloor conditions and the hardwood construction dictate which method works best, but for a home gym, stability and resilience are key. Nail-down hardwood can be great on suitable wood subfloors, while glue-down can provide a very solid feel on correct subfloors—both can help reduce squeaks under training equipment. Floating engineered hardwood is often faster and easier to install, but it must be on a properly prepared, flat subfloor with the correct underlayment to avoid movement. Whichever method you choose, confirm it’s compatible with your home gym’s moisture conditions and expected foot traffic.
📅 Last Updated: October 17, 2026 | Topic: How to install hardwood floors in a home gym? | Content verified for accuracy and freshness.
References
- Wood flooring
- https://www.fpl.fs.usda.gov/documnts/fplgtr/fplgtr190.pdf
- 404 Error
- LOBA: Transformation Agency
- https://www.diynetwork.com/how-to/floors/installing-hardwood-flooring
- https://scholar.google.com/scholar?q=how+to+install+hardwood+floors+subfloor+preparation Google Scholar
- https://scholar.google.com/scholar?q=hardwood+flooring+installation+acclimation+moisture+requirements Google Scholar
- https://scholar.google.com/scholar?q=hardwood+flooring+installation+underlayment+acoustics+sound+absorption Google Scholar