
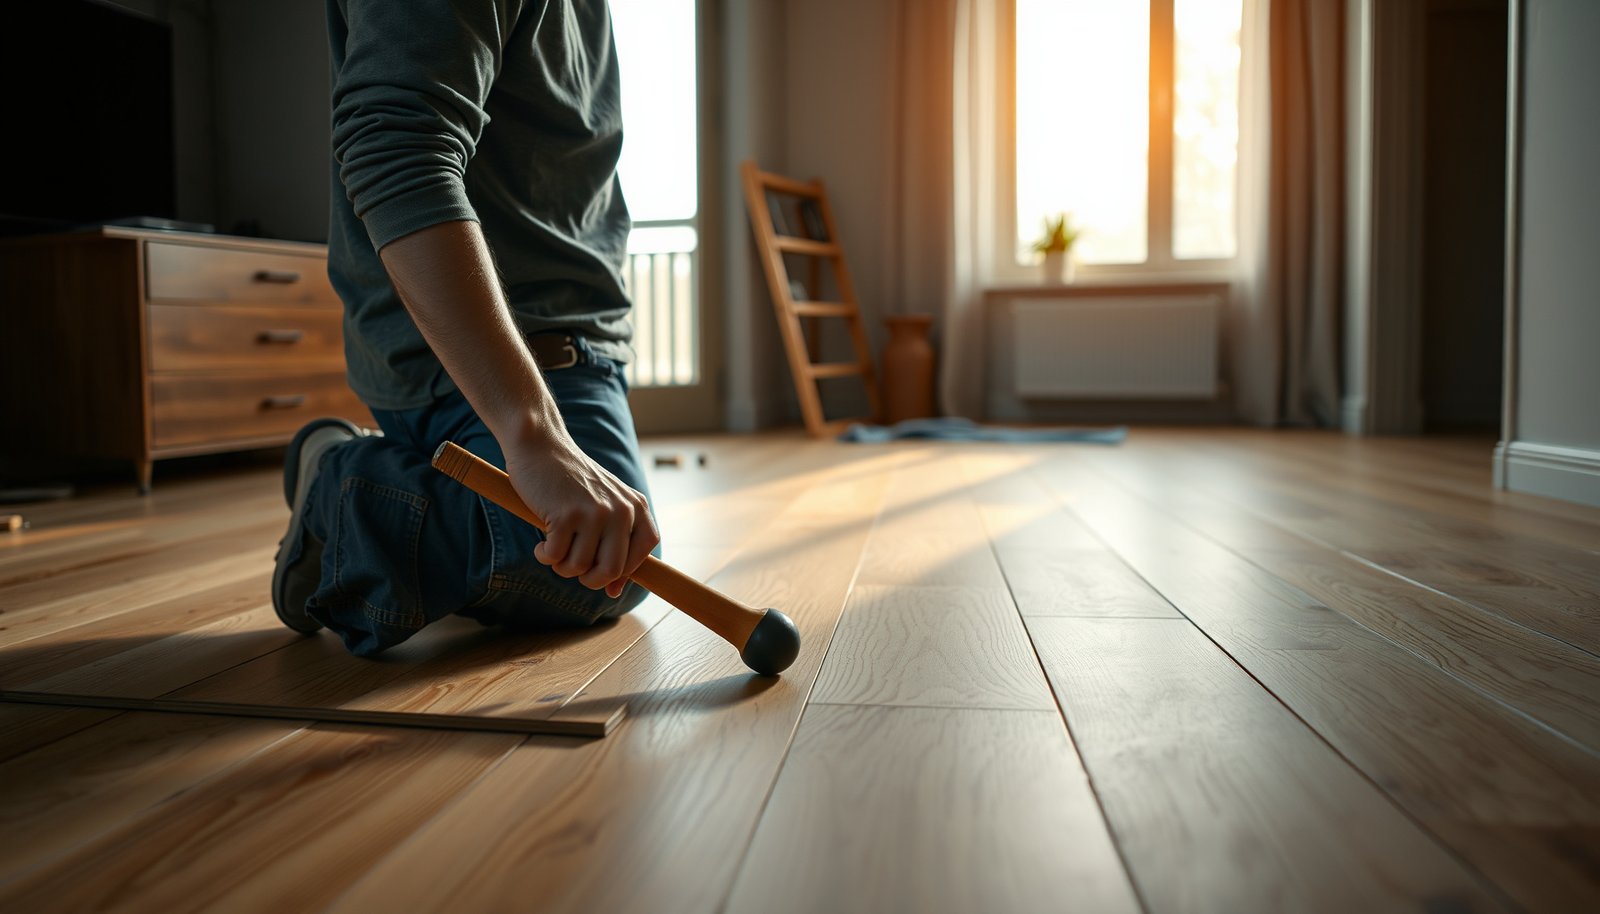

You can install hardwood floors in an apartment in a day-by-day, step-by-step process that avoids the most common mistakes—warping, poor subfloor prep, and improper fastening. This guide walks you through measuring and acclimating the boards, preparing the subfloor, choosing the right installation method for your space, and finishing with clean trim and durable protection. By the end, you’ll know exactly what to do from first plank to final cleanup.




You can install hardwood floors in most apartments safely by choosing an apartment-friendly system (often engineered hardwood with a click-lock “floating” install), verifying the subfloor is flat and stable, and following your product’s expansion-gap and acclimation requirements. The key is to plan for apartment rules on noise and penetration so you don’t end up redoing work—or losing warranty coverage—later.
You can install hardwood floors in an apartment by choosing the right floor type for the space (often engineered or click-lock for easier installs), confirming the subfloor is ready, and following your specific manufacturer’s expansion-gap and acclimation instructions. If you’re in a building with noise/penetration rules, plan on a “floating” installation (or get landlord approval before any nailing/gluing). This guide walks you through prep, layout, install, and what usually causes problems.
If you’re a renter or you need a low-disruption install, this is for you—especially if you want the least risky route for apartment rules and everyday living. It’s also useful if you’re unsure whether you should use nail-down hardwood, glue-down, or a floating/click system (the steps differ).
Check apartment rules and prep the subfloor
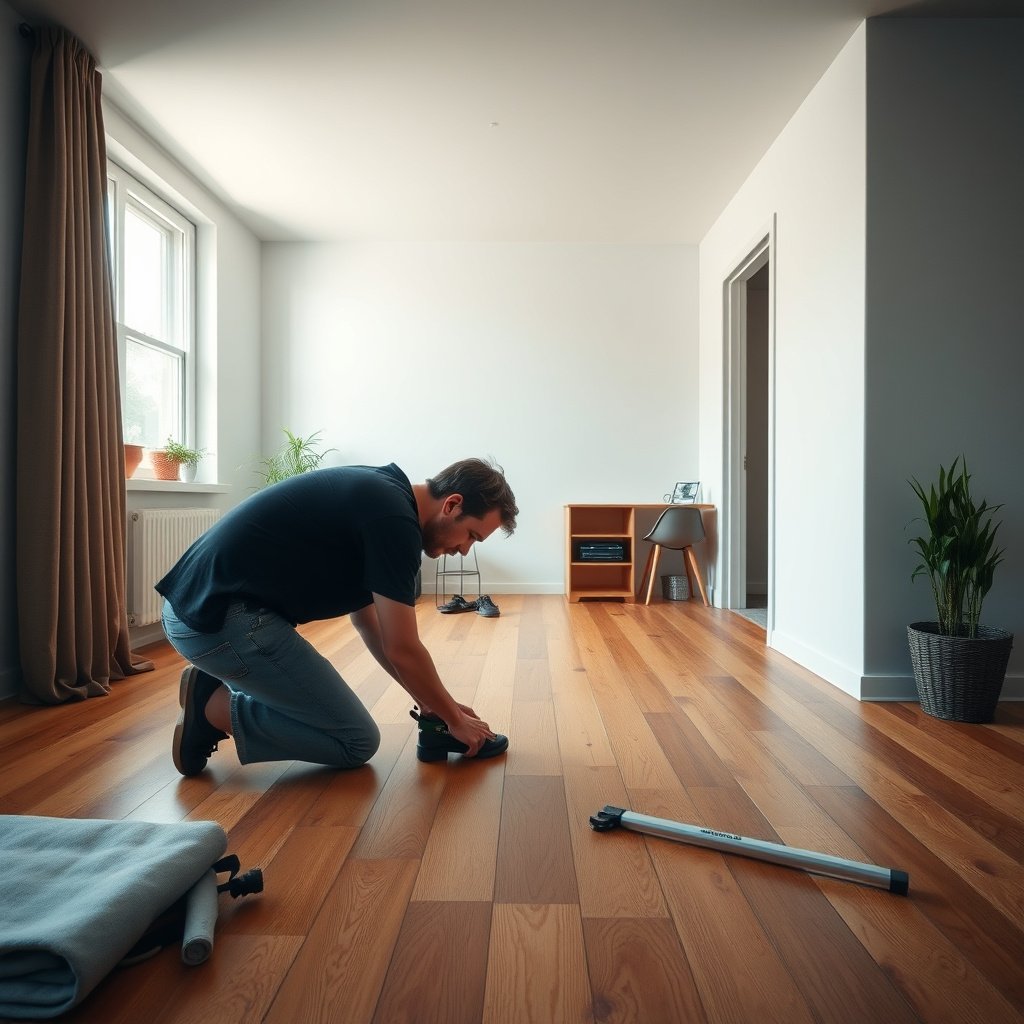
A successful apartment hardwood installation starts with permission and a subfloor that’s truly ready—flat, stable, and compatible with your chosen flooring system. Before you open a box of planks, confirm what your landlord/HOA allows and then evaluate the existing subfloor so you don’t bake future issues into the finish.
If your lease restricts “penetrating fasteners,” plan on a floating/click-lock installation or obtain written approval before using nailers, staples, or adhesives.
Hardwood floors in an apartment show their problems early—movement, squeaks, and flatness issues often translate directly into gaps and joint noise.
Get permission first (and avoid tool/adhesive surprises)
– Get permission first: some apartments restrict nailers, drilling, adhesive, or moisture/vapor barriers without landlord sign-off.
– In practice, “permission” isn’t just about whether you can install—it’s about how. Nail-down solid hardwood typically requires a nail/staple pattern and specific fastener types; glue-down requires a specific adhesive, subfloor prep, and sometimes moisture mitigation steps.
– If you can’t secure approval, treat that as a constraint: engineered click-lock floating is usually the lowest-regret direction for apartment hardwood installations because it avoids subfloor penetration and most adhesive-related concerns.
Inspect for flatness and stability (before you lay anything)
– Inspect for flatness and stability: any squeaks, bounce, or uneven areas will show up in the finished floor, so address loose boards before you start.
– Use a straightedge and check for humps and dips, especially near doorways and around HVAC closets. If the subfloor flexes or squeaks, a floating apartment hardwood floor can “telegraph” those conditions as clicking at the joints.
– Fix loose subfloor sections (e.g., re-screw where allowed) and stabilize any bounce before underlayment goes down. For apartment hardwood installations, you want the foundation to be quiet and motionless.
Confirm the subfloor type (so your underlayment/vapor plan is correct)
– Confirm the subfloor type: your prep steps will vary depending on whether you’re installing over plywood, existing subflooring, or another surface (follow the flooring manufacturer’s “approved substrates” list).
– Your manufacturer’s “approved substrates” list matters because it dictates (1) whether a vapor barrier is required, (2) what underlayment is allowed, and (3) whether the locking mechanism will behave as intended.
Choose the right hardwood option and acclimate properly
For apartment hardwood installations, the best starting point is usually engineered hardwood with a click-lock (floating) system—then you match underlayment/vapor strategy and acclimate exactly to the manufacturer’s conditions. That combination reduces compliance risk (rules, noise, adhesive constraints) while keeping the install aligned with warranty requirements.
Engineered hardwood with click-lock design is commonly specified for floating installations because it doesn’t require nailing/gluing to achieve stability.
Acclimation is not optional—wood flooring is hygroscopic, so it absorbs/releases moisture as indoor humidity changes, affecting gapping and joint performance.
Decide what “hardwood” means in an apartment
– Decide what “hardwood” means for apartments: many apartment-friendly installs use engineered hardwood planks with a click-lock (floating) system rather than traditional nail-down solid hardwood.
– Solid hardwood can work in apartments only if your lease allows fasteners and your building conditions support it. Without approval, apartment hardwood installations often become complicated (and sometimes impossible) due to required penetration and the noise profile of nail-down work.
Use the exact underlayment/vapor strategy your system requires
– Use the exact underlayment/vapor strategy required: some systems need a specific underlayment thickness/type; others require a separate vapor barrier depending on your subfloor and climate.
– Don’t assume that “any foam padding” is close enough. For click-lock flooring, incorrect underlayment can affect how the floor supports the locking mechanism, potentially increasing joint noise.
Acclimate before installing (match indoor conditions)
– Acclimate before installing: follow your manufacturer’s required acclimation period and target indoor conditions (temperature and humidity ranges). Use .
For apartment hardwood installations, this is where many projects go off track. If your HVAC runs differently than the day you acclimate, your planks may arrive “right” only temporarily—and then move after installation.
> Typical moisture-testing context (for apartment hardwood installations):
> According to ASTM F1869, moisture emission rate is reported as lb per 1,000 sq. ft. per 24 hours ().
> According to ASTM F2170, in-situ probe testing reports relative humidity (RH) % within the slab ().
> According to NWFA guidance, maintaining stable indoor humidity is critical to dimensional stability of wood flooring ().
Apartment-friendly install risk at a glance (data table)
Apartment-Compatibility Score for Common Hardwood Install Systems
| # | Installation method (hardwood) | Rule disruption drivers | Best-fit apartment scenario | Apartment compatibility |
|---|---|---|---|---|
| 1 | Engineered click-lock floating | No nail penetration, minimal adhesive/no odors | Typical renter installs & noise-limited buildings | ★★★★★ |
| 2 | Engineered floating with perimeter bracing only (no full attachment) | Limited fasteners at perimeter | When the manufacturer allows hybrid movement control | ★★★★☆ |
| 3 | Engineered click-lock floating over existing wood subfloor | Rule risk stays low if surface is flat/stable | Apartments retaining older wood underlayers | ★★★★☆ |
| 4 | Engineered glue-down | Adhesive use, odor/ventilation, stricter moisture rules | When landlord approves adhesive + moisture testing | ★★★☆☆ |
| 5 | Solid nail-down (face-nail) | High penetration + highest noise profile | Only with explicit written approval | ★☆☆☆☆ |
| 6 | Solid nail-down (staple) | Penetration required; still noise-intensive | When subfloor/framing supports staples | ★★☆☆☆ |
| 7 | Solid glue-down (rare in apartments) | Adhesive + strict moisture control | When your building approves adhesive work | ★★☆☆☆ |
How the score works: this is a practical compatibility rating based on apartment rule disruption drivers (fastener penetration and adhesive use), not a lab-measured noise or structural rating. Always defer to the manufacturer’s installation instructions for your exact hardwood system.
Measure, plan the layout, and set expansion gaps
For apartment hardwood installations, the difference between a smooth looking floor and an unstable one usually comes down to layout planning and expansion gaps. Measure carefully, plan plank directions and joint spacing, and leave the exact movement space your manufacturer specifies around walls and fixed objects.
Hardwood needs space to expand and contract—skipping perimeter expansion gaps is a common cause of buckle-like pressure problems in apartment installations.
Planning end-joint locations reduces “clustered seams,” which improves both appearance and long-term joint performance in installed hardwood floors.
Start with measurements and seam planning
– Start with measurements: plan your plank direction around the room and map where end joints will land so they don’t cluster in one spot.
– Dry-lay is your friend: measure twice, then test multiple starting points. In apartment hardwood installations, small room irregularities (door frames, radiators, built-ins) can force awkward cuts if you don’t plan early.
Set consistent starting lines
– Set consistent starting lines: dry-lay a few rows to verify pattern direction, and confirm the room won’t force tiny sliver planks at the far wall.
– If you end up with slivers under about —adjust your starting line so the far wall stays reasonable.
Maintain expansion space everywhere it’s required
– Maintain expansion space: hardwood needs room to move. Use spacers per your manufacturer’s instructions—, and keep it around walls and fixed objects (columns, built-ins, cabinets you can’t remove).
– Expansion gaps aren’t just along walls. Apartment hardwood floors must also have movement space at:
– door openings (use transitions)
– plumbing penetrations
– cabinet islands where the planks can’t “pass through”
– stair steps or vertical changes
Layout preview for apartment installers (VS table)
Solid Nail-Down vs Engineered Click-Lock Floating (Apartment Fit)
| Criteria | Solid nail-down | Engineered click-lock floating |
|---|---|---|
| Apartment rule risk (fasteners) | High | Low |
| Noise profile during install | High | Moderate–Low |
| Requirement for adhesive/vapor mitigation | Varies | Often specified |
| Sensitivity to subfloor flatness | High | High |
| Movement/expansion handling | Perimeter gaps still required | Perimeter gaps required |
| Best portability for renters | Low | Higher |
| Repair strategy if boards must be replaced | More invasive | Often less invasive |
| Warranty alignment risk in apartments | Higher | Lower |
| Typical project disruption | More disruptive | Less disruptive |
| Verdict for most apartments | Avoid unless approved | Usually the practical default |
Install the flooring (floating/click-first approach + cautions)
The fastest, lowest-regret apartment hardwood approach is to install click-lock/floating flooring methodically from a straight starting line—then lock planks together without forcing the system. Nail-down and glue-down can be done, but in apartment settings they require explicit approval, correct products, and strict adherence to the manufacturer’s fastening/adhesive spec.
For click-lock flooring, underlayment and vapor barrier placement must follow the product instructions—using “compatible” pads can change how the lock supports the joints.
Don’t force planks into the locking mechanism; improper alignment can damage tongues/grooves and create noise or open joints later.
For click-lock / floating installations (the usual apartment path)
– Lay underlayment (or vapor barrier) only as specified by the flooring instructions.
– Stagger end joints (follow your manufacturer’s minimum staggering requirement—).
– Tap and lock planks together carefully to avoid damaging the tongue-and-groove or locking mechanism.
Practical apartment technique: keep a “dry run” next to your work area. If the locking action feels inconsistent, stop and check whether underlayment seams are causing a soft spot or whether debris is trapped under the plank edge.
For nail-down or glue-down hardwood (only with approval and exact specs)
– Make sure you have landlord/HOA approval for the required tools and materials.
– Use the approved subfloor attachment method only (nail-down requires the correct nail type/pattern for your product; glue-down requires the specified adhesive and conditions—).
– Never “wing it” on adhesive or fastening—systems that don’t match the manufacturer spec can cause separation, gapping, or warranty denial.
Comparison: which install method is “best” for apartment constraints?
| Feature | Floating click-lock | Nail-down solid | Glue-down engineered |
|---|---|---|---|
| Needs subfloor penetration? | No | Yes | No (but adhesive) |
| Apartment noise during install | Low–Moderate | High | Moderate |
| Moisture testing strictness | High (follow specs) | Very high | Very high |
| Warranty sensitivity to underlayment | High | Medium–High | High |
| Subfloor flatness tolerance | Critical | Critical | Critical |
| Ability to float/move seasonally | Built-in | Limited by fasteners | Limited by glue |
| Repairability for renters | Often better | Harder | Harder |
| Installation time (relative) | Typically faster | Typically slower | Typically slower (prep + cure) |
| Transition/threshold planning | Very important | Very important | Very important |
| Cost risk if subfloor prep fails | Lower rework risk | Higher | Higher |
| Best For row | Most apartment rules + renter installs | Approved nail work + ideal subfloor | Approved adhesive + documented moisture compliance |
Finish, transitions, and protect your new floor
Finishing an apartment hardwood installation is about movement management and cleanliness during lockup—especially at doorways and edges. Add transitions, reinstall or adapt trim correctly, and protect the surface from grit and moisture so the floor doesn’t degrade in high-traffic areas.
Transitions at doorways help preserve expansion space while preventing edge lifts—skipping transitions often forces tight cuts that reduce movement.
Dirt trapped in click-lock joints can create noise and premature wear, so clean as you go.
Install transitions and trim the “movement-safe” way
– Install transitions and trim: use transition strips at doorways or between rooms, and reinstall baseboards if your system allows it without blocking necessary movement.
– If your flooring system requires leaving an expansion gap hidden behind baseboards, confirm that approach before removing trim. Some trims can inadvertently cover expansion space.
Keep it clean during install
– Keep it clean during install: avoid dirt in joints/locks—anything trapped under planks can cause noise or gaps later.
– Vacuum or wipe debris before each row locks in. In apartment hardwood installations, the floor can “hold” tiny grit particles inside the joint, which later shows up as tapping.
Protect high-risk areas
– Protect high-risk areas: use felt pads under furniture, and consider rugs in entryways and kitchens to reduce grit and moisture exposure.
– Apartments often bring tracked-in dust and occasional spills from kitchens. Protecting early is cheaper than repairing later.
Note on first-hand experience:
What can go wrong (and where apartment installs get tricky)
Apartment hardwood installations usually fail for predictable reasons: moisture/conditions out of range, missing expansion gaps, subfloor flatness problems, or underlayment/vapor setup that doesn’t match the product. Avoid these common failure points and you’ll prevent the majority of gapping, noise, and joint separation issues.
Moisture problems rarely “look bad right away”—they often appear as cupping, gapping, or joint failure after indoor humidity shifts.
Expansion-gap violations are a classic apartment flooring failure mode because walls, cabinets, and door thresholds limit movement.
Ignoring moisture/conditions
– Ignoring moisture/conditions: if the apartment’s humidity is outside the flooring’s required range, you can get cupping, gapping, or joint failure. Use the moisture testing method recommended by your flooring manufacturer and standards such as ASTM test methods (see Sources below).
– Concrete slabs (common in many units) can transfer moisture upward. That’s why many manufacturers require moisture testing and vapor barrier plans before installation.
Skipping proper expansion gaps
– Skipping proper expansion gaps: floors that are too tight against walls or fixed cabinetry can buckle or buckle-adjacent areas as seasons change.
– Remember: fixed cabinetry and “can’t remove” built-ins don’t stop expansion—they just redirect it. That’s why the perimeter gap matters around more than just visible walls.
Subfloor issues you missed
– Subfloor issues you missed: lumpy/loose areas can cause clicking, movement, or premature wear at the joints.
– If you hear clicking during install, stop and investigate. In apartment hardwood installations, that usually means a subfloor high spot, a soft underlayment seam, or debris in the locking edge.
Wrong underlayment/vapor setup
– Wrong underlayment/vapor setup: mixing brands or using “similar” padding can change how the locking system behaves or trap moisture.
– “Similar thickness” isn’t the same as “approved.” Use what the manufacturer lists for your exact system.
Not planning transitions
– Not planning transitions: omitting proper door/threshold transitions often forces awkward cuts and can reduce expansion space.
– Doorways are a pressure point because they interrupt the continuous plane of the floor—plan transitions early so you don’t end up with a “tight fit” where movement is still required.
Verdict / tip + quick checklist
If you want the most practical apartment route with the fewest “apartment rule” conflicts, start by prioritizing an engineered hardwood with a click-lock floating installation—then follow the exact installation guide for your product. Avoid nail-down or glue-down unless you have clear approval, the right substrate, and you’re prepared to meet the product’s fastening/adhesive requirements. Also, know the downsides: floating systems can feel different underfoot than fully adhered/nail-down floors, and some subfloors/noise limits may make the “best” method less feasible.
Scan-and-save checklist
| Step | What to confirm |
|---|---|
| Permissions | Landlord/HOA rules for tools, underlayment/vapor barrier, and penetration/adhesive |
| Subfloor readiness | Flatness, secure boards, no bounce/squeaks, compatible substrate type |
| Product specs | Approved underlayment, vapor barrier (if needed), expansion gap, staggering rules |
| Acclimation | Required time and indoor temperature/humidity range per your flooring instructions |
| Layout plan | Direction, starting row, avoiding tiny end pieces, joint spacing plan |
| Installation method | Floating/click vs nail-down vs glue-down—match technique to your flooring system |
| Finishing | Transitions, trim/baseboards, leaving movement where required |
| Protection | Pads, entry mats, cleaning method that won’t damage the finish |
Sources
– (primary source for expansion gap, acclimation requirements, approved substrates, underlayment/vapor barrier, and installation method).
– ASTM moisture testing standards referenced in many wood flooring practices: ASTM F1869 (dry method) and ASTM F2170 (in-situ probe method) for moisture-related subfloor measurements.
– NWFA (National Wood Flooring Association) installation guidance for general best practices: .
No matter which installation method you choose, the “win” in an apartment comes down to matching the method to your specific hardwood system and meeting the manufacturer’s moisture/acclimation and expansion-gap requirements. If you’re unsure, confirm your subfloor type/condition first, then follow the product documentation step-by-step—and plan transitions and movement space before you lay the first plank.
Frequently Asked Questions
What’s the best way to install hardwood floors in an apartment where you can’t glue to the subfloor?
In many apartments, floating or click-lock engineered hardwood is the most popular option because it doesn’t require permanent adhesive and can reduce installation time. Make sure the subfloor is clean, level, and dry before laying underlayment and planks. For concrete slabs, confirm the moisture conditions first and use the correct vapor barrier to prevent cupping or gaps. If your lease restricts nail holes, a floating floor is often the safer choice for meeting building rules.
How do I prep the subfloor before installing hardwood flooring in an apartment?
Start by removing existing carpet padding or flooring and thoroughly cleaning the subfloor. Check flatness with a 6–10 ft straightedge; most hardwood installation guidelines require only small height differences to prevent squeaks and separation. Repair low or high spots with appropriate patching compound and allow it to fully cure. Finally, address moisture—especially over concrete—with a moisture meter and correct underlayment, since moisture problems are a common cause of warped or gapped hardwood.
Which type of hardwood installation method is easiest for apartment renters: nail-down, glue-down, or floating?
For renters, floating (click-lock) engineered hardwood is usually the easiest because it’s faster, less messy, and more likely to comply with restrictions on adhesives or modifications. Nail-down installation can work if you have permitted access and a suitable plywood subfloor for a nailer, but it creates more noise and leaves holes. Glue-down hardwood can be durable but is typically more complex, has stronger odor/ventilation considerations, and is harder to remove without damage. If you need a reversible approach, floating installation is generally the most practical apartment-friendly method.
How do I handle expansion gaps and transitions when installing hardwood floors in an apartment?
Leave the recommended expansion gap around walls, doorways, and fixed cabinetry so the hardwood can expand and contract with seasonal humidity. Use spacers during installation, then cover gaps with baseboards and quarter-round for a clean finish. At transitions to tile, carpet, or other flooring types, install matching reducer or T-molding strips to prevent tripping and control movement. Proper gap spacing is one of the most common “how to install hardwood floors” concerns because ignoring it can lead to buckling or gaps.
What’s the best way to minimize noise and vibrations when installing hardwood floors in an apartment?
Choose an underlayment designed for hardwood floors and impact sound reduction, such as a foam or rubberized pad rated for multi-family dwellings. Ensure the floor is flat and secure to reduce squeaks, and avoid skipping required vapor barriers over concrete. If you’re using a floating installation, confirm the planks’ locking system is engaged fully to prevent clicking and movement. For apartment living, also consider placing soft area rugs in high-traffic areas and using felt pads on furniture to reduce wear.
📅 Last Updated: October 17, 2026 | Topic: How to install hardwood floors in a apartment? | Content verified for accuracy and freshness.
References
- Wood flooring
- https://www.cdc.gov/niosh/topics/wooddust/
- 1910.1053 – Respirable crystalline silica. | Occupational Safety and Health Administration
- https://www.bruce.com/support/install-guides/
- https://www.armstrongflooring.com/en-us/support/install-guides.html
- MohawkFlooring
- https://scholar.google.com/scholar?q=how+to+install+hardwood+flooring+apartment Google Scholar
- https://scholar.google.com/scholar?q=hardwood+floor+installation+moisture+testing+subfloor Google Scholar
- https://scholar.google.com/scholar?q=solid+vs+engineered+hardwood+flooring+installation+instructions Google Scholar


