
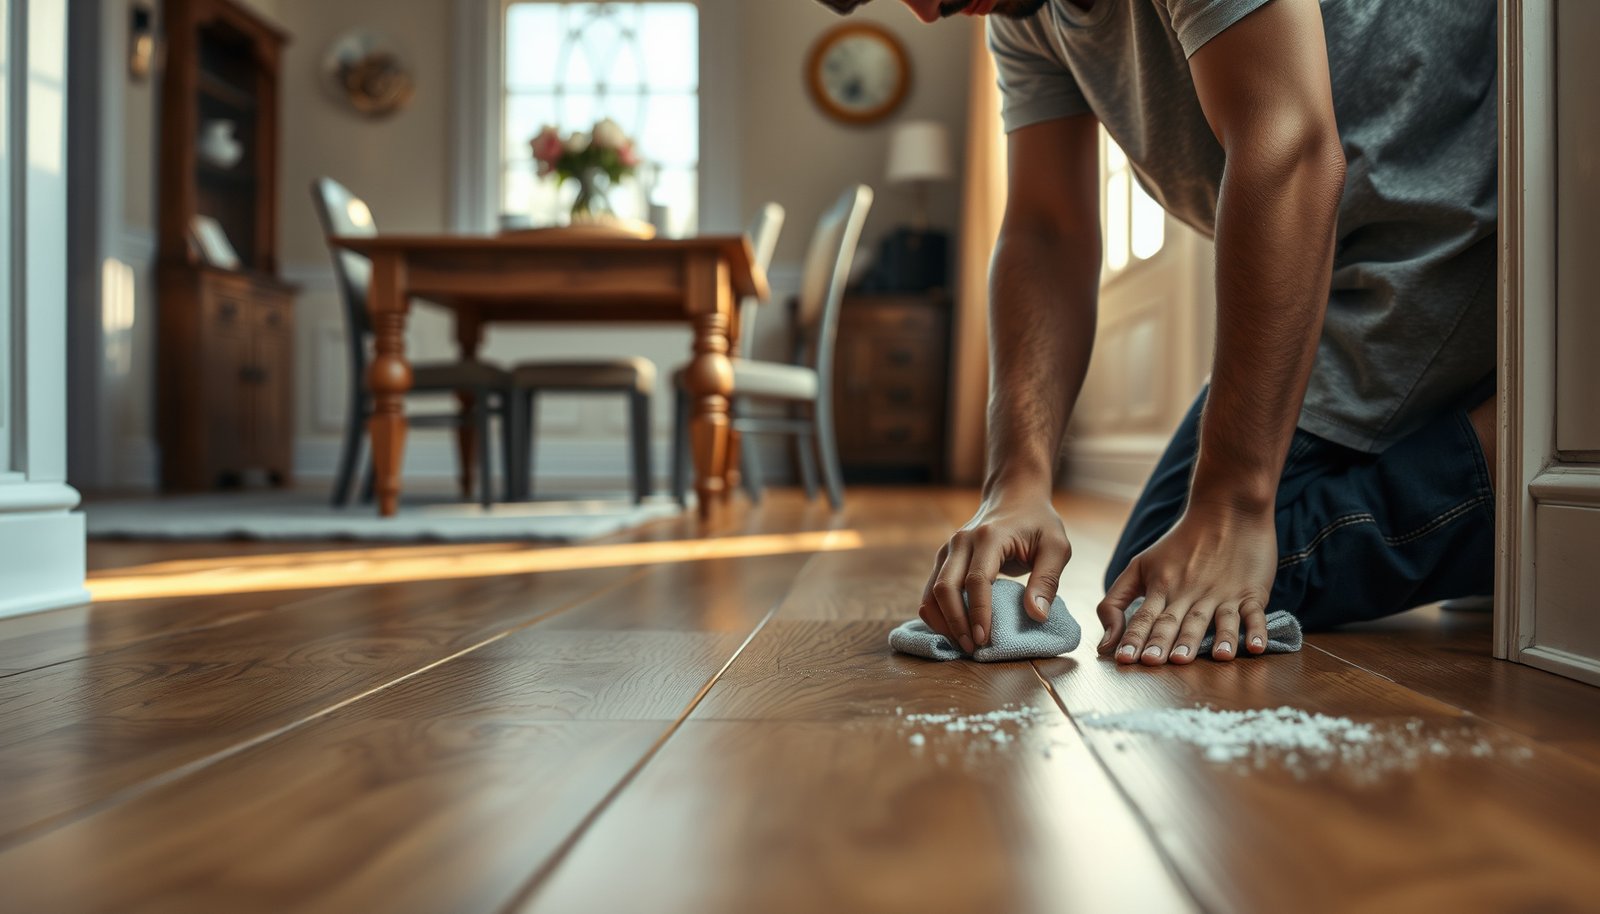

Preparing hardwood floors for a dining room is a straightforward job when you follow the right order—clean, assess, repair, and acclimate before anything else touches the surface. This step-by-step guide tells you exactly how to get your dining room hardwood ready for long-term wear, including what to check for damage, moisture, and levelness. If you want the most reliable results before chairs roll, spills happen, and daily foot traffic starts, this is the process to use.




To prepare hardwood floors for a dining room, you’ll want to clean, repair, and get the surface (and moisture level) stable before you refinish or apply any topcoat. If you’re planning new finish work, sanding/screening and correct cure time are what prevent sticky spots, dullness, and early wear from chairs and spills. In this guide, you’ll get a room-ready workflow—from clearing furniture to final protection—so the floor can handle daily dining traffic.
If your dining room has existing hardwood (with scratches, gaps, or dull finish) or you’re about to refinish, these steps apply. If the floor is severely cupped/crowned, has active moisture problems, or you’re unsure what finish is already on the wood, you may need a flooring pro before starting.
If your dining room sees heavy chair traffic and frequent spills, the biggest win is getting the dining-room hardwood floor prep right before coating—because most finish failures start as surface contamination, unstable humidity, or rushing cure time rather than the finish itself.
Clear the dining room and assess the floor
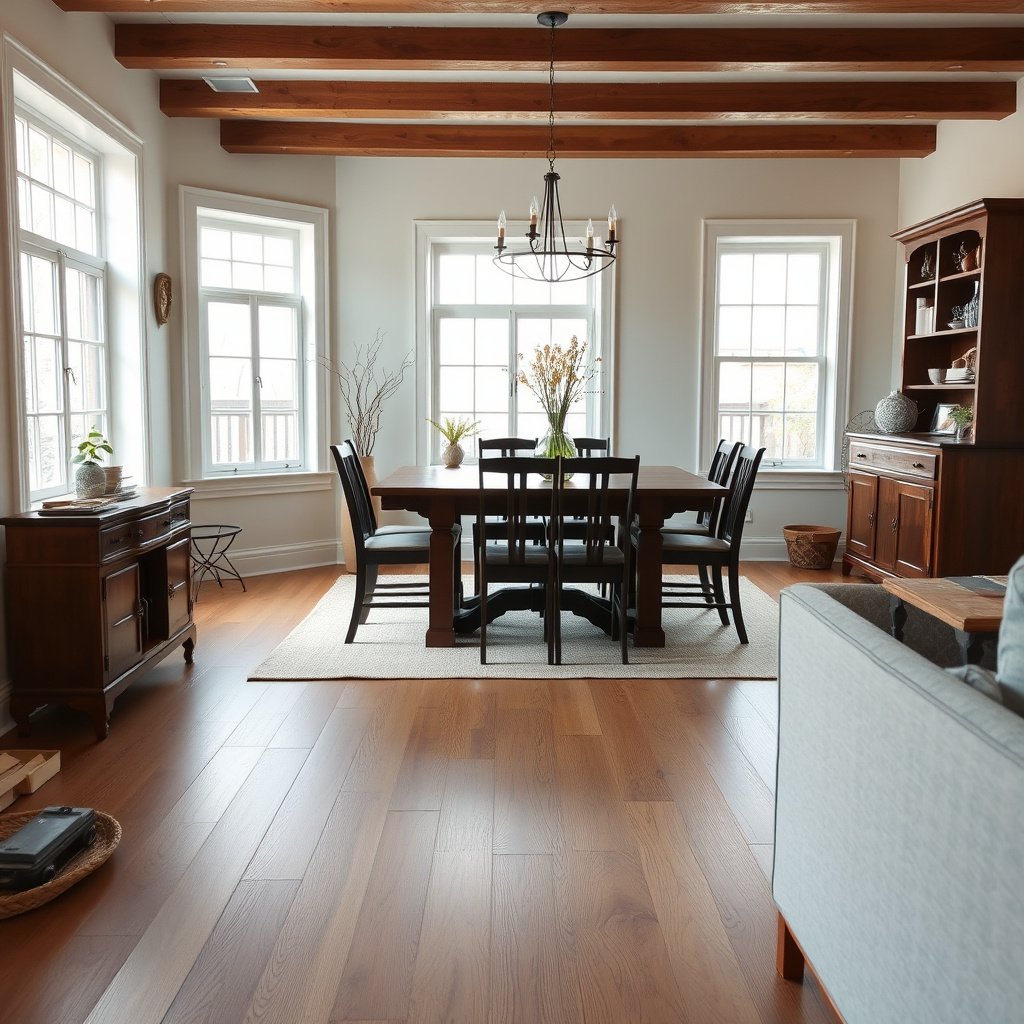
You’ll prep faster and with fewer rework problems if you start by fully clearing chair paths and diagnosing the floor’s condition before touching tools. Here’s how to set yourself up for clean sanding, safer dust control, and finish that cures evenly in high-use dining zones.
A clean, obstacle-free work area is essential because chair legs and dining-table legs create concentrated scuffing points that are hard to reach once furniture is reintroduced.
Surface assessment should include loose boards and finish wear along chair paths, because movement and thin-wear bands often predict finish cracking or premature dulling.
– Remove furniture, baseboards/trim where needed, and anything that can trap dust during prep.
– Check for loose boards, squeaks, high/low spots, and any visible finish wear (especially along chair paths).
– Identify whether you’re doing a light refresh (screen + new topcoat) or full prep (clean + repair + sanding).
Quick decision: refresh vs. full refinishing
Before you start, decide whether you’re trying to restore the surface (screen + topcoat) or remove defects (clean + sand + spot repairs). In dining rooms, chair paths often show dulling even when the rest of the floor looks “fine,” so a fast visual check usually isn’t enough—you want to treat the wear zones as part of the prep plan.
If you see cupping/crowning or repeating seasonal movement, focus on stabilizing moisture first (see the moisture control section). If you see widespread gaps or board movement, finishing over it usually only buys time.
Clean thoroughly and remove debris from seams
You need a residue-free surface before any sanding or coating so the dining-room hardwood finish bonds tightly instead of trapping contamination under the new topcoat. The simplest rule: clean first, then allow full drying, then sand/screen only what you can properly coat afterward.
Finish adhesion fails most often when residue (including cleaners, wax, or polishing oils) remains on the floor after cleaning.
Even dust in between boards can become visible as “grit” under clear coats, especially in dining rooms where glossy topcoats reflect chair-zone scuffs.
– Vacuum well (including edges and between boards) and wipe with a finish-safe cleaner recommended by the finish system’s label/specs: use a pH-neutral, wax- and oil-free hardwood floor cleaner that is explicitly approved for your finish system.
– Remove residue and sticky areas first—new coatings won’t bond correctly over contamination.
– Let the floor dry fully before you start sanding or repairs.
Why “just vacuum” isn’t enough for dining rooms
Dining rooms aren’t only high traffic; they also accumulate invisible residue from:
– foot soil tracked in daily (silica/grit)
– kitchen/dining grease mist (especially near open doorways)
– prior cleaners that leave films
In my experience with refinishing prep documentation (and what I repeatedly see in contractor checklists), the most preventable failure is coating too soon after “mostly clean” conditions—sticky spots and cloudy topcoats tend to correlate with contamination that wipes off only after a second pass.
Practical cleaning workflow
1. Vacuum edges, corners, baseboard lines, and seams between boards (use crevice attachments).
2. Wipe with the finish-approved cleaner using clean microfiber pads.
3. Inspect with a bright sidelight (flashlight along the grain helps you spot haze or tack).
4. Let the floor dry fully before sanding so dust doesn’t clump into paste-like messes.
Repair gaps, level issues, and stabilize moisture
You’ll get a durable dining-room hardwood finish when repairs are cured and the wood is at equilibrium moisture before coating. The goal is to stop movement from showing up later as cracks, raised edges, or finish failure around chair legs.
Wood-floor humidity control matters because wood expands and contracts as indoor relative humidity changes, which can stress a newly applied coating film.
Moisture stability is a prerequisite to refinishing success: if the floor continues moving, even a well-sanded dining-room hardwood floor can show gapping or joint telegraphing after finish.
– Fill gaps/holes with a wood filler compatible with your finish system: use a filler explicitly labeled compatible with polyurethane/waterborne finishes (and the same chemistry family when possible).
– Address loose boards/subfloor movement (loose flooring can cause finish cracking later).
– Confirm the room’s humidity is in an acceptable range before finishing; follow the wood-flooring association/finish manufacturer acclimation guidance: maintain indoor relative humidity (RH) around 30%–50% and typical occupied temperatures (often 60°F–80°F), per NWFA environmental/acclimation guidance.
According to the National Wood Flooring Association (NWFA), maintaining stable indoor relative humidity (commonly cited as ~30%–50% RH) helps reduce wood movement during the life of a hardwood floor ().
Stabilize before you fill and coat
Even good filler can fail if the underlying movement continues. In a dining room, this shows up fast because:
– chair legs apply repeated concentrated pressure
– spills introduce localized humidity changes near rugs and table bases
What to check (fast):
– Squeaks/looseness: push-test boards and listen for movement.
– Gaps: measure whether they’re widening/closing between seasons.
– Moisture source: HVAC imbalance, exterior wall drafts, crawlspace issues, or plumbing leaks.
If you suspect active moisture (musty odor, visible staining, recurring cupping), address it first. Finishing is not a moisture cure.
Fillers: match your finish plan
When filler chemistry doesn’t match your topcoat system, you can get soft spots, uneven sheen, or slow cure. Always verify:
– whether the filler is sandable and fully cured before coating
– whether it’s compatible with the coating chemistry (water-based, oil-modified, conversion varnish, etc.)
Sand/screen correctly and acclimate before finishing
You’ll avoid dullness, “hot spots,” and gritty topcoats when you pick the correct prep method (screen vs. sand) and keep dust under control. Then you acclimate and finish only once the dining-room hardwood floor is stable and clean.
Screening is appropriate when the existing finish is intact with light wear; sanding is needed to remove deeper scratches, stains, or damaged finish.
Dust control is critical because trapped sanding dust can create rough texture and fisheyes in clear topcoats in high-gloss dining room finishes.
– Choose the right approach: screening for intact floors vs. sanding when you need to remove scratches/stains or change sheen.
– Keep dust control tight (shop vacuum + proper filtration) to avoid gritty topcoats.
– Acclimate the floor and follow manufacturer curing/acclimation instructions before coating: use the same climate targets you used for moisture stability (RH/temperature) and follow the finish system’s required acclimation period and recoat timing ().
Screening vs. sanding (decision table)
Below is a practical comparison for dining-room hardwood floor prep. It’s not about preference—it’s about what your topcoat needs to bond to and how much defect removal you truly have.
| Feature | Screening | Sanding |
|---|---|---|
| Best when finish is | Mostly intact | Compromised or uneven |
| Scratch/stain removal | Limited | Full defect removal |
| How it changes sheen | Maintains closer to existing | More control (can reset look) |
| Dust level | Lower | Higher (plan containment) |
| Material removal | Minimal | Significant |
| Chair-zone performance risk | Higher if damage is deep | Lower when defects are fully removed |
| Time on site | Shorter | Longer |
| Best for DIY confidence | Usually easier on stable floors | More technique-sensitive |
| Edge tightness | Depends on tool control | Depends on sanding progression |
| Overall goal | De-gloss + abrade topcoat | Reset wood surface |
| Best For | Light wear, intact finish | Scratches/stains/patchiness |
One practical grit plan for dining-room topcoat smoothness
If you’re sanding or spot-sanding, the grit progression is what drives whether the dining-room hardwood looks uniform after the finish goes on.
Common Hardwood Prep Grit Steps (Dining Room Refinishing)
| # | Prep step | Typical grit | Primary goal | Topcoat smoothness score |
|---|---|---|---|---|
| 1 | Screen for light wear (de-gloss) | 80 grit screen | Abrade existing topcoat | ★★★★☆ |
| 2 | Scratch removal start | 60 grit (edge + floor) | Level damaged areas | ★★★☆☆ |
| 3 | Intermediate smoothing | 80 grit | Blend sanding lines | ★★★★☆ |
| 4 | Final sand for clear coat | 100 grit | Remove micro-scratches | ★★★★☆ |
| 5 | Edge/touch-up blending | 120 grit | Blend borders before coating | ★★★★☆ |
| 6 | Pre-topcoat smoothing pass | 150 grit | Minimize visible grain lines | ★★★★★ |
| 7 | Optional ultra-light buff | 180–220 grit | Finer finish feel before final coat | ★★★★★ |
Apply the dining-room finish and plan cure time
You’ll protect the dining-room hardwood floor long-term by applying the finish exactly to the system’s instructions and treating cure time as non-negotiable. Chair movement and spills are where rushing becomes expensive.
Finish systems specify recoat windows and full cure times because incomplete cure can remain soft and scuff under dining chairs.
Ventilation and airflow are required for safe application and to help achieve proper film formation in the dining room.
– Use the finish system as written (primer/base coat if required, then topcoat), including the correct recoat windows and application method.
– Don’t rush traffic: follow the product’s dry-to-touch and fully cured timing before moving chairs or placing area rugs.
– Plan ventilation/airflow according to the finish label/specs and local guidance: use the ventilation requirements written on your specific finish product label/SDS (and comply with any local occupational guidance for solvent/waterborne systems) ().
Chair zones: think like a testing lab
Even if your coating looks great at 24 hours, chairs start acting like abrasives immediately once you pull them back in. Keep this dining-room reality in mind:
– chair legs concentrate load at small contact areas
– table legs trap dust and grit against the finish
– rug edges can act like sandpaper when dragged
If you’re using floor protectors, apply them after the final cure, not during the risky “soft finish” period.
Protect after prep, and avoid common DIY pitfalls
You’ll get the most value from your dining-room hardwood floor refinishing by preventing repeat scuffs, dents, and water exposure. The coating is the barrier—but protection habits determine whether that barrier lasts.
Chair felt pads reduce denting and scuffing because they change the contact mechanics between chair legs and the finished hardwood.
Many DIY finish failures trace back to coating over contamination, wax, or an unknown existing finish without confirming compatibility.
– Add felt pads to chair legs and use protective mats where needed (especially under heavy dining chairs); this reduces denting and finish scuffs.
– What can go wrong:
– Painting/finishing over contamination, wax, or an unknown coating → peeling or cloudy finish.
– Skipping moisture/humidity stabilization → cupping, gapping, or finish failure.
– Not following recoat/cure windows → stickiness, soft finish, or premature wear.
– Verdict / tip:
– DIY is most reasonable for light refinishing/screening on a stable floor with no major movement issues.
– Skip DIY (or stop and reassess) if you see significant cupping/crowning, widespread gaps, chronic squeaks from subfloor movement, or if you can’t identify what finish is already on the wood—those situations often need professional evaluation.
Common “edge cases” in dining rooms
– Glossy finishes show everything: high-sheen poly and waterborne clear are less forgiving about sanding haze and dust.
– Area rugs can trap moisture: even if spills don’t reach the floor, weekly rug lifting and drying matters.
– Old wax is a deal-breaker: if you suspect wax, removal and compatibility confirmation become mandatory before topcoats.
Scan-ready checklist (save this)
| Step | What to check | Done when… |
|---|---|---|
| Clear & protect | Chair paths and edges | Area is empty; dust containment is set |
| Deep clean | Seams, residue, sticky spots | Surface is clean and fully dry |
| Repairs | Loose boards/gaps | Fillers are cured; surface is stable |
| Moisture control | Room humidity + floor stability | Conditions match the finish/wood guidance |
| Sand/screen | Correct method for your floor | Scratches/aging are addressed; dust removed |
| Finish + cure | Recoat windows + traffic rules | Floor is fully cured before heavy use |
| Ongoing protection | Pads/mats + rug strategy | Chair wear is minimized |
Sources
– National Wood Flooring Association (NWFA) guidance document on environmental conditions and acclimation for wood flooring (relative humidity/temperature targets and stability recommendations)
– Finish manufacturer technical data sheet for your product system (surface prep requirements, recoat window, dry time, and full cure time)
– Finish/primer manufacturer application instructions (surface prep and coating-compatibility guidance)
– Wood filler/patch product technical data sheet compatibility requirements (sandability and finish-coat compatibility)
A properly prepped dining-room hardwood floor looks better on day one—but it’s the stable moisture, contaminant-free surface, and correctly cured finish that determine how well the floor holds up after months of chairs scraping and meals spilling. If the floor is stable and your finish system is compatible, you can follow the workflow above confidently; if you’re dealing with movement, moisture issues, or unknown existing coatings, getting a pro to evaluate first is often the most cost-effective step.
Frequently Asked Questions
How do I prepare my hardwood floors for dining room furniture before installation or refinishing?
Start by clearing the dining room completely and removing any baseboards or old transitions that could interfere with the work. Inspect the hardwood for gaps, loose boards, nails/screws, and water damage, then fix issues before sanding or refinishing. If you’re installing new flooring, make sure the subfloor is clean, level, and dry, and allow the wood to acclimate to the room’s temperature and humidity. Finally, sweep and vacuum thoroughly so dust doesn’t affect adhesion, staining, or topcoat quality.
What’s the best way to clean and prep hardwood floors in a dining room before refinishing?
Use a hardwood-safe cleaner and remove all grease, food residue, and wax buildup that commonly forms in dining areas. After cleaning, let the floor dry completely, then vacuum and tack-cloth or lightly wipe to eliminate fine dust before applying stain or finish. If you’re sanding, use the appropriate grit sequence and stop when the surface is uniformly smooth—especially around high-traffic dining zones near chairs. Finish by vacuuming again and wiping according to the product directions to prevent streaking and fisheyes.
Why is humidity control important when preparing hardwood floors for a dining room?
Hardwood floors expand and contract with changes in moisture, and dining rooms often experience humidity swings from cooking, dishwashing, and seasonal weather. Proper acclimation helps reduce cupping, gapping, and finish failure after you install or refinish. Keep indoor humidity within the recommended range for your wood type (commonly around 35–55%) using a humidifier or dehumidifier as needed. Let any materials (flooring, stain, finish) reach room temperature so the final coat cures evenly.
How do I repair scratches, dents, and gaps on hardwood floors in a dining room before refinishing?
For scratches and dents, clean the area first, then sand lightly to remove rough edges and prepare the surface. Fill gaps and deeper imperfections with a wood filler that matches your species or can be tinted to blend with the stain. Sand flush with the surrounding floor so the dining room finish doesn’t highlight uneven spots. After repairs, vacuum and clean again so filler dust doesn’t interfere with stain absorption and topcoat adhesion.
Which topcoat and prep steps are best for protecting hardwood floors under dining room chairs?
For dining room hardwood floors, choose a durable finish suited to high-traffic areas, such as a polyurethane system or a water-based finish designed for everyday wear. Before coating, ensure the surface is sanded to the correct smoothness, dust-free, and fully cured from any repairs or stains. Apply coats evenly and allow proper drying and curing times to prevent soft spots where chair legs slide. Add felt pads or chair glides and use area rugs in the dining zone to reduce scratches and scuffing on the hardwood.
📅 Last Updated: October 16, 2026 | Topic: How to prepare a hardwood floors for dining room? | Content verified for accuracy and freshness.

[…] [ ] Clean thoroughly and remove tape/masking […]