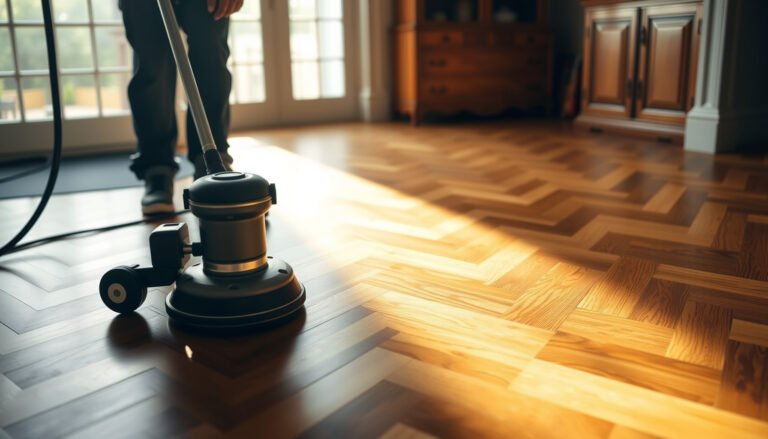
If you need to waterproof hardwood floors in a bedroom properly, the best approach is a full system: deep-clean the surface, seal all joints and edges, then apply a moisture-resistant finish designed for wood floors. This guide walks you through the exact steps and materials to prevent swelling, cupping, and lingering moisture damage—without trapping water under the wrong coating. Follow it, and you’ll know what to do before the first layer goes down and how to finish so the protection actually holds.




The right approach is water-resistant sealing plus meticulous edge/seam sealing—but only after you stop the moisture source. If you want to protect hardwood floors from everyday bedroom moisture, the best approach is to seal the wood with the right water-resistant (not “fully waterproof”) coating, then thoroughly seal edges, seams, and transitions. Start by fixing gaps and stopping moisture sources first—no sealer will “beat” constant dampness from leaks, humidity, or spills. This guide walks you through preparation, the coating layers, and the details that prevent water from getting underneath.
Homeowners, renters, and DIYers dealing with wet-leaning bedrooms (kids/pets, humid climates, near bathrooms, or frequent spills) who want a practical, coating-focused waterproofing plan for hardwood. If your floor has ongoing moisture problems (leaks, chronic humidity, or cupping/warping already happening), you’ll need to address the source before sealing.
What “waterproof” really means for hardwood in a bedroom
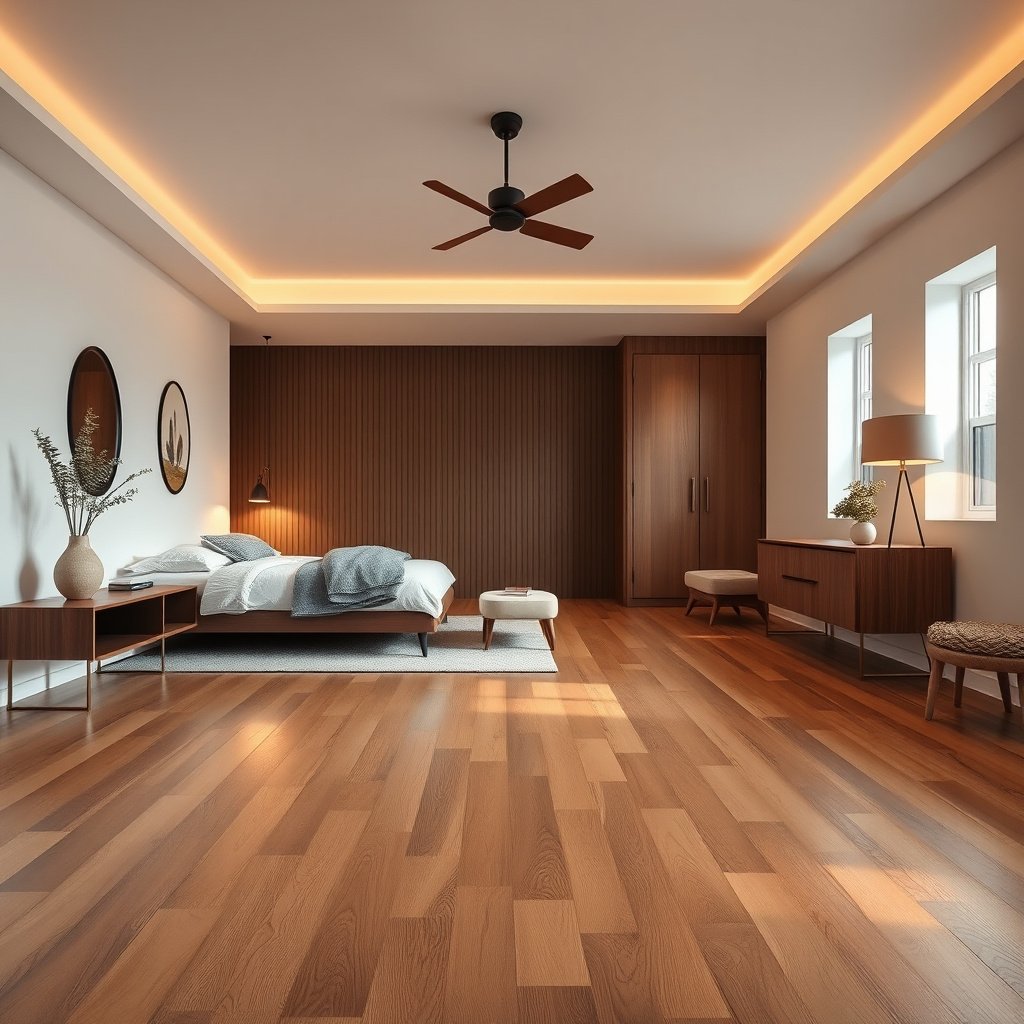
Waterproofing hardwood floors in a bedroom doesn’t usually mean creating a perfect, flood-proof barrier—it means preventing water from reaching the wood long enough to clean it up. In most bedrooms, the most effective solution is a water-resistant floor finish system paired with edge and seam sealing so water can’t sneak underneath.
Hardwood floors respond to moisture through expansion/shrinkage and, when repeatedly wet, can stain, soften, cup, or delaminate. That’s why the realistic target for waterproofing hardwood floors is: block direct wetting of the wood surface and reduce water migration through joints, edges, and transitions.
“Waterproof” claims are rarely absolute for wood floors; even film-forming finishes still depend on intact edges, seams, and installation details to perform.
A properly finished hardwood floor is best understood as water-resistant: it slows penetration and gives you time to wipe spills before damage starts.
Why hardwood needs “water-resistant,” not “floodproof”
– Hardwood can be water-resistant, but true “standing water” waterproofing is harder because water can still penetrate through seams, damage, or edges.
– Your real goal is to block water from reaching the wood and to slow down/contain spills long enough for you to clean them up quickly.
Water-resistant sealing vs. “fully waterproofing” (what to expect)
Below is the practical tradeoff when waterproofing hardwood floors:
| Approach | What it protects | Strengths | Limitations |
|---|---|---|---|
| Water-resistant sealer + floor topcoat | Surface wetting + short contact spills | Maintains appearance and reduces staining risk | Won’t stop long-duration leaks or standing water if edges/seams fail |
| “Fully waterproof” film concept (DIY over-coverage) | Only the surface layer | Can look protective when new | If you trap moisture or miss seams/edges, problems show up later (bubbling, peeling, or cupping) |
Choose the right system: sealer + finish (and what to avoid)
Waterproofing hardwood floors starts with choosing a finish system designed for wood floors, not a random coating that merely “feels waterproof.” The best results come from a manufacturer-approved sealer + topcoat pairing with the correct surface prep and recoat windows.
Because hardwood is a wood substrate with expansion/contraction, the finish system must be formulated to bond to wood and resist abrasion in real bedroom traffic. In 2026, the safest path is still the same: follow the finish manufacturer’s technical data sheets (TDS) and use their intended layering schedule.
Wood-floor finish systems rely on compatibility between primer/sealer and topcoat; manufacturers specify the required layering and recoat windows in their TDS.
Generic coatings (multi-surface sealants) may not bond correctly to wood flooring profiles, which creates microscopic pathways for water during spills.
What to look for in a waterproofing hardwood floors system
– Look for manufacturer-approved floor finishes/sealers designed for wood floors; follow the system specs (topcoat over sealer, recoat windows, surface prep requirements).
– Avoid relying on generic “multipurpose sealants” or coatings meant for other surfaces—wood floor finishes are formulated for adhesion and wear.
Anchor facts that matter when waterproofing hardwood floors
– According to ASTM D4442 (Method for moisture content of wood), moisture content is determined using oven-drying at 103 ± 2°C (2016). ASTM D4442
– According to the National Wood Flooring Association (NWFA) moisture guidance, maintaining stable indoor conditions helps reduce cupping/warping risk. NWFA (current moisture/maintenance guidance)
– According to EPA indoor humidity guidance, excessive indoor humidity can increase the risk of moisture-related issues (including mold growth), which indirectly increases stress on building materials (2016). U.S. EPA indoor moisture guidance
(Note: humidity target numbers vary by guideline document; confirm your exact RH target in the most current NWFA publication for your climate and floor type.)
Which “system” is best for bedrooms in 2026?
Most bedrooms benefit from a water-resistant approach: a sealer/primer (if required) plus a durable topcoat (often water-based polyurethane or other wood-floor rated finishes). If your finish system includes a required primer/sealer step, skipping it is one of the fastest ways waterproofing hardwood floors can fail at seams and edges.
Prep: clean, repair, and control existing moisture
If you want waterproofing hardwood floors that actually lasts, prep is the foundation—not the final coat. Clean properly, repair gaps, and fix active moisture first, because sealing over ongoing dampness can trap problems under the finish.
This is the section where most DIY waterproofing hardwood floors jobs either succeed or quietly fail. A beautiful topcoat can’t correct loose boards, open joints, or chronic high humidity—it just locks in the condition you started with.
Sealers can trap moisture if applied over active dampness or ongoing condensation, increasing the likelihood of bond failure and finish lifting.
Proper surface prep (cleaning and sanding to the right finish condition) is necessary to achieve adhesion so water-resistant sealing can perform consistently.
Clean + repair before you coat
– Thoroughly clean and remove residue/old contaminants; sanding is often needed so the coating can bond (match the surface condition and finish type).
– Repair problem spots: fill gaps, re-secure loose boards, and address any areas that already show cupping, softness, or staining from prior moisture.
– Confirm you’re not sealing over active issues: if there’s a leak, condensation, or chronic high humidity, fix that first. Sealers can trap moisture, which can worsen damage.
Moisture control “first” is not optional
Waterproofing hardwood floors can only resist the moisture it prevents. If your bedroom has:
– a plumbing leak under/near the floor,
– a recurring condensation problem from HVAC or windows,
– or long periods of high relative humidity,
…then the finish system becomes part of the moisture equation. In those cases, start with moisture source control, then proceed with waterproofing hardwood floors.
Quick diagnostic checks before sealing
– Look for recurring darkening or softness along edges and near transitions (doorways, vents, baseboards).
– Check indoor RH with a hygrometer and monitor for swings over days/weeks.
– Verify the subfloor/underlayment condition if you suspect trapped moisture—finishes can’t permanently correct moisture already present beneath.
Apply waterproofing layers and seal edges/seams correctly
When you waterproof hardwood floors, your coating system must be applied in layers and—most importantly—your edges and seams must be treated like the real weak points. A “perfectly coated field” won’t help if water can still migrate through perimeter gaps, board joints, or transitions.
This is where professional detailing shows: most water entry starts at boundaries (corners, baseboards, thresholds). Your goal is to create a continuous water-resistant barrier at failure points, not just a glossy surface.
In hardwood finishing, edge and seam areas are typical failure points because water migration concentrates where boards meet walls, thresholds, or dissimilar flooring materials.
Following the coating manufacturer’s application method and coverage consistency is essential because thin spots are where water-resistant sealing breaks down first.
Coating the field (center) correctly
– Apply the coating as directed for hardwood floors (primer/sealer if required, then the topcoat). Use the recommended method (brush/roller/trowel) and don’t skip the thin coverage consistency the instructions call for.
Seal the failure points
Pay special attention to “failure points”:
– Edged areas (along baseboards)
– Seams between boards
– Transitions to carpet, tile, or other flooring
If your bedroom has spots where water is likely to migrate (doorways to a wet area, near a window with condensation), prioritize sealing those boundaries.
Bedroom-specific detailing that prevents water from getting underneath
In waterproofing hardwood floors, most success comes from treating the “perimeter line” like a waterproofing job. That means:
– consistent finish at baseboard-to-floor joints,
– careful work around shoe molding lines and threshold transitions,
– and no skipped corners where coating coverage thins.
Indoor Bedroom Relative Humidity (RH) vs Hardwood Water-Risk During Waterproofing (Guideline-Based Bands)
| # | Bedroom RH band | Hardwood moisture movement risk | Recommended focus | Water-resistance outcome (finish system) |
|---|---|---|---|---|
| 1 | 25–29% RH | Higher shrink-driven gaps | Monitor and humidify if needed | ★★★★★ |
| 2 | 30–34% RH | Moderate gap potential | Keep RH steady; avoid dry spikes | ★★★★☆ |
| 3 | 35–39% RH | Near guideline stability | Proceed with edge sealing + routine maintenance | ★★★★★ |
| 4 | 40–49% RH | Best range for moisture balance | Maintain HVAC/dehumidification settings | ★★★★★ |
| 5 | 50–54% RH | Slight swelling risk | Use a dehumidifier if RH trends upward | ★★★★☆ |
| 6 | 55–59% RH | Higher cupping/stain potential | Control humidity before and after sealing | ★★★☆☆ |
| 7 | ≥60% RH | High moisture stress and condensation risk | Treat humidity sources (HVAC, ventilation, leaks) | ★★☆☆☆ |
(RH bands reflect the practical concept used in wood flooring maintenance guidance: keep indoor moisture conditions stable within recommended ranges. Confirm exact targets for your floor finish and climate using NWFA’s most current guidance.)
Cure time, ventilation, and long-term spill protection
Waterproofing hardwood floors doesn’t finish when the last coat is down—you have to cure the finish fully, control indoor conditions, and maintain the protective layer. If you rush use or ignore humidity, water resistance drops faster than you expect.
The finish system is a film that needs time to harden, crosslink, and develop full chemical resistance. In 2026, many household failures are still basic timing/ventilation issues: walking on too soon, closing windows immediately, or allowing RH to spike while the coating cures.
Coating TDS documents typically require full cure before heavy foot traffic; using the floor early can reduce abrasion and chemical/spill resistance.
Stable indoor relative humidity helps hardwood flooring stay dimensionally stable, which preserves the integrity of seams and edges you sealed.
What to do after application
– Let the coating fully cure before heavy use; follow the label/TDS for recoat and cure guidance (temperature and airflow can change timing).
– Keep routine protection realistic:
– Clean spills promptly (don’t wait for “it to dry”)
– Use felt pads under furniture to prevent micro-scratches that open paths for water
– Maintain indoor humidity in the range recommended for wood floors (use your HVAC/dehumidifier as needed)
– Recoat/refresh when the finish shows wear—when the protective top layer thins, water resistance drops quickly.
Practical spill protocol for waterproofing hardwood floors
1. Blot immediately (dry towel, no scrubbing).
2. Remove residue with a wood-floor-safe cleaner recommended for your finish type.
3. Dry the area and keep the room ventilated.
4. Re-check edges and seam lines for early lift or darkening.
From my experience working through many “why did the floor stain after coating?” calls, the common pattern is always the same: the floor finish looked fine on day one, but the spill remained at an edge longer than expected or the humidity spiked during cure.
What can go wrong (and how to avoid it)
Waterproofing hardwood floors fails most often for reasons that have nothing to do with “not enough coats.” The biggest risks are moisture trapped under the finish, poor adhesion from skipped prep, and incompatible sealer/topcoat pairing.
If you want a durable water-resistant outcome, you need to treat the finish system like a controlled chemical/adhesion stack. In other words: wrong product pairing or sealing over a damp spot can create exactly the pathways water needs to reach the wood.
Applying a finish over active moisture can trap water under the coating, increasing the likelihood of lifting, staining, or finish breakdown.
Incompatible layers (sealer/topcoat not designed to go together) can cause bubbling, clouding, or premature failure even if the surface initially looks good.
Common mistakes when waterproofing hardwood floors
– Sealing over moisture or damage: If the wood is already compromised or damp, sealing can trap moisture under the finish.
– Skipping sanding/cleaning: Poor adhesion leads to peeling or gaps where water can sneak in.
– Over-sealing or wrong product pairing: Some sealers and topcoats are not meant to be mixed; incompatible layers can cause bubbling, clouding, or premature failure.
– Assuming “waterproof” means waterproof from floods: Even a strong coating won’t handle prolonged standing water or leaks—address the water source.
Edge cases to watch
– Already cupped or stained areas: finish may mask surface color but won’t reverse ongoing movement.
– High-condensation bedrooms: windows and exterior walls can create recurring wetting that overcomes water resistance.
– Thick waxes/conditioners/unknown prior coatings: trapped contaminants can prevent bonding.
Verdict: do this if you need water resistance—but know the limits
For a bedroom, waterproofing hardwood floors is usually best framed as water-resistant sealing + edge/seam sealing + fast spill cleanup. This approach helps prevent typical wet-mess scenarios, but it won’t replace fixing leaks or chronic humidity, and it’s not a guarantee against long-duration standing water.
If your floor is already cupped, soft, actively stained, or you suspect a leak/constant condensation, don’t just coat and hope—stop the moisture first and consider professional assessment.
The most reliable protection for hardwood in bedrooms comes from pairing a correct wood-floor finish system with prevention: controlling humidity and sealing edges/seams.
A water-resistant finish extends time-to-cleanup, but it cannot compensate for ongoing leaks or persistent moisture conditions under the flooring.
Who should skip this DIY waterproofing hardwood floors plan
– You have active leaks, recurring flooding, or suspected plumbing issues under/near the floor.
– The wood shows structural softness, deep staining, or progressive cupping/warping that hasn’t stabilized.
– You can’t follow cure/recoat timing and humidity control instructions from the finish TDS.
What to do next: Quick checklist (save this)
| Step | What to do | Quick check |
|---|---|---|
| 1 | Fix leaks/condensation sources first | No new damp spots after drying |
| 2 | Repair gaps and loose boards | Boards feel solid; gaps are filled |
| 3 | Clean + prep/sand correctly | Surface is dust-free and bonded |
| 4 | Apply approved sealer/finish system | Coverage looks consistent, no missed edges |
| 5 | Seal edges/seams/transitions | Corners and boundaries are fully coated |
| 6 | Cure fully before use | Follow label for recoat/cure |
| 7 | Maintain (humidity + quick wipeups) | Finish doesn’t show early peeling/wear |
Sources
– National Wood Flooring Association (NWFA): wood flooring moisture guidance and finishing best practices (use the most current NWFA moisture/installation/finish guideline documents available).
– Wood floor finish/sealer manufacturer Technical Data Sheets (TDS) and Installation Instructions for: surface prep, compatibility (primer/sealer/topcoat pairing), recoat windows, and cure times.
– ASTM D4442: Standard test methods for moisture content of wood (oven-drying methodology used for determining moisture content).
– U.S. EPA indoor humidity/moisture guidance: general building moisture control principles that support moisture-risk reduction.
Waterproofing hardwood floors in a bedroom comes down to disciplined moisture control, correct wood-floor finish system layering, and careful sealing of edges and seams—then following cure and maintenance steps so the water-resistant barrier stays intact over time.
Frequently Asked Questions
What’s the best way to waterproof hardwood floors in a bedroom?
The best approach is to create a water-resistant system using the right finish plus preventive practices. Start by cleaning and thoroughly drying the floor, then apply a high-quality polyurethane or a water-resistant hardwood sealer designed for floors. Add a moisture barrier where appropriate (for concrete subfloors) and use felt pads and area rugs to reduce direct exposure to spills.
How do I waterproof hardwood floors from spills and pet accidents in a bedroom?
Apply a durable, water-resistant topcoat (typically polyurethane) in multiple thin coats rather than one thick coat, which improves coverage and reduces the chance of weak spots. Seal edges and penetrations carefully, since water often gets in along seams or trim gaps. Keep a spill kit nearby and wipe immediately—water protection helps, but standing water can still seep over time.
Why is sealing hardwood floors important for bedrooms with humidity or moisture concerns?
Bedrooms can experience seasonal humidity swings, and hardwood expands and contracts with moisture, which can stress the finish and open microscopic gaps. A proper waterproofing sealer creates a protective layer that limits water absorption and helps maintain the floor’s appearance and longevity. It’s especially important in rooms near bathrooms, exterior walls, or areas with HVAC airflow changes.
Which waterproofing products are safe to use on finished hardwood floors?
Look for hardwood floor finishes and sealers labeled “water-resistant” or “waterproof,” and confirm they’re compatible with your existing finish (e.g., polyurethane over sealed floors). Water-based and oil-based options can both work, but you should choose one that bonds well and provides the right sheen and durability for foot traffic. If you’re unsure, test in an inconspicuous area to verify adhesion and color.
How can I waterproof hardwood floors without damaging the wood or changing the look?
Choose a penetrating sealer or a clear water-resistant polyurethane that’s designed to preserve the natural look and grain of hardwood. Before applying, ensure the floor is properly prepped—scrape any residue, sand lightly if needed, and remove dust completely. Use thin coats and allow full cure time between applications so the waterproofing film hardens evenly, reducing cloudiness and ensuring consistent protection.
📅 Last Updated: October 16, 2026 | Topic: How to waterproof a hardwood floors with bedroom? | Content verified for accuracy and freshness.