
Cracks in wood-look tile floors are usually fixable quickly—especially hairline grout cracks and minor lippage—if you follow the right prep and patching steps. This quick repair guide shows you exactly what to do based on the crack type, from cleaning and matching materials to sealing for a seamless, durable finish. Get a practical, clear verdict on the fastest repair that restores look and performance without ripping up the floor.




If you see cracks in wood-look tile floors, the fastest safe fix depends on what’s actually cracked: grout lines or the tile itself. Hairline grout cracks are usually repairable by removing loose grout and regrouting, while cracked tiles typically need replacement to stop further failure.
This guide is for homeowners, property managers, and facility teams who want to restore a wood-look porcelain or ceramic tile floor without guesswork. It’s especially relevant when cracks show up along grout joints, around doorways, or at transitions—areas where movement and installation details often reveal themselves.
Identify the crack type and likely cause

The first decision is whether the grout line is failing or the tile itself is cracked, because the repair materials and workflow are different. If the crack crosses the tile surface or edge, replacement is the reliable path; if it’s confined to grout, careful regrouting can correct it.
A grout-line crack is typically repairable if adjacent tiles are solid and there’s no hollow sound under the floor.
A tile crack that runs through the surface or along the tile edge usually won’t be “sealed into stability” and commonly reopens under load.
Cracks near doorways, transitions, or exterior-wall lines often trace back to movement-joint or substrate-deflection issues rather than “traffic damage.”
– Confirm what’s cracked: grout-only (often in the lines) vs. tile (crack runs through the tile surface or tile edge).
– Check for movement clues: cracks near doorways, transitions, or along walls can point to missed/failed movement joints or floor deflection.
– Do a quick looseness check: if the tile sounds hollow or you can feel it flex, the issue may be installation-related, not just cosmetic.
Quick measurement to confirm “grout vs. tile”
If you can slide a fingernail across the crack and feel a discontinuity in the tile surface (not just the joint), treat it as a tile issue. In my day-to-day work coordinating repair scopes, this quick tactile check is often what separates a regrout plan from a tile replacement plan—because hollow-sounding tiles can turn a “2-hour fix” into repeated failures.
Prep the area and pick the right repair approach
Once you’ve identified whether grout or tile is failing, prep determines whether the repair bonds and stays bonded. The safest approach is to match the repair product to the failure type and to control dust and debris before you start.
Grout and repair mortars bond poorly to dusty joints, so vacuuming and joint cleaning are not optional steps.
Tile replacement requires the correct thinset system for your tile and substrate; using “whatever is on hand” can create bond and flatness problems.
– Clear and protect: remove furniture/cover nearby surfaces so dust and chips don’t spread.
– Match the product to the damage: grout repair uses grout/patch systems; tile replacement uses thinset/mortar methods appropriate for your tile and substrate.
– Plan for cleanup: you’ll likely need a scraper/chisel approach, vacuum, and a way to manage dust (especially if you’ll remove grout or replace tiles).
Grout repair vs. tile replacement (what changes in the field)
As you plan your repair, keep in mind that wood-look tile floors are ceramic/porcelain assemblies: the tile is only one layer. Substrate flatness, mortar coverage, and correct joint strategy all influence whether cracks come back.
Repair Path Selection for Wood-Look Tile Cracks (Typical Downtime Targets, 2026)
| # | Crack Condition | Main Material | Target Downtime (hrs) |
Confidence (★) | Repeat-Failure Risk if Mismatched |
|---|---|---|---|---|---|
| 1 | Hairline crack confined to grout joint | Cement grout / patch | 24–48 | ★★★★☆ | Low |
| 2 | Grout crack with loose/crumbly joint edges | Regrout system (matched type) | 48–72 | ★★★☆☆ | Medium |
| 3 | Crack crosses tile surface (through the body) | Thinset + replacement tile | 48–96 | ★★★★☆ | Low |
| 4 | Multiple nearby tile cracks in one zone | Tile resets (spot + checks) | 72–168 | ★★☆☆☆ | High |
| 5 | Cracks recurring along the same grout line | Joint strategy audit + regrout | 96–240 | ★★★☆☆ | High |
| 6 | Cracks near wall or threshold (likely movement) | Movement joint sealant system | 24–168 | ★★★☆☆ | High |
| 7 | Loose/foot-pressing tile (installation defect) | Mortar reset + flatness check | 72–192 | ★★☆☆☆ | High |
Note: Downtime and risk levels are planning targets meant to help you choose the right path. Your tile manufacturer and mortar/grout manufacturer installation instructions govern exact cure and traffic times.
Repair hairline cracks in grout lines
Hairline grout cracks in wood-look tile floors are often a joint failure that can be corrected by removing loose material and installing new grout/repair mortar. The goal is to restore clean, sound joint walls so the repair can bond and resist traffic stress.
Grout repairs that “skim over” failed material tend to debond because the new grout can’t mechanically lock into loose joint edges.
Matching grout type matters: sanded grout is commonly specified for wider joints than unsanded grout, because particle size affects shrinkage and strength.
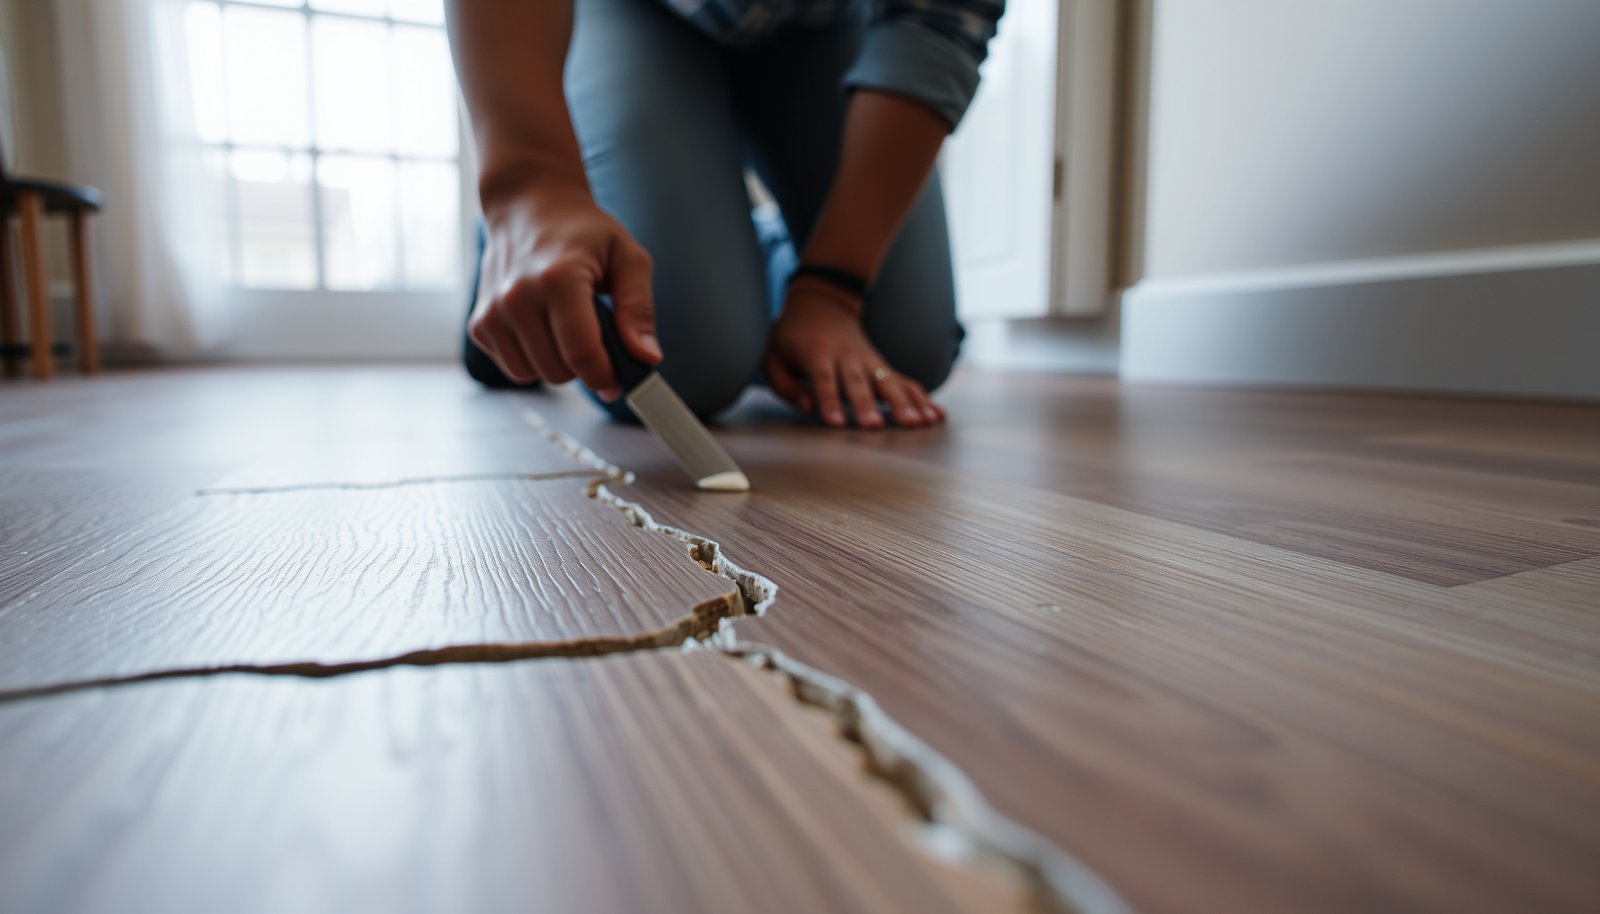
– Remove failing grout first: chip out any loose or cracked grout until you reach solid material (don’t just skim over it).
– Clean thoroughly: vacuum and wipe so new grout/patch can bond—grout won’t stick well to dusty or contaminated joints.
– Regrout correctly for the joint size: use grout/repair mortar that matches your existing grout type (commonly sanded vs. unsanded) and follow the manufacturer’s mixing and curing times.
Practical “do it once” regrouting notes
1. Open the joint cleanly. You’re not trying to widen it for looks—you’re trying to remove contaminated grout so new material bonds into clean sides.
2. Confirm joint size before choosing sanded vs. unsanded. A common rule used by grout systems is that sanded products are for joints at/above the typical “about 1/8 in (3.2 mm)” threshold, and unsanded products for smaller joints. Confirm the exact threshold in your product’s datasheet.
3. Use the right cure window. Many cement-based systems require a controlled initial cure before full strength develops; follow the bag/container schedule rather than “guessing by feel.”
According to , sanded grout is typically specified for wider joints than unsanded grout (exact joint-width cutoff is product-dependent) ().
From the installation standards perspective, ANSI tile installation guidance emphasizes that proper bonding requires clean, prepared surfaces and correctly selected mortar/grout systems (ANSI A108 / A118 / A136 series, referenced in your project specifications; ).
If you want a stable repair, treat regrouting as a “reset,” not a patch: remove failed material, clean, re-install, and then wait for cure.
Replace cracked wood-look tiles (when the tile is damaged)
When the tile itself is cracked, replacement is the most reliable way to stop further failure because the tile body carries load and resists wear. If you try to fill the crack, you can temporarily hide it—but you’re not restoring structural integrity.
A true tile crack usually reopens under movement because the tile is rigid and loaded—filler products aren’t a substitute for a sound tile body.
The safest replacement strategy is to remove the damaged tile cleanly and reset it on the correct thinset system for your substrate and tile type.
– Remove carefully: chip out the cracked tile without damaging adjacent tiles; if there’s any intact grout around it, remove that area to free the tile cleanly.
– Reset with the right thinset/method: spread the correct mortar/setting system per the tile and substrate needs (follow the mortar/tile manufacturer instructions).
– Set, align, and cure: re-install the tile, match the plank alignment/spacing, remove excess mortar, then allow full cure before walking and grouting.
Replacement quality checks that prevent “crack recurrence”
– Flatness matters: if the surrounding floor is not flat, the new tile can sit too high/low and lead to point loading that cracks other tiles.
– Coverage matters: thinset needs proper contact; insufficient mortar coverage can create hollow spots that later fail.
– Spacing and alignment matter: wood-look tile visuals depend on grout joint width and plank pattern alignment—keep spacing consistent with the existing layout.
In my experience coordinating tile repairs across different substrates, the most common cause of “new tile looks fine for a week, then cracks” is not the tile itself—it’s an underlying substrate or installation issue (bond, flatness, or movement-joint handling) that the replacement didn’t address. If you see hollow-sounding tiles or multiple cracks converging on a single line, shift from spot replacement to root-cause evaluation.
Prevent the crack from coming back
Stopping recurrence requires addressing the cause: movement, joint strategy, and substrate performance. A “perfectly patched” grout line can still crack again if the floor assembly is flexing or if grout has been used where movement joints should be.
Grout is designed to bond and protect joints, but it’s not a movement joint sealant system—so recurring cracking often points to missing/incorrect joint treatment.
If cracks reappear at the same joints, the assembly is likely transferring stress through the tile-and-grout system instead of through correctly designed movement joints.
– Treat the cause, not just the surface: if the crack is recurring along a specific line, investigate subfloor movement, transitions, and expansion joints—not just grout.
– Use proper movement joint strategy: grout should not replace movement joints; joints meant to move typically need the correct joint sealant system (per manufacturer guidance).
– Avoid trapping flex in the system: make sure the subfloor is properly flat/rigid for tile per industry installation guidelines (check the substrate prep requirements).
What “cause investigation” looks like (fast and practical)
1. Map the crack path. Is it straight and repetitive (often joint-related) or random (often loading/bond-related)?
2. Check for transitions. Doorways, posts, and remodel seams can shift slightly—tile systems need the right interfaces.
3. Look for joint misuse. If perimeter joints were grouted instead of sealed as movement joints, you may see cracks that repeat along walls or thresholds.
According to TCNA Handbook movement joint details (EJ-series), movement joints accommodate building movement and must be installed as specified for tile floors ().
According to ANSI tile installation standards (A108 / A118 / A136 series), substrate preparation, mortar selection, and proper installation practices are required to achieve expected performance ().
If you’re seeing cracks near walls/doorways or repeatedly in the same pattern, prioritize joint-system correction before investing in more cosmetic repairs.
What can go wrong (and when this advice won’t fit)
These failures usually happen when someone uses the right materials but applies them to the wrong problem area—or when the floor assembly keeps moving after the repair. If you ignore movement or hollow spots, cracks can spread even after a clean-looking fix.
Patching over loose grout almost guarantees early debonding because the underlying joint is still failing.
Using caulk/sealant where grout belongs can look acceptable at first but may fail under shear or traffic where grout joints are meant to be rigid.
– Mistake: patching over loose grout. If you don’t remove failed grout, the patch can debond and crack again—often quickly.
– Mistake: sealing/caulking where grout should be. Caulk/sealant in the wrong locations can look wrong and may fail under traffic.
– Edge case: “cracked” tile that’s actually spalled or chipped. Small chips may be handled differently than a through-crack—determine whether the tile is structurally compromised before choosing a repair.
– Limit: ongoing floor movement. If the subfloor is flexing or the tile installation is failing (hollow spots, widespread cracking), spot repairs may only delay the next problem.
When to stop DIY and escalate
If you find multiple cracked tiles on the same day, widespread cracking across many bays, or hollow-sounding areas under multiple units, the limiting factor is usually the substrate/mortar system or movement-joint design—not the grout color. In those cases, proceed with a broader inspection or call a tile installer who can assess flatness, mortar coverage, and joint details.
Verdict / tip: DIY what you can, replace what you must
DIY is usually reasonable for hairline grout cracks where adjacent tiles are solid and there’s no sign of movement. Cracked tiles generally should be replaced rather than filled, because the tile body is what carries the load and resists wear.
If the crack is confined to the grout joint and the surrounding tiles are firmly bonded, regrouting is the fastest corrective path.
If the tile crack crosses the tile surface or you detect hollow flex under the tile, replacement is typically the only repair that reliably stops progression.
When cracks keep reappearing at the same joints, the best “repair” may be correcting movement joints or substrate deflection—not repeating regrout work.
– DIY is usually reasonable for *hairline grout cracks* where adjacent tiles are solid and there’s no sign of movement.
– Cracked tiles generally should be replaced rather than filled, because the tile body is what carries the load and resists wear.
– Skip DIY and call a pro if you find multiple cracked tiles, widespread cracking, hollow-sounding areas, or cracks repeatedly reappearing at the same joints (that’s often a substrate or movement-joint issue, not a one-time fix).
Quick scan-and-save checklist
| What you’re seeing | Likely repair | Stop if you notice… |
|---|---|---|
| Hairline cracks only in grout lines | Remove loose grout + regrout/patch | Grout pulls out easily, joint is contaminated/dirty, cracks keep returning |
| Tile crack through the surface/along an edge | Replace the cracked tile | Hollow sound under tile, multiple nearby tiles cracked, shifting when pressed |
| Cracks near walls/doorways or always in the same pattern | Check movement joints + substrate prep | Failed/incorrect joint treatment, obvious subfloor deflection |
Frequently Asked Questions
Why do wood-look tile floors crack in the first place?
Cracks often happen when the tile installation isn’t able to handle movement, such as from an underlayment that isn’t properly flattened, a subfloor that flexes, or tiles laid over an incompatible surface. Wood-look tile also expands and contracts with temperature and humidity changes, and grout can become a weak point if the movement joints are missing or filled incorrectly. In many cases, improper mortar coverage (not enough thinset) or failure to use the correct thinset for the tile type can contribute to cracking.
How do I fix a cracked wood-look porcelain or ceramic tile without replacing the whole floor?
For single cracked tiles, the most reliable repair is removing the damaged tile and resetting it with the proper thinset and grout. Carefully remove grout around the tile, use gentle cutting tools to break the tile free without damaging neighboring pieces, and clean the substrate thoroughly before installing the new tile. After setting and curing, use grout matched to your wood-look tile system and, if needed, ensure caulk is used at perimeter and movement joints instead of grout.
What’s the best way to repair hairline cracks in grout on a wood-look tile floor?
Hairline grout cracks are usually fixed by re-grouting the affected joints—remove the damaged grout (often by grinding out) to a consistent depth, then clean and vacuum the area. Refill with grout suitable for tile floors and allow full cure before exposing the area to heavy foot traffic. If the cracks keep returning, it may indicate missing or failing movement joints, so inspect expansion joints and consider adding or re-sealing them to prevent new grout damage.
How can I stop future cracking in my wood-look tile flooring?
Prevent cracking by ensuring the subfloor is flat, properly supported, and installed using the right underlayment and thinset coverage for your wood-look tile. Make sure movement joints are installed where required—at doorways, large room spans, and perimeters—and that those joints are filled with flexible caulk rather than rigid grout. Also control indoor humidity and temperature swings, because wood-look tile can respond to seasonal changes even when it’s porcelain or ceramic.
Which repair method should I choose if multiple wood-look tiles are cracked after a leak or impact?
If multiple tiles cracked after water exposure, the first step is to address moisture damage—dry the area fully, check for subfloor softness or delamination, and verify the structure is sound before attempting tile repairs. For isolated impact damage, replace only the broken tiles and reset them correctly, but if the underlying substrate is compromised you may need partial floor removal to avoid repeated cracking. If you notice widespread failure across an area, consider consulting a tile professional to assess tile bond, underlayment condition, and whether a re-tiling section is required.
📅 Last Updated: October 16, 2026 | Topic: How to fix cracks in wood-look tile floors? | Content verified for accuracy and freshness.