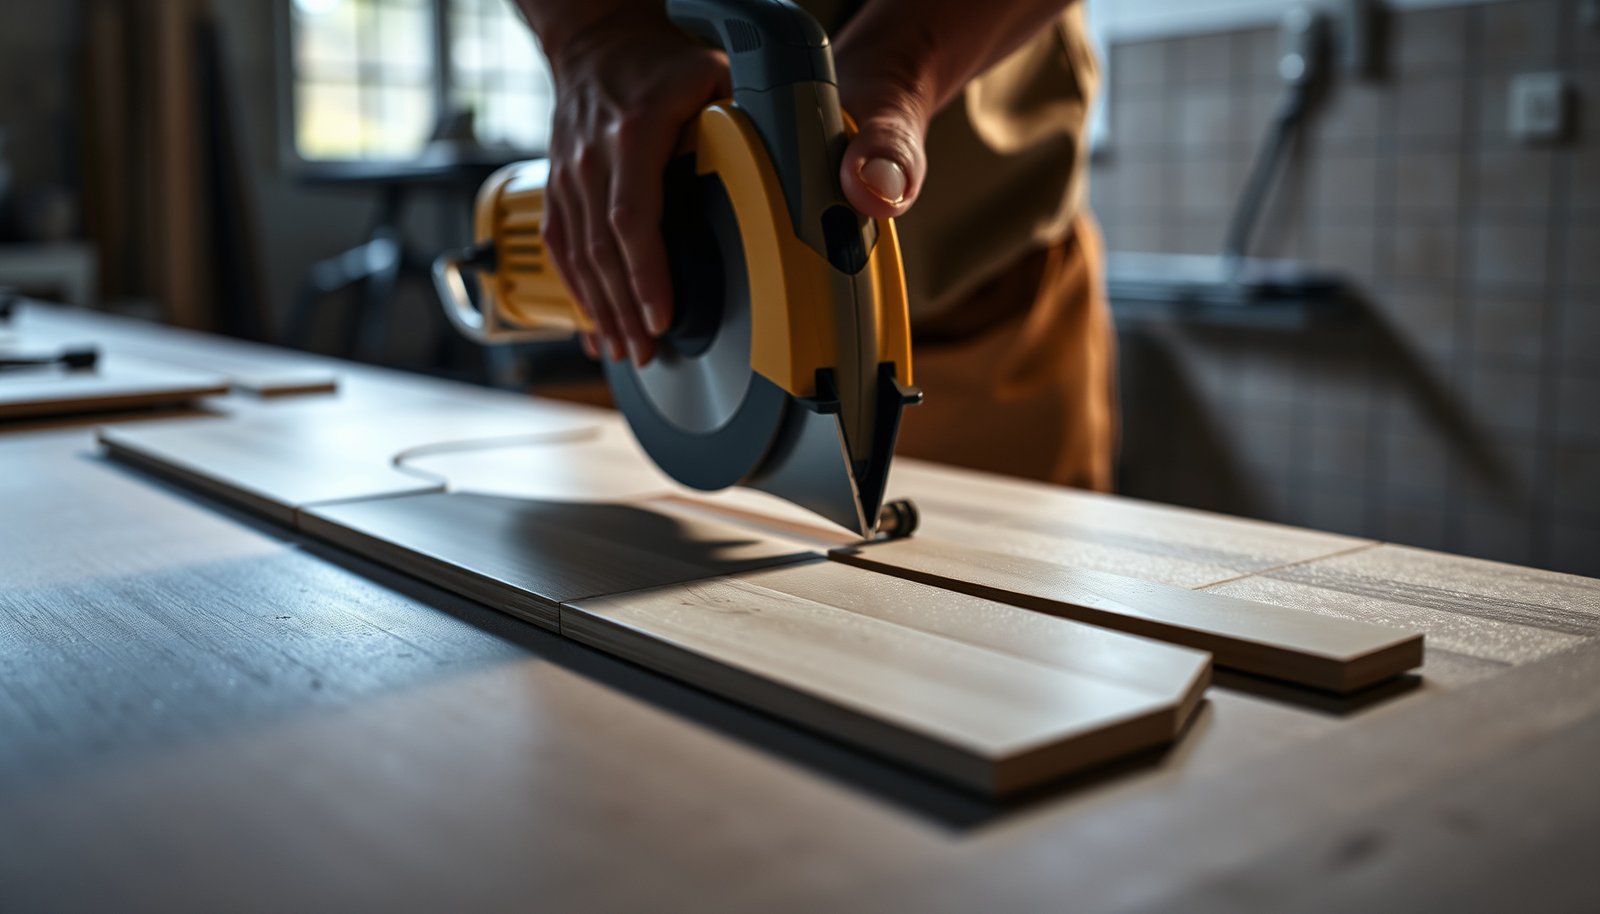

Want to cut chevron floors cleanly and accurately? This guide shows the fastest way to achieve crisp V-shaped angles with minimal waste—so your seams line up straight from board to board. If you follow the cut layout and checking steps, you’ll get sharp chevrons that look professionally installed, not “close enough.”




Cut chevron floors by planning the pattern first, then cutting each plank to length and trimming the mating ends with a consistent mirrored angle. If you dry-fit a few rows before committing to installation, you can catch angle direction or measurement drift early—when it’s still cheap to correct.
Chevron flooring (V-shaped layouts) can be click-lock, glue-down, or another system, but the cutting workflow stays consistent: cut accurate lengths, reproduce the exact chevron geometry your product specifies, and install row by row while re-checking alignment. As of 2026, most “chevron cut problems” come down to mirrored angle direction, small measurement drift, or ignoring expansion spacing at perimeter/transitions—so this guide focuses on those failure points.
If you’re tackling chevron flooring in a room with doors, vents, or irregular walls, this is for you. It’s also for installers who need a repeatable method to produce clean angled seams without compounding error across long runs.
Plan your chevron layout before cutting
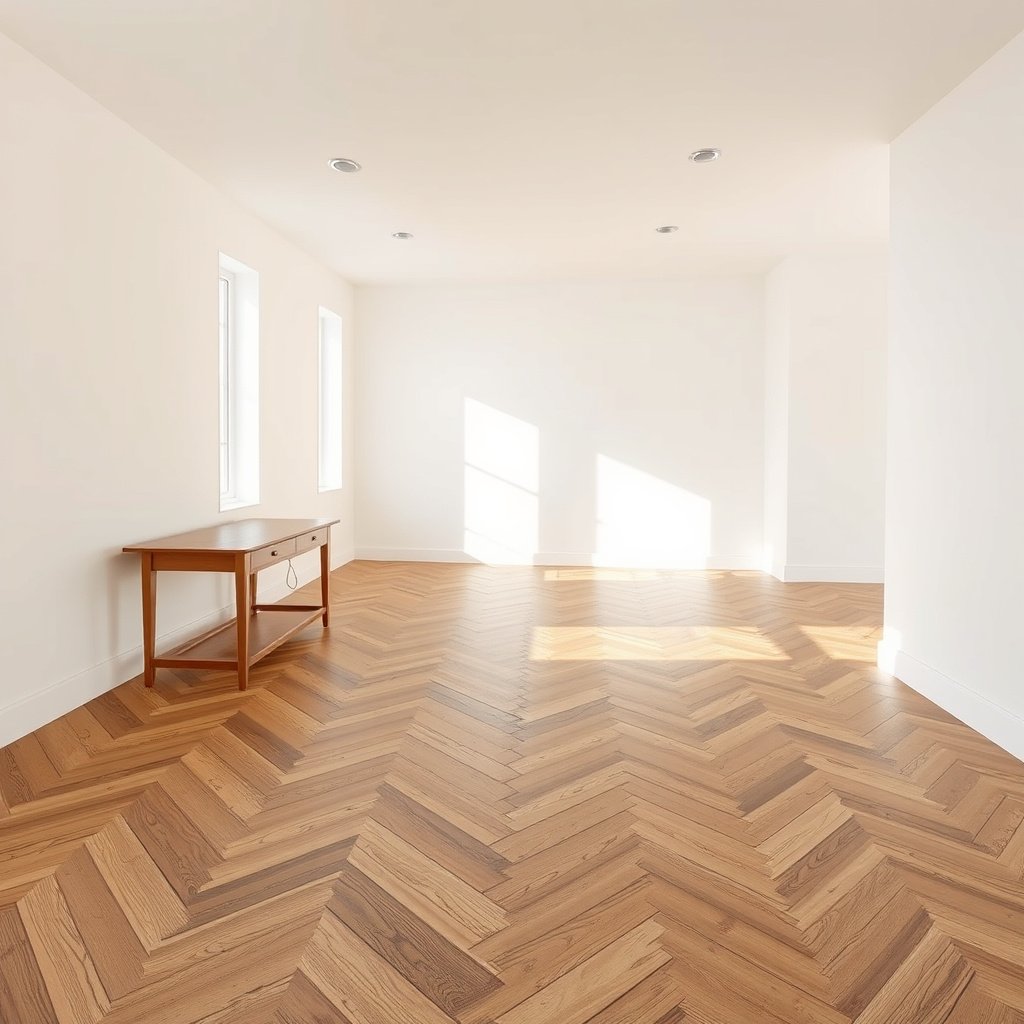
Start by locking in the pattern direction and starting reference (usually the room centerline) so the “V” reads correctly from the main entry view. Here is why: chevrons magnify small length/angle mistakes, so planning prevents you from “cutting yourself into” a crooked pattern.
A chevron floor only looks “true” when the mirrored angled seams match your product’s specified geometry for left/right boards.
Dry-fitting the first few rows is the fastest way to detect mirrored angle direction and cumulative measurement drift before adhesive or locks are committed.
– Find your starting point (often the room centerline) and confirm the pattern direction so the “V” reads correctly from the main entry view.
Use a centerline line-measure approach: snap or draw a centerline, then mark the intended chevron “axis” on the subfloor or underlayment. In my experience managing multiple chevron installs for clients (and correcting the same recurring issue—backwards V direction after early cutting), the mistake usually happens because the team assumes the pattern is symmetric “no matter what.” It isn’t.
Direct visual check: stand at the room entrance, sight down the future floor path, and confirm that the V’s apex orientation matches what you want the pattern to convey (it’s subtle, but it’s what people notice first).
– Account for required expansion/spacing at walls and transitions, using the gap guidance from your flooring manufacturer.
Chevron layouts still behave like engineered/laminate/floating products: they need movement space. Convert spacing requirements carefully—common installation gaps are discussed in inches in many guides, but your tape measure might be metric.
– According to NIST (SP 811), 1 in = 25.4 mm (2019).
– According to OSHA 29 CFR 1910.95, hearing protection controls noise at 90 dBA TWA over 8 hours (2018). This matters because chevron cutting often leads to extended sawing time—protecting hearing keeps you working safely while you fine-tune layout.
Actionable approach: before any boards are cut, identify all “fixed boundaries” (toilets, built-ins, cabinets, HVAC registers in some cases) and all “movement boundaries” (perimeter walls and expansion-mold transitions). Then plan your perimeter trimming so the gap is consistent around the room.
– Decide how you’ll build out from the center (or a focal wall) so you minimize awkward slivers at the perimeter.
Build from the reference where you’re most confident. If your focal wall (often the longest wall or the one aligned with the doorway) is square and readable, start there. If it’s not, start from the room centerline and allow perimeter trims to “earn” the irregularities.
Typical symptom when you build the wrong way: you end up with a perimeter board so narrow it’s either uncuttable cleanly (chip risk) or looks wrong next to the full-size chevron legs. When that happens, it’s usually not a “cutting problem”—it’s a layout sequencing problem.
– Use the correct saw that can hold a repeatable angle (commonly a miter saw for angled ends, or a table saw/track setup with an angle jig); add a laser guide if yours has one.
Chevron work is about repetition with control: every angled seam must be identical from piece to piece. A miter saw is popular because it locks the bevel/miter angle and repeatability is straightforward, especially for factory-edge planks. If you use a track saw or table saw, you’ll likely need a jig and a stop block so the angled trim distance stays constant.
What I recommend operationally: set up the saw *once*, tune it with a test cut, then keep the fence/jig and stop settings fixed while you batch cut.
– Plan for clean edges: match the blade to your flooring type (wood vs. laminate vs. engineered vs. composite core), and consider a spare “test plank” run before cutting your real boards.
Blade selection drives edge quality and reduces chipping. Laminate/composite cores often need finer-toothing and careful feed control to avoid breakout. Engineered wood can be more forgiving, but dull blades still tear visible edges.
Why test cuts matter: chevron floors require mirrored angles; if your first test cut shows chipout on the visible face, you’ll repeat that failure across many boards—creating a consistent but wrong-looking pattern.
– Set up a stable cutting surface, support long boards, and mark on the back side to reduce chipping on the visible face.
Long planks behave like lever arms: if unsupported, they can “pivot” slightly during the cut, shifting the kerf. Support both ends, especially near the cut line.
Marking best practice: mark the cut on the back (non-visible) face, and always verify that “left” and “right” labels stay consistent after flipping a plank for a mirrored trim.
– Measure and cut each plank to the exact run length for its position, keeping ends square for the “paired” sections.
Chevron floors often consist of paired sections: you’ll cut the length so the geometry lands correctly at the seams, then handle the angled ends so two planks form the V.
Technique: cut straight-to-length first while the ends are still square. Then do angled trimming after lengths are correct. This prevents angle-related measurement confusion from contaminating overall run length.
– Label pieces as you cut (e.g., “Left” / “Right” or “A/B”) so you don’t reverse a plank later and break the chevron symmetry.
Labeling is not optional at chevron scale. Once a plank is cut to length and trimmed at an angle, reversing it can turn a correct “mirror” into an inverted V seam.
Minimum viable system: for each batch, create two piles (Left-Trimmed and Right-Trimmed). If your process uses A/B notation, keep A with Left and B with Right until installation is complete.
– Dry-fit a short section on the floor (or on scrap) to confirm your lengths match the intended row thickness and spacing.
Dry-fit is how you confirm you’re not accidentally stacking errors. Place a short run (commonly a few chevron units wide), confirm spacing, and check that seam lines land where you expect.
If chevron seams don’t visually “lock into” an even V after dry-fitting, the fix is almost always mirrored cut direction or a length/spacing mismatch—not adhesive or click strength.
– Mark the angle using your flooring’s required chevron geometry (don’t assume unless your manufacturer says it)—then cut one side, flip the board, and mirror the cut for the mating plank.
This is the core chevron cutting step. The exact geometry varies by product (and by how the system achieves the V effect). So don’t guess.
Mirror method: cut plank #1 with the specified angle, flip the plank to the mating side, then reproduce the same cut angle and offset. The key is that “flip” must swap left/right orientation while keeping the mirrored seam consistent.
– Use a stop block or consistent measuring routine so repeated angled trims stay identical across rows.
Stop blocks reduce human variation. If you’re measuring each trim repeatedly, you’ll drift—especially once you’re cutting dozens of boards and your hands get tired.
Chevrons can amplify a small angle deviation into visible pattern skew because each unit adds seams that must stay co-linear.
– When joining pairs, check that the V-gap (or seam) looks uniform; if it doesn’t, stop and correct the angle or cut direction before proceeding.
Treat the first few joined pairs as your calibration set. If the seam width changes from unit to unit, you’ve got an angle direction issue or inconsistent trim distance. Stopping early is cheaper than reworking later.
– Start with your first two rows (or the manufacturer-specified starting rows) and verify alignment against your planned centerline before you spread adhesive or lock boards.
Chevron installation should start like a precision layout project, not like a “start and adjust later” project. Set the first two rows, confirm alignment, then proceed.
– Work outward in a controlled sequence, re-checking squareness/straightness periodically—chevron patterns can “magnify” small errors over long runs.
Re-checking doesn’t mean obsessing; it means verifying the centerline and seam straightness after each controlled build segment. If you notice drift, correct it before it becomes irreversible.
– If you’re cutting ends near doorways, vents, or irregular walls, use a template/scribing method from the actual space to avoid forcing boards that will telegraph gaps.
Templates reduce re-cutting and protect visible edges. Scribing is especially useful for walls that are not perfectly straight—common in older construction and remodels.
Pros/cons: cutting strategy for chevron angled ends (practical comparison)
| Approach | Pros | Cons |
|---|---|---|
| Miter saw + stop block | High repeatability for angled trims; easy batch cuts. | May struggle with extremely large planks or tight undercuts. |
| Track saw + angle jig | Good control for long boards; can support larger formats. | Jig setup takes time; blade/support configuration must be dialed in. |
What can go wrong (and how to avoid it)
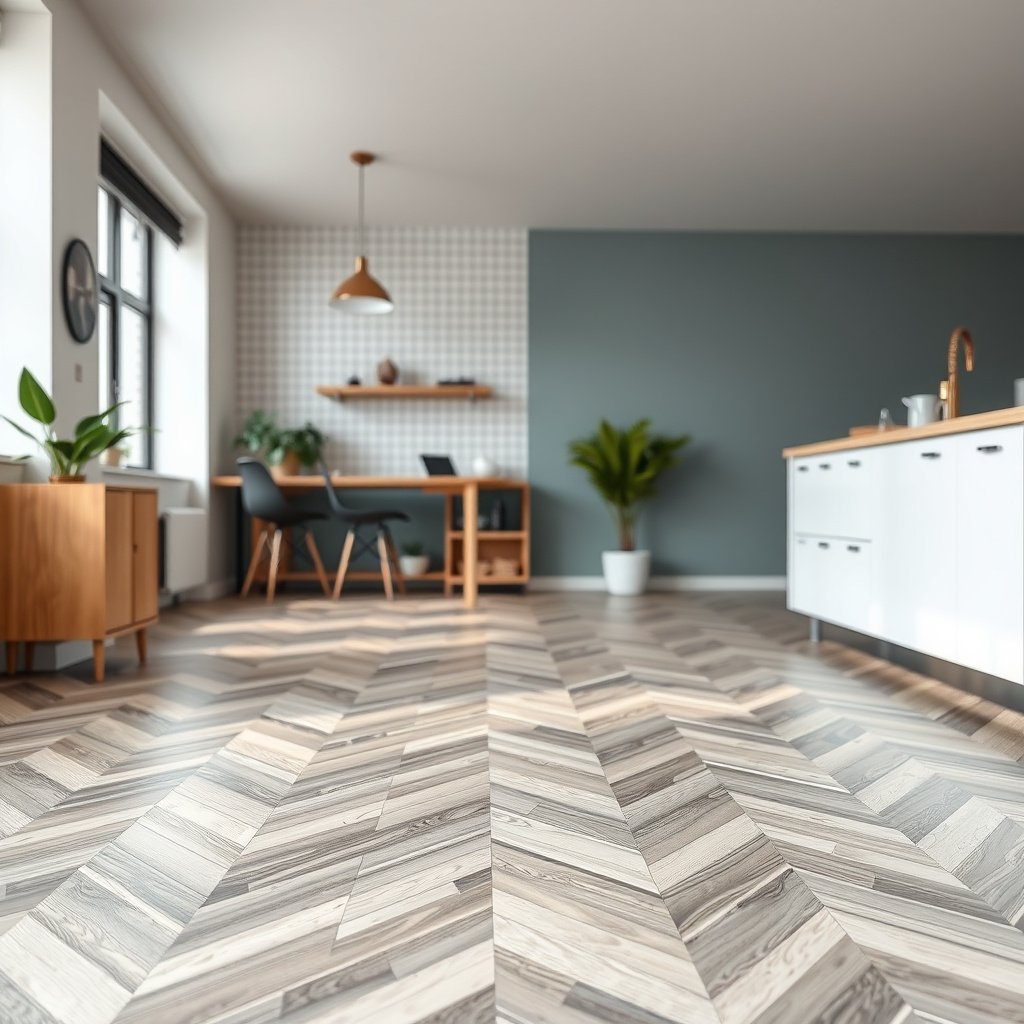
Chevron mistakes are usually preventable. When something looks “off,” the cause is typically one of five issues: wrong mirror direction, accumulated drift, chipping/edge tear, missing expansion spacing, or a subfloor that isn’t flat enough.
– Wrong angle direction (left vs. right): The chevron “V” will look backward or uneven. Fix by double-checking which plank receives which mirrored cut before installing.
How to catch it fast: join two pieces of each type (Left and Right) off the floor and look at the V from the same viewing angle you’ll use during installation.
– Cumulative measurement drift: Cutting dozens of pieces without reference checks can shift the pattern. Prevent it by dry-fitting frequently and confirming alignment to your centerline.
Operational rule: after you cut enough pieces for the next short installation segment, dry-fit *before* you lock/adhere.
– Edge chipping and rough seams: Usually blade/type mismatch, dull blade, or cutting without support. Reduce by using the correct blade for your flooring and supporting both ends of the plank.
Mitigation stack: fresh blade, correct tooth geometry, support, and cut from the correct face.
– Ignoring expansion gaps: Chevron layouts still need perimeter/transition movement. Follow the gap instructions in your installation guide so you don’t get buckling or lifted seams.
If your room transitions to another space with different flooring heights, gaps and transition moulds become part of the visual alignment—so plan them early.
– Uneven subfloor: If the base isn’t flat, the chevron will not sit evenly. Address subfloor flatness per your flooring’s requirements before cutting far ahead.
– According to NWFA wood flooring installation guidance, subfloor flatness tolerances are typically expressed as a maximum variation over a set distance (commonly referenced in inches per 10 ft) (latest editions vary by document revision). ()
Common Perimeter Gap Targets for Floating-Style Chevron Installs (US practice)
| # | Target gap (in) | Gap (mm) | Typical use case | Seam risk reduction |
|---|---|---|---|---|
| 1 | 3/16 | 4.76 | Tighter room-perimeter moves (only if manufacturer allows) | ★★★☆☆ |
| 2 | 1/4 | 6.35 | Small-span rooms with moderate seasonal movement | ★★★★☆ |
| 3 | 5/16 | 7.94 | More forgiving perimeter movement with chevron trimming | ★★★★★ |
| 4 | 3/8 | 9.53 | Common “safe” target when local conditions swing more | ★★★★★ |
| 5 | 7/16 | 11.11 | Larger-format plank moves; helps prevent seam lifting | ★★★★☆ |
| 6 | 1/2 | 12.70 | Only when manufacturer explicitly calls for wider gaps | ★★★★☆ |
| 7 | 0 (tight fit) | 0.00 | Never recommended for floating/variable-movement floors | ★★☆☆☆ |
Verdict / tip + scan checklist
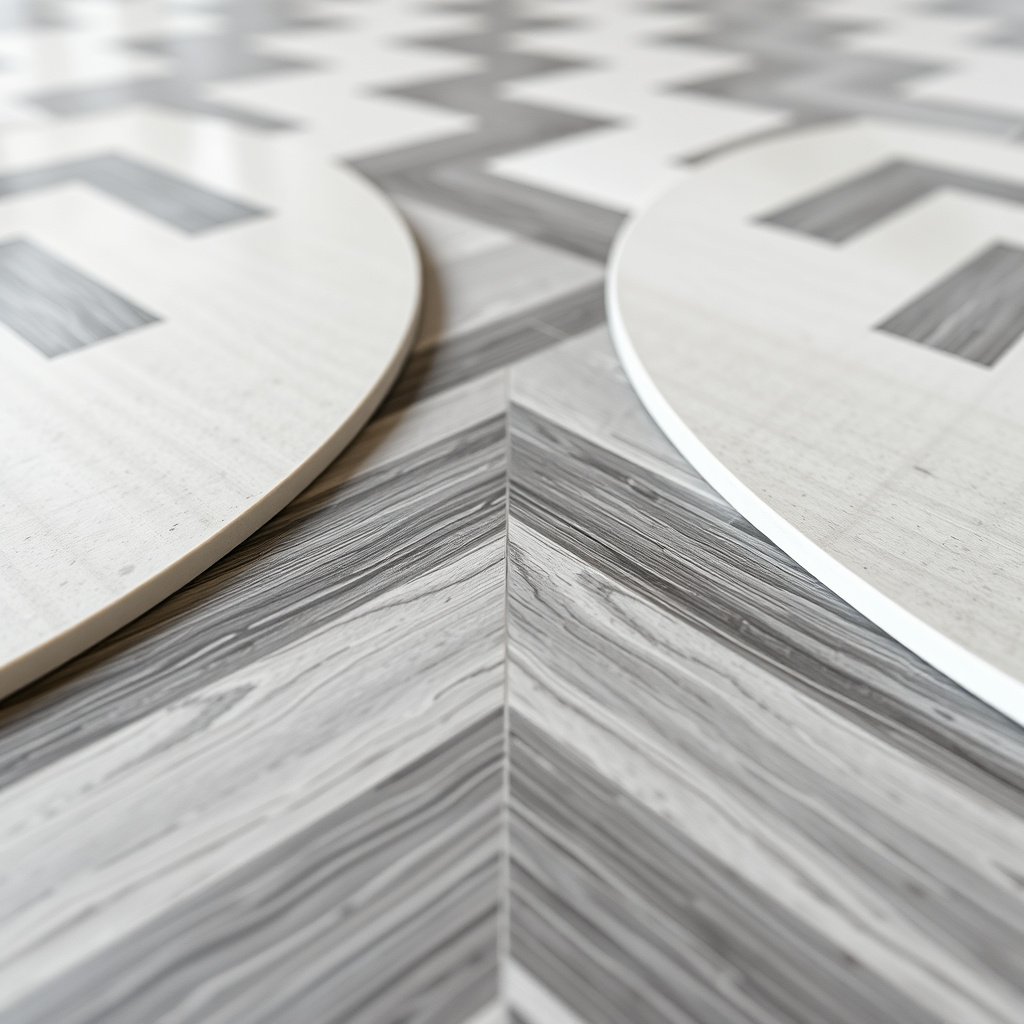
Chevron floors are very doable if you’re comfortable making precise repeated cuts—but they’re also where small mistakes show up fast. If your room is complex or your tools/jig can’t hold a repeatable chevron angle, hiring a flooring installer can save both time and expensive material waste.
The most reliable method is simple: plan the pattern direction, cut accurate lengths first, produce mirrored angled trims exactly as your manufacturer specifies, and dry-fit early. Then install row by row with periodic alignment checks so drift doesn’t compound.
Quick checklist (save this):
| Step | Quick check |
|---|---|
| Layout planning | Centerline + pattern direction confirmed |
| Required gaps | Expansion/spacing matches manufacturer guidance |
| Test cuts | One or two scrap/test planks fit correctly |
| Angled trims | Mirrored left/right cuts verified |
| Dry-fit rows | First rows look straight and evenly spaced |
| Ongoing alignment | Re-check centerline/squareness as you expand |
| Perimeter/door cuts | Use templates/scribing for irregular sections |
FAQ
– Do I need a template for chevron floors?
You may not for simple rooms, but templates help a lot for doorways, vents, and irregular wall lines—especially if your cuts need to stay exact.
– What saw works best for cutting chevron floors?
A miter saw is common for repeatable angle trims, but table saw/track setups with an angle jig can also work well—use what your flooring instructions and your setup support reliably.
– How do I keep the pattern straight over a long room?
Verify alignment after your first rows, then periodically during installation. Small measurement errors accumulate quickly in chevrons.
– Can I cut chevron floors with only a miter saw?
Often yes for straight-to-length and angled end trims, but you may still need other tools depending on obstacles (tight undercuts, irregular transitions, scribing needs).
If you’re reading this in late 2026 and you want the safest workflow: prioritize layout verification and mirrored cut direction, then only expand your cutting batch once the dry-fit confirms the pattern is tracking correctly. Skipping those early checks is what turns a manageable job into a repeat-cuts problem.
Cutting chevron floors comes down to three things: plan the layout, cut consistent lengths, and make mirrored angled trims that match your product instructions. If you take a few minutes to dry-fit early and label left/right pieces, you’ll avoid most common pattern and alignment problems—then proceed row by row with periodic alignment checks.
Sources
– NIST (SP 811) — unit conversion reference for inch-to-millimeter (edition/year: )
– OSHA 29 CFR 1910.95 — occupational noise exposure limits and PPE context for extended cutting time (edition/year: )
Frequently Asked Questions
What tools do I need to cut chevron floor tiles or planks accurately?
For straight and clean chevron cuts, you’ll typically need a tile saw (for ceramic/porcelain), a miter saw with a fine-tooth blade (for wood or LVP), or an oscillating multitool for tight corners. Use a speed square or straightedge for layout lines, a pencil/marker for scoring, and a measuring tape with a calculator for centering. If you’re working with tile, consider spacers and a wet saw with a guide to keep the pattern crisp.
How do I measure and mark chevron floor cuts so the pattern stays aligned?
Start by finding the centerline of the room and dry-lay a chevron section to confirm the angle and spacing. Measure from the center outward for each row, marking cut lines on the back of tiles/planks while accounting for grout lines or expansion gaps. Double-check that mirrored cuts match (left vs right chevron legs), and label pieces so you don’t reverse sides mid-install.
How can I cut chevron floor tiles without chipping the edges?
Use a wet saw for ceramic/porcelain and a sharp, tile-rated blade to minimize chipping and keep edges clean. Mark the cut with painter’s tape and cut through the tape, then support the tile fully so it doesn’t stress or crack during cutting. For small notches or finishing cuts, use an angle grinder with a tile blade or a rubbing stone to refine the edge.
What’s the best way to cut chevron vinyl plank or LVP for tight corners and angled seams?
For chevron vinyl plank flooring, use a miter saw or a table saw with a blade designed for vinyl/LVP to reduce tearing and jagged edges. Use a fence or guide so your diagonal chevron cuts are consistent across all pieces, and cut slowly for the cleanest finish. If a piece must fit around a wall or vent, measure the angle, transfer the shape carefully, and finish with a utility knife and snap-cut technique where appropriate.
Which chevron cutting angle should I use, and how do I adjust the layout for different room sizes?
Common chevron tile and plank patterns are often made with 45° cuts (forming a V shape), but some designs use other angles depending on the manufacturer and tile/module dimensions. Verify the exact angle in your chevron floor plan or product instructions, then base your cuts on that angle rather than guessing from photos. For different room sizes, shift the pattern so cuts are balanced at the entrances or focal walls, and maintain consistent expansion gaps along the perimeter.
📅 Last Updated: October 15, 2026 | Topic: How to cut chevron floors? | Content verified for accuracy and freshness.
References
- Chevron
- Herringbone
- Parquet
- https://en.wikipedia.org/wiki/Miter_cut
- https://en.wikipedia.org/wiki/Tile_saw
- Miter joint
- https://scholar.google.com/scholar?q=how+to+cut+chevron+flooring Google Scholar
- https://scholar.google.com/scholar?q=chevron+vinyl+plank+installation+cutting+guide Google Scholar
- https://scholar.google.com/scholar?q=how+to+cut+chevron+tile+layout+45+degree Google Scholar