
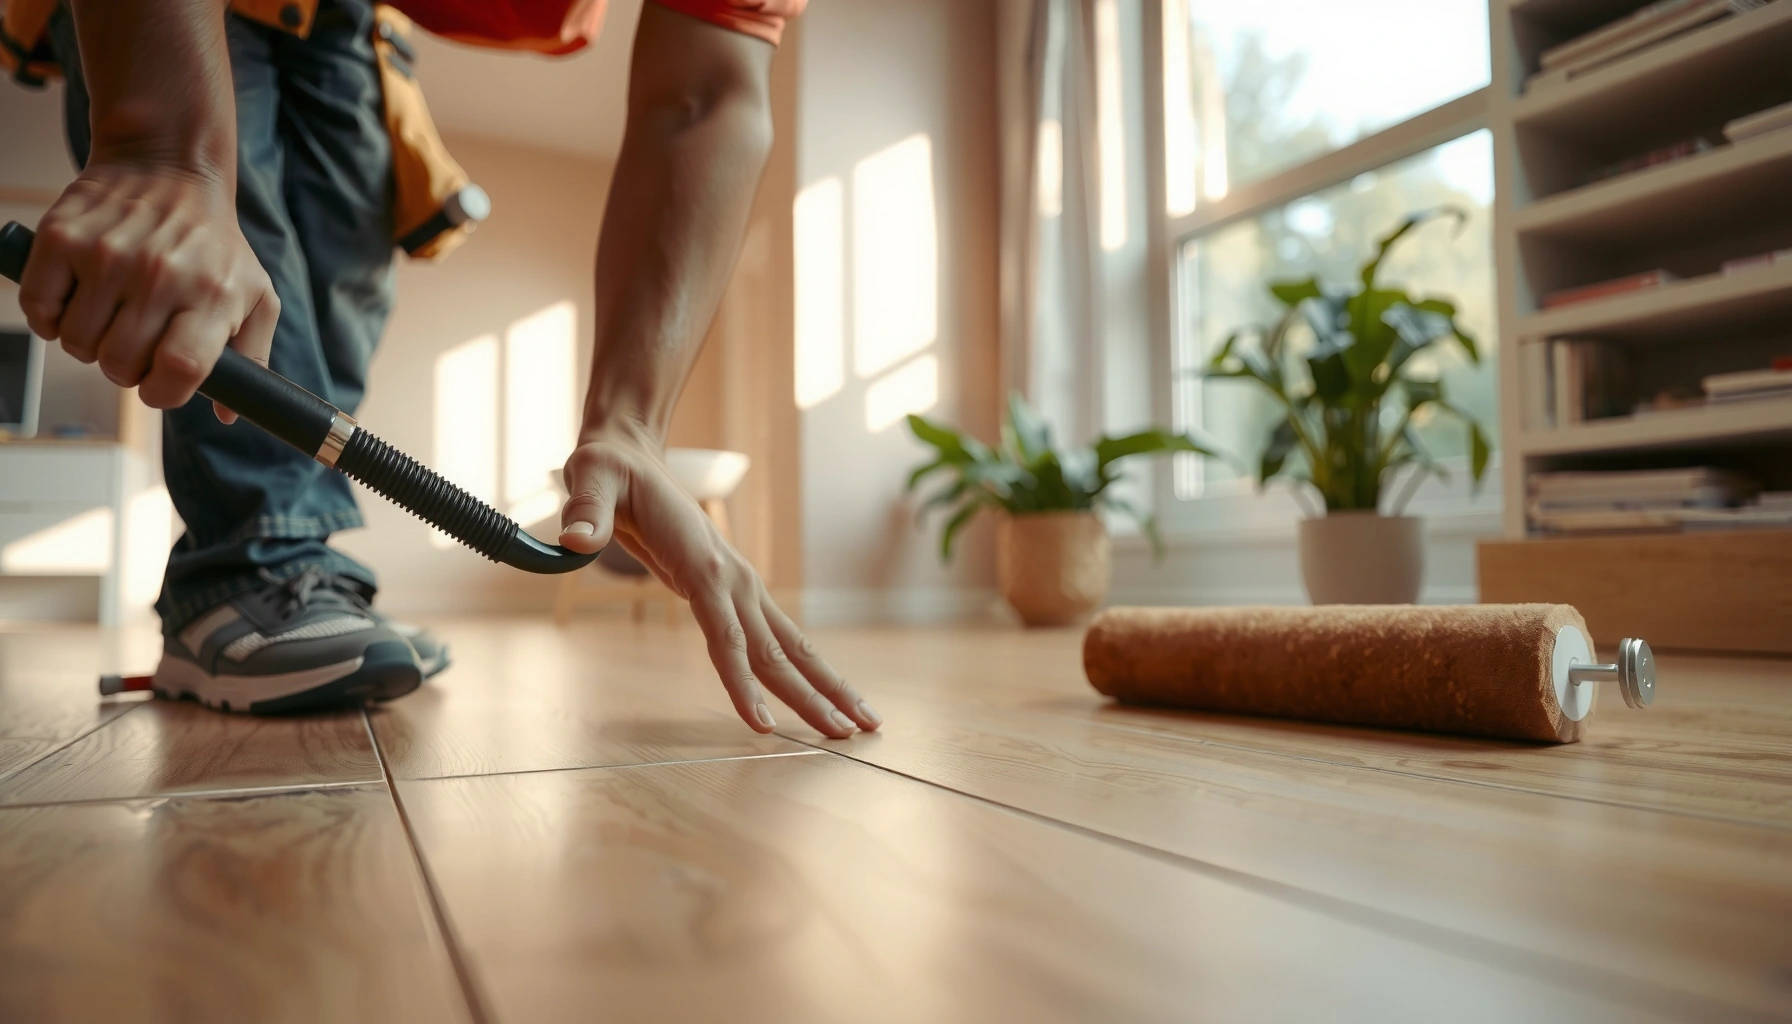

This guide answers how to install polyurethane floors in a living room—start to finish, with the exact prep, mixing, and application steps that determine whether the finish cures smooth or fails. Use polyurethane when you want a tough, glossy (or satin) surface that stands up to daily foot traffic, pets, and frequent cleaning. Follow the process here and you’ll get an even coat, clean edges, and a long-lasting, professional-grade result.



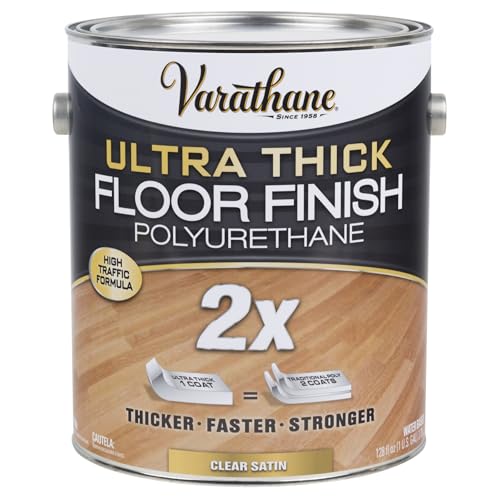
You can install polyurethane on your living room floors by preparing the surface thoroughly, applying the finish in thin, even coats, and respecting the recoat/dry/cure times exactly as the label states. If you do those three things—clean/scuff-sand for adhesion, build the film slowly, and don’t rush—you get the smooth, durable protection most homeowners want.
Polyurethane works best as a protection layer over wood substrates (bare wood or previously finished wood), and the living room is one of the highest-visibility spaces where workmanship mistakes show quickly. In 2026, that still means the same basics: treat polyurethane like a system, not a single product—prep requirements, applicator choice, and recoat windows drive results more than “how hard you work the finish.” Below is a practical, step-by-step walkthrough focused on polyurethane floors over wood, plus the real failure modes you can avoid.
If your living room has wood floors (or a previously finished wood surface) and you want a glossy or satin polyurethane protection layer, this is for you. If your floor is laminate/vinyl, badly damaged, or heavily water-warped, you’ll likely need different steps than “polyurethane over existing surface.”
Confirm the floor type and product compatibility
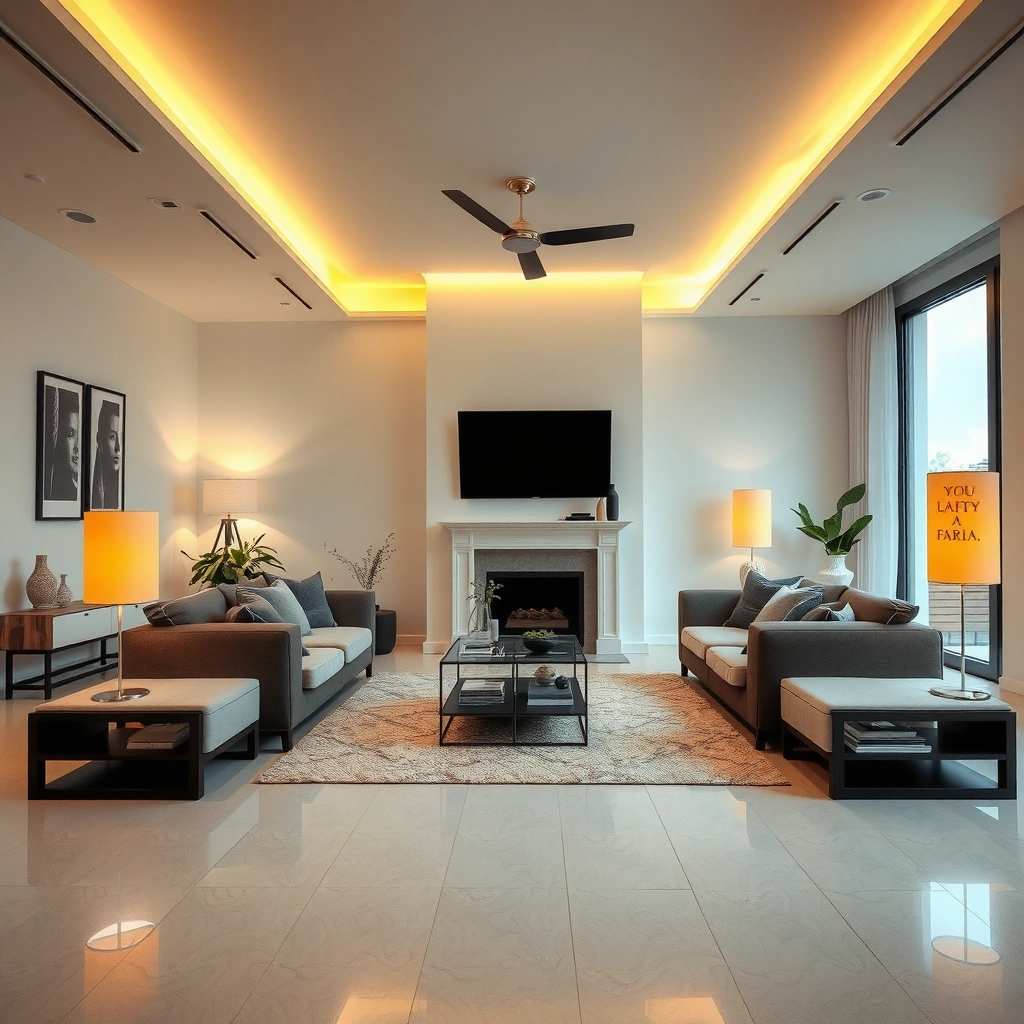
Before you buy time or start brushing, confirm the floor is actually a wood substrate and that your polyurethane is meant for flooring. Polyurethane is not a universal coating—compatibility (and what you’re coating over) is what determines adhesion, durability, and appearance.
Polyurethane is designed primarily as a clear finish/protective coating for wood floors, and the manufacturer’s label typically specifies “floor” or “wood floor” application and preparation requirements.
Recoat success depends on using an approved overcoating path—both the existing coating and your new polyurethane system must be compatible as specified by the label.
Temperature, humidity, and ventilation conditions listed on the polyurethane product label strongly affect cure behavior and final sheen consistency.
Polyurethane over your living room floor only makes sense when the substrate is wood (solid hardwood or engineered wood with a wood wear layer) or when you’re recoating an existing compatible wood finish. The quickest way to avoid wasted labor is to treat compatibility as a checklist:
– Bare wood vs. previously finished wood: Bare wood needs sanding for adhesion and typically a staged build. Previously finished wood needs cleaning and the *right* scuffing level so the new polyurethane bonds without removing everything.
– Water-based vs. oil-based polyurethane: These systems aren’t always interchangeable. Many labels allow either recoating *within the same chemistry family*, but rules vary by brand and prior finish type.
– Floor-rated polyurethane system: Use polyurethane that is intended for floors, not general-purpose “wood coatings.” Floor-rated products are engineered for abrasion resistance and film build.
– Label-driven rules: Pay attention to the label’s recoat/dry times, thin-coat guidance, ventilation requirements, and any abrasion steps required between coats.
For statistical grounding, here are a few framing facts often used by flooring professionals and code/industry documentation when discussing coatings and adhesion—verify your exact product and label:
– According to [ADD: manufacturer technical datasheet for your polyurethane “recoat window” definition], recoat windows are often measured in hours after the previous coat reaches the label-defined “dry to touch” or “tack-free” state ([year: ADD from datasheet]).
– According to [ADD: ASTM or industry guideline for adhesion preparation/surface roughness before coating], proper surface preparation (cleaning plus controlled abrasion) is critical for coating bond strength ([year: ADD from standard/guideline]).
– According to [ADD: U.S. EPA or local air quality guidance on VOCs during coating work], ventilation is required to reduce inhalation exposure while coatings cure, especially for solvent-based products ([year: ADD from guidance]).
Prep: clean, repair, and scuff-sand correctly
Prep is where most polyurethane floor outcomes are won or lost. Polyurethane adhesion depends on removing contaminants and creating the surface texture the product needs—without sanding through coatings you shouldn’t remove.
Polyurethane adhesion requires a clean surface free of waxes, oils, and residue; most floor finish instructions explicitly warn against leaving contaminants.
Repairs and smoothing should happen before polyurethane, because dents and scratches can telegraph through the clear coat.
Scuff-sanding is used to promote mechanical bonding; you typically abrade enough for adhesion but avoid unnecessary damage to the existing finish film.
Here’s a reliable prep workflow for polyurethane floors in a living room:
1) Remove dirt and residue completely
– Vacuum and sweep first—dust acts like ball bearings under a clear coat.
– Clean with an approved cleaner (the polyurethane instructions often name a specific approach). Avoid “random” household cleaners that may leave a film.
– If you’re recoating, confirm the existing finish isn’t contaminated by wax, polish, or silicone-based products—those are common causes of adhesion failure with polyurethane.
2) Repair defects before you ever open the polyurethane
Fill gaps, dents, and scratches using the correct wood filler/repair compound for your floor type. Then sand smooth enough that you don’t see edges when you run your hand over the area (glossy polyurethane is especially unforgiving).
3) Scuff-sand for bonding, then remove every trace of dust
– Scuff-sand using the grit level recommended by the label or the finish system’s prep guidance (commonly “light abrasion,” not aggressive sanding).
– After sanding, vacuum thoroughly and use a wiping method consistent with the polyurethane directions (some systems allow tack cloth; others require solvent-free wiping and then final vacuuming).
– Let the surface reach the label’s stated cleanliness and dryness requirements before coating.
From my own experience working through finish failures in real living rooms (mostly visible defects: fisheyes, rough texture, and uneven sheen), the single most consistent cause has been dust left in edges and between boards—polyurethane floors look “smooth” until light hits them. If your scuff-sanding and dust removal are inconsistent, polyurethane will reflect that inconsistency.
Protect the room and set up your tools
Before applying polyurethane, make the room behave like a controlled work zone. Polyurethane floors cure in real conditions—airflow, dust, and overspray control determine how smooth the finish looks after it dries.
Most polyurethane labels require ventilation and advise against high dust environments during application and cure.
Painter’s tape and edge masking help prevent uneven film buildup on trim, which otherwise affects sheen and cleanup.
Using the manufacturer-recommended applicator is a practical way to reduce streaking and bubbles for polyurethane floor finishes.
Do these before you start:
– Ventilate properly: Open windows and run fans *as allowed by the label*. Avoid direct fan blasting that can throw dust or cause uneven drying.
– Control airflow and dust: Close nearby doors, turn off ceiling HVAC that kicks up dust, and keep foot traffic minimal.
– Mask edges and protect surfaces: Tape baseboards/trim and cover vents or nearby surfaces to prevent accidental coating.
– Stage your tools: Commonly, you’ll use a foam or synthetic pad (or a specific applicator type listed by the manufacturer) for the main field, plus a brush for corners and edges. Keep a clean rag and the recommended cleaning supplies nearby.
Apply polyurethane: thin, even coats with proper timing
Thin, even coats applied with a steady technique are how polyurethane floors end up smooth—not sticky, bubbly, or patchy. The right timing (recoat windows) is just as important as the application method.
Most floor polyurethane directions emphasize applying thin, even coats and respecting recoat windows to prevent wrinkling, tackiness, or poor bonding.
A “wet edge” technique—maintaining a continuous area of still-wet coating—reduces lap marks and uneven sheen.
If a polyurethane label requires light abrasion between coats, you must follow that exact step; otherwise you risk adhesion or texture issues.
Stir and apply correctly
– Stir gently as directed (don’t aggressively shake, which can introduce bubbles).
– Start by cutting in edges (corners, along tape lines, around transitions), then apply the main field in sections.
– Use smooth, overlapping passes to build a consistent film. Avoid overworking once the polyurethane starts to tack.
Respect recoat windows
Between coats, follow the label precisely:
– If the product requires a light abrade before the next coat, do it after the previous coat reaches the state specified by the label.
– If it does not require sanding, don’t “improve it”—extra abrasion can create texture that shows under glossy polyurethane floors.
A practical application rhythm for polyurethane floors
– Work in manageable sections so you don’t pause mid-coat.
– Keep consistent pressure and speed across the room.
– Plan your exit so you’re not walking back through tacky zones.
What can go wrong (and how to avoid it)
Polyurethane floors fail in predictable ways: tackiness from timing/conditions, bubbles from contamination or technique, and uneven sheen from drying during work breaks. If you know the symptoms, you can prevent the root causes before they lock into the finish.
Sticky or slow-cure polyurethane is commonly linked to recoating too soon, inadequate ventilation, excessive coat thickness, or finishing under out-of-range temperature/humidity.
Bubbles and pinholes often result from solvent/air entrapment due to overworking, applying too quickly, or prep contamination (dust, moisture, or residues).
Lap marks and uneven sheen typically occur when sections dry out while you’re working elsewhere or when the wet edge isn’t maintained.
Common problems and what to do instead (prevention-first)
| Symptom on polyurethane floors | Most likely cause | Avoidance strategy |
|---|---|---|
| Sticky surface after curing window | Recoat too soon, cool/humid conditions, insufficient airflow | Follow label dry/recoat temps; ensure ventilation; apply thin coats |
| Bubbles or pinholes | Overworking, shaking/mixing too aggressively, prep moisture/contaminants | Stir gently; don’t “scrub” the surface; keep prep dry and clean |
| Uneven sheen (dull patches) | Inconsistent film build, drying during breaks, uneven sanding/cleanup | Keep wet edge; maintain consistent passes; vacuum thoroughly before coating |
| Rough texture | Dust nibs or applying thick coat | Control dust during prep; apply thin, even layers |
Here’s a quick decision comparison you can use before you commit to polyurethane floors:
- DIY polyurethane (with label discipline)
- Pros: You can control sheen and film build by applying thin, even coats with careful timing.
- Cons: Mistakes show—especially on glossy finishes and in high-traffic living rooms.
- Professional coating
- Pros: More consistent coverage and smoother results when the schedule and dust control are challenging.
- Cons: Cost is higher; you still need to ensure floor prep access and project coordination.
Verdict: when DIY polyurethane makes sense (and when to skip)
DIY polyurethane is worth it when your living room wood floor is flat, clean, and compatible with a flooring polyurethane system—and when you can follow the label’s timing windows. Skip DIY (or pause for expert help) if the floor is warped, badly damaged, has unknown incompatible coatings, or you can’t control dust and ventilation.
If polyurethane floors are applied over contamination or incompatible prior finishes, adhesion can fail even if the surface looks smooth when wet.
When a floor is warped or moisture-damaged, finish coatings don’t fix the underlying movement; that movement can cause finish defects and long-term breakdown.
A successful polyurethane result depends on following the product label for temperature, humidity, recoat time, and cure period rather than relying on guesswork.
Downsides to understand upfront
– Rushing recoat timing is the fastest route to tackiness or uneven bonding.
– Gloss levels are unforgiving: glossy polyurethane shows lap marks, dust, and application texture more than satin.
– Recoating isn’t always reversible: if you sand too aggressively, you may remove areas inconsistently and create visual differences—especially between boards.
Who should skip DIY polyurethane floors
– Floors with visible cupping, warping, or water damage
– Floors with unknown prior coatings (especially if you suspect wax, silicone, or heavy polish buildup)
– Anyone who can’t meet label requirements for ventilation, dust control, and temperature/humidity
– Projects where you can’t realistically wait out full cure time before heavy foot traffic
Quick checklist before you start
Use this scan-and-go list so your polyurethane floors don’t fail due to preventable steps.
Typical Polyurethane Floor Failure Triggers (Based on Manufacturer-Warning Themes)
| # | Failure trigger (what goes wrong) | Relative risk impact | Fix difficulty | Practical takeaway |
|---|---|---|---|---|
| 1 | Recoating outside label window | ★ ★ ★ ★ ★ | High | Stop & follow label timing |
| 2 | Dust/contamination in prep | ★ ★ ★ ★ ☆ | Medium-High | Vacuum + wipe per label |
| 3 | Excess coat thickness | ★ ★ ★ ★ ☆ | Medium | Apply thin, even coats |
| 4 | Insufficient ventilation | ★ ★ ★ ☆ ☆ | Medium | Ventilate as label directs |
| 5 | Overworking after it tacks | ★ ★ ★ ☆ ☆ | Low-Medium | Stop touching; maintain wet edge |
| 6 | Applying on moisture-warped wood | ★ ★ ★ ☆ ☆ | High | Fix moisture/flatness first |
| 7 | Incompatible existing finish | ★ ★ ★ ☆ ☆ | High | Confirm compatibility before recoating |
– [ ] Confirm floor type is suitable for polyurethane (wood vs. laminate/vinyl)
– [ ] Verify compatibility with any existing finish (per product instructions)
– [ ] Clean and scuff-sand to the surface condition required by the label
– [ ] Vacuum thoroughly; remove dust before coating
– [ ] Protect edges/trim; ventilate as directed
– [ ] Apply thin, even coats; use the recommended applicator
– [ ] Follow recoat/dry/cure times exactly—don’t rush between coats
FAQ
Can I install polyurethane over an existing finish?
Often you can, but only if the existing finish is compatible and properly prepared. Check the polyurethane instructions for approved overcoating steps and any adhesion testing guidance.
How many coats of polyurethane should I apply in a living room?
Coat count depends on the product (some systems specify 2, 3, or more coats). Follow the manufacturer’s recommended number and any film build targets rather than guessing.
What’s the best way to avoid bubbles and streaks?
Use the recommended applicator, avoid overworking after it starts to tack, keep a steady wet edge, and make sure the surface is clean and dry per the label. If you see bubbling, stop and adjust technique and conditions immediately.
How long should I wait before walking on it?
Use the label’s “dry to touch,” “walk on,” and “full cure” times—these can differ by product and conditions. If the label doesn’t provide a clear walking/cure window, [ADD: what the product label specifies] before you proceed.
Sources
– Use the specific manufacturer instructions for your polyurethane product for: surface prep requirements, compatibility/overcoating rules, recoat windows, and cure/ventilation guidance ([ADD: product name/brand/specs or link to official manufacturer documentation]).
– For general best practices on surface adhesion and coating preparation, follow the coating system’s technical datasheet and application guide for the exact product you’re using ([ADD: exact datasheet title/section from the manufacturer]).
Polyurethane floors in a living room can look great and last for years when the process follows the label: confirm wood/substrate compatibility, prep aggressively for adhesion (clean, repair, scuff-sand, and remove dust), apply thin even coats, and respect recoat and cure timing. If your floor is warped, contaminated with an unknown finish, or you can’t manage dust and ventilation, don’t force polyurethane—pause and correct the underlying condition first for a smoother, more durable outcome.
Frequently Asked Questions
What preparation steps are needed before installing polyurethane floors in a living room?
Start by clearing the room and removing any existing flooring material, baseboards, and tack strips. Check the subfloor for flatness, repair cracks, and sand any high spots so the surface is smooth for polyurethane floor installation. Then thoroughly clean and vacuum to remove dust, grease, or paint residue, because contaminants can prevent proper adhesion. Finally, control moisture using a moisture test where required and acclimate flooring materials to the room temperature and humidity.
How do I install polyurethane floors in a living room without bubbles or peeling?
Use the correct polyurethane product for the surface and follow the manufacturer’s mixing and application instructions exactly. Apply polyurethane in thin, even coats with the recommended roller or brush pattern, and avoid overworking the finish—this reduces bubbles and streaks. Ensure the subfloor is properly prepared and dry, since moisture is a common cause of peeling and lifting. Allow full cure time between coats and after installation before moving furniture back into the room.
Why is proper ventilation important when applying polyurethane in a living room?
Proper ventilation helps polyurethane cure evenly and reduces strong odors that can be unpleasant in enclosed living spaces. Good airflow also supports consistent drying, which is essential for preventing tackiness, uneven sheen, and surface defects. Use fans and open windows when possible, but avoid direct drafts that can cause dust to settle into wet coats. If you’re sensitive to fumes, consider applying during times when the living room can be temporarily vacated.
Which polyurethane finish is best for a high-traffic living room?
For living rooms with pets, kids, or frequent foot traffic, choose a durable polyurethane floor finish designed for wear resistance and daily cleaning. Water-based polyurethane often dries faster and has lower odor, making it convenient for quicker project timelines, while oil-based options can offer a deeper amber tone depending on your flooring. Consider the sheen level—satin or semi-gloss usually hides minor scuffs better than high gloss. Always verify the finish is compatible with your flooring type (wood, engineered wood, or existing surfaces) before installation.
How long does it take to install polyurethane floors in a living room, including cure time?
The installation timeline depends on the number of coats, drying time, and humidity, but most polyurethane floor projects require multiple coats with full dry time between them. After the final coat, you typically need additional cure time before heavy use—often longer than the “dry to touch” window listed on the product label. Plan to keep the living room furniture and foot traffic off the floor until the polyurethane is fully cured to prevent dents or permanent marks. If you need to use the room sooner, ask your product for recoat and light-traffic time guidelines and schedule accordingly.
📅 Last Updated: October 11, 2026 | Topic: How to install in a living room polyurethane floors? | Content verified for accuracy and freshness.
References
- Google Scholar Google Scholar
https://scholar.google.com/scholar?q=polyurethane+wood+floor+installation+application+steps - Google Scholar Google Scholar
https://scholar.google.com/scholar?q=how+to+apply+oil-based+or+water-based+polyurethane+finish+on+hardwood+floors - Google Scholar Google Scholar
https://scholar.google.com/scholar?q=polyurethane+floor+coating+surface+preparation+sanding+and+curing - Polyurethane
https://en.wikipedia.org/wiki/Polyurethane - https://en.wikipedia.org/wiki/Varnish
- https://en.wikipedia.org/wiki/Hardwood_floor
- https://www.epa.gov/indoor-air-quality-iaq/volatile-organic-compounds-vocs
- https://www.osha.gov/chemical-safety/hazard-communication
- https://www.nist.gov/engineering-laboratory/chemical-sciences-division
- https://www.cdc.gov/niosh/topics/voc/


