To cut vinyl flooring, you'll need a utility knife, a straightedge, and a cutting mat. Start by measuring your space carefully, marking cut lines to guarantee accuracy. When cutting, use the scoring technique by making shallow cuts along your straightedge, then bend the vinyl to snap it cleanly. Remember to wear safety gear, including gloves and goggles. Keep your workspace organized to avoid hazards, and practice on scrap pieces before tackling the final cuts. This careful preparation lays the groundwork for a clean finish, so you're set for success in your flooring project ahead.
Tools Needed for Cutting
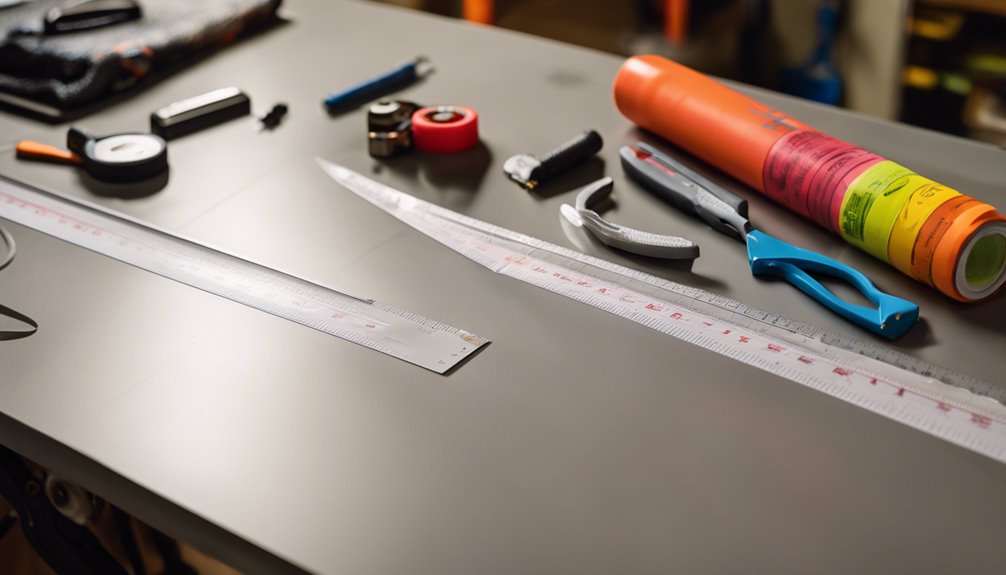
When tackling the job of cutting vinyl flooring, having the right tools on hand is essential for achieving clean, precise cuts. Start with a sharp utility knife; it's perfect for various vinyl types and will guarantee your cutting techniques are effective. A straightedge or T-square helps maintain straight lines, while a cutting mat protects your surfaces. For thicker vinyl, consider a circular saw equipped with a fine-tooth blade. Always have a measuring tape handy to confirm accurate cuts. If you plan to make intricate designs, a jigsaw can also be useful. Finally, don't forget safety gear like gloves and goggles. With these tools, you'll feel empowered to tackle any vinyl flooring project with confidence.
Measuring Your Vinyl Flooring
After gathering the right tools for cutting vinyl flooring, the next step is measuring your space accurately. Start by using measurement tools like a tape measure or a laser distance measurer for precision. Measure the length and width of the area, noting the dimensions carefully. Consider using measuring techniques like the "room diagonal" method to check for squareness, ensuring your vinyl fits perfectly without gaps. If you're working around obstacles, sketch a simple floor plan to mark where cuts will be needed. Always add a few extra inches to your measurements to account for mistakes or adjustments. By taking the time to measure correctly, you'll save yourself the hassle of redoing any cuts later on.
Preparing the Work Area
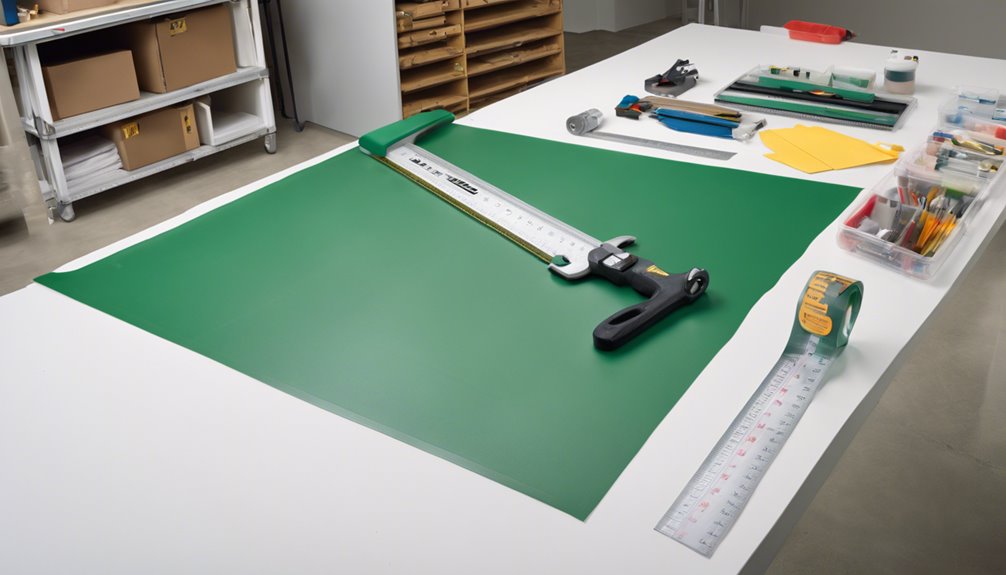
Before you start cutting your vinyl flooring, it's essential to prepare your work area to guarantee a smooth installation process. Proper floor preparation and workspace organization can make a significant difference. Here are some key steps:
- Clear the area: Remove any furniture, debris, or obstacles that could hinder your movement.
- Set up a cutting station: Use a sturdy table or a flat surface to cut your vinyl, ensuring it's at a comfortable height for you.
- Gather your tools: Have your knife, straightedge, measuring tape, and safety gear within reach.
Marking Cut Lines
When marking cut lines on your vinyl flooring, accuracy is key to achieving a clean finish. Start by measuring your space carefully, then use a straight edge to guarantee your lines are true. Finally, mark your lines with a pencil for precision, making it easier to follow as you cut.
Measuring for Accuracy
To guarantee a precise fit for your vinyl flooring, it's essential to take careful measurements and mark your cut lines accurately. Start by considering the vinyl thickness and how it interacts with various flooring patterns.
Here are a few tips to ensure accuracy:
- Use a measuring tape: Measure twice to confirm your dimensions.
- Account for expansion: Leave a small gap for expansion along walls.
- Mark clearly: Use a pencil to mark your cut lines, making them easy to follow.
Using a Straight Edge
A straight edge is essential for marking your cut lines accurately, ensuring that your vinyl flooring fits perfectly. It allows you to apply various cutting techniques with precision, minimizing mistakes. Here's a quick reference table to help you choose the right straight edge for your project:
| Straight Edge Type | Best Use |
|---|---|
| Metal Ruler | Fine, detailed cuts |
| Carpenter's Square | Right angle cuts |
| T-Square | Large sheets alignment |
| Level | Straight, long cuts |
| PVC Pipe | Flexible, curved cuts |
Using a straight edge not only enhances your cutting accuracy but also contributes to overall vinyl maintenance by preventing unnecessary wear and tear on your flooring. Happy cutting!
Marking With a Pencil
Accurate marking of cut lines is essential for achieving clean, precise edges on your vinyl flooring. Choosing the right pencil types and mastering marking techniques can make all the difference. Here are some tips to help you get started:
- Select the right pencil: A sharp, fine-point pencil works best for detailed cuts, while a thicker pencil can be used for larger areas.
- Use a straightedge: Align your straightedge with your cut line for a perfect guide when marking.
- Check your measurements: Double-check your measurements before you mark to avoid mistakes.
Take your time marking the cut lines, ensuring they're clear and accurate. This prep work will lead to a smoother, more professional-looking installation. Enjoy the freedom of a job well done!
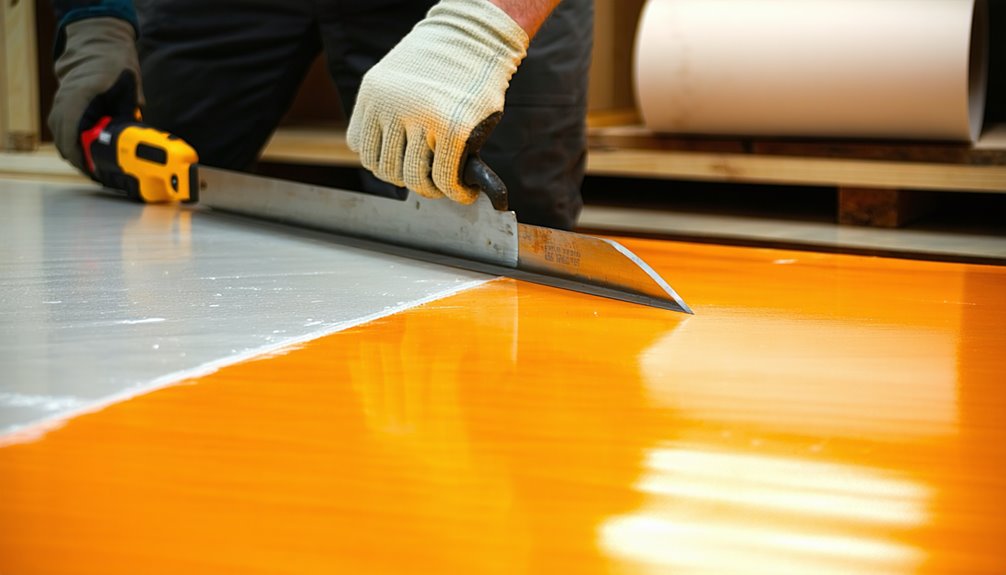
Techniques for Straight Cuts

When cutting vinyl flooring, mastering techniques for straight cuts is essential for achieving a clean, professional finish. Start by gathering your tools: a straightedge, utility knife, and a cutting mat. Align your straightedge with the marked line, ensuring it's securely in place. Use your utility knife to make a shallow score along the edge of the straightedge, following through the vinyl patterns. After scoring, bend the vinyl along the cut line until it snaps. For thicker vinyl, you might need to repeat the scoring process for a deeper cut. Remember to apply consistent pressure and keep your hands steady to maintain accuracy. These cutting techniques will help you create seamless shifts and a polished look.
Cutting Curves and Angles
While cutting curves and angles in vinyl flooring can seem challenging, it becomes manageable with the right approach. Here's how to tackle it effectively:
- Use a jigsaw for precise curve cutting.
- Make angle adjustments gradually, measuring often.
- Practice on scrap pieces before cutting your final flooring.
Start by marking your desired curve or angle on the vinyl. For curves, a jigsaw with a fine-tooth blade is your best bet, allowing for smooth, flowing cuts. For angles, use a straightedge to guide your cuts, ensuring accuracy. Don't rush; take your time to adjust your angle as needed. With patience and practice, you'll achieve those perfect curves and angles, giving your flooring a professional look that showcases your freedom to design.
Safety Precautions
When cutting vinyl flooring, it's crucial to prioritize your safety by using the right personal protective equipment. Make sure to employ proper cutting techniques and maintain a tidy workspace to prevent any accidents. By following these precautions, you'll create a safer environment for your project.
Personal Protective Equipment
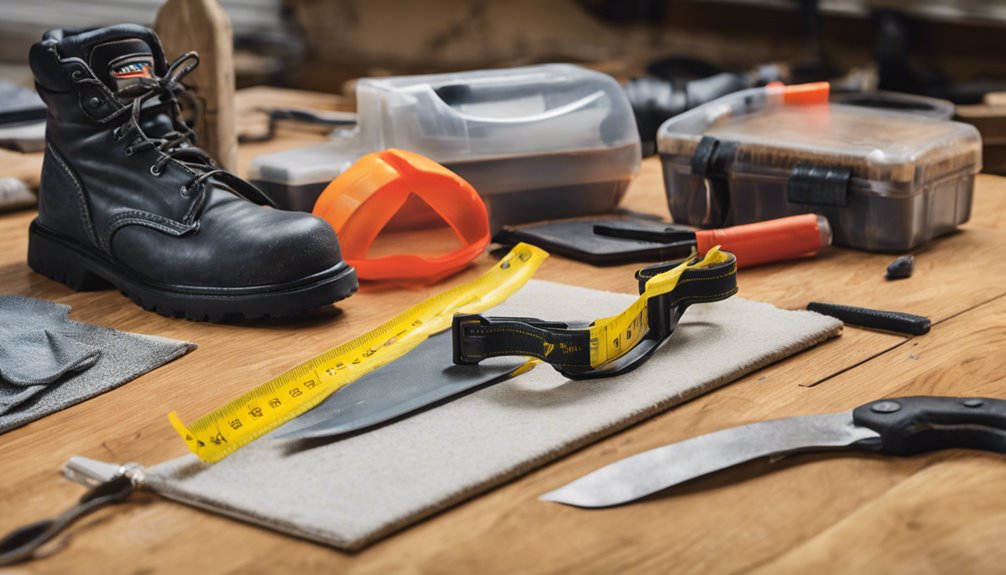
Before you begin cutting vinyl flooring, it's crucial to prioritize your safety by wearing the appropriate personal protective equipment (PPE). Wearing the right safety gear not only protects you but also enhances your freedom to work without worry. Here are three key items you should consider:
- Protective eyewear: Safeguard your eyes from debris and particles.
- Cut-resistant gloves: Keep your hands safe from sharp tools and edges.
- Dust mask: Protect your lungs from inhaling fine particles.
Proper Cutting Techniques
Having the right personal protective equipment is just the first step in guaranteeing a safe cutting process. When using cutting techniques for vinyl flooring, always score the surface with a utility knife before applying pressure. This prevents jagged edges and preserves your vinyl patterns. Make sure you're cutting on a stable surface, using a straight edge as a guide to maintain accuracy. For intricate designs, a jigsaw or rotary cutter can be helpful, but verify the blade is sharp for clean cuts. Always work away from your body, and never rush the process; precision is key. If you're unsure about a cut, practice on a scrap piece first to boost your confidence and achieve the best results.
Workspace Safety Measures
While cutting vinyl flooring can be a straightforward task, guaranteeing a safe workspace is essential to prevent accidents and injuries. Here are some key safety measures to take into account:
- Maintain workspace organization: Keep all tools and materials neatly arranged to avoid tripping hazards.
- Wear protective gear: Don't forget gloves and goggles to shield yourself from sharp blades and debris.
- Check your tools: Confirm that all cutting tools are in good condition and functioning properly.
These precautions help minimize the risk of accidental injuries. A well-organized workspace not only enhances efficiency but also promotes safety, allowing you to cut vinyl flooring with confidence. By taking these steps, you can enjoy your project without worrying about potential hazards.
Cleaning Up After Cutting
After you've finished cutting your vinyl flooring, it's important to clean up the workspace effectively to confirm safety and maintain a tidy environment. Start by gathering your cleaning supplies, like a broom, dustpan, and vacuum, to eliminate any debris or dust. Carefully sweep up the vinyl scraps and confirm you don't leave any sharp edges that could pose a hazard. For larger pieces, utilize waste disposal bags or bins specifically designated for flooring waste. Next, double-check the area for any leftover tools or materials. A clean workspace not only enhances safety but also prepares you for the next steps in your flooring project. Remember, maintaining an organized environment allows you the freedom to work efficiently.
Tips for a Professional Finish
To achieve a professional finish when cutting vinyl flooring, it's vital to use the right tools and techniques. Remember to measure twice and cut once to guarantee accuracy and prevent waste. With careful preparation and attention to detail, you'll enhance the overall look of your flooring project.
Use Proper Tools
When you're ready to cut vinyl flooring, having the right tools can make all the difference in achieving a professional finish. Using proper tools not only enhances your vinyl cutting techniques but also guarantees a smoother installation process. Here are some essentials you shouldn't overlook:
- Utility Knife: Perfect for precise cuts and curves.
- Straight Edge: Helps maintain clean, straight lines.
- Cutting Mat: Protects your surfaces and keeps blades sharp.
Measure Twice, Cut Once
Having the right tools sets the stage for a successful vinyl flooring project, but accurate measurements are just as important. Before you start cutting, take the time to measure your space and the vinyl types you're working with. Use a measuring tape and mark your cuts clearly, ensuring you double-check all dimensions. This minimizes errors and waste. When you cut, employ proper cutting techniques, like scoring and snapping for thinner vinyl or using a utility knife for thicker options. Remember, it's better to trim a bit more off than to cut too much initially. By measuring twice and cutting once, you'll achieve a professional finish that enhances the overall look of your flooring project. Your hard work will pay off!
Troubleshooting Common Issues
Although cutting vinyl flooring is generally straightforward, several common issues can arise that may complicate the process. Here are some common mistakes and troubleshooting tips to keep you on track:
- Incorrect Measurements: Always double-check your measurements before cutting.
- Dull Blades: Verify your utility knife has a sharp blade; a dull one can cause jagged edges.
- Uneven Subfloor: If the subfloor isn't even, it can lead to misalignment.
When you encounter problems, don't panic. Review your work, and make necessary adjustments. If your cuts aren't straight, try slowing down and focusing on your technique. Remember, it's all about patience and precision. With these tips, you can confidently tackle your vinyl flooring project!
Frequently Asked Questions
Can I Cut Vinyl Flooring Without Special Tools?
Imagine you're a sculptor, shaping your masterpiece without fancy tools. You can absolutely cut vinyl flooring without special tools! Using basic cutting techniques, like a utility knife or even a straight edge, you can achieve clean cuts. Alternative tools, such as scissors for thinner vinyl, can also work. Just measure carefully, mark your lines, and you'll find that freedom lies in your hands, allowing you to create a beautiful space without extra equipment.
How Do I Fix Mistakes Made While Cutting?
If you've made a mistake while cutting, don't worry; there are effective repair techniques. First, assess the error—if it's a small cut, you can often patch it with a matching piece using adhesive. For deeper mistakes, consider using vinyl repair kits that fill gaps and blend with the flooring. Always guarantee that the area is clean before applying any correction. With patience, you'll have your flooring looking great again in no time!
Is It Necessary to Acclimate Vinyl Before Cutting?
Did you know that improper acclimation can lead to up to 15% more waste when installing vinyl? Before cutting, it's essential to follow the acclimation process. This allows the vinyl to adjust to the room's temperature and humidity, ensuring it doesn't expand or contract post-installation. Using proper cutting techniques after acclimation can enhance your results, minimizing mistakes and ensuring a seamless finish. So, take the time to acclimate for a successful project!
What Type of Vinyl Flooring Is Easiest to Cut?
When you're looking for vinyl flooring that's easiest to cut, self-adhesive vinyl is often your best bet. It's designed for straightforward installation, so you won't need complex tools. Luxury vinyl, while slightly tougher, can still be cut with a utility knife, especially the thinner varieties. Both options give you the freedom to create stunning spaces without hassle. Just make sure to measure accurately to achieve clean, precise cuts for a professional look.
Can I Use a Utility Knife for Thick Vinyl?
When it comes to cutting thick vinyl, a utility knife can be surprisingly effective. In fact, using proper utility knife techniques, many people successfully slice through materials up to 5 mm thick. However, cutting thickness considerations are essential; you might need to score multiple times for a clean cut. Don't rush—take your time to guarantee precision. With the right approach, you'll find that freedom in your DIY project can be just a cut away!


