
If your herringbone floors are lifting, you can usually stop the problem quickly by identifying the cause and re-bonding the loose sections with the right subfloor prep and adhesive. This guide gives you fast, repair-ready steps—how to pinpoint what’s failing, lift and flatten without damaging the pattern, and secure the boards so the herringbone locks back in place. Follow these fixes and you’ll get results that hold, not a temporary patch.




Lifting on a herringbone floor usually comes from the subfloor/foundation or the installation method not staying flat and stable—most often because of moisture intrusion or a weakened bond. The fastest safe fix is to (1) confirm whether your herringbone is nail-down, glued-down, or floating/click, then (2) re-secure only the lifted section using the method your original installation relies on, so you don’t spread the failure.
If you’re seeing cupping at seams, raised “herringbone” edges, popping near transitions, or boards that move when you press them, this is for you. It’s most relevant if the lifting is localized (a few boards/rows) rather than the whole floor repeatedly failing.
Figure out why your herringbone floor is lifting
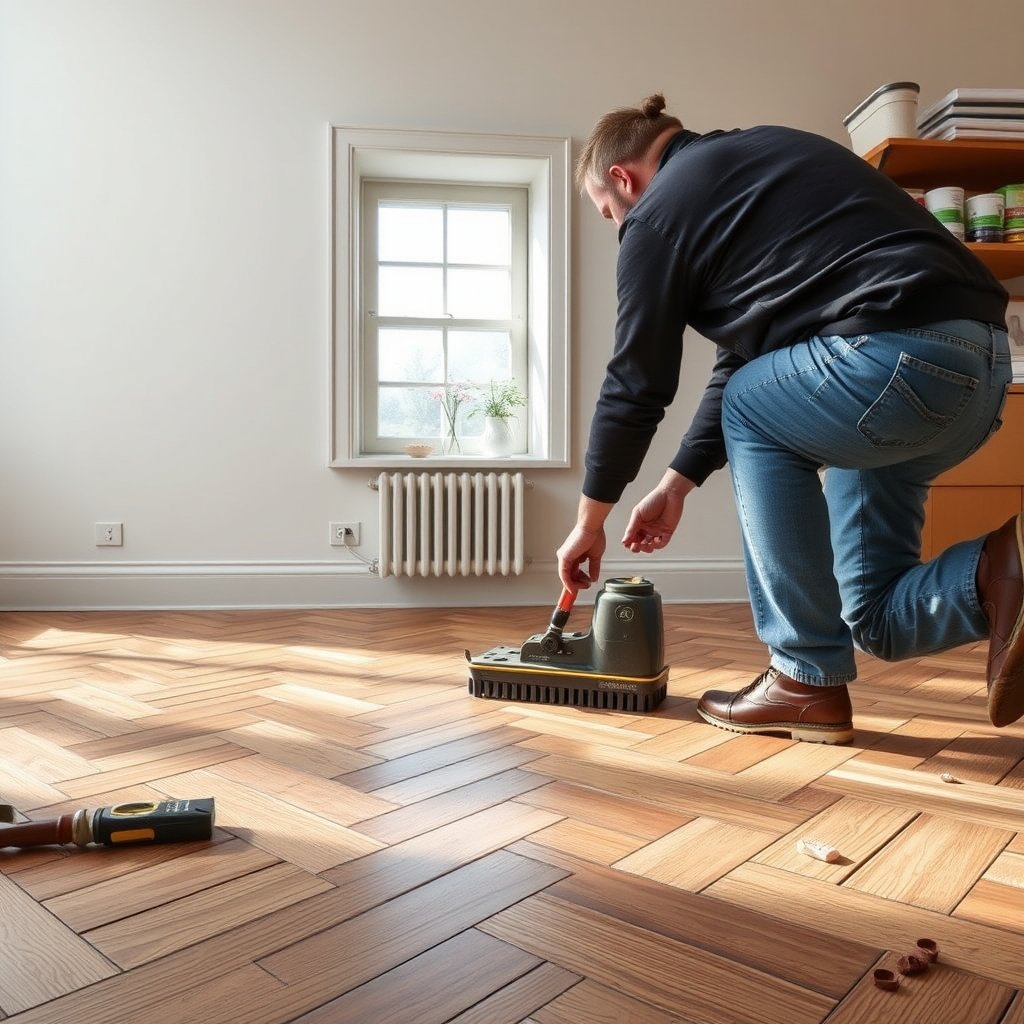
Your first move is to identify the cause before you touch the loose boards, because the “right” repair depends on what’s driving the movement. In most real-world herringbone failures, the subfloor loses stability (often moisture), or the original fastener/adhesive no longer provides full contact.
Herringbone floors lift when the wood can’t hold dimensional stability—typically due to moisture movement in the slab/subfloor or loss of full bond contact beneath the planks.
Localized lifting (a few rows) often points to perimeter movement, isolated subfloor issues, or a partial bond/fastener failure—not a whole-floor manufacturing defect.
The correct repair starts by identifying whether the floor is nail-down, glued-down, or floating/click, because each system uses different mechanics to stay flat.
– Check for moisture-related clues: musty smell, recent leaks, damp slab/subfloor, or lifting that changes with seasons.
Moisture is the most common trigger for lifting on wood and engineered herringbone floors because wood moves across the grain when humidity shifts. In 2026, contractors still treat moisture as the “root cause” step—surface cleaning alone never stops the wood from re-expanding if the slab is releasing moisture. Look for staining, discoloration around wall lines, HVAC condensate near vents, or any plumbing history under the room.
Data anchor (typical industry targets): According to NWFA moisture guidance, many wood flooring systems are expected to equilibrate around 6%–9% wood moisture content (MC) (target depends on species and product) and subfloors should be conditioned so they don’t force movement after installation.
– Look at the pattern: lifting concentrated along edges/transitions often points to movement at the perimeter; random spots can indicate loose fastening or bond failure.
If lifting clusters at door thresholds, adjacent rooms, or where a stair treads into the hallway, the perimeter or transition framing often isn’t providing the stability the herringbone layout needs. If it’s scattered, you may be dealing with localized bond failure (glued systems) or areas where nails didn’t penetrate solid backing (nail-down systems). Either way, documenting the pattern with photos and notes makes the repair more precise.
– Confirm your floor type by how it was installed (nail-down, glued-down, or floating/click system).
This confirmation controls everything: whether you pry the planks up, inject adhesive, or simply re-lock the click system. If you don’t know, look for clues:
– Nail-down (solid wood): often face-nailed or blind-nailed near the tongue/edge; baseboards are frequently removed during repair access.
– Glued-down (often engineered): board edges may show thin seams with no nail holes; there’s usually an adhesive history across the room.
– Floating/click (engineered or rigid core): no mechanical fastening into the subfloor; movement usually relates to locking-joint integrity and expansion gap issues.
Gather tools and pick the right repair approach
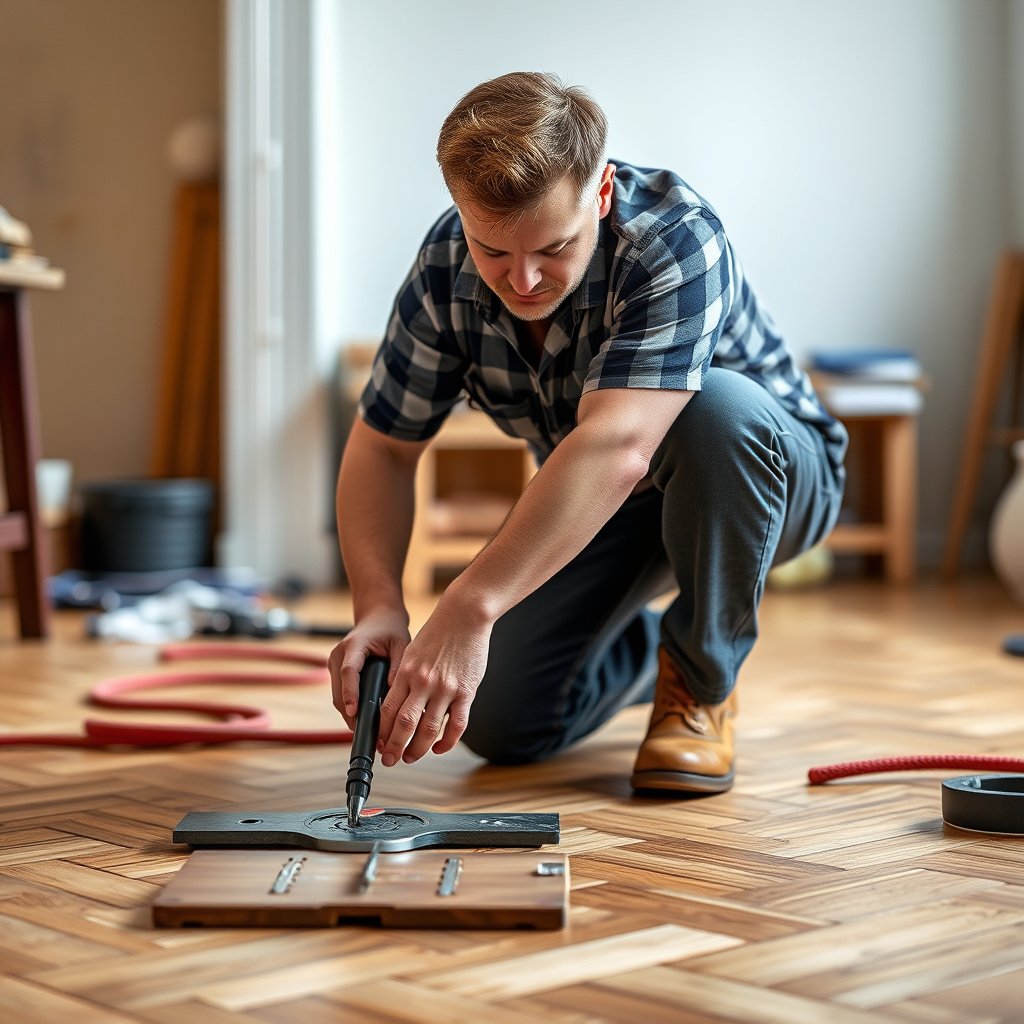
The right approach is to match your repair method to your installation system and to plan access so you can re-seat boards flat without damaging edges. If you don’t match the method, you can trap stress under the repaired section and make the lifting spread.
Repair success depends on selecting the installation-matching method: re-fastening for nail-down, re-bonding for glued-down, and joint/edge correction for floating/click.
Before lifting a herringbone floor section, planning access (trim/baseboard removal) reduces the risk of chipped tongues, cracked seams, and finish damage.
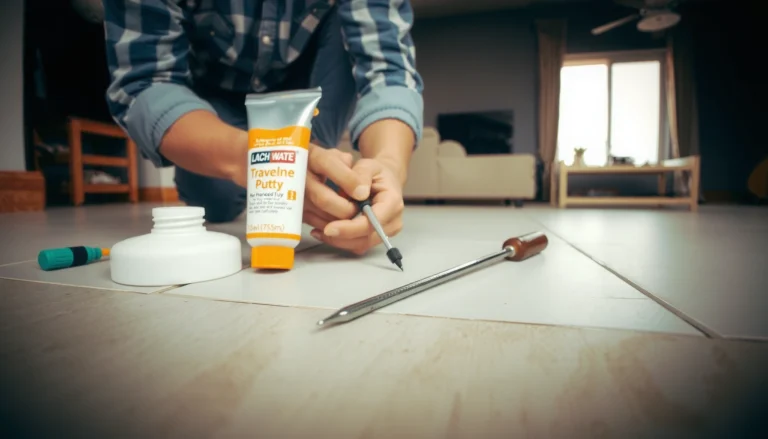
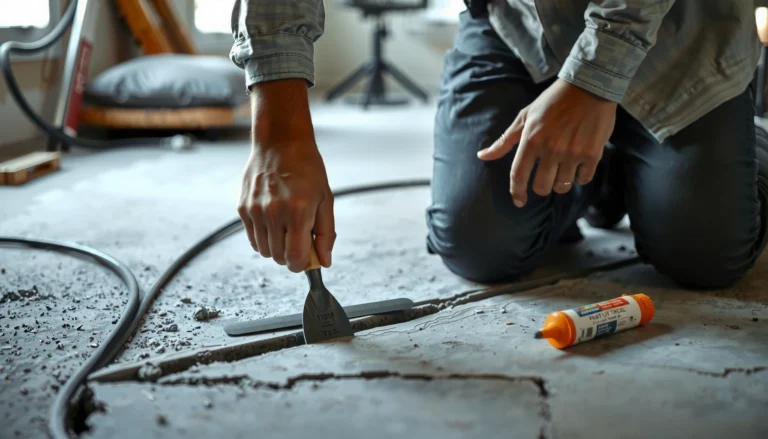
– Typical tools: pry bar/flat chisel, tapping block, painter’s tape, weights/clamps, scraper, utility knife, and a suitable filler/finish-repair kit.
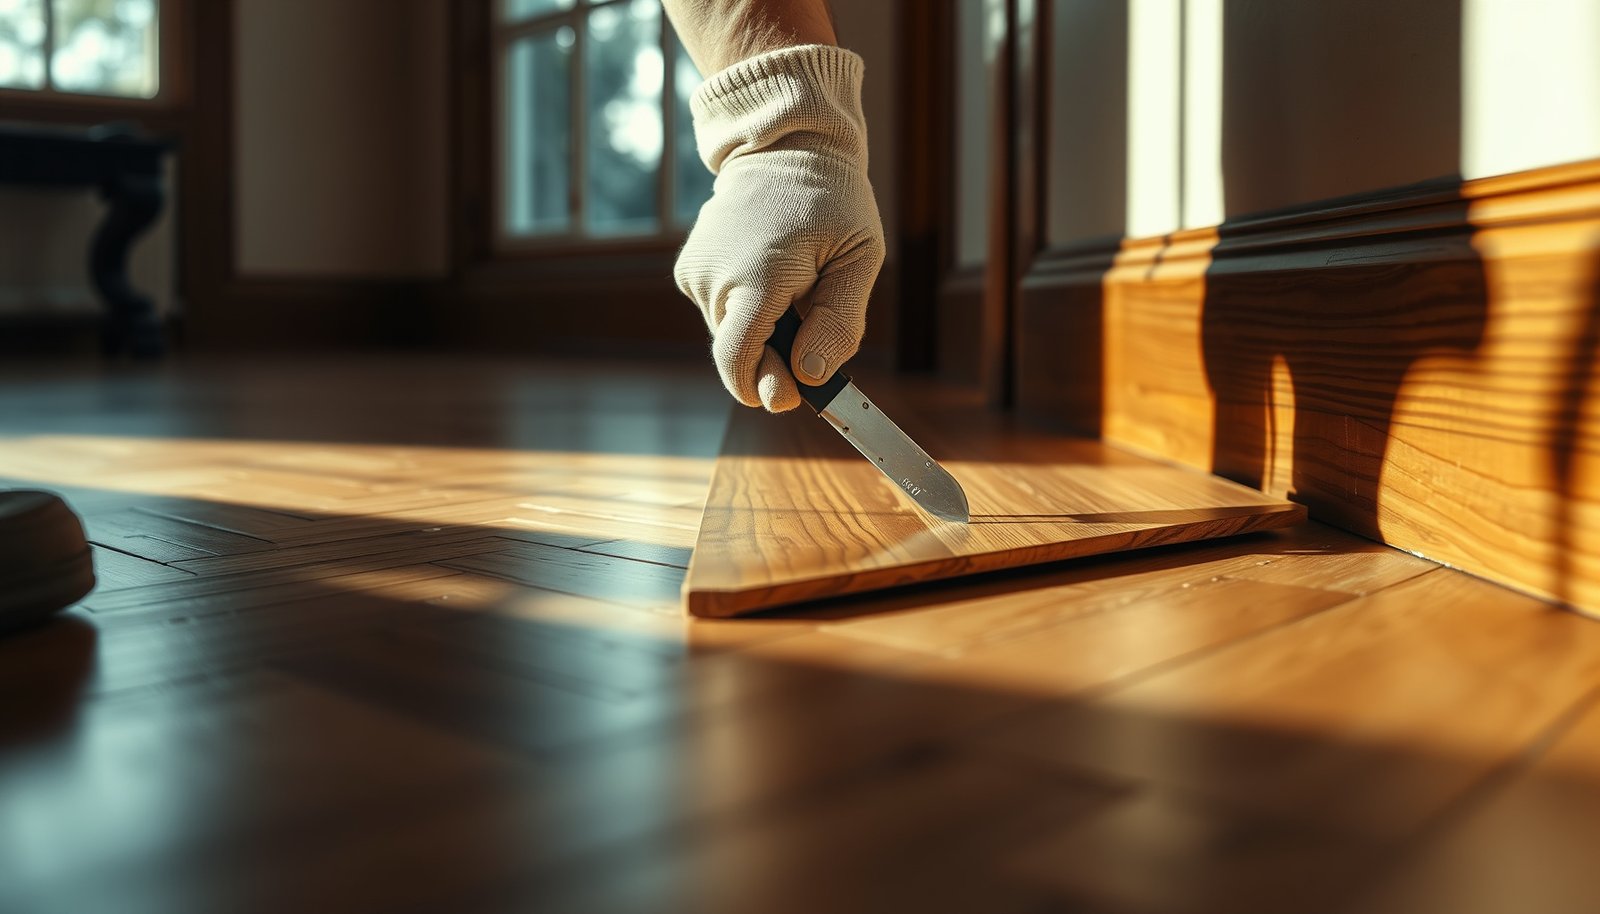
For herringbone floors, you also want edge protection. Painter’s tape and a tapping block help prevent whitening on wood finishes and protect the interlocking profile. A sharp utility knife helps you cut any old adhesive residue at the seam line (especially for glued-down systems) so you don’t tear out veneer layers or engineered wear layers.
– Match the adhesive/fastening method to your installation type (for example, nailed-down repair focuses on re-fastening; glued-down repair focuses on re-bonding).
This is where many DIY attempts fail: using “construction adhesive” or an off-label glue. Wood flooring adhesives are formulated for specific bondlines, moisture conditions, and cure behavior. For herringbone boards that are already stressed, adhesive choice is not optional.
– Plan access: you may need to remove baseboards or trim to pull lifted boards back into alignment without cracking finish.
Even if the lifting is “just a row,” the herringbone pattern often exaggerates edge movement—small misalignment becomes visible fast. Removing trim can also let you restore proper expansion spacing at walls, which prevents future edge buckling.
- Nail-down herringbone (solid wood)
-
Pros: You can re-fastening targeted rows; you’re not relying on adhesive chemistry.
Cons: If the subfloor is uneven or moisture-affected, nailing again may only delay failure. - Glued-down herringbone (often engineered)
-
Pros: Full-contact re-bonding can restore a tight surface quickly.
Cons: Hidden moisture or inadequate adhesive cure time can cause repeat lifting. - Floating/click herringbone
-
Pros: Often fixable by reseating and restoring joint integrity.
Cons: If expansion gaps are wrong or subfloor is out of level, the lock can’t hold.
Repair lifting on nailed-down herringbone floors (solid wood style)

Your best result comes from re-seating the lifted boards flat first, then restoring the original fastening approach so the wood stays flat while it relaxes. Don’t force cupped boards into place—wood needs to move back naturally or you risk splitting tongues and cracking joints.
For nail-down herringbone floors, lifting repairs work best when you re-seat the board(s) without forcing them against tension, then re-fastening near the original fastening zone.
Clamping/weighting helps, but the core success factor is mechanical re-fastening into stable subfloor support.
– Locate the loose areas, then gently relieve the edges enough to re-seat the board(s) flat (don’t force it while the wood is under tension).
Start at the perimeter of the lift. If the board has cupped, you’ll often see daylight under the high edge. Use a flat chisel or pry bar with a scrap block to prevent edge damage. Painter’s tape across the seam can keep the surface from chipping while you work.
– Re-secure using the fastening method consistent with the original install (commonly face-nailing or blind-nailing near the tongue/edges, depending on the flooring profile).
The “consistent method” matters because nail placement controls how the tongue/edge seats. If you’re guessing, you can cause new weak points. If the original nail pattern is visible (for example, from prior repairs or unfinished edges), follow it. If it’s not, follow the flooring manufacturer’s repair guidance for your specific profile.
– Clamp/weight the area while it settles, then fill and touch up as needed once everything sits flush.
Once re-seated, use weights or clamps with protective boards to spread pressure—especially on the thin herringbone geometry where a clamp point can create dents. After the surface is flush, use a filler/putty system designed for wood floors to address nail holes and seam gaps, then match the finish.
Repair lifting on glued-down or engineered herringbone floors
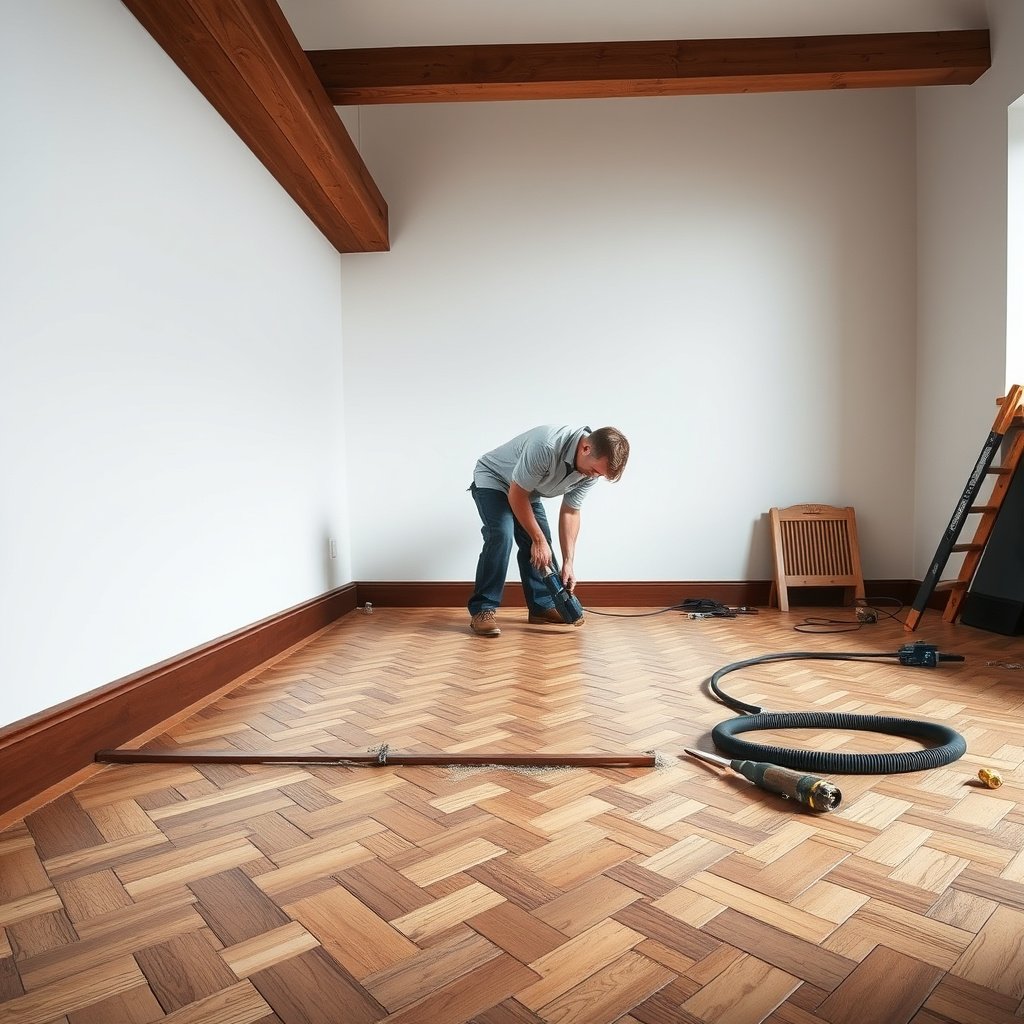
For glued-down or engineered herringbone, the main objective is restoring full underside contact using a compatible adhesive system—only where it has failed. If moisture is still active, the repaired bond may loosen again even if the injection looks perfect.
Glued-down herringbone lifts when adhesive loses bond strength or coverage, so the repair must restore contact using the manufacturer-approved adhesive and full cure time.
A visible gap under a board usually indicates bond separation, while raised joints without an under-board gap may require different seam-level attention.
– Inspect whether the board is separating from the subfloor (gap visible) versus just lifting at joints—this changes the fix.
Remove a small section of trim or use a careful inspection light to confirm where the separation occurs. If you can see a gap between the board and subfloor/underlayment, the adhesive bondline is compromised. If the board feels tight underfoot but joints are lifted, you may be dealing with localized expansion gap issues, unevenness, or profile-lock problems depending on the engineered system.
– Re-bond only what’s loose: for many glued floors, you’ll need to inject or apply a compatible adhesive under the lifted section and re-press/weight it to full contact.
Use injection tips or controlled application so adhesive fills the voids without flooding visible seams. Re-press from the center outward to push air out and reduce “hollow” spots that later telegraph through the wear layer. If the lifting is extensive across multiple rows, stop and reassess—re-bonding small localized areas is one thing; re-bonding a failing installation is another.
– Allow full cure time before walking heavily; use the adhesive manufacturer’s cure guidance and the flooring manufacturer’s install/repair instructions ().
Cure time is not a suggestion—it determines whether bond strength reaches design potential. If you walk too soon, the herringbone pattern can shift while the adhesive is still plastic.
Walk-time reminder: Cure and walk-ready timelines depend on adhesive type, temperature, humidity, and bondline thickness, so follow the manufacturer’s stated conditions. ()
Prevent future lifting (so it doesn’t come back)
The most reliable way to stop repeat lifting is moisture control plus stable, correct room conditions, with expansion spacing that your trim can’t accidentally remove. Prevention focuses on how the herringbone floor “breathes,” not just how it looks.
Moisture management is the foundation of long-term herringbone floor stability—preventing slab/subfloor moisture movement prevents wood expansion-driven lifting.
Correct expansion spacing at baseboards and transitions reduces perimeter buckling, which is a common driver of raised herringbone edges.
– Control moisture first: address any leaks and confirm the subfloor/slab is within the acceptable moisture range for wood flooring (use the method and limits from the flooring manufacturer or NWFA guidance).
If you skip moisture verification, a “perfect” glued or nailed repair can still fail. Many installations only look stable for weeks—then seasonal humidity swings pull it back into movement. For wood flooring, moisture targets are commonly framed around slab testing methods and acceptable equilibrium ranges for the wood.
– Acclimate and maintain indoor conditions (temperature/humidity stability matters for wood movement).
As of 2026, routine HVAC stability (especially in shoulder seasons) is still one of the biggest differentiators between “one-time repair” and “same problem again.” Keep indoor RH and temperature within the flooring manufacturer’s required range, and avoid rapid swings caused by space heaters or unconditioned crawl zones.
– Keep movement space correct at baseboards/edges—over-tight fitting trim can contribute to buckling and lifted edges.
If your trim was reinstalled too tight over expansion gaps, the herringbone floor can’t move naturally. That restriction often shows up first at wall runs and doorways, because those are where the movement is most constrained.
Common Moisture Targets Used Before Wood Flooring Repairs
| # | Test method | Typical pass target | Measures | Repair impact (if high) |
|---|---|---|---|---|
| 1 | ASTM F2170 (in-situ RH) | ≤ 75% RH | Slab relative humidity | Bond failure risk ↑ |
| 2 | ASTM F1869 (MVER) | ≤ 3.0 lbs / 1,000 ft² / 24 hr | Moisture vapor emission | Adhesive cure compromised |
| 3 | Concrete MC (CM method) | ≈ ≤ 4.0% (commonly used target) | Moisture content at depth | Repeat lifting likely |
| 4 | Wood flooring MC (equilibrium) | ~ 6%–9% MC | Wood dimensional stability | Cupping risk ↑ |
| 5 | Wood subfloor MC (wood-based substrate) | Often targeted ≤ 12% MC | Substrate moisture drive | Movement continues after repair |
| 6 | Temperature & RH conditions | Follow product range | Cure + equilibrium stability | Cure/planarity errors |
| 7 | Expansion spacing at walls | Per manufacturer spec | Allows seasonal wood movement | Perimeter buckling |
> Note: exact moisture limits vary by product, adhesive, and slab type. Use these as common targets to guide testing, then confirm the limits in your flooring and adhesive manufacturer documentation.
What can go wrong when fixing lifting—and when to stop
The most common failure is repairing the symptom while ignoring the cause, which makes lifting return quickly. Stop when you see structural or recurring moisture behavior, because “spot fixes” can turn into recurring failures—and can damage the flooring beyond repair.
Using the wrong adhesive or fastening method is a leading cause of repeat lifting in herringbone flooring repairs.
Forcing cupped boards into position can create permanent tongue/joint damage, turning a fixable lift into a full replacement.
– Using the wrong adhesive can fail again or damage finish/structure; always follow your flooring’s specified products and installation/repair guide ().
Different adhesives cure differently (and require specific surface prep). If you apply a product that’s incompatible with the flooring’s backing, you can end up with weak bond strength or finish discoloration—especially on engineered wear layers.
– Over-clamping or forcing boards while they’re cupped can split tongues, crack joints, or permanently deform the planks.
When a herringbone board is cupped, the forces are already stored in the wood. Over-tight clamping can lock that distortion in place or snap the interlocks at the seam. Use protective spacers and incremental pressure—then stop if the seam opens or the profile doesn’t seat cleanly.
– If the subfloor is uneven, deteriorated, or repeatedly re-lifts after repair, “spot fixes” won’t last—plan for a more complete reinstallation or subfloor correction.
A localized lift can be a one-off adhesive or fastening issue. But if you keep finding new lifting along the same pathway (for example, under a known moisture source), the subfloor preparation and flatness plan is likely incomplete. At that point, repair is no longer “quick.”
Verdict / tip: DIY if it’s small and you can identify the install method
DIY can work when lifting is limited, you can re-seat the boards without forcing them, and you clearly know whether the herringbone is nail-down or glued-down. Skip DIY if moisture is active, lifting is widespread, or you can’t confirm the installation and approved repair method—because incorrect bonding/fastening is what causes most repeat failures.
A small, localized herringbone lift is typically DIY-eligible only when the subfloor is stable, the boards re-seat flat, and you can follow the manufacturer-approved method for that install type.
If multiple rows lift, cupping is severe, or testing shows abnormal moisture, the safest and most cost-effective option is professional assessment before repairs multiply.
– DIY is reasonable when lifting is limited to a section you can re-seat flat, the subfloor seems sound, and you can clearly tell whether the floor is nail-down, glued-down, or floating/click.
– Skip DIY (or at least get a pro assessment) if there’s widespread lifting, ongoing moisture issues, extensive buckling/cupping, or you can’t confirm your floor type and the manufacturer’s repair method.
– —otherwise, rely on the manufacturer’s installation/repair documentation for your exact flooring.
| Quick Scan Checklist (save this) |
|---|
| ☐ Identify floor type: nail-down vs glued-down vs floating/click |
| ☐ Check for moisture leaks/dampness; stop the cause first |
| ☐ Confirm the lifting is localized (spot repair) |
| ☐ Re-seat lifted boards without forcing them |
| ☐ Use manufacturer-approved fastening/adhesive method |
| ☐ Clamp/weight to full contact; don’t rush walking |
| ☐ Fill/repair seams and touch up finish after curing |
Sources
– NWFA (National Wood Flooring Association) guidance on wood flooring acclimation and moisture considerations for installation/repair: .
– Your herringbone floor manufacturer’s installation/repair instructions for: approved repair adhesives, fastening methods, and acceptable moisture ranges for the subfloor/slab ().
– Adhesive manufacturer technical data sheets for cure time and application method: .
If you follow the diagnosis-first approach—identify the install type, verify moisture risk, then re-secure only the lifted section using the correct fastening/adhesive—you can often stop herringbone lifting without tearing up the whole floor. The biggest win is alignment between cause and repair method: when the bond or fastening is restored under stable moisture conditions, herringbone planks can lay flat again and stay that way.
Frequently Asked Questions
What causes herringbone floor tiles or planks to lift or separate?
Lifting on herringbone floors is commonly caused by moisture imbalance, poor subfloor preparation, or adhesive that has failed due to age or incorrect installation. Seasonal humidity changes can also expand and contract wood, especially if the floor wasn’t acclimated before installation. In some cases, a loose plank, damaged nail pattern, or uneven subfloor creates stress that eventually breaks the bond.
How do you fix lifting herringbone floors without replacing the whole floor?
Start by inspecting the lifted areas for moisture issues, hollow spots, or debris under the surface, then remove any loose material so the subfloor is clean and stable. For small lifts, you can inject the correct adhesive under the plank or tile (wood glue for engineered/solid wood, or the manufacturer-approved adhesive for tile) and use weights or clamps to hold it flat while curing. After it sets, reinstall any fasteners that are missing or replace damaged pieces if they no longer sit flush.
How do you repair a lifted herringbone wood floor when the adhesive has failed?
Test the subfloor for flatness and dryness first, because re-adhering over uneven or damp areas will cause the herringbone section to lift again. Remove baseboards or trim as needed, then clean out old adhesive and re-secure the plank using the recommended flooring adhesive and, if appropriate, finish nails/screws in the correct nail lines. Use weights or a press board to maintain tight contact and keep the floor flat during the full cure period.
Which adhesive and tools are best for fixing lifted herringbone flooring?
The best adhesive depends on the flooring type (solid hardwood vs. engineered wood vs. herringbone tile). For wood floors, use a manufacturer-approved flooring adhesive or wood floor glue compatible with your subfloor, and pair it with clamps/weights and painter’s tape to prevent gapping. For larger or persistent lifting, a pneumatic flooring nailer can help secure boards into the subfloor, but only if the installation type supports mechanical fastening.
Why does herringbone flooring lift after installation, and how can you prevent it from coming back?
Most reoccurring lifting is tied to humidity control, an unlevel subfloor, or improper acclimation and adhesive choice during installation. Maintain stable indoor humidity (commonly around 35–55%) and use a dehumidifier or humidifier if needed to avoid wood movement that breaks the bond. Before repairs, fix any moisture sources, address subfloor flatness, and ensure the correct curing time and pressure so the herringbone floor bond fully forms.
📅 Last Updated: October 15, 2026 | Topic: How to fix lifting on herringbone floors? | Content verified for accuracy and freshness.
References
- Parquet
- https://www.nps.gov/subjects/historicpreservation/preservation-briefs.htm
- https://www.fpl.fs.usda.gov/woodhandbook/
- Mold | US EPA
- Mold | Mold | CDC
- https://www.sciencedirect.com/search?qs=parquet%20floor%20delamination%20repair%20adhesive
- https://www.britannica.com/art/parquetry
- https://scholar.google.com/scholar?q=how+to+repair+lifting+parquet+floor Google Scholar
- https://scholar.google.com/scholar?q=herringbone+parquet+floor+delamination+repair+adhesive Google Scholar
- https://scholar.google.com/scholar?q=hardwood+floor+buckling+moisture+humidity+repair Google Scholar