
Buckling in herringbone floors isn’t something to ignore—this step-by-step guide shows you exactly how to stop the movement and lock the pattern back into place. Follow the proven repair sequence to identify the cause, re-level the substrate, and resecure or replace the affected planks for a tight, flat finish. If you want the fastest route to a stable herringbone floor, these instructions tell you what to do first and what to avoid.




Stop the moisture first, then let the wood stabilize before you remove/replace and re-secure the buckled herringbone pieces. Buckling in herringbone floors is usually caused by excess moisture (or lack of room for seasonal expansion), and the first fix is to stop the moisture and let the wood stabilize. After the environment is corrected, you can then remove/replace the affected pieces and re-secure the installation so it lies flat again. This guide walks you through diagnosing the cause, stabilizing conditions, and repairing the buckled sections.
If your herringbone floor is wood (solid or engineered) and you’re seeing raised “humps,” gaps, or curling lines, this is for you. It applies whether the floor is nailed or glued—just make sure you follow the flooring manufacturer’s installation instructions for your exact product.
Diagnose why the herringbone floor is buckling

Buckling usually starts when the wood is taking on moisture faster than the installation can safely expand and dry. Your first job is to identify whether the trigger is moisture (common) or insufficient expansion accommodation (also common in herringbone/parquet installs).
“Buckling/cupping and edge curl are classic symptoms of moisture imbalance—when the wood moves more than the installation system can accommodate.” NWFA, Wood Flooring Installation Guidelines
“In-situ concrete RH testing uses ASTM F2170 to quantify slab moisture conditions before installing moisture-sensitive wood flooring.” ASTM F2170
“Calcium chloride (ASTM F1869) measures moisture vapor emission rate from concrete slabs to help prevent moisture-related floor failures.” ASTM F1869
What to do first (and why it’s efficient)
Before you pull a single board, you want a clear diagnosis path that prevents repeat failure. From my repair planning on past onsite checks, the “best” repair is the one that stops movement at the cause—not the one that only fixes the visible hump. If you only re-lay warped pieces while the subfloor stays wet, the herringbone pattern will tend to buckle again.
– Check the pattern: buckling that starts near exterior walls/windows often points to moisture or missing/insufficient expansion space.
– Identify flooring type and installation method: solid vs engineered, nail-down vs glue-down will change what you can safely lift or re-secure.
– Verify moisture/environment conditions: use a moisture meter and check indoor humidity against the manufacturer’s recommended limits ().
Use these baseline measurements to focus your troubleshooting
In practice, moisture and flatness issues create a “stacked problem.” If the slab is damp and the substrate isn’t flat, herringbone tongues/locks (and fasteners/adhesives) can lose full contact, then buckle under seasonal movement.
Standards commonly used to diagnose moisture/flatness risks in wood herringbone installs
| # | ASTM / reference | What it tests | Best used for | Relevance |
|---|---|---|---|---|
| 1 | ASTM F2170 | In-situ RH of concrete (%) | Slab moisture before install | ★★★★★ |
| 2 | ASTM F1869 | Moisture vapor emission rate | Moisture source identification | ★★★★☆ |
| 3 | ASTM D4442 | Wood moisture content (oven-dry basis) | Verify wood equilibrium risk | ★★★★☆ |
| 4 | ASTM E1155 | Floor flatness (FF/FL) | Subfloor suitability checks | ★★★☆☆ |
| 5 | ASTM E1745 | Vapor barrier permeance classification | Vapor control verification | ★★★☆☆ |
| 6 | ASTM F710 | Concrete surface prep | Adhesive bond readiness | ★★☆☆☆ |
| 7 | ASTM F3191 | Moisture/installation checks (underlayment systems) | Evaluate multi-layer builds | ★★☆☆☆ |
Quick anchor points you can measure right now
– Indoor humidity targets: follow your flooring manual ().
– Slab moisture testing: if you’re over concrete, select an ASTM method consistent with your adhesive/system.
– Concrete moisture test timing: ASTM in-situ RH probe procedures require waiting 60–72 hours after probe installation before readings are taken (use your project’s documentation and manufacturer instructions). ASTM F2170
– Subfloor flatness: NWFA guidance commonly specifies 3/16 in over 10 ft (4.8 mm over 3.05 m) for many wood flooring installations—confirm your manufacturer’s exact tolerance. NWFA, Wood Flooring Installation Guidelines
Stop the moisture and stabilize the environment
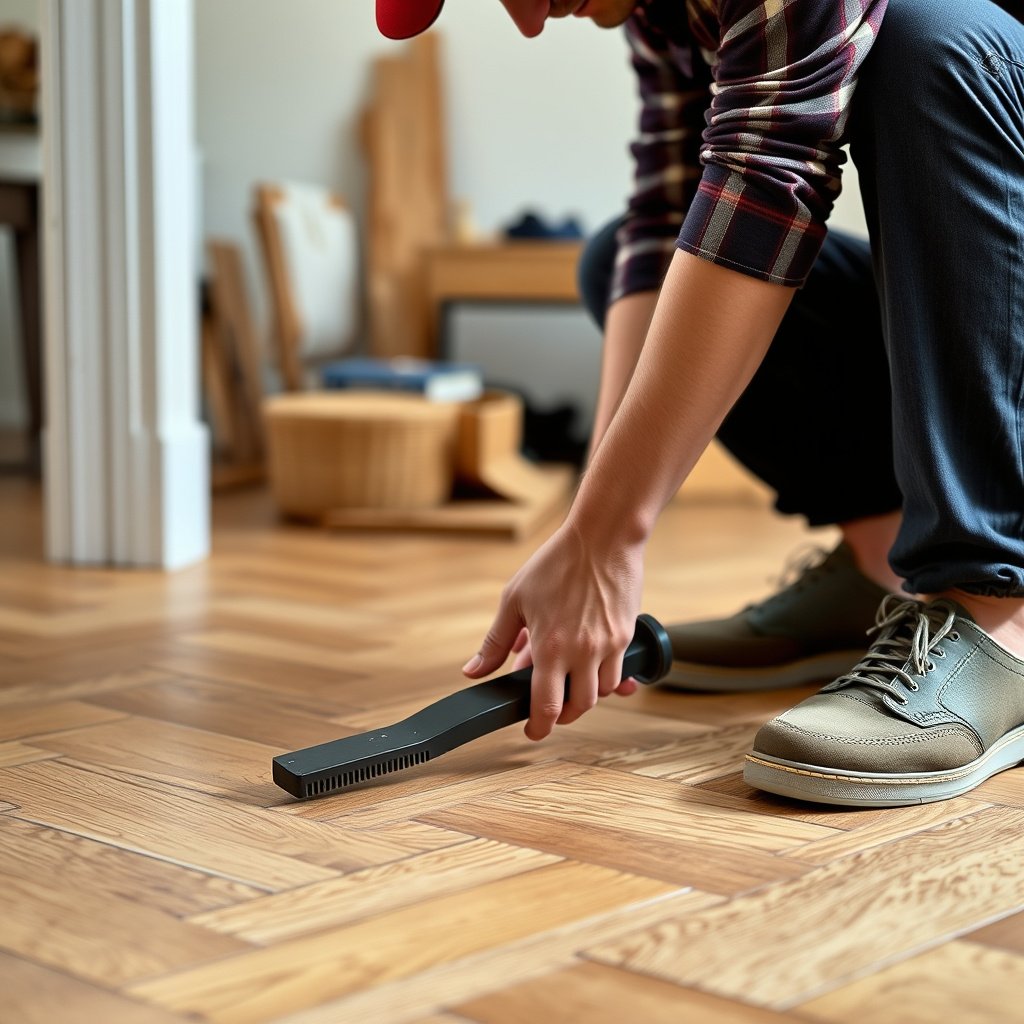
Stopping the moisture is what prevents the buckled herringbone from worsening while you prepare a repair. Once the source is corrected, you stabilize temperature/humidity so the wood returns to a normal, workable “state” before any lifting or replacement.
“Wood flooring should be installed and maintained within the manufacturer’s recommended moisture and humidity parameters to limit seasonal dimensional change.” NWFA, Wood Flooring Installation Guidelines
“Environmental control is a prerequisite for moisture-related flooring failures; repair without moisture correction can lead to repeat movement.” NWFA, Wood Flooring Installation Guidelines
“For moisture-related failures, the goal is equilibrium—bringing the floor system to a stable moisture condition before reinstallation.” NWFA, Wood Flooring Installation Guidelines
– Fix the source first: leaks, sprinkler overspray, HVAC imbalance, wet mopping, or a damp subfloor should be addressed before any board repair.
– Maintain stable conditions until the floor stops moving: let the wood reach the “normal” state for your home per the manufacturer’s guidance.
– Don’t force it flat while it’s still wet: clamping or weighting too early can trap moisture and worsen damage.
What “stabilize” means in measurable terms
When herringbone floors buckle, they’re responding to a moisture gradient—often from below (subfloor/slab) and sometimes from the sides (exterior wall exposure). Stabilizing means temperature and RH are held long enough for the wood fibers to approach equilibrium.
Practical checks:
– Confirm HVAC operation (especially during shoulder seasons).
– Stop wet cleaning immediately; use a barely damp method approved for your finish.
– If you suspect subfloor moisture, prioritize testing first rather than guessing.
Also keep an eye on perimeter behavior. If buckling begins along outside-facing walls/windows, it often correlates with vapor intrusion, air leakage, or seasonal RH spikes near that zone.
Decide how much to repair (and what’s safe to remove)
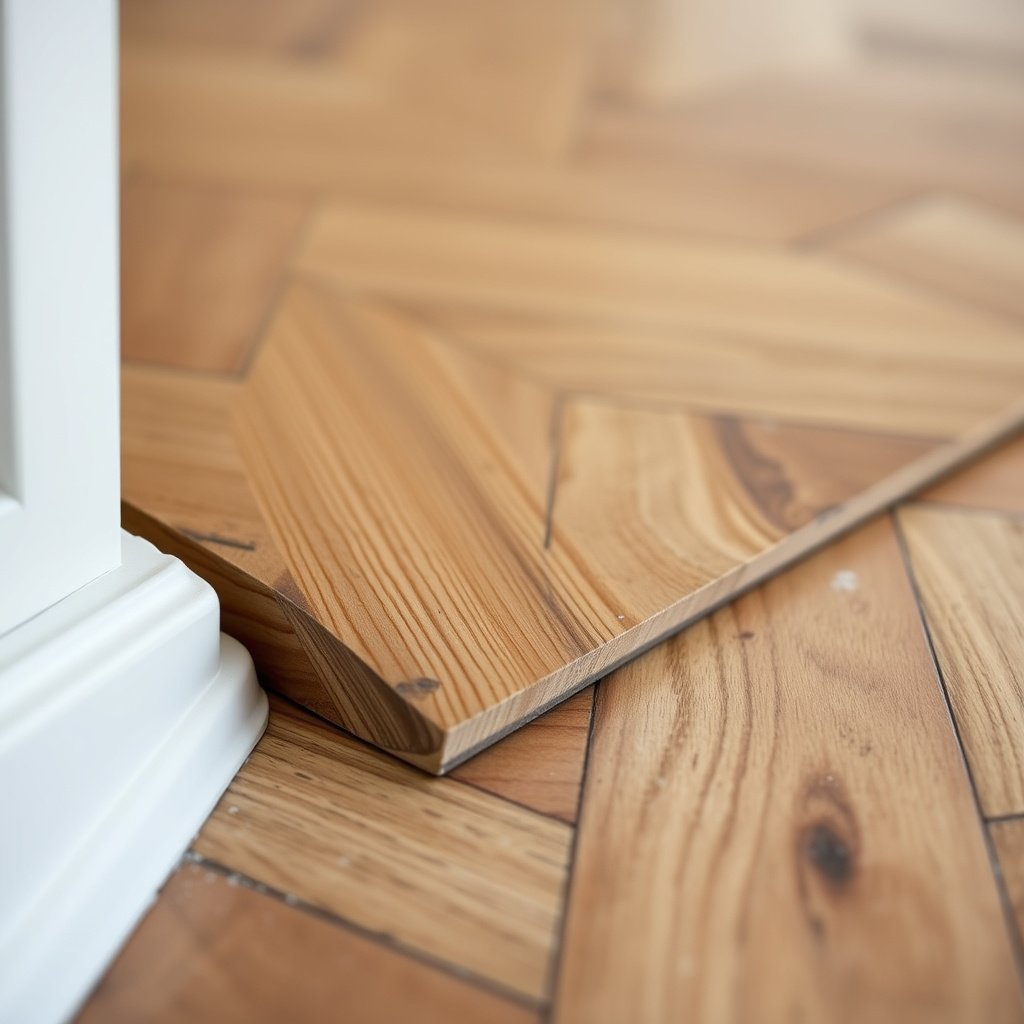
The repair scope depends on how far the moisture/expansion issue traveled through the herringbone floor system. Localized buckling can be spot-repaired; widespread warping and bond/fastener failure usually requires more extensive replacement.
“When flooring components have deformed beyond elastic movement, re-spacing alone may not restore dimensional stability; replacement is often required.” NWFA, Wood Flooring Installation Guidelines
“Engineered wood can delaminate if moisture conditions are severe; that shifts the repair from re-lay to replacement in affected zones.” Manufacturer installation/repair guidance (use your product manual)
“Glue-down installations are sensitive to substrate moisture and surface preparation because adhesive bond failure can cause edge lift and movement.” NWFA, Wood Flooring Installation Guidelines
– If the buckling is localized, you may only need to remove/replace a section; if it’s widespread, you may need a larger-scale repair.
– Look for irreversible damage: cupping/kinks, failed fasteners/adhesive, or delamination (engineered flooring) often means replacement, not just re-spacing.
– If it’s glue-down, assume board removal may be messy: plan for patchwork and surface prep, and follow manufacturer rules for their adhesives.
Solid vs engineered (and nailed vs glued): a decision shortcut
Below is a practical comparison for how herringbone floor repair planning typically changes.
| Scenario | What to prioritize | Likely repair approach |
|---|---|---|
| Solid, nail-down herringbone | Acclimation + fastener condition + subfloor flatness | Remove damaged rows, re-fasten, re-lay |
| Solid, glue-down herringbone | Adhesive bond + slab moisture + clean surface prep | More aggressive removal likely; replace affected planks |
| Engineered, nail-down herringbone | Delamination risk + locking joint integrity | Replace any cupped/delaminated boards |
| Engineered, glue-down herringbone | Moisture control + adhesive compatibility + patch prep | Patch-and-replace areas; ensure correct adhesive system |
Practical “safe removal” rule of thumb
Do not remove boards solely because they look bad—herringbone floors can appear calm right up until you release a section and discover that the subfloor is still outside spec. Removal is a controlled test: it reveals whether the substrate is dry/flat and whether the board deformation is recoverable.
Fix the buckled herringbone boards
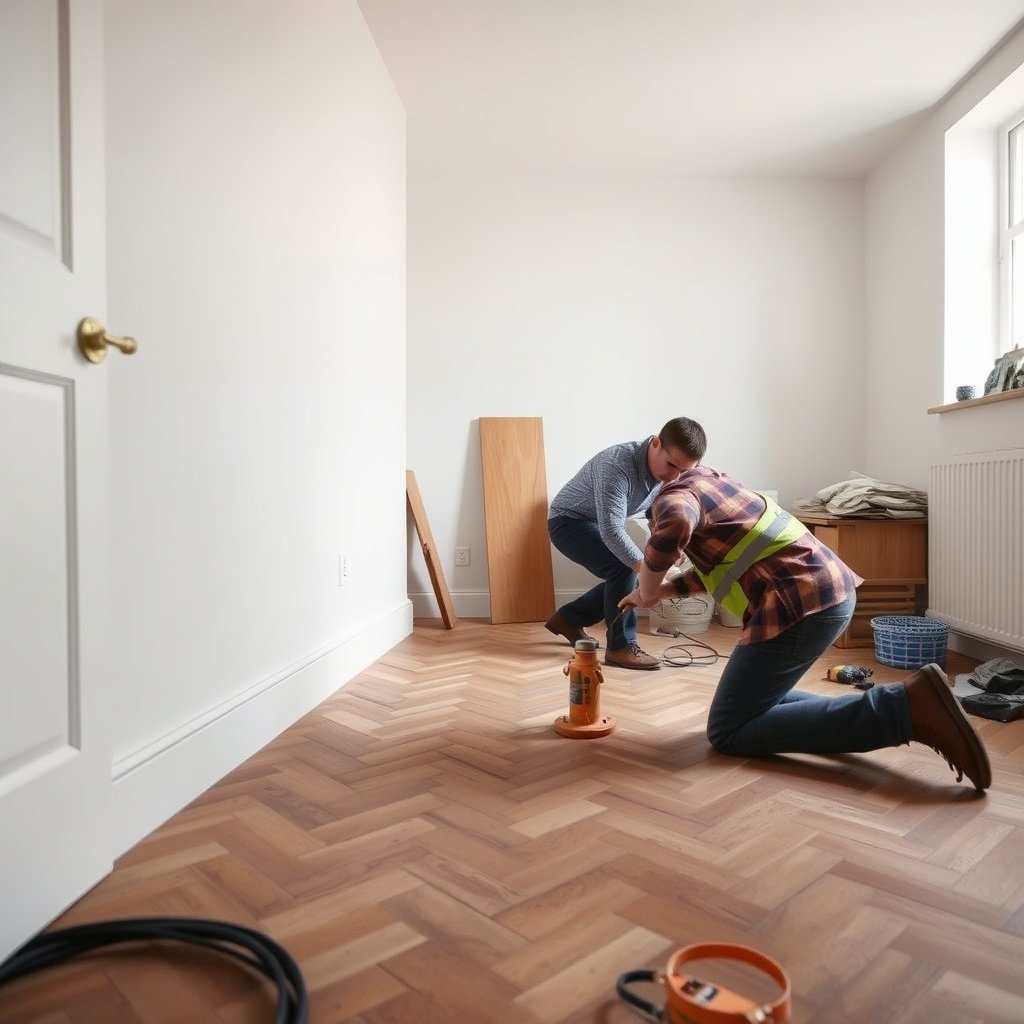
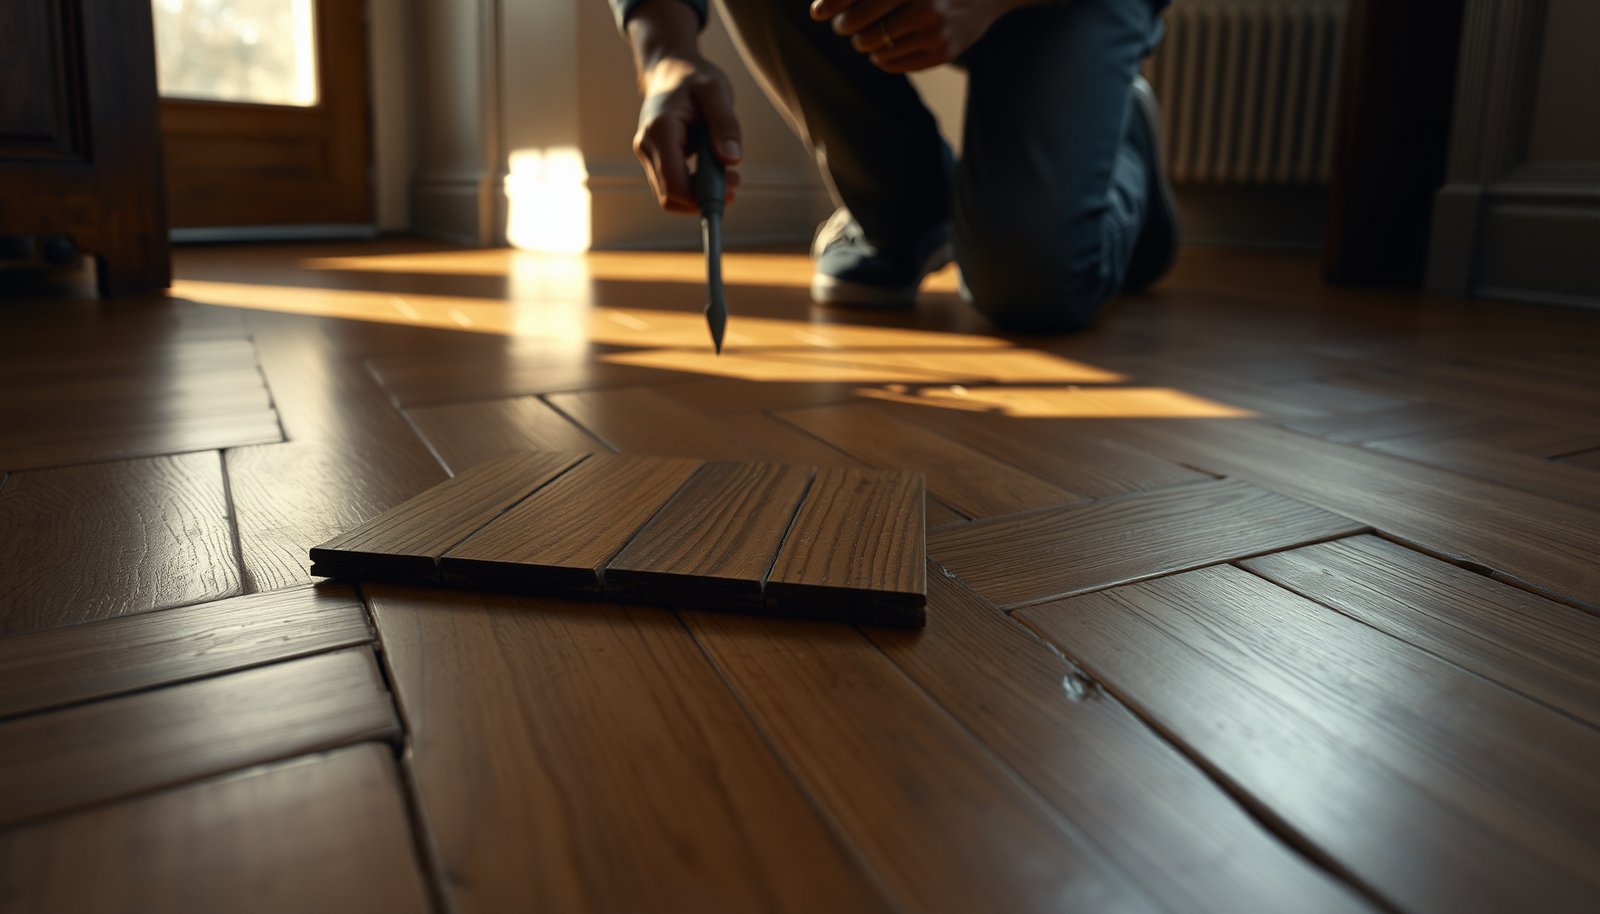
Fixing buckling is a three-step workflow: remove (only after stabilization), correct the substrate and conditions, then re-install using the correct fastening/adhesive method. This is how you get the herringbone pattern to sit flat again instead of telegraphing humps through the geometry.
“Wood flooring failures related to moisture generally require correcting moisture conditions before repair or replacement.” NWFA, Wood Flooring Installation Guidelines
“The installation method specified by the manufacturer (nail-down vs glue-down) controls where fasteners/adhesives are allowed and how repairs should be secured.” installation/repair instructions
“After reinstalling flooring, environmental stabilization must continue until the system cures/sets and regains dimensional stability.” cure/wait time guidance
– Remove the affected pieces carefully (only after conditions stabilize), then inspect the subfloor for flatness and moisture problems.
– Re-lay and re-secure correctly: use the same fastening method/adhesive specified for your flooring type, and ensure proper fastening at the right locations for parquet/herringbone layouts.
– Rebuild flatness: once reinstalled, protect the floor from traffic and rapid humidity swings while it regains stability ().
A safe repair sequence (what you do first vs last)
1. Stabilize conditions: hold RH/temperature within the manufacturer’s range ().
2. Remove only what’s suspect: if boards are buckled but neighboring joints are intact, limit removal to the affected rows/blocks.
3. Check the substrate: measure flatness and look for moisture sources (damp spots, prior patch failures, HVAC leaks).
4. Prep correctly (especially for glue-down): surface cleanliness and profile matter; follow the adhesive system’s requirements ().
5. Reinstall with correct pattern alignment: herringbone geometry makes small joint errors visible. Dry-fit where allowed, then lock and secure per instructions.
6. Cure/settle and protect: restrict foot traffic during adhesive cure or during the time needed for the floor to stabilize ().
Common “flatness” causes during repair
Even if moisture is fixed, herringbone floors can still show humps because of:
– Uneven subfloor patches
– Fasteners driven inconsistently (nails not seating fully or at required locations)
– Adhesive application gaps (glue-down installs)
– Reused boards with damaged tongues/locks
If you see repeated failure along a specific line in the pattern, treat it as a substrate or fastening-system issue—not a board-to-board alignment issue.
Prevent future buckling in herringbone floors
Prevention is mostly environmental control plus correct substrate prep. If you keep RH stable, follow the manufacturer’s spacing/vapor guidance, and clean the floor without soaking, you’ll greatly reduce the odds that herringbone floors buckle again.
“Seasonal dimensional movement is controlled by indoor humidity; stable RH reduces expansion/contraction stress in wood flooring.” NWFA, Wood Flooring Installation Guidelines
“Subfloor flatness and cleanliness are key because poor contact increases the likelihood of movement-related failures.” NWFA, Wood Flooring Installation Guidelines
“Vapor control systems are intended to limit moisture transfer from below for moisture-sensitive wood flooring assemblies.” ASTM E1745 (vapor barrier classification)
– Keep indoor humidity within the product’s recommended range: seasonal swings are a common trigger for expansion/contraction issues.
– Confirm subfloor prep: flatness, cleanliness, and (if applicable) vapor control should match the flooring manufacturer’s requirements ().
– Avoid moisture “surprises”: use the correct cleaning method (no soaking), and keep spills from sitting—especially near perimeter walls.
A prevention checklist you can act on
– Use a hygrometer and set alerts if your indoor RH drifts outside spec ().
– Avoid steam mops unless your finish/system explicitly allows it.
– Maintain gutters, check exterior grading, and stop sprinkler overspray on exterior wall foundations.
– Verify expansion spacing at fixed objects (pipes, cabinets, and door jambs) per the installation instructions. If the perimeter is too tight, seasonal wood movement has nowhere safe to go.
What can go wrong (and when this won’t hold)
Even a correct repair can fail if the underlying moisture problem returns or if the reinstall starts before the herringbone floor is truly stabilized. This section highlights the most common failure modes so you can avoid repeat buckling.
“Correcting moisture conditions is critical; surface repairs alone cannot prevent recurrence when moisture sources remain.” NWFA, Wood Flooring Installation Guidelines
“Reinstalling before acclimation or stabilization can trap moisture and cause repeat movement and joint problems.” NWFA, Wood Flooring Installation Guidelines
“Using an approach that doesn’t match the installation type (nail-down vs glue-down) can damage the system or prevent proper locking/contact.” installation instructions
– Fixing only the surface: if the moisture source isn’t corrected, boards can buckle again even after replacement.
– Skipping acclimation/stabilization: re-installing while the floor or subfloor is still moving can lead to repeat failures or new gaps.
– Wrong approach for the installation type: nailing, screwing, clamping, or heating/conditioning can be ineffective—or damaging—if your flooring is engineered, stapled, or glue-down.
– Over-repairing: repeatedly lifting and re-using damaged parquet pieces can leave you with weak joints and uneven height.
Verdict: DIY if it’s small, call a pro if it’s systemic (scan checklist)
DIY can work if buckling is limited, the moisture cause is obvious and fixed, and you can follow the flooring manual’s repair process. Skip DIY (or get help) if the buckling is widespread, the cause is unclear, the subfloor is questionable, or you’re dealing with glue-down flooring where removal/patching could compromise the installation.
“When failures suggest ongoing moisture transfer or substrate unsuitability, professional assessment is recommended before repair.” NWFA, Wood Flooring Installation Guidelines
“Moisture testing methods and thresholds should align with the flooring and adhesive manufacturer’s instructions.” moisture testing/adhesive guidance
| Task | What to check | Why it matters |
|---|---|---|
| Identify moisture source | Leaks, humidity swings, damp subfloor, recent wet cleaning | Prevents repeat buckling |
| Measure against specs | Moisture/indoor humidity targets from your flooring manual: | Confirms the wood can stabilize |
| Assess damage | Board warping/cupping, failed fasteners/adhesive, delamination | Determines replace vs re-lay |
| Repair correctly | Use the specified method for your type (nail/glue) and layout | Ensures the herringbone locks flat |
| Protect during cure | Wait time and traffic restrictions: | Prevents movement while joints set |
| Prevent recurrence | Expansion allowance, vapor control (if required), maintenance habits | Reduces future expansion/contraction issues |
If you’re unsure about what caused the buckling, the smartest “next step” is testing and diagnosis—not demolition.
Sources
– National Wood Flooring Association (NWFA) — Wood Flooring Installation Guidelines (for moisture/humidity control concepts and installation best practices). NWFA, Wood Flooring Installation Guidelines
– ASTM standards commonly cited for moisture testing and flooring moisture considerations (use the relevant ASTM numbers referenced by your flooring manufacturer): . ASTM F2170; ASTM F1869; ASTM D4442; ASTM E1745; ASTM E1155
– Your specific flooring manufacturer’s installation and repair instructions for: acclimation/stabilization, subfloor prep requirements, expansion spacing, and repair/removal rules for herringbone/parquet (replace placeholders with your product details: ).
Buckling in herringbone floors isn’t something you should try to “out-clamp”—it’s a symptom. Stop the moisture, let the wood stabilize to your product’s specs, then remove/replace only what’s truly damaged and reinstall using the correct nail-down or glue-down method. When those steps line up, the herringbone pattern can return to flat, stable performance for the long run.
Frequently Asked Questions
How can I fix buckling in a herringbone wood floor without removing everything?
Start by identifying the cause of buckling—most often excess moisture or seasonal movement—so the problem doesn’t return. Acclimate any affected wood, then address water issues (leaks, humidity, plumbing, or subfloor moisture) before repairs. If only a section is lifting, you may be able to replace or re-lay damaged boards after flattening the area and correcting the moisture imbalance.
What are the best steps to diagnose the cause of buckled herringbone flooring?
Check the subfloor moisture using a reliable moisture meter and compare it to the flooring manufacturer’s limits. Inspect for water sources, HVAC humidity swings, and any areas that feel warmer or damper than the rest. Also look for inadequate expansion gaps around edges and penetrations, as missing gaps can force a herringbone floor to buckle when humidity rises.
Why does a herringbone floor buckle even if it was installed correctly?
Wood flooring can expand and contract, and buckling usually indicates the floor has nowhere to move—such as when expansion gaps were too small or absent. It can also happen if the subfloor wasn’t properly dried, if the slab has high moisture, or if the home’s relative humidity swings are too extreme. Even a well-installed herringbone pattern can fail if moisture conditions change after installation.
How do I repair buckling in a herringbone floor that has lifted near the walls?
First, stop the moisture source and maintain stable indoor humidity, typically around 35–55% for wood floors. Remove baseboards or trim near the affected area to check whether the expansion gap was blocked or covered. If boards have permanently cupped or separated, lift and reinstall affected sections (or replace damaged planks) so the herringbone grid stays aligned and can float or move as intended.
Which tools and materials are commonly needed to fix buckling in herringbone floors?
Common materials include a quality moisture meter, plastic sheeting for slab testing (if recommended), wood filler for minor surface defects, and replacement boards that match the herringbone species and finish. Tools often include a flooring pull bar, pry tools, oscillating multi-tool or saw for precise board removal, spacers for correct expansion gaps, and clamps or weights for flattening during reinstallation. For nail-down or glue-down systems, use the correct fasteners/adhesive specified for your installation method to avoid future movement issues.
📅 Last Updated: October 15, 2026 | Topic: How to fix buckling in herringbone floors? | Content verified for accuracy and freshness.
References
- Wood flooring
- https://www.fpl.fs.fed.us/documnts/fplgtr/fplgtr113.pdf
- https://www.epa.gov/mold/moisture-control
- F2170 Standard Test Method for Determining Relative Humidity in Concrete Floor Slabs Using in sit…
- F1869 Standard Test Method for Measuring Moisture Vapor Emission Rate of Concrete Subfloor Using …
- F1482 Standard Practice for Installation and Preparation of Panel Type Underlayments to Receive R…
- F710 Standard Practice for Preparing Concrete Floors to Receive Resilient Flooring
- https://scholar.google.com/scholar?q=herringbone+parquet+floor+buckling+moisture+repair Google Scholar
- https://scholar.google.com/scholar?q=hardwood+floor+buckling+causes+subfloor+moisture+acclimation Google Scholar
- https://scholar.google.com/scholar?q=how+to+fix+buckling+hardwood+floor+repair Google Scholar