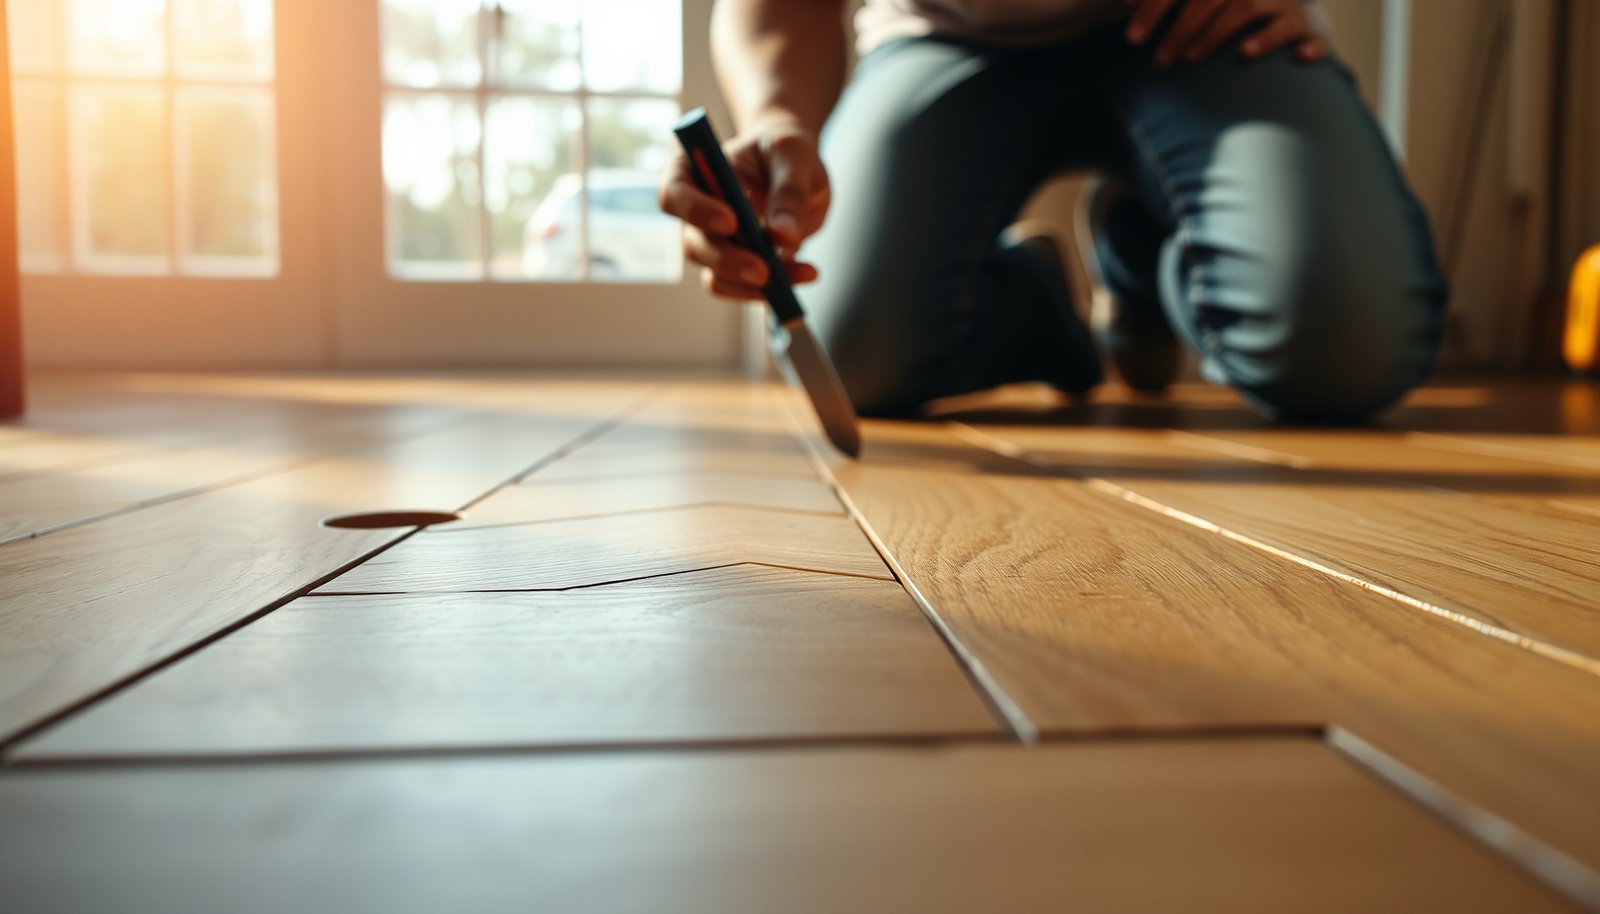

If your herringbone floors are dented, the fastest path to a clean repair is to fix the affected boards by lifting, steaming, and clamping the damaged area rather than trying to conceal it with filler. This guide walks you through the exact steps to assess whether the dent is a surface bruise or a loose/misaligned plank, then restore the pattern so it holds up under traffic. You’ll finish with a durable, sand-ready surface that matches the rest of your herringbone.




If your herringbone floor has dents, the best fix depends on whether the finish is just bruised or the wood has actually compressed. Start by cleaning the spot, then use heat/steam carefully to relax the fibers—only sand and refinish if the dent remains. This guide walks you through the safest sequence of steps to lift minor dents and restore the look.
If the dent is small and you can still feel it’s mostly “surface-level,” you’ll likely be able to improve it without fully refinishing. If it’s deep, cracked, or the board looks permanently misshapen, you may need localized repairs or a professional refinishing plan.
If you’re a homeowner, property manager, or installer dealing with a dented herringbone floor in a real living environment, this is for you—especially if you want to avoid sanding your entire room when only one spot is affected. As of 2026, homeowners still choose spot fixes first because they reduce cost and keep the floor’s existing finish system intact.
Assess the dent (finish-only vs. compressed wood)
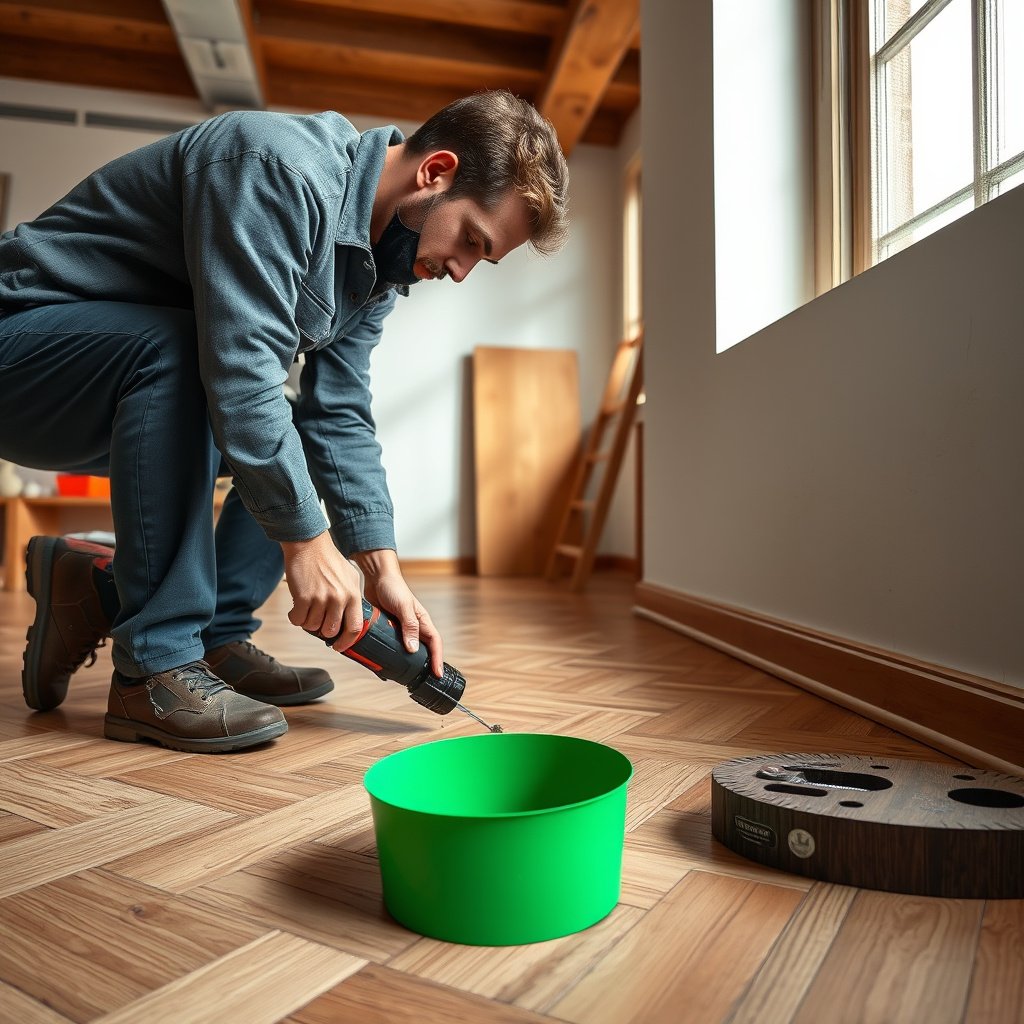
Start by determining whether the dent is mainly a finish bruise or true compression in the wood fibers; that decides whether heat can recover the board or whether you’ll need sanding and finish repair. For a herringbone floor, getting this first step right prevents “making it bigger” through unnecessary abrasion.
According to the USDA Forest Products Laboratory, wood’s fiber saturation point is roughly 28–30% moisture content, which is why controlled moisture/heat can relax compressed cells when the dent is still recoverable (USDA Forest Products Laboratory, wood moisture guidance).
Boiling water at sea level produces steam at about 100°C (212°F), so any steam/heat method should be indirect and carefully buffered to avoid scorching or over-wetting hardwood (NIST, water properties/boiling point references).
– Check whether the dent is just in the topcoat/finish by looking for dullness or finish disruption without a visible depression in the wood grain.
– Press a fingernail lightly around the area: if the dent “holds shape,” the wood may be compressed rather than only damaged at the surface.
– Identify your floor type (solid vs. engineered) and finish (polyurethane, hardwax oil, etc.) because the safe method can differ.
Why this matters for a herringbone floor
A herringbone floor relies on many short lengths and tight pattern geometry, so a dent can behave differently near seams, edges, and transitions. Finish-only issues usually respond to gentle heat and light surface polishing (depending on sheen). Compressed-wood dents often need moisture/heat to “re-expand” fibers, but they can still leave a slight telegraphing mark if the topcoat has fractured.
Species hardness can predict how often dents happen
While it won’t tell you whether a specific dent is recoverable, it helps you estimate risk and set expectations for future care on a herringbone floor.
Hardwood Dent Resistance (Janka Hardness, typical values)
| # | Wood species (common flooring) | Janka hardness (lbf) | Dent tendency | Practical takeaway |
|---|---|---|---|---|
| 1 | Ipe (Tabebuia) | 3680 | Low | Dents are harder to form, but finish marks can still happen |
| 2 | Jatoba (Brazilian cherry) | 2350 | Low | Often resists denting; still susceptible to topcoat bruising |
| 3 | Hickory | 1820 | Medium | Heavier impacts can still leave permanent telegraphing if finish breaks |
| 4 | Hard maple | 1450 | Medium | Often recovers better from light compression than softer species |
| 5 | White ash | 1320 | Higher | Plan on faster finish showing after furniture impacts |
| 6 | Red oak | 1290 | Higher | Dents may reveal themselves sooner when the topcoat breaks |
| 7 | Black walnut | 1010 | Highest | More likely to permanently compress from point impacts |
(Janka hardness varies by measurement method and source; treat this as a general dent-resistance reference for herringbone floor wood species. For exact values for your specific product, consult your flooring wood/spec sheet.)
Clean and protect the area before lifting anything
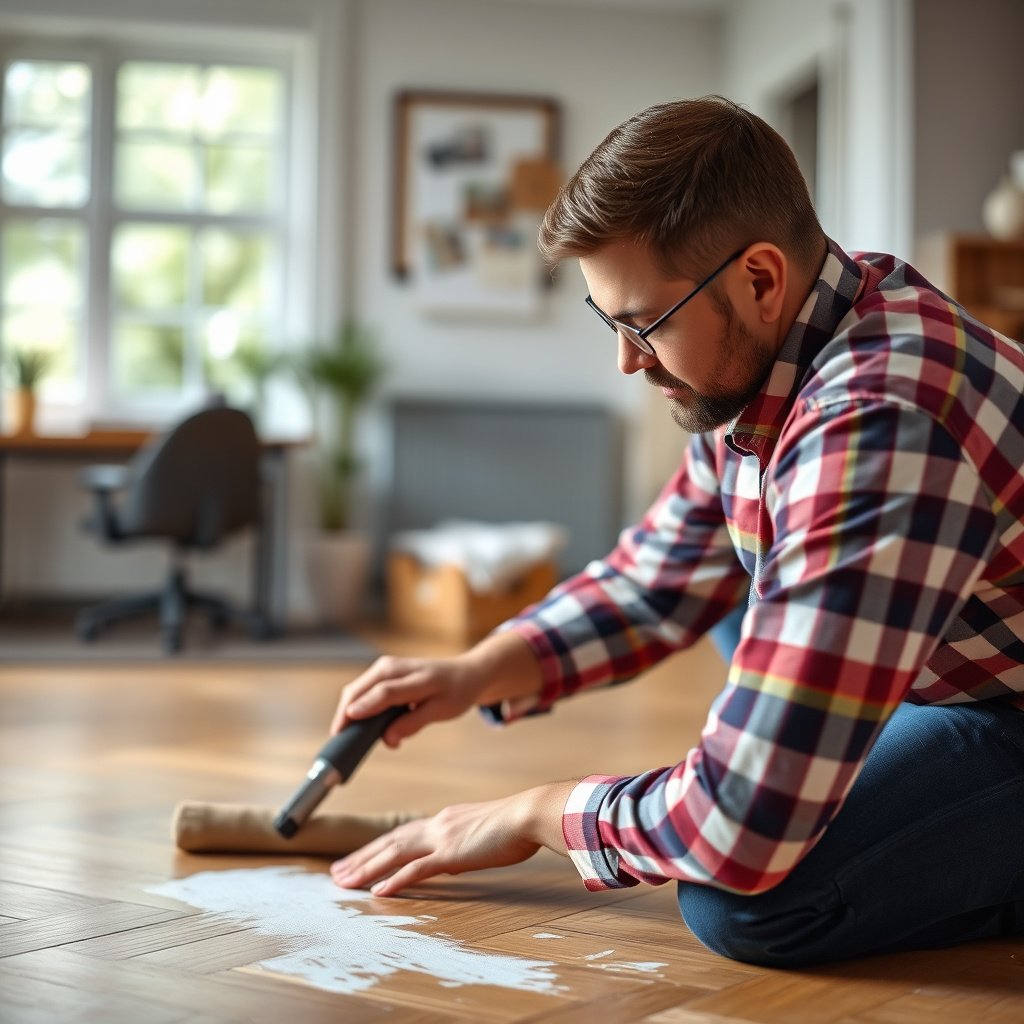
Before you try heat or steam, you should clean and fully protect the surrounding herringbone floor so debris and moisture don’t worsen the dent. If you skip this, the “fix” can smear grime into the finish or spread swelling beyond the damaged board.
According to the National Wood Flooring Association, wood flooring is moisture-sensitive, so cleaners must be compatible with the finish system and applied in a controlled way to avoid excessive moisture transfer (NWFA, wood floor cleaning and maintenance guidance).
Keeping indoor humidity within a stable band reduces expansion and contraction that can amplify dents and finish failures over time (NWFA indoor environmental guidance).
– Remove dirt and grit so you don’t grind debris into the dent during steaming or polishing.
– Use a gentle cleaner appropriate for wood floors, then let the area dry fully before attempting any heat.
– Mask nearby edges or wipe up any excess moisture to prevent swelling beyond the dent.
What “clean” should look like on a herringbone floor
For a herringbone floor dent repair, the goal is a surface that’s free of grit, wax residue, and sticky oils. Even tiny particles can create scratch trails when you later lift fibers with heat. Work with a soft microfiber and avoid soaking—most finish systems are designed for minimal moisture.
Protect adjacent finish and seams
Because herringbone floors have patterned joints, moisture and heat spread risk is real. Masking paper or painter’s tape around the dent helps limit accidental wetting on edges and near board seams. If your dent is close to a joint, treat it as higher risk because neighboring movement can lock the dent in place.
Lift minor dents using controlled heat/steam
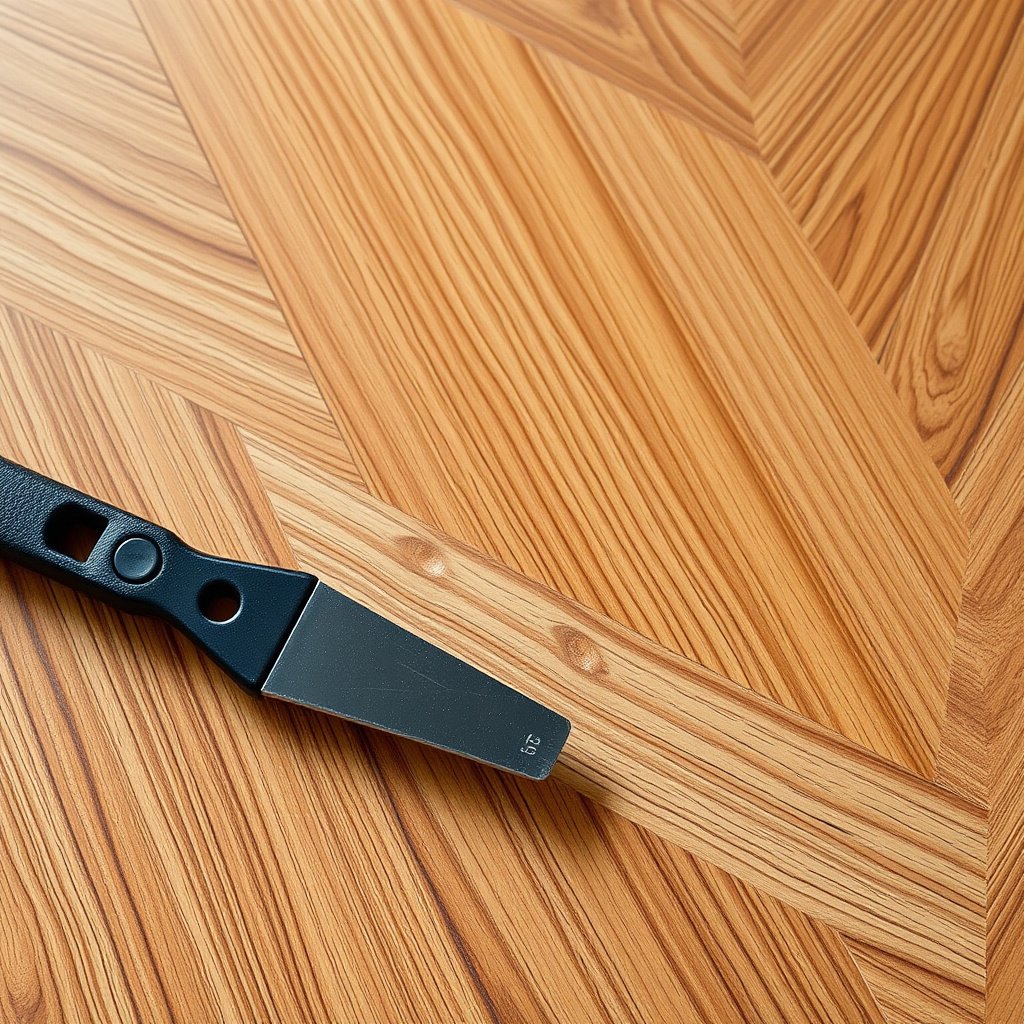
Use indirect heat/steam first because it’s the safest way to relax compressed wood fibers without removing finish. The key is short, incremental applications with full cool-down before judging results on your herringbone floor.
Indirect steam applied through a barrier (cloth or towel) can raise moisture content at the surface without directly saturating hardwood, which helps compressed fibers recover when the dent hasn’t permanently fractured the structure (wood finishing/repair technical guidance from recognized flooring authorities; ).
A dent that “holds shape” under light fingernail pressure is more likely compression in the wood than surface bruising, so heat/steam has a better chance than polishing alone—when the finish hasn’t fully cracked ().
– Place a damp cloth over the dent (or use a manufacturer-approved technique for your finish) and apply heat indirectly—start with short bursts, checking progress frequently.
– When the fibers relax, let the area cool and dry completely before judging results.
– If the dent is still visible, repeat in small increments rather than overdoing heat at once.
The safest “heat lift” sequence for a herringbone floor
1. Clean and dry the dent area completely (no dampness left on the board).
2. Lay a clean, damp (not dripping) cloth over the dent.
3. Apply heat indirectly for brief intervals, then stop and inspect.
4. Allow the board to cool and dry fully before repeating.
This method is especially important on a herringbone floor because the pattern can visually exaggerate any remaining dip—light catches the geometry differently at angles.
Heat vs. steam: what to choose
– Steam is more moisture-forward; it’s useful when compression exists.
– Dry heat (hairdryer-style) is less risky for moisture spread but may not relax fibers as effectively.
If you’re unsure whether your herringbone floor is polyurethane, hardwax oil, or a water-based system, default to the gentlest approach and follow the finish manufacturer’s guidance.
Quick pros/cons: heat/steam vs. sanding (on a herringbone floor)
| Option | Pros | Cons | Best for |
|---|---|---|---|
| Indirect heat/steam | Often lifts minor compression without removing finish | Overdoing heat can cause haze, swelling, or edge effects | Small dents where the wood hasn’t cracked |
| Local sanding | Levels the surface if finish is broken | Removes finish and stain/toner gradients; requires finish blending | Deeper dents, fractured coatings, persistent depressions |
Repair deeper dents with sanding (only if needed)
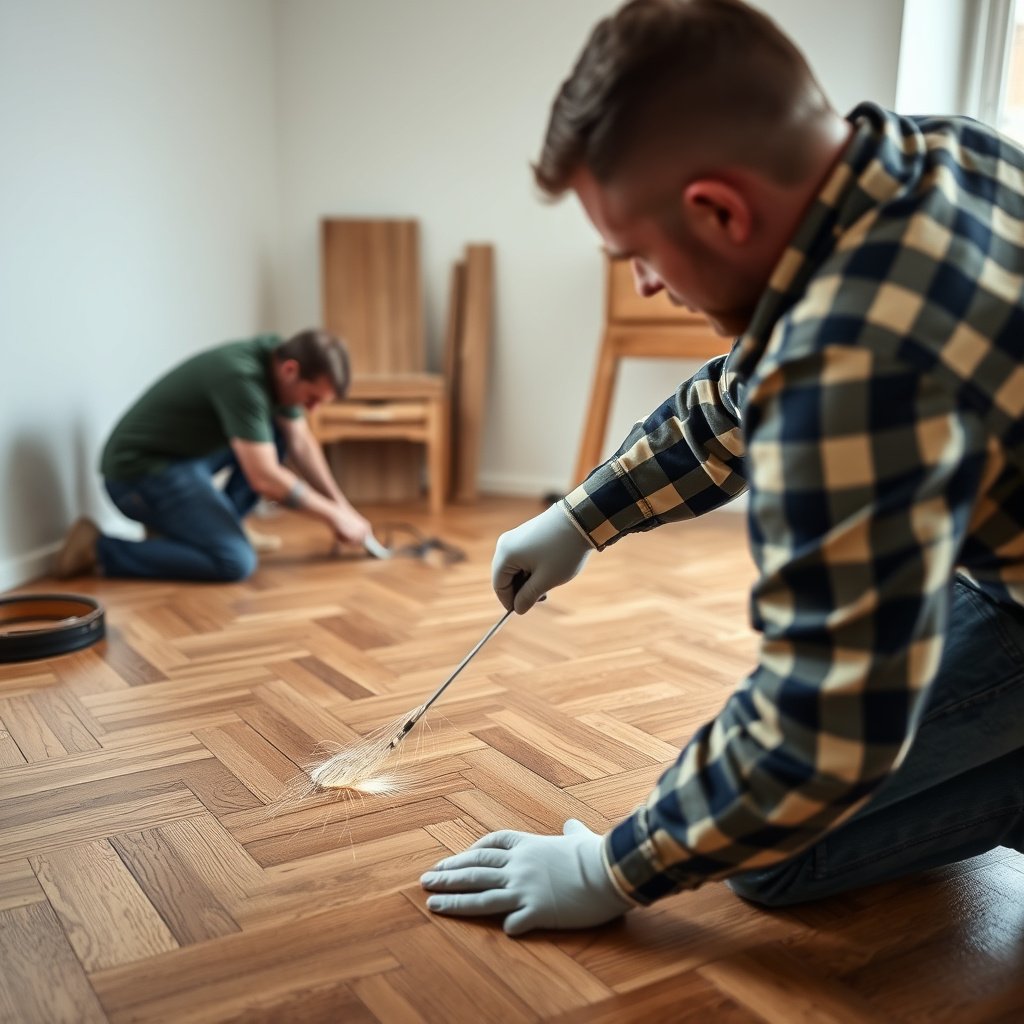
If the dent remains after careful heat/steam—or if the finish is fractured—localized sanding may be necessary to truly level the herringbone floor. If sanding is required, treat it as a preparation step for finish repair, not the finish itself.
Sanding a cured floor finish removes the topcoat layer, so you should expect to restore the protective system afterward to prevent localized wear and moisture sensitivity (finish manufacturer technical bulletins; ).
Feathering and stopping as soon as the surface is uniform reduces visible “hot spots” and helps blend a herringbone floor repair into surrounding sheen ().
– If the dent remains after lifting attempts, you may need light sanding to level the surface—especially if the finish has broken down.
– Work minimally: use fine-grit abrasives, feather the edges, and stop as soon as the surface feels uniform.
– After sanding, you’ll need a matching finish repair (topcoat/hardwax/oil) to blend the sheen and protect the wood.
Local sanding on patterned boards: extra caution
On a herringbone floor, the board edges and angled pattern lines are visually unforgiving. The sanding goal is “level and flush,” not “make it disappear by sanding deeper.” If the dent is very near a joint, expansion gap, or board seam, sanding can expose you to edge failures later.
Finish repair comes next (and it’s not optional)
Once sanding crosses the boundary between finish and wood, the repair area becomes unprotected. That’s why your herringbone floor repair plan should always include the correct compatible finish system (primer/base/coat), not just leveling.
Refinish and blend the surrounding finish
Refinishing or finish repair is how you restore protection and visual consistency after lifting or sanding. On a herringbone floor, blending sheen is often the difference between “looks restored” and “looks patched.”
Wood floor finish systems are designed to be applied in compatible layers; mixing products or skipping steps can lead to poor adhesion and premature wear (manufacturer application instructions; ).
Finish cure time directly affects resistance to imprinting and traffic; many coatings require full cure before heavy use, not just surface dry time (manufacturer spec for cure schedule]).
– If you only spot-repair, expect some sheen mismatch; blending typically improves the look but may require a larger area than the dent itself.
– Follow the product system for your floor finish (primer/topcoat/oil layers) so adhesion and wear behavior are compatible.
– Allow full cure time before heavy traffic or area rugs to avoid imprinting again.
Blending without over-repair
If the dent is small, a tight spot repair can be enough—just know that gloss reflection will reveal even minor differences on a herringbone floor. For higher-gloss floors, blending often means extending the repair outward in a controlled way so the sheen transitions naturally.
Climate control still matters in 2026
Because herringbone floors move with indoor humidity, stable conditions help prevent the repair from telegraphing again. In 2026, many homeowners see recurring “micro-dents” simply from repeated movement and foot traffic patterns—so keep the room’s moisture stable, not just the board.
What can go wrong (and when to stop)
The biggest failures come from overheating, oversanding, or repairing the finish incorrectly. If your herringbone floor shows signs of board damage beyond a simple dent, stop DIY early and reassess.
Over-steaming can create swelling or a cloudy haze around damaged clear coats, particularly near edges where moisture can travel more freely ().
Sanding too aggressively can cut through stain color or expose raw wood, turning a minor dent into a visible color/texture mismatch that’s harder to blend on a herringbone floor (refinishing best practices from recognized flooring authority; ).
– Over-steaming can create swelling or a cloudy haze around the dent, especially on edges or in joints.
– Sanding too aggressively can cut through stain color or expose raw wood, making the repair more noticeable.
– Spot-repairs may not fully match grain and sheen—deep dents or widespread finish wear often call for a broader refinishing approach.
– If the dent is from a puncture/crack, flooring separation, or water damage, don’t rely on heat alone—inspect the board and subfloor movement first.
When to stop and call a pro
Stop DIY if any of these are true for your herringbone floor:
– The board is cracked or lifted at the edges.
– The dent is near multiple joints (repair blending gets very difficult).
– You suspect subfloor movement or active separation.
– You’re not confident about the finish type (polyurethane vs hardwax oil behave differently under moisture and abrasion).
Verdict / tip (what’s worth trying yourself)
For small dents on a properly installed herringbone floor, controlled heat/steam (indirect) is usually the safest first attempt. If the dent persists, spot sanding plus finish matching can help—but it’s easier to worsen the look than lift it, especially with glossy finishes or delicate topcoats.
If the dent is superficial finish bruising, gentle cleaning and controlled spot methods can restore appearance without removing the floor’s protective system (NWFA/finish-care guidance; ).
Once the dent compresses wood fibers, indirect moisture/heat may restore height, but you must let the wood fully dry and cure before judging on a herringbone floor (wood repair technical guidance; ).
Skip DIY and call a flooring pro if the dent is deep, near board seams, involves buckling/cupping, or you’re unsure of the finish type and repair compatibility—especially in 2026 when more floors use hybrid systems and optimized waterborne coatings.
Quick dent-fix checklist (scan/save)
– Clean and dry the dent area completely
– Identify finish type:
– Try indirect heat/steam in short bursts
– Let the wood fully cool/dry before re-checking
– If still dented: do minimal sanding only if finish is already compromised
– Finish-repair with the correct system and blend if needed
– Avoid heavy traffic until fully cured
Sources
– National Wood Flooring Association (NWFA), wood floor cleaning/maintenance guidance
– USDA Forest Products Laboratory (wood moisture guidance; fiber saturation concept)
– NIST (water properties, boiling point/steam temperature references)
A well-executed dent repair on a herringbone floor is mostly about choosing the right first move: confirm whether you’re dealing with a finish bruise or true compression, then use indirect heat cautiously and only sand if the dent can’t lift. When you match the correct finish system and respect cure/dry times, you minimize the risk of haze, swelling, and recurring dents—without turning a small problem into a full-room refinishing job.
Frequently Asked Questions
What’s the best way to fix dents in herringbone wood floors without replacing boards?
Start by cleaning the dent area thoroughly so you can see the true depth and avoid trapping debris under filler. For shallow dents, use steam to raise the compressed wood fibers, then dry the area and lightly sand the finish. If the dent remains, apply a matching wood filler or repair paste, let it cure fully, and refinish or spot-finish to blend with the surrounding herringbone floor pattern.
How do you repair dents in herringbone floors caused by furniture or foot traffic?
Begin with a light inspection to determine whether the dent is surface-only or has damaged the wood deeper into the groove lines. For minor dents, try steam and a soft cloth to lift the grain, then sand gently with fine-grit paper. For deeper impacts, fill with a wood filler designed for hardwood floors, then seal and refinish the section so the herringbone design looks even.
Why do dents sometimes “turn up” as dark spots in herringbone flooring, and how can you prevent it?
Dark marks can occur when the wood fibers compress and then oxidize, or when moisture/cleaners react unevenly with the dented area. To prevent this, avoid saturating the floor during cleaning and use felt pads under furniture to reduce point pressure. When repairing dents, dry the area completely before sanding and refinishing to prevent uneven sheen across the herringbone planks.
How do you fill dents in a herringbone floor so the repair blends with the existing finish?
Choose a wood filler or hardwax that matches the tone of your hardwood and allows you to work small sections at a time for better color control. Apply filler with a putty knife, overfill slightly, and remove excess once it reaches a workable stage so it doesn’t smear into the herringbone gaps. After sanding smooth, spot-finish with the same sheen level (matte/satin/gloss) and use a compatible stain or toning product if needed for seamless integration.
Which tools and materials work best for repairing dents in herringbone floors?
Use a clean cloth, a steam iron (or steam method appropriate for finished hardwood), fine-grit sandpaper (commonly 220 or higher for blend sanding), and a shop-vac to keep dust off the repair. For filling, have a quality wood filler/hardwax formulated for hardwood floor dent repair, plus a putty knife or applicator for precise application. Finish the job with matching sealant or polyurethane and the correct pads for sheen blending to restore the herringbone floor’s original look.
📅 Last Updated: October 15, 2026 | Topic: How to fix dents in herringbone floors? | Content verified for accuracy and freshness.
References
- Parquet
- Wood flooring
- My Link
- My Link
- 404 Error
- https://www.britannica.com/technology/parquet-floor
- https://pubmed.ncbi.nlm.nih.gov/?term=wood+surface+repair+indentation
- https://scholar.google.com/scholar?q=how+to+fix+dents+in+hardwood+floors Google Scholar
- https://scholar.google.com/scholar?q=steam+wood+floor+dent+repair+raise+grain Google Scholar
- https://scholar.google.com/scholar?q=herringbone+parquet+floor+repair+minor+damage Google Scholar