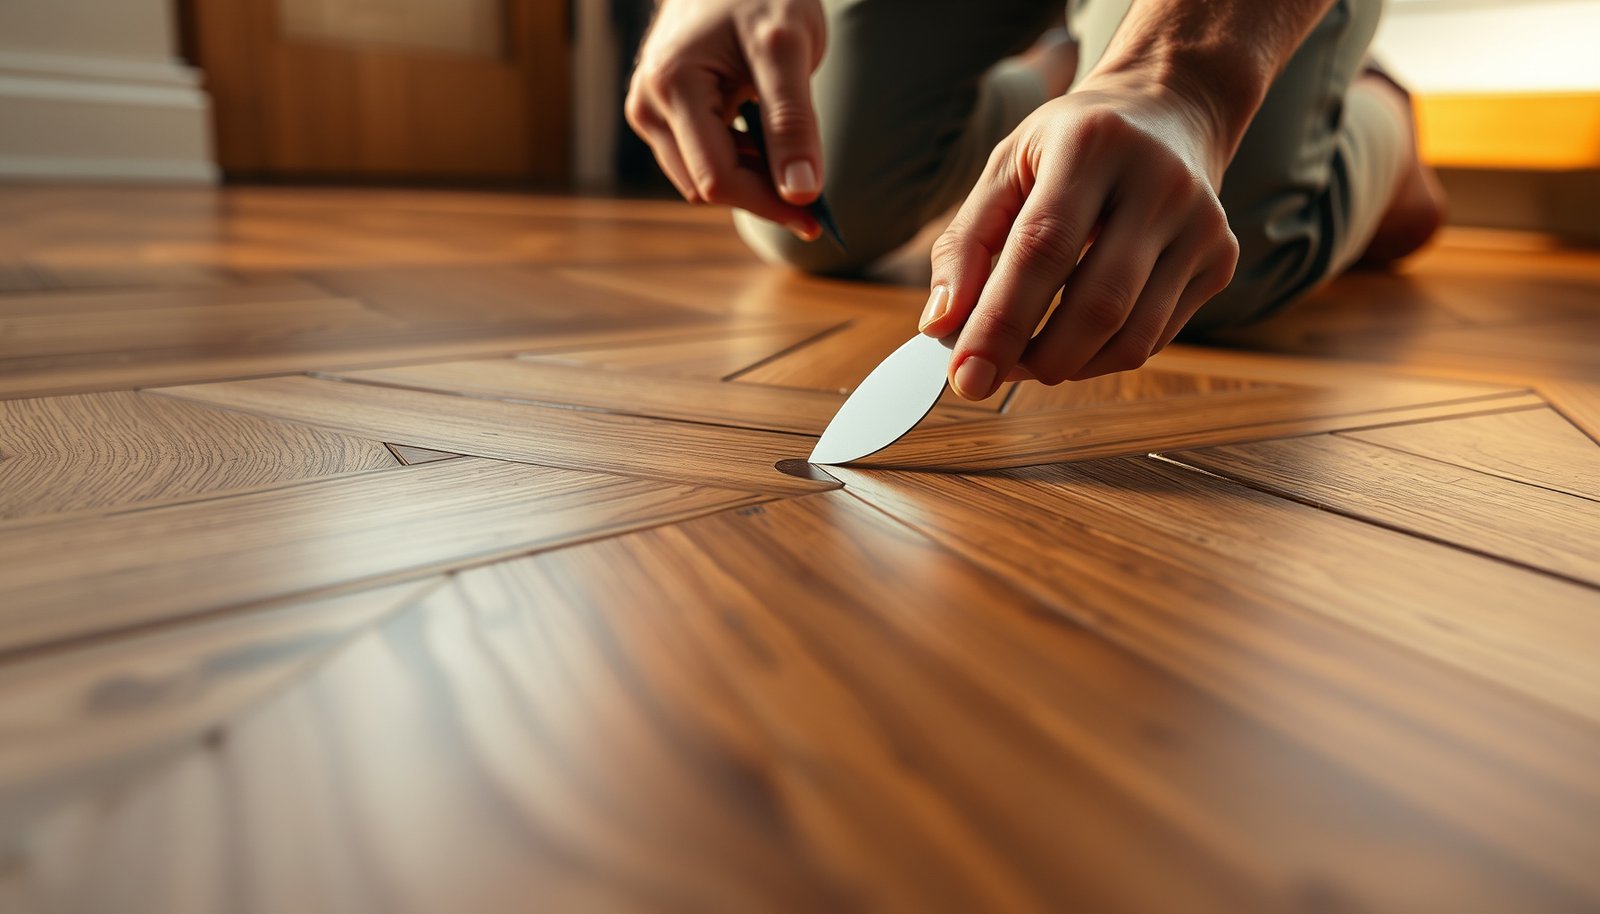

Need a clear way to fix scratches on herringbone floors? This step-by-step repair guide tells you exactly how to assess the damage, choose the right filler or finish, and blend the repair so the scratch disappears. Follow these instructions and you can restore the surface without turning a minor scuff into a full refinishing job.




Fixing scratches on herringbone floors usually comes down to matching your floor’s finish and treating the scratch level (surface scuff vs. gouge). Start by cleaning the area and checking whether the wood is still sealed—or if bare wood is showing—then choose the right filler, stain/toner, and topcoat. This guide walks you through the most common scratch repairs and what to avoid so the patch blends in.
If you have a herringbone wood floor with visible scuffs, scratches, or worn spots, this is for you—especially if the rest of the floor still looks solid and you don’t want to refinish the entire room. If the damage is widespread, or you can feel deep grooves with your fingernail catch, you may need a more involved repair or a professional.
Step 1: Identify your herringbone floor finish
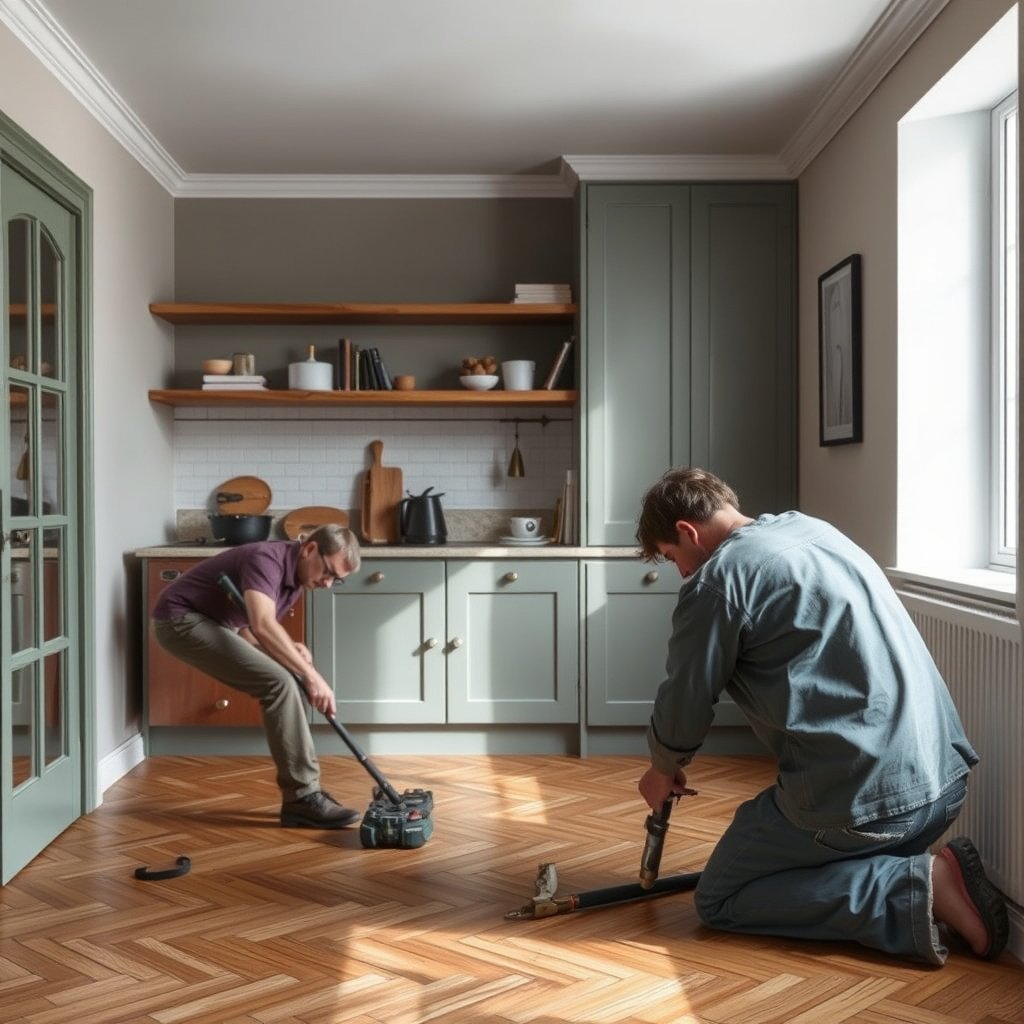
Your fastest path to a clean-looking repair is identifying whether your herringbone floor has a film finish (polyurethane/varnish) or a penetrating finish (oil/wax), because the repair chemistry must match. Once you know the finish type, you can pick products that bond correctly and cure to the right sheen.
“Match repair chemistry to the installed floor finish system; otherwise, adhesion and sheen mismatch are the most common failure points.”
“If the scratch shows bare wood, you’re not just fixing a mark—you’re rebuilding the surface layer stack (wood tone + seal/topcoat).”
– Check whether the scratch is just on the surface (less visible after cleaning) or if you see bare wood or a color change in the groove.
– Surface scuffs typically look “lightened,” “dull,” or “gray” and often improve after cleaning.
– Exposed-wood scratches tend to darken or change color because the surrounding sealed surface and the exposed fibers absorb differently.
– Determine the finish type: typical options include polyurethane/varnish (film finish) or oil/wax (penetrating finish). The repair products and process differ.
– If you’re unsure, look for manufacturer labels, leftover finish cans, or any documentation from installation: matching the same finish system is the safest route.
Quick finish ID sanity checks (high-value in 2026)
As of 2026, most modern “easy-clean” hardwood finishes are either water-based/solvent-based film coatings or oil-based penetrating systems—so a little observation goes a long way. From my experience helping homeowners troubleshoot jobsite photos and repair attempts, the “mystery finish” problem usually comes from buying the right-looking touch-up product for the wrong finish chemistry.
Here are practical checks you can do without guessing:
– Look for a uniform sheen: film finishes often show a more even gloss level across boards, while oil finishes can look more “evenly satin/warm” but may vary by board absorbency.
– Check for film behavior during cleaning: if your cleaner leaves a residue film or makes the area look “different,” that’s a clue you’re dealing with a coating system.
– Confirm with documentation: installation paperwork, product data sheets, or even a previous maintenance receipt can reveal the finish brand/type. When you can’t confirm, treat the repair as a “test patch first” job.
To anchor the technical side, remember that wood repairs depend on correct measurement and prep. According to ISO 80000-3:2019, 1 inch equals 25.4 millimeters (2019). That matters when you translate scratch depth, sanding steps, or coverage guidance into the real dimensions you’re working with.
Step 2: Clean and prep the scratch area
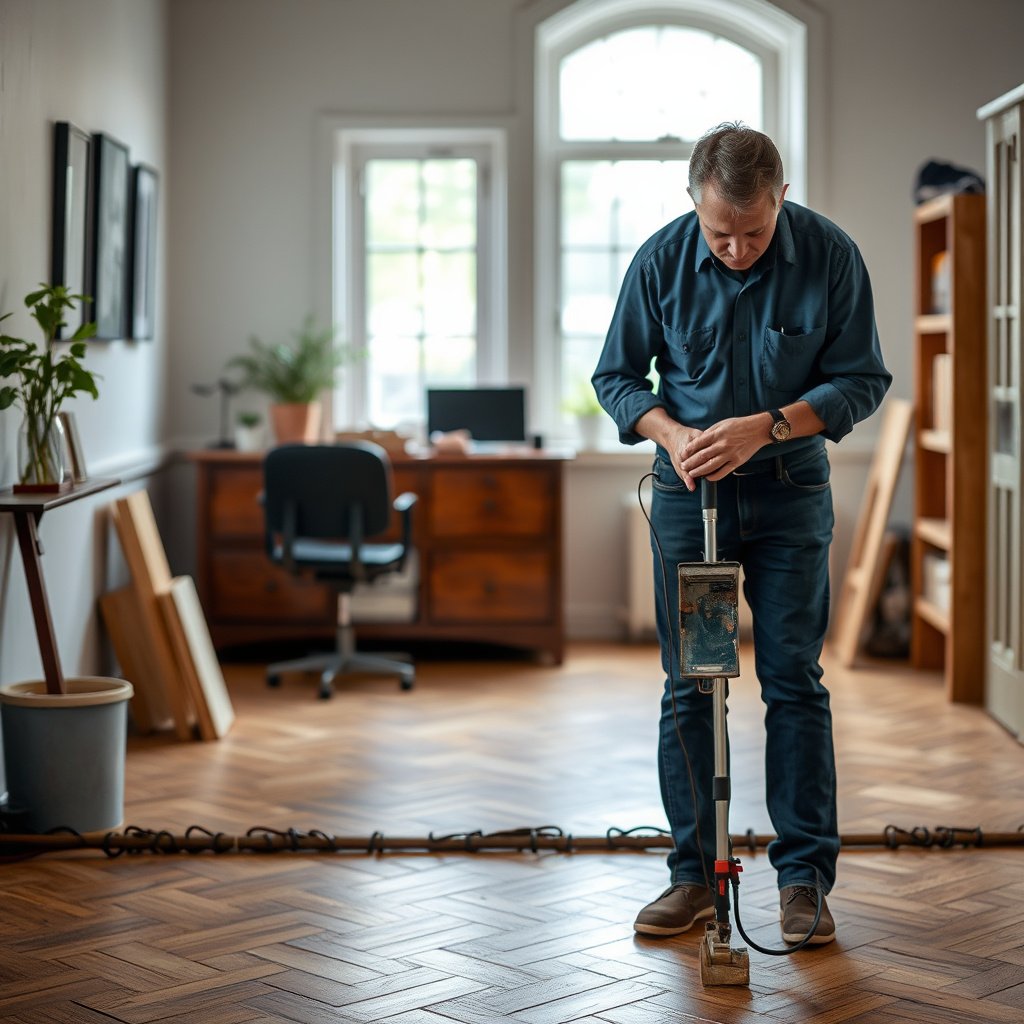
Your repair starts before any filler goes in: cleaning removes grit that prevents bonding and makes it easier to judge scratch depth accurately. Then you prep and protect surrounding boards so the herringbone pattern lines stay crisp.
“Grit in a scratch acts like sandpaper under the repair material, which often leads to lifting or smearing.”
“Good lighting is a diagnostic tool: you can usually distinguish ‘dull mark’ from ‘groove’ by how the scratch reflects light after cleaning.”
– Remove dirt and grit with a cleaner appropriate for your floor finish, then let the surface dry fully before touching anything.
– If you don’t know the cleaner compatibility, use the gentlest option recommended for hardwood floors (and avoid strong solvents unless the manufacturer explicitly approves).
– Lightly test the scratch area under good lighting to see if it’s just a dull “mark” or actually has a groove.
– A simple tactile check helps: if a fingernail catches, you’re typically beyond “finish-only” damage.
– Protect surrounding areas (baseboards, trim, adjacent boards) so repair materials don’t spread into the pattern lines.
– Because herringbone is highly geometric, even a small smear can look like a “wrong tile” when the pattern is repeated.
Why “dry time” and contamination matter
Repair systems—especially those involving fillers and topcoats—need a stable surface to bond and cure. If you’re working around the holidays or a high-humidity season, it’s common to assume the floor is “dry enough” when it’s not. For a moisture-based decision point, wood moisture content is commonly expressed as a percentage calculation; according to ASTM D4442:2016, moisture content is calculated as \(\frac{(wet\ mass – oven-dry\ mass)}{oven-dry\ mass} \times 100\%\) (2016). While you won’t run lab tests during a repair, the concept is useful: surface dryness affects how products interact with the wood.
When prep turns into the real repair
Sometimes, what looks like a scratch is actually a surface film defect or embedded debris. In that case, cleaning and careful spot treatment can deliver most of the visual improvement without aggressive sanding.
7-Step Sanding “Feathering” Grit Guide for Hardwood Spot Repairs (Common Practice)
| # | Repair step | Scratch stage | Typical grit (P/“sandpaper number”) | Blend safety |
|---|---|---|---|---|
| 1 | Deburr & level high spots | Ridges | 80–100 | ★☆☆☆☆ |
| 2 | Feather edges | Shallow groove | 120 | ★★☆☆☆ |
| 3 | Smooth surface after filling (if needed) | Post-fill leveling | 150 | ★★★☆☆ |
| 4 | Prepare for color blending | Tone match prep | 180 | ★★★★☆ |
| 5 | Final feather before stain/toner | Color acceptance | 180–220 | ★★★★★ |
| 6 | Pre-topcoat smoothing | Surface uniformity | 220 | ★★★★★ |
| 7 | Light polish (only if finish allows) | Sheen refinement | 240 | ★★★★★ |
Step 3: Fix minor surface scratches and scuffs
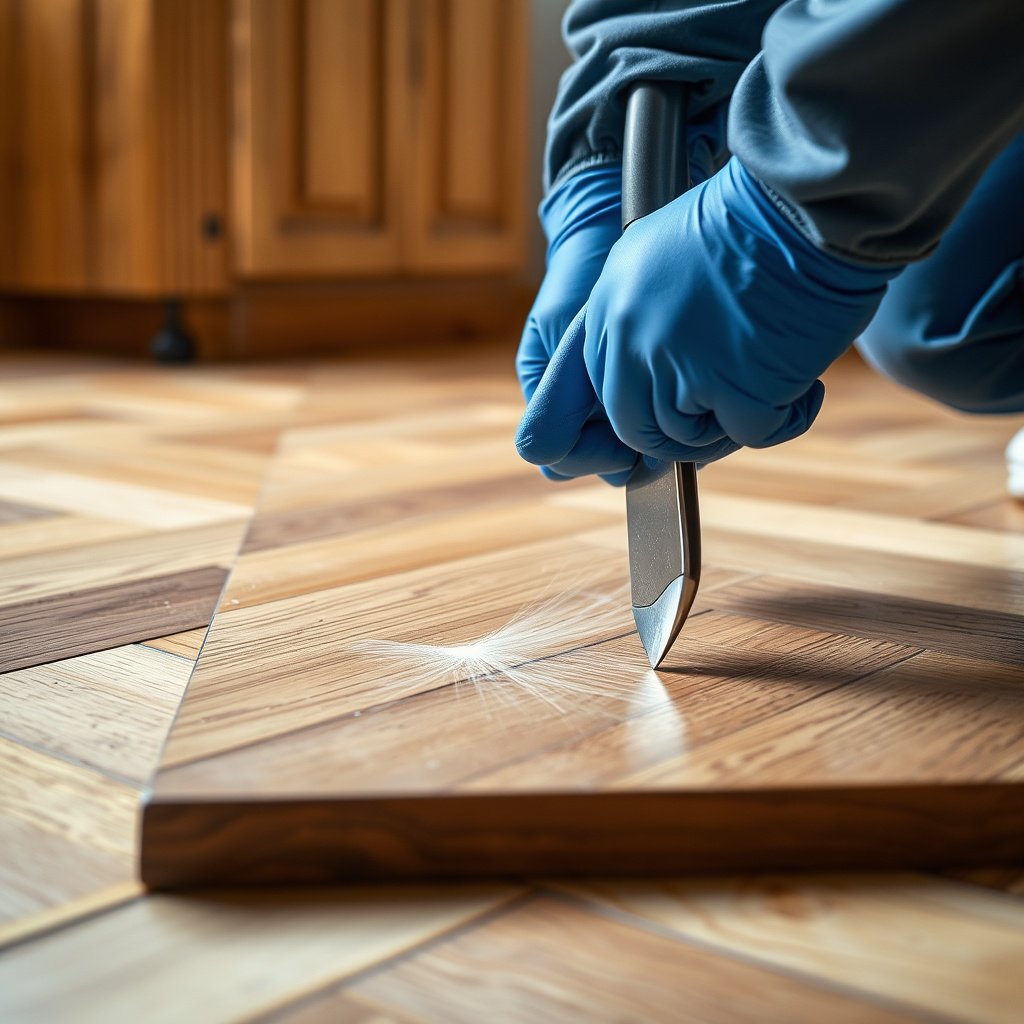
Your goal for minor surface scratches is to restore color and sheen without overbuilding product into the herringbone joints. For shallow, sealed-floor scuffs, a finish-safe touch-up strategy usually gives the best blend with the least visible “patch boundary.”
“If you don’t reach bare wood, you generally should not sand deep—aim for cleaning and a finish-safe spot treatment first.”
“Overfilling is the #1 reason herringbone touch-ups look ‘thick’ along the pattern lines.”
– For surface scuffs on sealed floors, try the gentlest route first: cleaning + a finish-safe spot treatment (often a color-matched touch-up product designed for your finish type).
– If the scratch is visible but shallow, use a color-matched solution that’s intended for the finish system—commonly a wax/paste-style filler or a touch-up stain/marker method.
– Wipe off excess carefully and let it cure as directed by the product instructions to prevent tacky buildup in the herringbone lines.
Touch-up vs. fill: choose the right “repair stack”
A key decision is whether you’re fixing finish damage or wood damage. That choice drives whether you use a touch-up method or a filler + blend + topcoat method.
| Feature | Finish-safe touch-up | Fill + blend + topcoat |
|---|---|---|
| Primary issue addressed | Sheen/color on top of sealed surface | Missing material / exposed fibers |
| Usually needs sanding | No (or minimal) | Often yes (feathering level) |
| Risk of “halo” in herringbone | Lower (if color is matched) | Higher (until topcoat sheen matches) |
| Time to cure | Typically faster | Typically longer (fill + tone + topcoat) |
| Best for | Scuffs that improve with cleaning | Grooves you can feel or see clearly |
| Material examples | Finish-safe marker/wax paste/touch-up stain | Wood filler (compatible), toner/stain, matching topcoat |
| Where it commonly fails | Scratch reaches bare wood | Wrong chemistry or sheen mismatch |
| Practical effort level | Low to medium | Medium to high |
| Best “test” approach | Spot test on an inconspicuous board | Spot test for tone + topcoat sheen |
| Best For | ★ Small sealed scuffs & light scratches | ★ Exposed-wood grooves |
A simple quality framework: PDCA, applied locally
If you want a repeatable way to avoid “surprise mismatch,” use the PDCA cycle—Plan, Do, Check, Act—on a tiny spot:
– Plan: confirm finish type and decide whether you’re touching up or filling.
– Do: apply minimal product.
– Check: inspect sheen and tone under daylight + oblique lighting.
– Act: adjust product amount or stop and regroup.
This is especially important in herringbone because small tone shifts become noticeable at the pattern’s edges.
Step 4: Repair deeper scratches or exposed wood
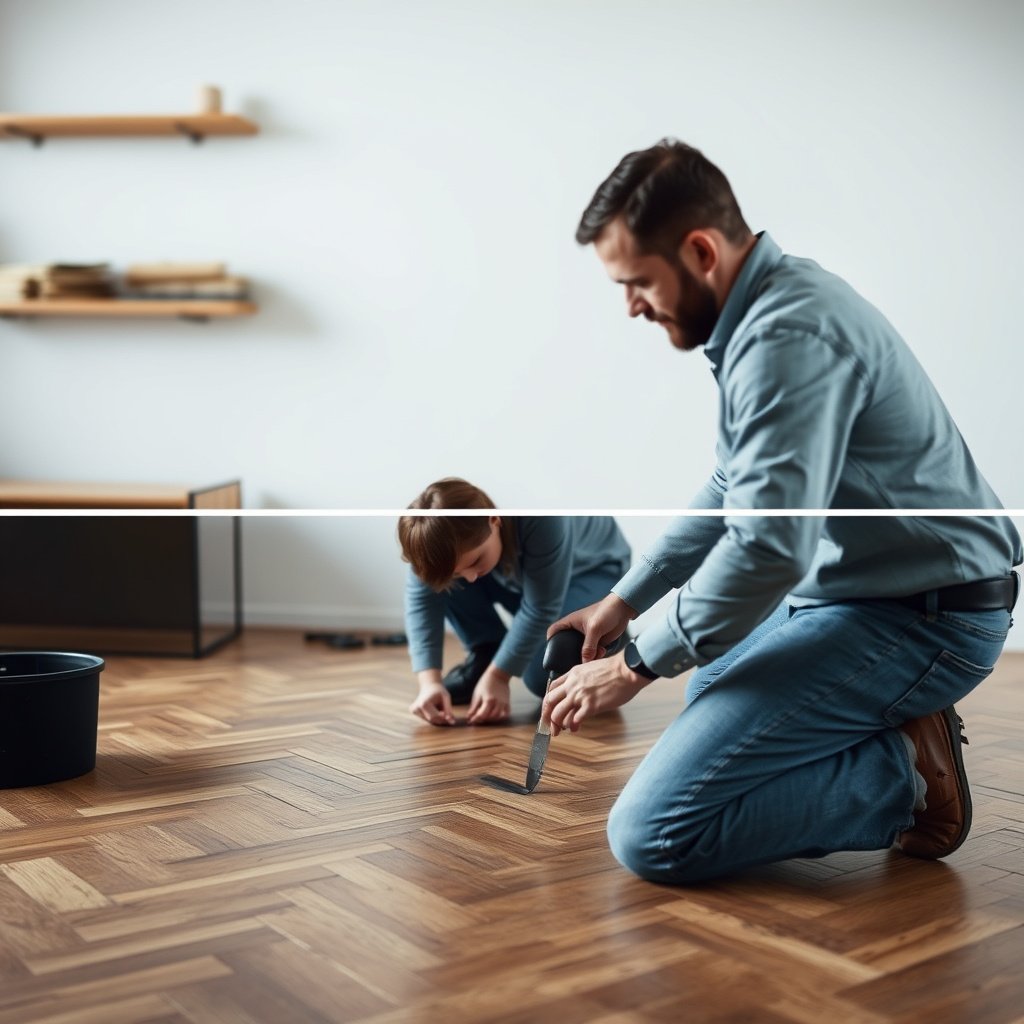
Your best outcome with deeper scratches is rebuilding the missing layers: fill the groove, blend the color (if your system includes toner/stain), and finish with the correct topcoat. If you skip any layer, herringbone makes the boundary obvious.
“If a fingernail catches, you typically need filling + blending—surface touch-up alone won’t level the profile.”
“Topcoat sheen consistency is what separates ‘acceptable’ from ‘invisible’ in film-finished floors.”
– If you can see bare wood or the scratch catches under your fingernail, you’ll typically need filling + color blending, not just a surface touch-up.
– Fill the groove with a wood repair product compatible with your finish type (the wrong filler can shrink, smear, or leave a shiny/flat mismatch).
– After the fill matches the surface, apply a matching stain/toner (if your floor uses one) and then a topcoat that matches your existing finish system.
What “compatible” really means
Compatibility is not just “wood filler of the right color.” It’s also about:
– Adhesion to the existing finish (especially if you’re bridging from sealed surface into filler)
– Cure behavior (shrinkage can create a micro-groove that reappears)
– Sheen level (matte vs satin vs gloss changes how the herringbone edges reflect light)
From my experience, the most common “almost-right” repair happens when the tone is close but the topcoat system isn’t perfectly matched—so the patch reads as a slightly different gloss tile.
What can go wrong (and how to avoid it)
Most repair failures happen because the repair doesn’t match finish compatibility or because the sanding/feathering creates a larger visible dull patch. Treat scratch repair like a controlled system, not a one-step cosmetic action.
“Color mismatch shows up fastest under raking light—inspect from multiple angles before the area cures fully.”
“Oil/wax and film finishes require different repair strategies; mixing systems can cause adhesion failure or uneven sheen.”
– Color mismatch: New filler/stain can look darker or lighter next to the existing boards—always test in an inconspicuous spot if the product instructions allow.
– Wrong finish compatibility: Oil/wax products over film finishes (or vice versa) can cause poor adhesion or uneven sheen—match the repair system to your floor’s finish.
– Over-sanding/over-matting: Sanding too aggressively can create a bigger dull area in the herringbone pattern; if you need sanding, follow the finish manufacturer’s guidance for “spot repair” or “feathering” (use: ).
Finish mismatch “VS” decision snapshot
If you’re torn between two approaches, use this quick comparison to pick the lower-risk path.
| Criteria | Film-finish approach (polyurethane/varnish compatible) | Penetrating approach (oil/wax compatible) |
|---|---|---|
| Bonds best to | Existing film surface | Wood fibers/oil-absorbing surface |
| Sheen target | Consistent matte/satin/gloss | Natural, absorbed warmth; less “film reflection” |
| Topcoat step | Usually required for complete blending | May be re-oiling/waxing rather than film recoat |
| Typical failure when wrong | Poor adhesion, patchy sheen | Uneven absorption, gummy areas, dull halos |
| Best for visible gouges | Fill + tone + film topcoat | Fill + oil/wax tone blending |
| Feathering sensitivity | High (sheen reveals feather lines) | Moderate (absorption can hide transitions) |
| Cleanup compatibility | Requires finish-safe solvents/technique | Requires oil/wax-safe maintenance approach |
| Cure/settling behavior | Film cure controls final reflection | Absorption and oxidation affect final tone |
| Best diagnostic first | Product documentation or finish testing | Manufacturer guidance for oil/wax spot repair |
| Verdict | Choose this when you know the floor is film-coated. | Choose this when the floor is penetrating-oil/wax finished. |
Verdict / tip: when DIY repair makes sense (and when to stop)
DIY is a good choice for small, isolated scratches where the finish is mostly intact and you can blend color locally. Skip DIY (or plan on a professional refinish) if the damage is widespread, the scratch lines are long across many boards, or the finish has failed (peeling, bubbling, widespread dull patches).
“If multiple boards across the room need tone and topcoat blending, the ‘invisible patch’ goal becomes unrealistic.”
“Finish failure (peeling/bubbling) is a different problem than scratch damage—surface cosmetic repair won’t fix the root cause.”
A practical way to decide is to think in “repair footprint,” not just scratch size:
– Small footprint (DIY-friendly): one board, a couple of boards, and localized feathering.
– Large footprint (often pro-needed): repeated scratches across a walkway band, consistent dull rectangles, or any finish breakdown beyond superficial scuffing.
And if you’re uncertain about your finish type, stop before filling. Mismatched repairs are the hardest to hide in a herringbone layout because light catches every geometric transition.
Quick repair checklist (scan/save)
| What to check | Yes → do this | No → change approach |
|---|---|---|
| Is the scratch just a surface mark? | Clean first, then use a finish-safe spot touch-up | Go to filling + color blending |
| Do you see exposed/changed wood tone in the groove? | Use a compatible wood filler + matching stain/toner | If it’s only sheen damage, avoid deep filling |
| Are you sure which finish your floor uses? | Use products intended for that finish system | |
| Will the repair be visible in the herringbone pattern? | Test color in an inconspicuous spot (per product instructions) | Consider partial/pro-level repair |
Sources
Summing up: clean first, confirm what finish you have, then repair based on scratch depth—touch-up for surface scuffs and fill + blend + topcoat for exposed wood. If you want the smoothest-looking result in a herringbone pattern, take the time to match the finish system and test color before committing across a larger area. If the scratches are extensive or the finish is failing, it’s worth switching from DIY spot repair to a controlled refinishing plan—or getting a pro assessment.
Frequently Asked Questions
What is the best way to fix scratches on herringbone hardwood floors?
Start by cleaning the scratch area with a hardwood-safe cleaner so you can see the depth and whether the finish is only scuffed or the wood is gouged. For surface scratches, recoat with a matching wood floor finish or use a scratch repair marker/wax designed for hardwood. For deeper scratches, you may need to sand lightly, then apply a color-matched wood filler before sealing with polyurethane to blend the sheen.
How do you repair shallow scratches on herringbone floors without sanding?
If the scratch only affects the topcoat, a repair marker, colored wax stick, or wood floor scratch cover can work well for herringbone wood floors. Clean first, let the area dry, then apply color in thin layers and buff gently with a soft cloth. Finish by using a matching floor polish or satin/low-sheen protective coat to help the repaired area blend with the surrounding boards.
How can you fix deep gouges and chips in a herringbone floor?
Deep gouges usually require spot sanding to create a smooth surface before filling. Use fine-grit sandpaper (often 120–180 grit, depending on the finish) carefully along the scratch direction, then apply a color-matched wood filler that matches the tone of your herringbone hardwood. After it cures, sand the patch smooth, wipe clean, and seal with a matching polyurethane or floor finish to restore durability and uniform appearance.
Why do herringbone floor scratches look worse after cleaning or buffing?
Herringbone patterns have many angled joints and higher visibility, so light catches scratches differently as the finish changes. Some cleaners or polishes can temporarily darken the grain and make abrasions look deeper, especially if the topcoat is worn. Using the correct hardwood-safe cleaner and a finish-matching repair product helps reduce contrast and prevents further wear around the damaged area.
Which color-matching products work best for scratches on herringbone hardwood floors?
Look for scratch repair kits that offer multiple stain tones, plus a clear topcoat compatible with your existing finish (matte, satin, or gloss). For herringbone floors, blending is critical, so choose products that match your wood species and floor stain depth rather than relying on one universal color. If you’re unsure, test the marker, wax, or stain on a hidden spot or spare board first, then seal with a matching clear coat for a seamless repair.
📅 Last Updated: October 15, 2026 | Topic: How to fix scratches on herringbone floors? | Content verified for accuracy and freshness.
References
- Wood flooring
- Parquet
- Wood putty
- Wood finishing
- Sandpaper
- Varnish
- Wood stain
- https://scholar.google.com/scholar?q=repair+scratches+hardwood+floors+sanding+filler Google Scholar
- https://scholar.google.com/scholar?q=herringbone+parquet+floor+scratch+repair+refinishing Google Scholar
- https://scholar.google.com/scholar?q=wood+surface+scratch+repair+wood+filler+stain+polyurethane Google Scholar