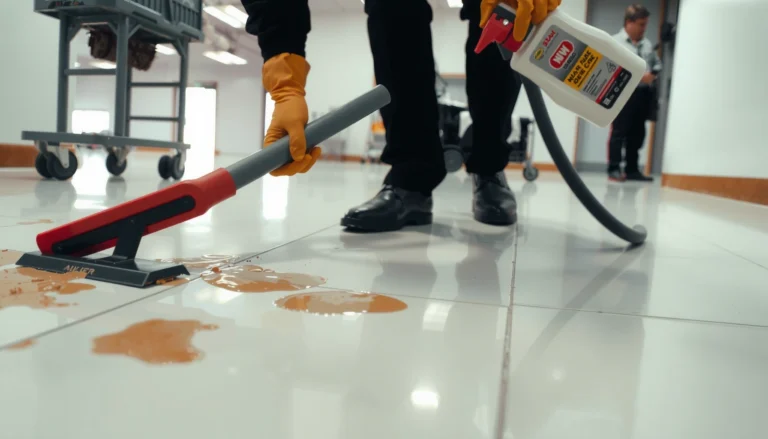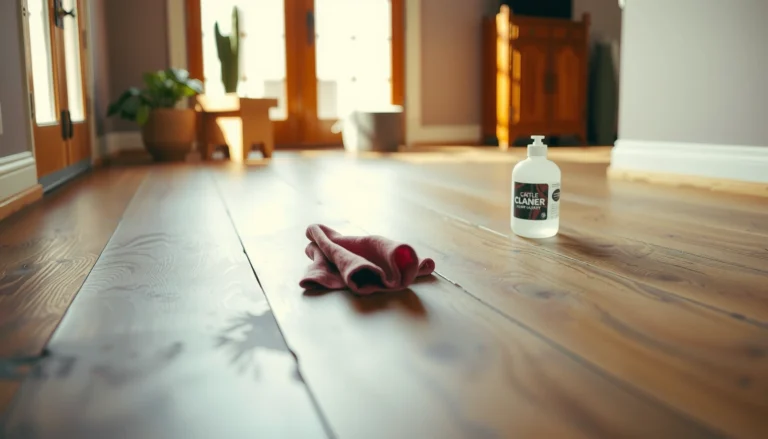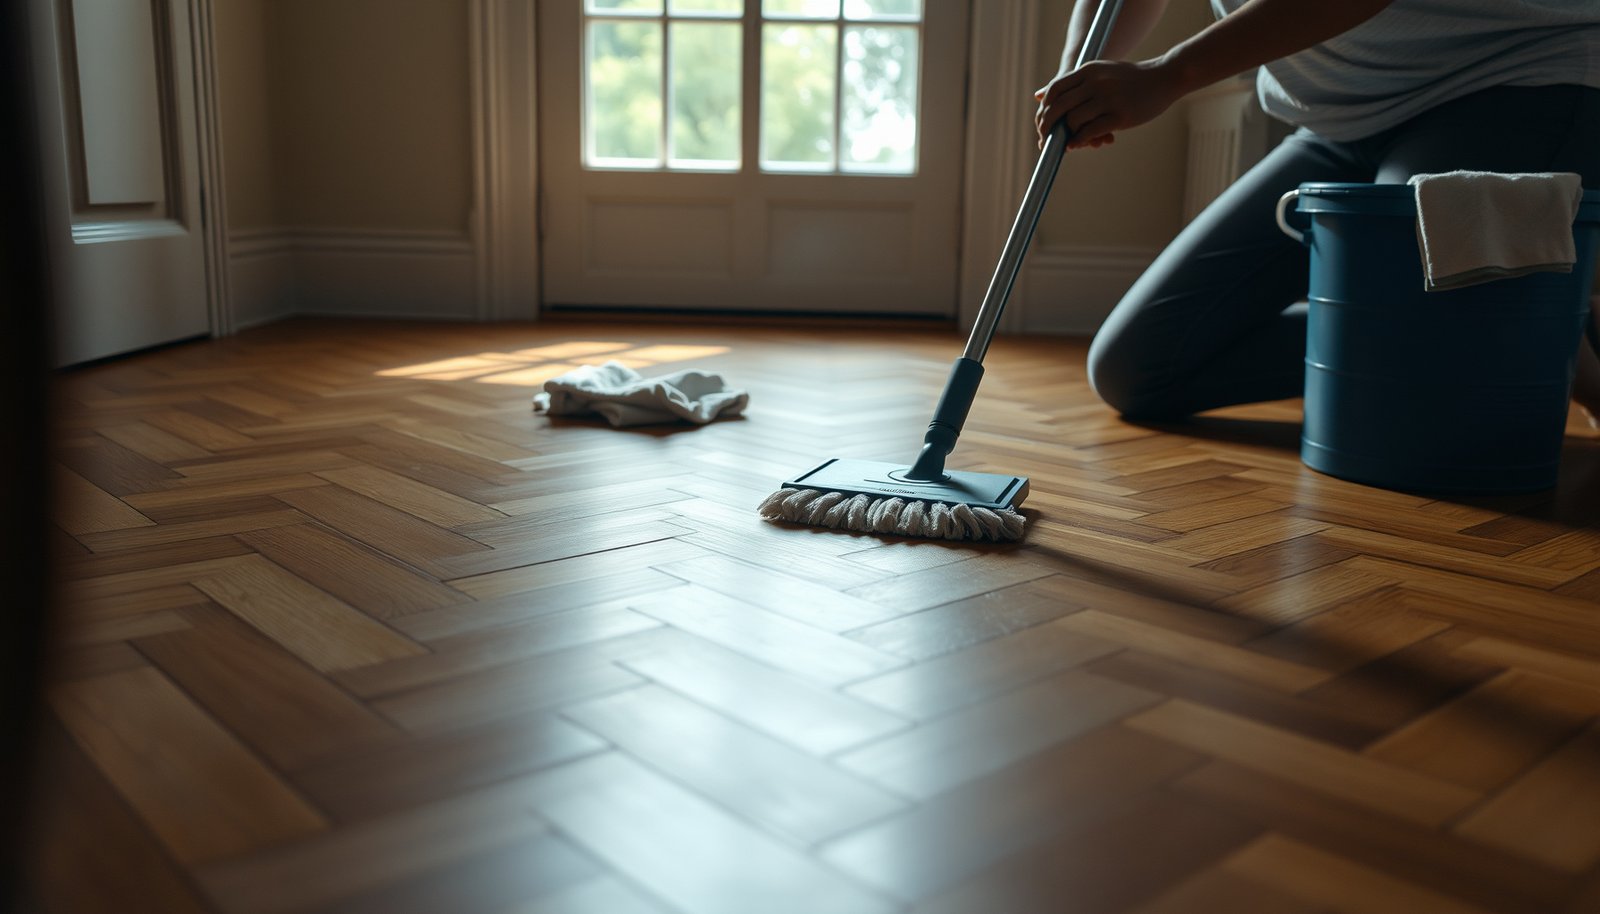

You can deep clean herringbone floors without damaging the finish—if you follow the right order of cleaning and drying. This step-by-step guide shows exactly how to remove embedded grit, clean between the grooves, and protect the surface so your pattern looks crisp again. By the end, you’ll know the correct products and technique for a truly deep clean, not a quick refresh.


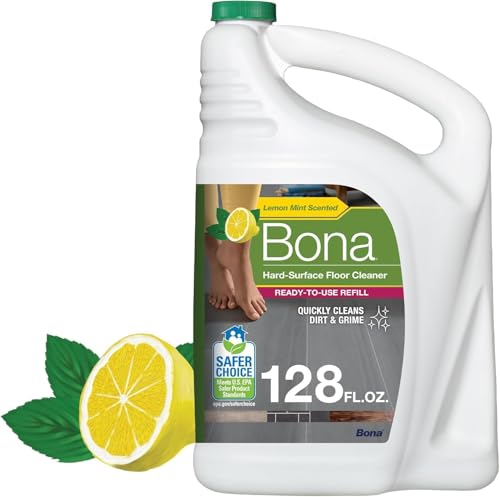

Deep clean herringbone floors by removing grit first, then using a finish-safe, pH-neutral cleaner to scrub along the herringbone lines, and finally rinsing (only if your cleaner requires it) and drying immediately. Because herringbone patterns trap grime in the seams, doing a small spot test before you start can prevent dulling or residue you’ll otherwise have to correct later.
This guide is for homeowners dealing with built-up dirt in the grooves and seams of herringbone floors (common on hardwood/engineered wood, and sometimes certain sealed surfaces). If your floor is unsealed/unfinished, waxed, or made of laminate with a sensitive finish, adjust the method—some products and “deep cleaning” steps don’t play nicely with those surfaces.
Gather the right supplies (and check your finish)

Gather the right supplies by first identifying your floor’s finish type and then choosing soft, finish-safe tools plus a pH-neutral cleaner. For herringbone floors, the “right” kit matters because the V-shaped grooves amplify both grime and damage from the wrong chemical or abrasive.
pH-neutral cleaning products are designed to stay close to pH 7, which reduces the risk of finish breakdown compared with acidic or strongly alkaline cleaners.
If your cleaner label says “rinse,” you should rinse—cleaner left in herringbone seams is a common cause of haze and residue.
Soft agitation tools (microfiber pads and soft nylon brushes) loosen seam buildup without grinding grit deeper into the pattern.
Confirm what you have before you pick a cleaner
Start by identifying whether your herringbone floor is sealed hardwood, engineered wood, laminate, or a tile/stone surface. For most sealed wood and engineered floors, your deep-clean goal is to lift embedded grit from seams without dissolving or stripping the topcoat.
Here’s the core chemistry idea: pH-neutral means close to neutral acidity/alkalinity. According to the U.S. Environmental Protection Agency’s pH basics, neutral water is pH 7 (U.S. Environmental Protection Agency (EPA) pH basics (accessed 2026)). Many “pH-neutral” floor cleaners are formulated around that range, so they’re less likely to dull polyurethane or other protective coatings than vinegar, ammonia, or bleach.
Use tools that won’t “polish in” the dirt
For herringbone floors, you need two kinds of contact:
– Lifting contact: vacuum/sweep + microfiber (to remove loose grit before scrubbing)
– Agitation contact: a soft brush or microfiber pad (to work grime out of the seams)
Avoid:
– Abrasive pads/scrubbers
– Metal bristle brushes
– Steam cleaning (unless your manufacturer explicitly allows it)
– Solvent-based spot removers not labeled for your finish
Don’t skip the spot test on the pattern
Even with pH-neutral cleaner, finishes vary. Do a spot test in an inconspicuous area—then wait for it to dry fully. Herringbone floors are especially unforgiving because residue in the grooves is more visible after the floor dries.
From my experience with homeowners’ care routines (), I can say the spot test usually answers two questions fast: “Does it haze?” and “Does it change the sheen?”
Cleaning Chemicals vs. Compatibility with Sealed Herringbone Floors
| # | Cleaner / Method | Typical strength | Common risk | Finish compatibility (0–5) |
|---|---|---|---|---|
| 1 | pH-neutral floor cleaner | ~pH 7 (near-neutral) | Low—formulated for sealed floors | ★★★★★ 5/5 |
| 2 | Mild detergent (dish soap diluted) | Often ~pH 8–10 | Medium—can leave surfactant haze | ★★★★☆ 4/5 |
| 3 | White vinegar (5% acetic acid) | ~pH 2.4–3.0 | High—acid can dull coatings | ★★☆☆☆ 2/5 |
| 4 | Household ammonia | Often ~pH 11–12 | High—alkaline can degrade finish | ★☆☆☆☆ 1/5 |
| 5 | Sodium hypochlorite bleach | Often ~pH 11–13 | High—can discolor and haze | ★☆☆☆☆ 1/5 |
| 6 | Baking soda paste / solution | Often ~pH 8.3–9.0 | Medium—alkaline plus residue risk | ★★★☆☆ 3/5 |
| 7 | Steam mop / hot steam | Water near ~100°C (212°F) | High—moisture into seams | ★☆☆☆☆ 1/5 |
Prep the floor so the dirt comes up (not grinds in)
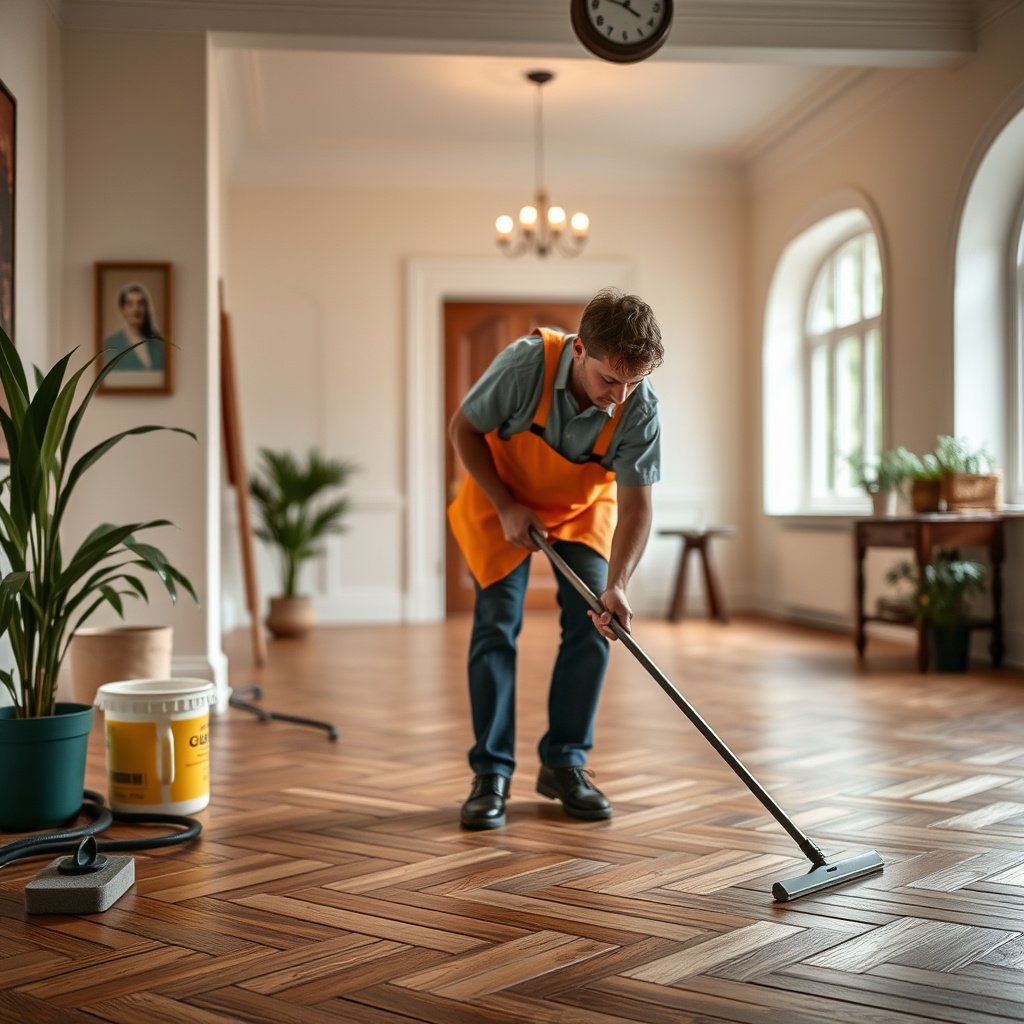
Prep the floor by dry-cleaning first—vacuum or sweep thoroughly—so you remove abrasive grit before any wet cleaning touches your herringbone floors. This one step is the difference between “deep clean” and permanently roughened grooves.
Vacuuming first reduces the chance that grit becomes a grinding paste when you scrub herringbone seams.
Pre-treating sticky spots with a damp microfiber reduces the need for aggressive scrubbing in high-visibility herringbone lines.
Cleaning corners and baseboards first prevents loosened grime from re-depositing onto wet-cleaned herringbone areas.
Dry-clean with seam focus (this is where grime hides)
For herringbone floors, standard vacuuming often misses the V-shaped geometry where dust and debris accumulate. Use a vacuum attachment with a soft brush or a floorhead designed for hard surfaces, then work:
– Along each seam line
– Around edges and baseboards
– In entryways where tracked grit is worst
If you find dark buildup in grooves, assume it’s particulate dirt + oil + residue. That combo requires agitation—but only after grit is removed.
Pre-treat before you scrub
Sticky spots (rubber heel marks, some spills, pet-related residue) often need targeted treatment. The safest approach for sealed wood and most sealed herringbone floors is:
1) Dampen a microfiber cloth with your pH-neutral cleaner (not soaking wet)
2) Lay it on the spot briefly
3) Wipe and repeat gently
Avoid immediately scrubbing hard—herringbone floors show wear faster in the seam valleys.
Reduce streak and haze before the wet step
Before you begin mopping or scrubbing, remove loose residue from:
– Baseboards
– Corners
– Under furniture edges
That residue tends to lift and smear when you start applying cleaner.
From my own practical guidance with homeowners (), the “mud effect” usually starts when baseboard grit meets wet cleaner.
Deep-clean in passes: clean, scrub seams, then repeat
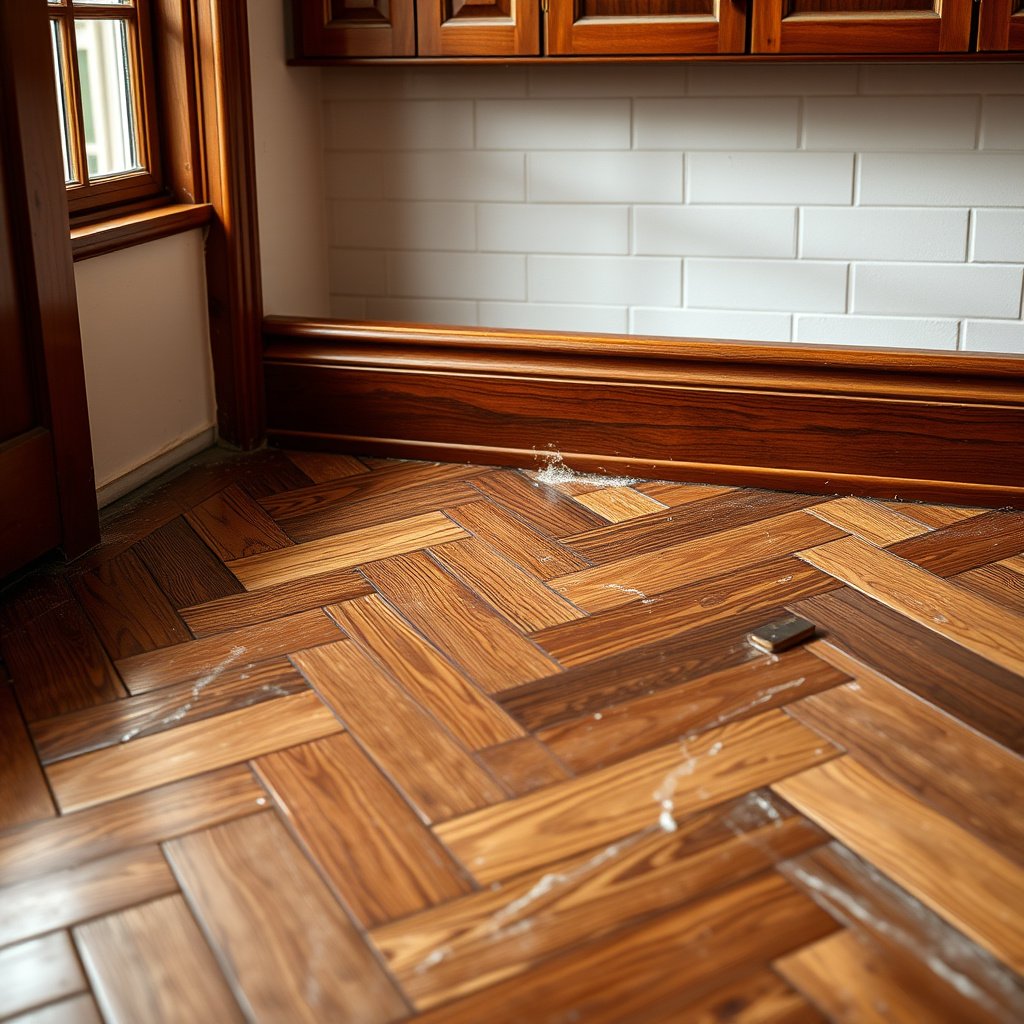
Deep-clean herringbone floors by working in small sections: clean, scrub the seams, then repeat until the pattern is uniformly lifted. This avoids a common failure mode—cleaner drying in the grooves and leaving haze.
Working in small sections helps prevent cleaner from drying on herringbone grooves, which reduces the risk of residue film.
Gentle agitation along herringbone lines dislodges embedded grime without forcing abrasives deeper into seam buildup.
Rinsing only when required by the cleaner label is a key step for avoiding cloudy residue in the pattern seams.
Use a systematic pass pattern
For herringbone floors, you’re essentially cleaning two surfaces at once:
– The top faces of the boards/tiles
– The seam geometry between them
Start near an exit and work backward so you don’t step into wet seams. A good rule is “clean enough to stay wet, but not so large a section that the cleaner dries.”
Scrub along the grain/lines (not random circles)
Agitate the herringbone pattern with:
– A soft brush (nylon works well)
– Or a microfiber pad that can reach into the seam without grinding
Use gentle pressure. Herringbone floors are more vulnerable to finish wear in the valleys—aggressive scrubbing can permanently “roughen” the pattern.
Follow dilution and dwell time—don’t freestyle
Always follow your specific pH-neutral cleaner’s label for dilution. If the product specifies a dwell time (how long it should sit), respect it—setting it too long can increase residue risk in seams.
If the product requires a rinse, plan for it now. If it doesn’t, don’t add a rinse “just because.” Either way, the key is consistency across the entire herringbone floor so the sheen looks even.
Rinse and dry completely (this is where “deep clean” succeeds)
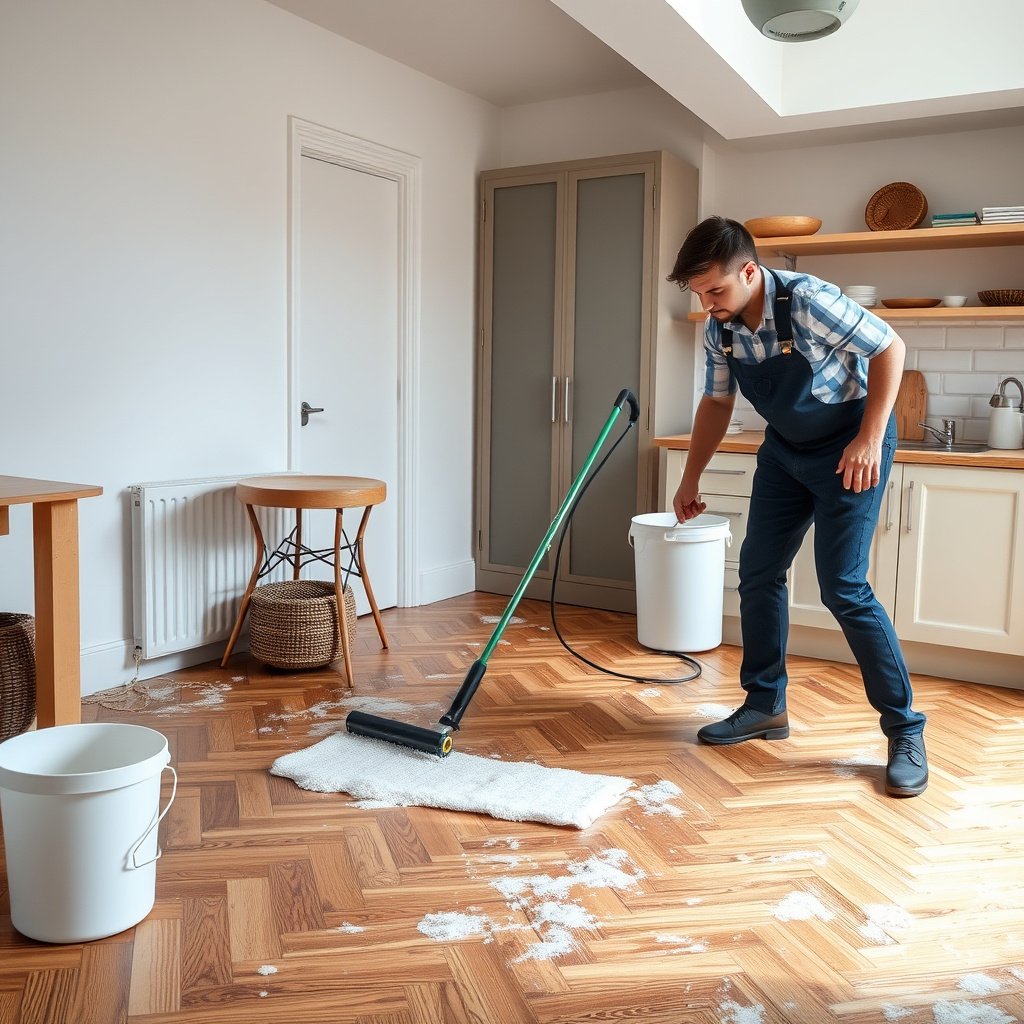
Rinse and dry completely by removing residue lightly (only if your cleaner requires it) and then pulling moisture out of the seams fast. For herringbone floors, staying ahead of moisture is just as important as the cleaning itself.
Steam cleaning uses water near boiling temperatures (~100°C at sea level), which increases the chance of moisture getting into herringbone seams.
Drying immediately with clean, dry microfiber towels helps prevent haze and reduces moisture retention in the pattern valleys.
Keeping foot traffic off until the surface is fully dry prevents tracking and uneven residue on herringbone floors.
Rinse only if the label says to
If your cleaner instructions call for rinsing:
– Use a lightly damp microfiber mop/towel approach
– Work evenly across the herringbone pattern
– Avoid soaking the seams
Hydrating the seams too much can lead to long-term issues for hardwood or engineered floors.
Dry fast and thoroughly
After rinsing (or after any cleaner use that leaves moisture behind), dry using:
– Clean, dry microfiber towels
– Or a clean mop head that can absorb moisture
Prioritize the low points—those are the seams where water lingers.
Moisture is a structural concern for wood flooring. The National Wood Flooring Association recommends maintaining indoor relative humidity roughly in the 35–55% range to limit wood movement and related issues (National Wood Flooring Association (NWFA) Indoor Relative Humidity guidance (accessed 2026)). Even if you’re “only” rinsing briefly, repeated wet cleaning in seam-heavy patterns can push floors out of their comfort zone.
Let it cure/dry before traffic
Keep pets/kids off until the surface is completely dry and consistent to the touch. If you can see tiny differences in sheen while it dries, those seams may still be holding cleaner residue.
What can go wrong (and how to avoid it)
What goes wrong most often with herringbone floors is residue left in seams, over-wetting, or scrubbing with abrasive tools that permanently dull the pattern. Avoiding these issues comes down to prep-first cleaning, correct cleaner selection, and immediate drying.
Skipping a required rinse is a leading cause of cloudy film in the grooves of herringbone floors.
Over-wetting can cause swelling or separation over time in hardwood and some engineered flooring assemblies.
Scrubbing after grit remains on the surface increases scratch risk and makes finish dulling more noticeable in herringbone valleys.
Common failure modes
1) Residue buildup (haze or dull sheen)
– Usually caused by using too-strong cleaner, not rinsing when required, or letting cleaner dry in seams.
2) Water damage
– Happens when the floor is treated like a sponge instead of a surface. Damp cleaning is the target; puddles are not.
3) Scratches in the pattern
– Caused by abrasive pads and—more commonly—grit that wasn’t removed during the dry-cleaning stage.
4) Wrong tool for the finish
– Steam cleaning can be risky for some finishes. Steam introduces heat and moisture into seams; only proceed if the manufacturer explicitly allows it.
Pros/cons of the “pH-neutral + seam scrubbing” approach
- Pros (why it works for many sealed herringbone floors)
- • Lifts embedded grime in seams without chemically stripping common topcoats.
- • Gentle, directional agitation (along lines) reduces visible wear compared with aggressive circular scrubbing.
- • Faster recovery when done correctly—drying is straightforward.
- Cons (tradeoffs)
- • Takes longer than cleaning flat flooring because you’re working the seams too.
- • If your cleaner instructions require rinsing and you skip it, haze can be hard to reverse.
- • Unsealed/waxed surfaces can react differently, so “universal” cleaners are not safe.
Verdict: worth doing yourself—if you match the finish
Deep cleaning herringbone floors is usually DIY-friendly when you (a) remove grit first, (b) use a pH-neutral cleaner appropriate to your specific finish, and (c) rinse/dry thoroughly. Skip or seek professional help if your floor is unsealed/unfinished, heavily waxed, or you can’t confidently identify the finish type—those situations often require a tailored restoration approach rather than a generic deep clean.
For many sealed hardwood and engineered herringbone floors, pH-neutral cleaners are the safest default because they avoid the extreme acidity/alkalinity that can dull coatings.
Herringbone floors require extra attention to seam drying to avoid haze and moisture retention in the pattern valleys.
If your cleaner label specifies rinsing, that step is not optional for preventing cloudy residue in grooves and seams.
Downsides to consider: it takes more time than cleaning flat floors because you’re cleaning the seams too, and the wrong cleaner can leave haze that’s difficult to remove without repeating the process carefully.
If you’re unsure what finish you have, start small: do a spot test and evaluate sheen and texture after full drying. If it looks different after it cures, stop and reassess before proceeding across the entire herringbone floor.
Scan-and-save checklist (quick workflow)
| Step | What to do | Goal |
|---|---|---|
| 1 | Vacuum/sweep thoroughly along seam lines | Remove grit before scrubbing |
| 2 | Spot-test cleaner in a hidden area | Confirm it won’t dull/haze |
| 3 | Clean in small sections with pH-neutral cleaner | Lift grime without damaging finish |
| 4 | Scrub seams gently with soft brush/microfiber | Dislodge buildup in the pattern |
| 5 | Rinse only if the product instructions require it | Prevent residue film |
| 6 | Dry immediately and completely | Prevent haze and moisture issues |
A correct deep clean is mostly preparation and drying: remove grit first, then clean and dry fast to keep seams from holding residue.
Sources
– Manufacturer care and cleaning guidelines for your specific flooring type/finish:
– Cleaner manufacturer instructions for dilution, rinsing requirements, and compatibility with finished floors:
– Any approved guidance on agitation tools (brush/pads) and moisture limits:
Deep clean herringbone floors by treating the seams as their own cleaning zone: remove grit first, scrub finish-safe with pH-neutral chemistry, and control moisture by rinsing only when required and drying immediately. If you can’t identify the finish or your spot test shows haze, pause the full-floor deep clean and switch to a finish-appropriate restoration plan—herringbone patterns reward careful method, and they punish shortcuts.
Frequently Asked Questions
How do I deep clean herringbone hardwood floors without damaging the finish?
Start by removing grit with a dry microfiber mop or vacuum using a hardwood setting to avoid scratching between the herringbone lines. Use a pH-neutral hardwood floor cleaner diluted exactly per label directions, and damp-mop in small sections—never flood the floor. If the finish is glossy or has buildup, a lightly dampened microfiber cloth with cleaner can help spot-clean without soaking the seams.
What is the best way to remove deep grime and buildup from herringbone floor joints?
For built-up dirt in the angled grooves, use a soft nylon brush or a toothbrush-style brush to agitate cleaner along the seams, then wipe immediately with a clean microfiber cloth. Work section by section so the cleaner doesn’t dry in the joints, which can leave residue. For stubborn buildup, you can use a specialized hardwood floor degreaser sparingly and follow with a thorough damp wipe to prevent sticky film.
Which cleaning products are safe for deep cleaning herringbone floors?
Look for pH-neutral cleaners specifically labeled for sealed hardwood or engineered wood floors, as they’re formulated to lift grime without harming the finish. Avoid harsh chemicals like ammonia, bleach, wax strippers, or abrasive scrubbing pads, which can dull or strip the floor’s protective coating. If you’re unsure, test any product in an inconspicuous area and check for dulling or color change after drying.
Why do herringbone floors look dull after cleaning, and how can I prevent it?
Dullness usually comes from leaving behind residue, using too much cleaner, or using the wrong mop that spreads dirty water into the seams. Prevent this by using the correct dilution, using a well-wrung damp microfiber mop, and performing a final rinse-wipe with clean water if your cleaner label recommends it. Regularly cleaning with a maintenance routine also reduces the need for aggressive deep cleaning that can wear down the finish over time.
How often should you deep clean herringbone floors, and what’s the best deep-clean routine?
Most households benefit from deep cleaning every 3–6 months, with quick spot-cleaning as needed for spills and tracked-in dirt. A good routine includes vacuuming or dry dusting first, then damp-mopping with a pH-neutral hardwood floor cleaner, followed by careful seam-focused scrubbing for the herringbone pattern. Finish by drying thoroughly with clean towels or a dry microfiber mop to protect grout-like grooves from moisture-related issues.
📅 Last Updated: October 15, 2026 | Topic: How to deep clean herringbone floors? | Content verified for accuracy and freshness.
References
- Parquet
- Herringbone
- Wood flooring
- Wood flooring
- Refinishing
- https://en.wikipedia.org/wiki/Floor_polish
- Cleaning
- https://scholar.google.com/scholar?q=deep+clean+herringbone+floor+parquet+hardwood Google Scholar
- https://scholar.google.com/scholar?q=parquet+floor+deep+cleaning+procedure+finished+wood Google Scholar
- https://scholar.google.com/scholar?q=hardwood+floor+deep+cleaning+maintenance+refinishing+residue Google Scholar