Want to know how to install parquet floors on stairs step-by-step with clean, durable results? This guide walks you through every stage—from prepping the treads and risers to setting each parquet strip and finishing the edges—so your staircase looks sharp and holds up under daily foot traffic. If you follow the sequence exactly, you’ll avoid the most common misalignment and lifting issues that ruin stair installations.




Installing parquet on stairs is best done by gluing or mechanically fixing the parquet to a rigid, stable tread/riser substrate, then finishing with a stair-rated, grippy topcoat. If you measure every tread and riser, keep the substrate flat (no “spring” or flex), and follow the parquet/adhesive/topcoat manufacturer instructions for stairs, you can reduce the common failures—lifting edges, gaps, squeaks, and slippery steps.
This guide is for homeowners or DIYers renovating an existing staircase who want a parquet look on both the treads (step surface) and risers (vertical face), or at least a coordinated parquet tread with a matching riser finish. As of 2026, many manufacturers still require an explicitly “stair-approved” installation method, especially when you’re bonding onto vertical faces or dealing with vibration from foot traffic.
Prep stairs and map your layout
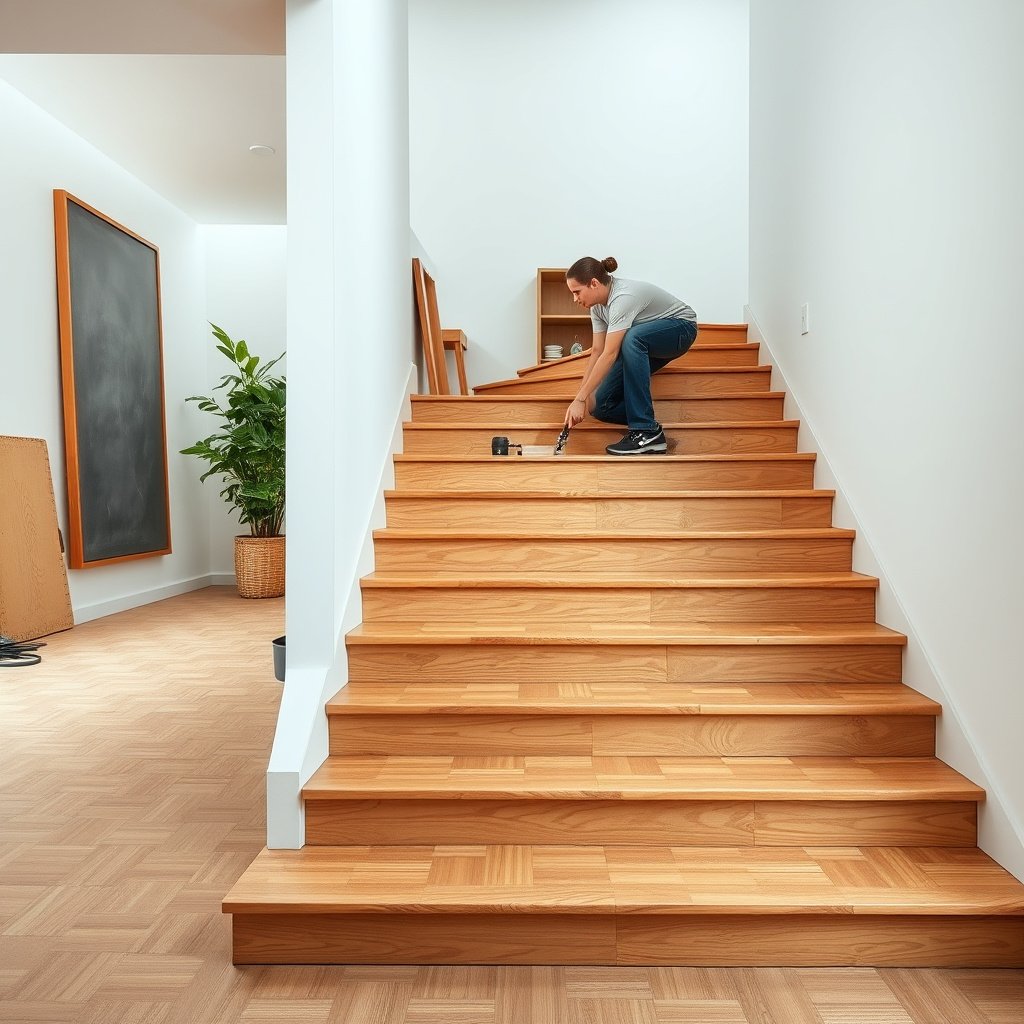
Prep work is the step that determines whether your finished parquet stays tight or starts to lift. Start by inspecting structural stability, then map your plank pattern so seams and small cuts don’t end up where people repeatedly land.
Stair-code dimensions are not just “design trivia”: the International Residential Code (IRC) 2018 requires a minimum tread depth of 10 in (255 mm) and a maximum riser height of 7-3/4 in (196 mm) for typical residential stairs.
The ADA 2010 accessibility guidelines similarly set a minimum going (tread) of 11 in (279 mm) and a maximum rise of 7-3/4 in (190.5 mm), which affects how stair patterns visually align across steps.
If your stair treads feel springy or uneven, parquet bonding is at higher risk—parquet adhesives generally perform as designed only when the substrate is rigid and in full contact.
Remove old coverings and inspect for “do-not-bond” defects
– Remove carpet, vinyl, paint, and any loose timber/trim that would compromise adhesion.
– Inspect each tread and riser for:
– Loose boards (movement under load)
– Cracks or delamination in timber layers
– Uneven flats (high spots/low spots that prevent full adhesive contact)
– Failing stair nosings (often where chipping starts)
If you find structural issues, correct them first. Parquet is a finish layer; it shouldn’t be used to “bridge” defects in the stair structure.
Measure each tread and riser independently
Unlike flooring on open areas, stairs vary step-to-step. Measure tread depth, tread width, riser height, and any nosing overhang on each step, then sketch a layout.
Practical approach:
– Put chalk marks or tape lines showing where edges, seams, and the nosing line will land.
– Decide seam placement early. Even if your pattern is straight, you want to avoid seams landing in the most stressed zones—usually close to the front edge of the tread.
– Plan your expansion/movement gaps exactly as your parquet manufacturer specifies. On stairs, these gaps are often the difference between “stable for years” and “gaps that open within months.”
Choose the right parquet and installation method

The right parquet and method come down to one question: “Is it explicitly approved for stair installation?” Choose a parquet system that’s intended for stairs and then pick the fixing approach—glue-down or mechanical fixing—that matches the system design.
Always confirm “approved for stair use” in the parquet manufacturer’s installation instructions before installing parquet on treads or risers.
Stair performance depends on both the fixing method and the finish system—an adhesive rated for flat floors may not be specified for vertical bonding on risers.
If your product system specifies a primer/underlayment build-up, deviating from that build-up commonly increases the risk of debonding at edges.
Decide: glue-down vs mechanical fixing (and why it matters)
Here’s the trade-off in plain terms:
| Method | Best For | Main Benefit | Main Risk if done wrong |
|---|---|---|---|
| Glue-down | Many engineered parquet systems and overlays on rigid treads | Strong bond when substrate is flat and correct adhesive/primer are used | Lifting if the substrate moves or adhesive coverage/work-time is incorrect |
| Mechanical fixing (where specified) | Systems designed with nailing/screwing channels or compatible substrates | Adds anchoring mechanical resistance | Wrong fastener placement can cause squeaks or surface damage; incorrect substrate thickness can flex |
| Hybrid (system-specific) | Some stair solutions combine adhesive + mechanical elements | Extra security on high-traffic edges | Only works when the system explicitly prescribes it |
Use compatible materials—primer/adhesive/finish must “agree”
Stair floors typically involve more variables than standard room flooring:
– Primer for bonding to existing timber or leveling layers
– Adhesive for parquet-to-substrate
– Topcoat (lacquer) or hardwax/oil designed for high wear
– Edge trims/nosing profiles for impact protection
If the parquet manufacturer lists adhesives and primers “approved/recommended for stair bonding,” use that list. If they do not, treat it as a red flag.
Build a stable substrate (underlayment matters)
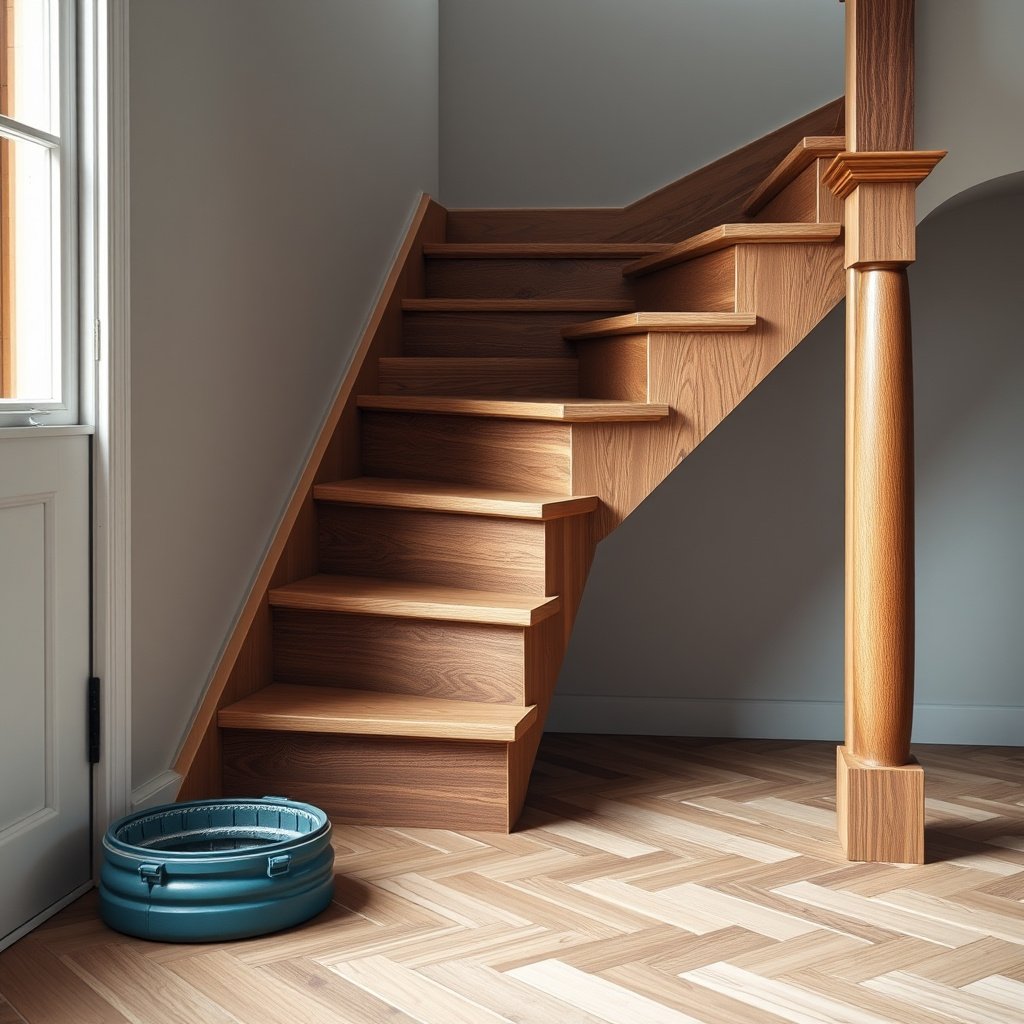
A stable, flat, rigid substrate is what makes parquet installation predictable on stairs. When you can eliminate flex and ensure full adhesive contact, you drastically reduce gaps, squeaks, and premature edge failure.
Parquet adhesives generally require full surface contact; incomplete contact leaves voids that can lead to hollow-sounding treads and localized lifting over time.
Stairs amplify movement: even minor structural movement becomes obvious on steps because people load the tread repeatedly and often near the nosing.
Acclimation rules are there to stabilize dimensional movement—manufacturers typically require acclimation before installation to manage expansion/contraction.
Verify flatness and rigidity on every tread
Before you open the parquet boxes:
– Check flatness along each tread using a straightedge.
– Confirm the stair surface doesn’t “rock” when pressed at different points.
– Remove any loose underlayers, spongy leveling compounds, or old adhesives that compromise bond integrity.
If you’re adding a substrate layer (commonly plywood/board or a system-approved underlay panel):
– Follow the system build-up exactly (thickness, fastener pattern, and seam treatment).
– Avoid “flexy” underlayment. Even if it feels comfortable on flat floors, it can create micro-movement on steps.
Moisture and movement control (don’t skip this)
Stairs can concentrate moisture issues due to proximity to exterior doors, basements, or HVAC air changes.
What to do:
– Confirm the acceptable moisture range for your parquet (and for the substrate) in the manufacturer instructions.
– Acclimate the parquet in the home environment using the listed conditions.
– Store materials away from direct drafts and heat sources.
Install parquet on treads and risers
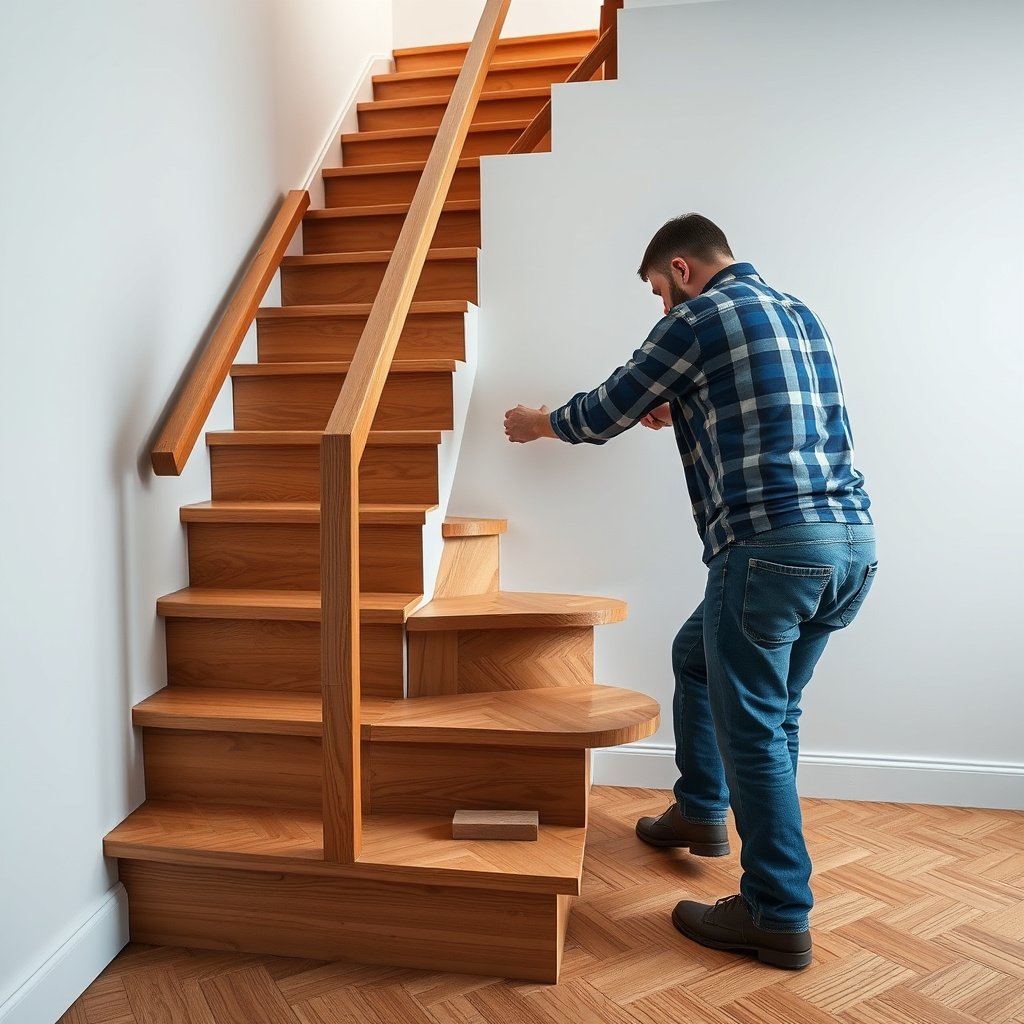
Installation is where your layout becomes real—do treads first, then tackle risers carefully so the pattern and lines stay consistent. The most reliable method is to follow the parquet manufacturer’s adhesive spread method and working time, then finish edges immediately per spec.
On steps, adhesive open time matters: spread-and-wait beyond the manufacturer’s working window can reduce bond strength.
Treat the tread as the primary load path—bonding quality on treads is usually the biggest predictor of long-term stability.
Riser installation is a different bonding challenge: vertical surfaces can stress adhesive during curing, so only use adhesives and methods explicitly intended for risers.
Step 1: Install parquet on the treads
A common sequence:
1. Dry-fit a section to confirm seam direction and pattern alignment.
2. Cut the edge pieces that follow the nosing line.
3. Apply adhesive using the spread method and coverage specified.
4. Set pieces, press/roll where instructed, and keep joints aligned.
Working tips:
– Maintain consistent orientation from step to step.
– Wipe off excess adhesive promptly—hardened adhesive can interfere with finishing and edge trims.
– Use a plan to avoid tiny slivers where possible; stairs visually exaggerate odd cuts.
Step 2: Cover risers (or coordinate a compatible finish)
Your system may allow parquet on risers, but not every product is designed for vertical wear and curing conditions.
Options:
– Parquet on risers (if approved): proceed with adhesives intended for vertical bonding and ensure accurate cuts for consistent visual lines.
– Coordinated riser finish: if parquet isn’t approved on risers, use an approved alternative finish so the staircase still reads as intentional.
Finish edges, sealing, and anti-slip grip
Finishing is what turns parquet into a safe, durable stair surface. Use a stair-rated topcoat (or hardwax/oil system) and protect the nosing/edges with the right trims so chips and lift-down failures don’t start at corners.
Stair surfaces experience impact at the nosing and frequent scuffing at the tread front—finishes rated only for general interior floors may not provide equivalent wear or traction.
Edge trims and nosing profiles aren’t optional in many stair systems; they protect vulnerable corners from repeated shoe impacts.
For grip, choose documented anti-slip performance where available—don’t assume a regular floor coating will meet stair safety expectations.
Sand, then topcoat—only as far as the system allows
Follow the finish system steps:
– Sand according to the parquet/finish manufacturer’s limits.
– Apply topcoat in the specified number of coats and curing time windows.
– Avoid rushing cure times before first use.
Protect the nosing and stair transitions
– Install trims/edging recommended for your parquet/finish system.
– Verify miters and transitions at returns/turns; these areas often become first-point failures if the edge protection is weak.
Plan for anti-slip performance
If grip is critical (children, pets, high foot traffic, polished looks), select a finish with an anti-slip option as specified by the manufacturer. Stair safety requirements can vary by jurisdiction, but the performance must be demonstrated by the finish system, not by assumption.
What can go wrong (and how to prevent it)
Most stair parquet problems come from predictable root causes: unstable substrates, incompatible adhesives, poor layout planning, or finishing/traction that isn’t stair-rated. If you address those failure modes early, you prevent the “it looked perfect for a month” situation.
Gaps on parquet are commonly linked to insufficient or incorrect movement gaps and/or installation conditions that conflict with the manufacturer’s acclimation requirements.
Squeaks usually trace back to incomplete bonding coverage or an unstable stair structure—bonding only works when the adhesive contacts the substrate fully.
Slippery treads typically result from using a finish system without documented stair traction performance, especially on smooth or glossy topcoats.
Common failure modes and prevention
– Gaps and lifting
– Usually caused by skipping acclimation, using an adhesive not approved for stair use, or not keeping the required expansion gap.
– Squeaks or loose treads
– Often indicates a build-up that flexes, inadequate substrate rigidity, or adhesive not achieving full contact.
– Edge chipping
– Happens when nosing/edge protection is missing, incorrect, or the finish isn’t engineered for impact wear at the stair front.
Quick comparison: adhesive vs topcoat responsibility
| Component | Main job | Typical symptom if wrong | Best prevention step |
|---|---|---|---|
| Adhesive/primer | Bond parquet to tread/riser (and cure reliably) | Lifted edges, hollow sound | Use only approved adhesive + correct spread/open time |
| Topcoat/finish | Wear + scuff resistance + traction | Slippery steps or rapid dulling | Use a stair-rated finish with anti-slip option |
| Edge trim/nosing | Impact protection at corners | Chips near the front edge | Use system-recommended trims and install tightly |
Stair Geometry & Coverage Checks That Affect Stair Parquet Layout (IRC vs ADA, latest widely cited editions)
| # | Stair parameter | Minimum/Maximum (mm) | Standard (edition) | Why it matters for parquet | Installation priority |
|---|---|---|---|---|---|
| 1 | Tread depth (going) | ≥ 255 (IRC) | IRC 2018 | Impacts how much parquet face is available before the nosing line | ★★★★☆ |
| 2 | Tread depth (going) | ≥ 279 (ADA) | ADA 2010 | Helps prevent “thin” parquet edge pieces that are prone to chipping | ★★★★★ |
| 3 | Riser height | ≤ 196 (IRC) | IRC 2018 | Affects how riser coverage can align with tread seams | ★★★★☆ |
| 4 | Riser height | ≤ 190.5 (ADA) | ADA 2010 | Vertical wear zones—finish selection on risers becomes more critical | ★★★★☆ |
| 5 | Tread-to-riser relationship (design intent) | 600–650 (mm equivalent rule) | IRC 2018 rule-of-thumb | Helps keep step geometry comfortable, reducing how aggressively people strike the nosing | ★★★☆☆ |
| 6 | Finish thickness allowance (planning) | ≥ | Manufacturer instructions | Extra buildup changes step dimensions and can create “micro-awkwardness” that speeds up wear | ★★☆☆☆ |
| 7 | Substrate rigidity requirement | No measurable flex | Parquet system guidance | Flex leads to adhesive stress at joints, increasing gap and squeak risk | ★★★★★ |
Quick checklist + verdict/tip
If you want predictable results, treat this project like a specification exercise: measure precisely, follow the system build-up, and protect the edges. When you can’t confirm substrate rigidity or you lack accurate cutting tools, it’s usually smarter to hire an installer—stairs punish small errors immediately.
Most stair failures are preventable when you keep the bond system within the manufacturer’s specified substrate, adhesive spread, and expansion gap requirements.
Edge protection and stair-rated finishes are essential because the nosing and tread front face the highest impact and scuff cycles.
If any tread/riser is unstable or uneven, parquet bonding will be stressed at the first load points—fix the structure before you install.
– Use this scan-before-you-start list:
| Step | Quick check |
|---|---|
| Measuring | Each tread/riser measured individually; layout sketched |
| Substrate | Solid, properly leveled/flat, system-approved build-up |
| Materials | Parquet is approved for stair use; adhesive/sealer are compatible |
| Movement | Required expansion gaps kept; acclimation followed |
| Installation | Adhesive applied as directed; pieces aligned and fully bonded |
| Finishing | Stair-rated finish/topcoat; edges protected; grip addressed |
Verdict/tip: This is doable DIY, but it’s one of those projects where small errors show up immediately on stairs. If you don’t have the tools for precise cutting and alignment, or if your staircase structure/substrate isn’t solid, it’s often better to hire a flooring installer. Skip this approach if you suspect ongoing movement in the stairs, have serious moisture issues, or cannot confidently follow the exact manufacturer instructions.
Frequently Asked Questions
How do you prepare stairs before installing parquet flooring?
Start by ensuring each step is clean, dry, and structurally sound; remove old paint, adhesive residue, and loose material. Check stair risers and treads for levelness and squareness, and sand or fill low spots so the parquet can sit flat without gaps. If moisture is a concern, use an appropriate primer or underlayment system for parquet and your substrate type. Finally, measure tread depth and run width consistently across all steps to plan cuts and avoid narrow “sliver” pieces on visible edges.
What is the best method to install parquet on stair treads and risers?
Most stair parquet installations use either a flexible adhesive system for solid or engineered parquet or a nail/staple approach only when the stair structure allows it and the parquet manufacturer approves. For the tread (high-wear surface), use a strong, flexible wood flooring adhesive or a stair-rated system to accommodate vibration and prevent lifting. For the risers, adhesive installation is typically cleaner and easier, but still maintain proper spacing and alignment. Always follow the parquet flooring manufacturer’s installation instructions for recommended adhesives, subfloor requirements, and expansion gaps.
Which adhesive and underlayment should you use for parquet stairs?
Choose a parquet stair adhesive that’s compatible with both the stair substrate (wood, plywood, concrete, or metal) and the parquet type (engineered vs. solid). For engineered parquet over stairs, many installers prefer a flexible adhesive to reduce stress from foot traffic and slight movement. Underlayment is often limited on stairs because you need a stable, thin build-up to prevent squeaks and uneven edges; use only a manufacturer-approved product. If you’re aiming for sound reduction, select an underlayment specifically designed for stairs and parquet to avoid height changes at the nosing.
How do you handle cutting and fitting parquet around stair nosing and corners?
Measure each tread carefully and cut parquet pieces to fit the tread depth and the nosing profile, accounting for the thickness and any overhang. Use templates for repeating stair shapes (especially on curved or partially rounded stairs) and dry-fit several steps before gluing. For mitered edges and corner lines, cut slowly and trial-fit to keep pattern alignment consistent across landings. If you plan to use stair nosing trims, leave the right clearance so edges don’t catch shoes and so the visual line stays straight.
Why do parquet stairs crack, gap, or squeak after installation—and how can you prevent it?
Cracking or lifting often comes from skipping an expansion gap, using rigid adhesive, or installing on a substrate with movement or moisture problems. Gaps can form if the stairs weren’t leveled, the parquet wasn’t acclimated, or the flooring system was too inflexible for stair traffic vibration. Squeaks usually result from inadequate bonding, loose substrate, or a buildup that isn’t firmly supported—use the recommended adhesive coverage and press tools where appropriate. Prevent issues by acclimating the parquet, using a flexible parquet stair adhesive, ensuring the stair surfaces are flat and dry, and following the correct fastening/adhesion method for your specific parquet type.
📅 Last Updated: October 15, 2026 | Topic: How to install on stairs parquet floors? | Content verified for accuracy and freshness.
References
- https://www.woodflooring.org/search/?q=stairs+installation+hardwood+flooring
- https://www.woodflooring.org/search/?q=stair+treads+hardwood+flooring+installation
- https://www.woodflooring.org/search/?q=hardwood+flooring+acclimation
- https://www.woodflooring.org/search/?q=subfloor+preparation+hardwood+flooring
- Parquet
- https://www.britannica.com/art/parquet-flooring
- Redirecting…
- Stairs
- https://scholar.google.com/scholar?q=how+to+install+parquet+floor+on+stairs Google Scholar
- https://scholar.google.com/scholar?q=wood+flooring+installation+on+stairs+treads+nosings Google Scholar