
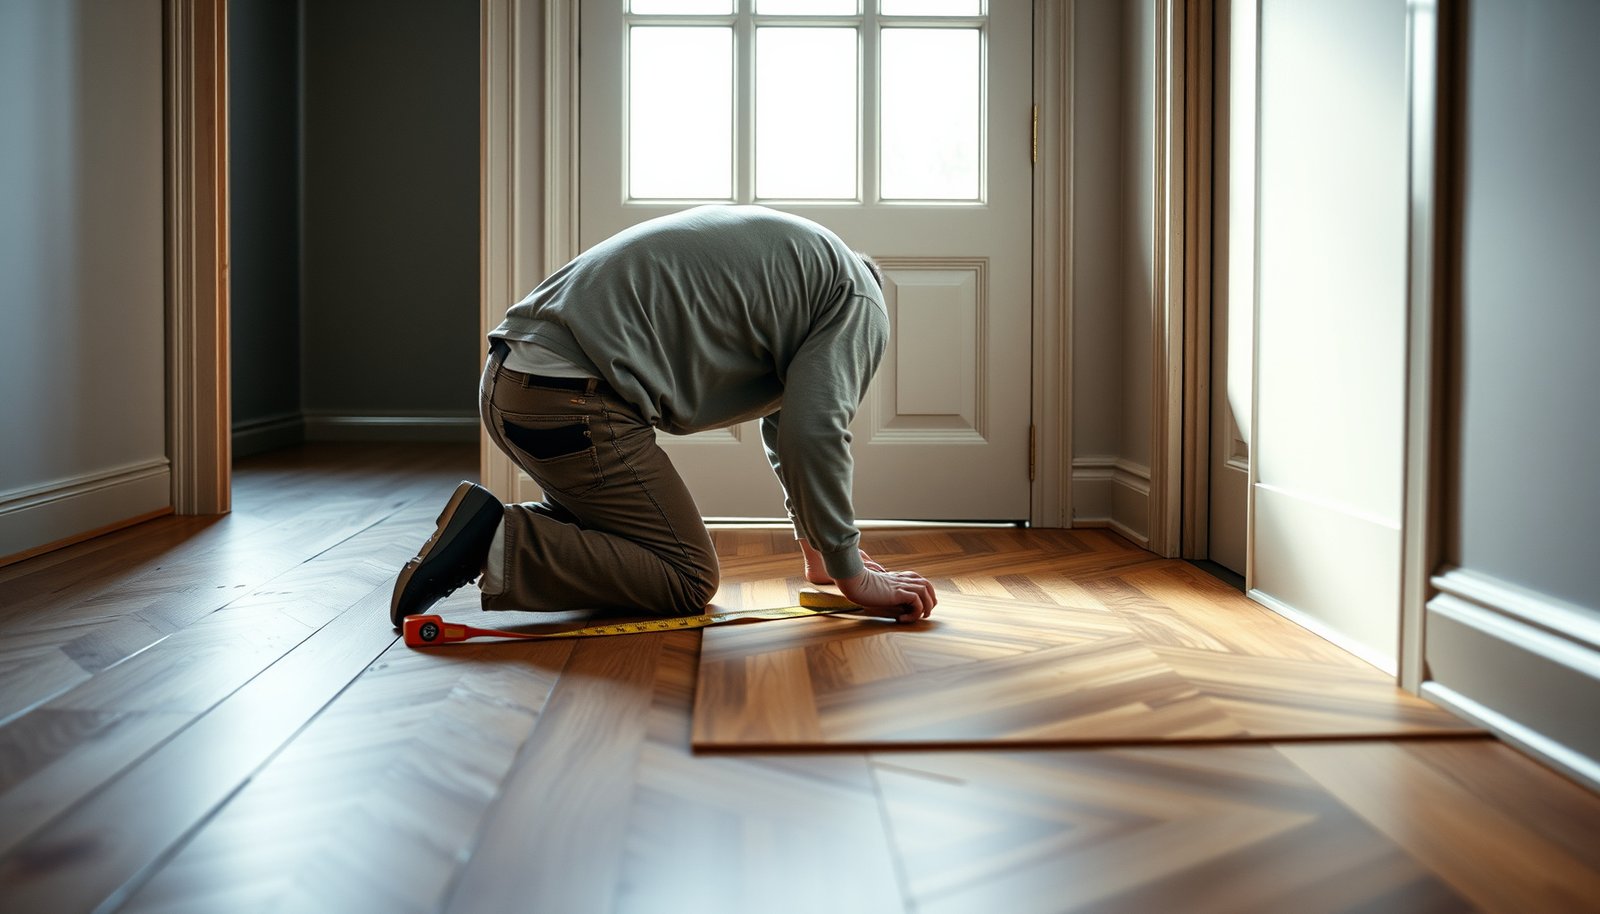

Installing parquet floors around doors is a detail job where the right method makes or breaks the finish. Follow the best-fit approach—undercut door jambs and use clean expansion gaps—so boards slide beneath trim without buckling or visible transitions. This guide answers exactly how to plan cuts, maintain the correct movement gap, and finish the edge where parquet meets the door opening.




If you install parquet around door openings correctly, you’ll avoid gaps, squeaks, and binding when the floor expands and contracts. Plan the cut lines first, leave the required perimeter/expansion gaps, then finish with trim/shoe moldings so the boards can move freely under the door area.
This guide is for homeowners and flooring installers fitting parquet near doorways, hinges, and frames—especially where the boards meet a doorway threshold or run up to jambs. If your door swings over the flooring, you’ll also want to check clearance before final placement.
Measure door-clearance and expansion gaps first
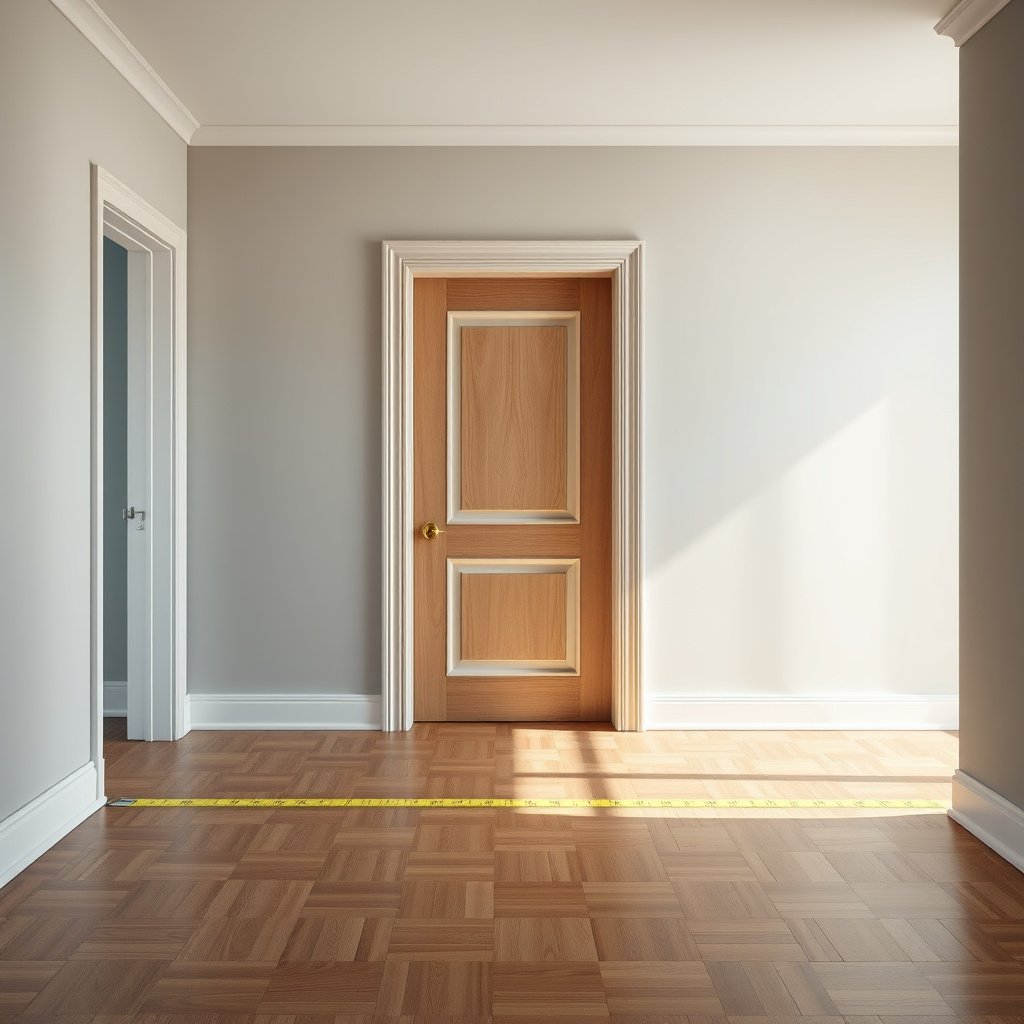
You get the cleanest results when you treat doorways and frames as a movement boundary, not an obstacle to be “tight-fitted.” Measure door-clearance and the parquet’s required expansion gap before you cut anything, then design where the gap will be hidden by trim or a transition.
Floating wood flooring is designed to expand and contract, so the installation method (floating vs. glued/nailed) determines the minimum gap you must leave at door openings.
Door jambs and trim create “fixed edges,” and parquet that’s cut too tight to these fixed edges can bind as the floor moves.
Repeat the key entity: parquet floors around door openings should be planned using the exact gap your system requires.
– Measure the door jamb/trim depth and note exactly where parquet must stop (or tuck) relative to the frame.
– Decide whether the parquet will be installed as a floating system (common with engineered/laminate-style parquet) or via glue/nails (common with some solid parquet systems). This changes what “tight” means.
– Plan an expansion gap around the perimeter/doorway edge (commonly needed for floating installs), and decide how you’ll cover it with trim rather than locking boards hard against the frame.
– Check door swing clearance: if the door leaf swings over or near the parquet plane, confirm there’s enough height and clearance for the final floor + underlayment + any threshold piece.
A quick “gap math” reference (common woodworking gap sizes)
The exact gap must follow your parquet manufacturer instructions, but these values are widely used as starting points for planning movement allowances.
Common Perimeter Gap Sizes for Floating Wood Floors (Exact Conversions)
| # | Perimeter gap (in) | Metric (mm) | Typical planning band | Installation confidence* |
|---|---|---|---|---|
| 1 | 1/8″ | 3.18 | Narrow | ★★☆☆☆ |
| 2 | 3/16″ | 4.76 | Lower | ★★★☆☆ |
| 3 | 1/4″ | 6.35 | Common (check spec) | ★★★★☆ |
| 4 | 5/16″ | 7.94 | Mid | ★★★★★ |
| 5 | 3/8″ | 9.53 | Widely used (check spec) | ★★★★★ |
| 6 | 1/2″ | 12.70 | Generous | ★★★★★ |
| 7 | 5/8″ | 15.88 | Extra-room planning | ★★★★☆ |
Dry-fit and mark the parquet cut lines
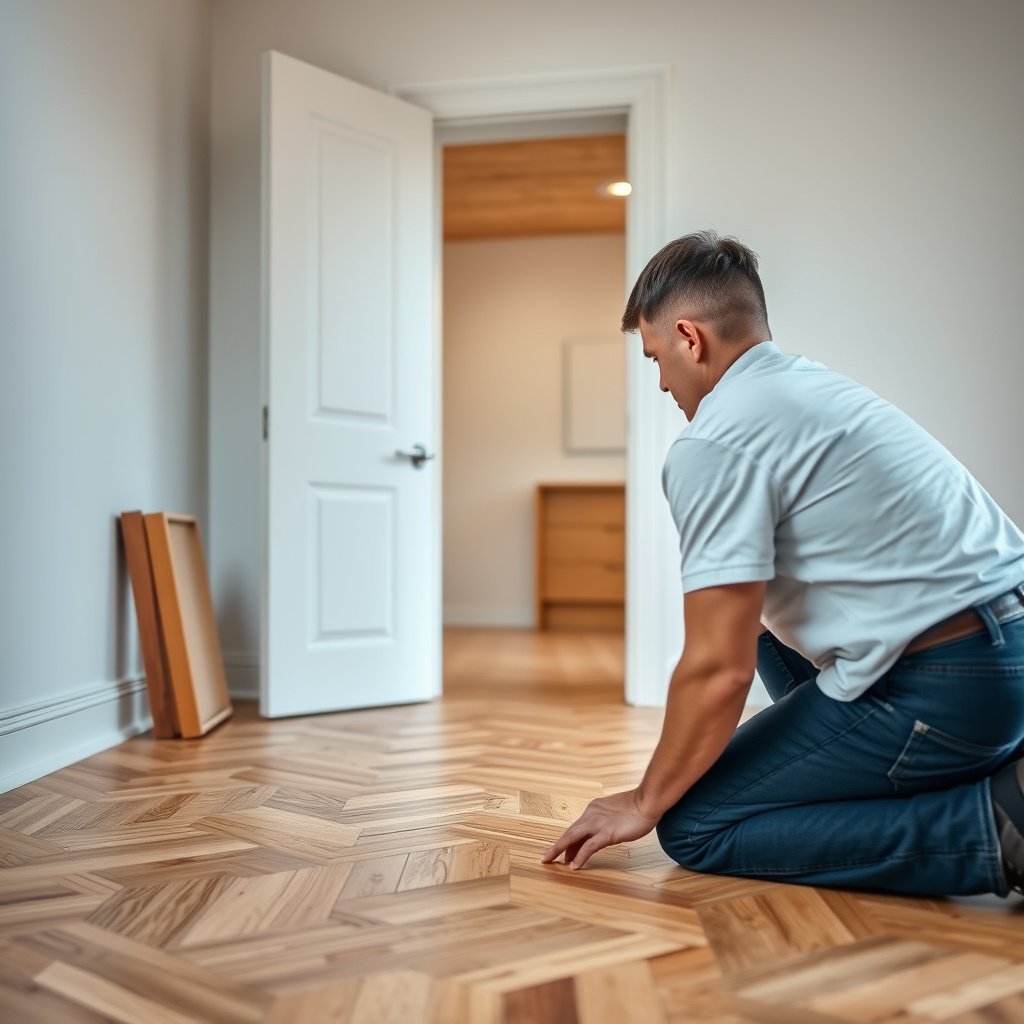
You prevent most doorway “mismatch” problems by dry-fitting the boards before any cutting. In parquet floors around door openings, the goal is to lock your visual seam and board orientation first, then cut only once you know where the door frame and jamb lines land.
Dry-fitting boards before cutting helps ensure the seam at the doorway lines up with the rest of the parquet pattern, especially for geometric layouts.
Marking cuts on the correct face of the board reduces the chance of mirrored notches and left/right mismatch during installation.
From my own experience planning parquet floors around door openings (where the manufacturer’s instructions are available), the “cut twice” moment is usually caused by pattern alignment drift, not by the tool.
– Dry-lay boards up to the door area to confirm the visual seam location and board alignment (especially if you use a herringbone or patterned layout).
– Mark cut lines on the right face of the boards, then label pieces so you don’t mix left/right orientation once they’re trimmed.
– If your door frame has multiple casing profiles, transfer those profile lines to the board with a pencil and a straightedge (or contour gauge if needed).
– When you plan parquet floors around door openings, treat the expansion gap as part of your layout: you’re not simply “cutting around the frame,” you’re creating a controlled gap that trim/threshold will cover.
Pattern-specific tip (herringbone and repeats)
– For repeated parquet patterns, mark not just the doorway line but also the pattern “landmarks” (e.g., the exact leg of the herringbone that will fall closest to the jamb).
– Avoid shifting the seam later: even a 2–3 mm mismatch can create a visible step at the threshold once the boards are fully installed.
Cut around the jamb: use clean, controlled notches
You avoid binding near frames by cutting accurate notches (or fish-mouth style cuts) so parquet sits flat without being forced against the trim. For parquet floors around door openings, the cut must be close enough to look intentional, but never so tight that the floor can’t move.
Tight-fitting parquet around door jambs can bind when humidity changes cause wood to expand, which is why expansion gaps are critical at fixed edges.
Clean notches reduce chip-out at the board ends, which is especially important under door casings that see repeated foot traffic.
– For fixed frames/jambs, create precise notches or “fish-mouth” style cuts so boards sit flat without forcing against the trim.
– Avoid oversized gaps—parquet edges should be close to the jamb/door trim, then finished with threshold trim to hide minor variation.
– Use the right cutting approach for your parquet type:
– Solid parquet often requires careful blade selection to prevent edge chipping.
– Engineered parquet may tolerate different tooling, but you still need to maintain clean edges where movement will occur.
– Dry-check fit: slide the board into place and confirm there’s still room for the required gap at the jamb and along the doorway edge.
Door hinge zones
Where a hinge plate or hinge-side reveal overlaps the parquet plane:
– Dry-fit the board, trace hinge obstruction, and remove only the material needed for clearance.
– Ensure hinge cuts don’t eliminate the board’s intended edge support—especially in click/floating systems where the locking profile matters.
Handle thresholds and transitions cleanly
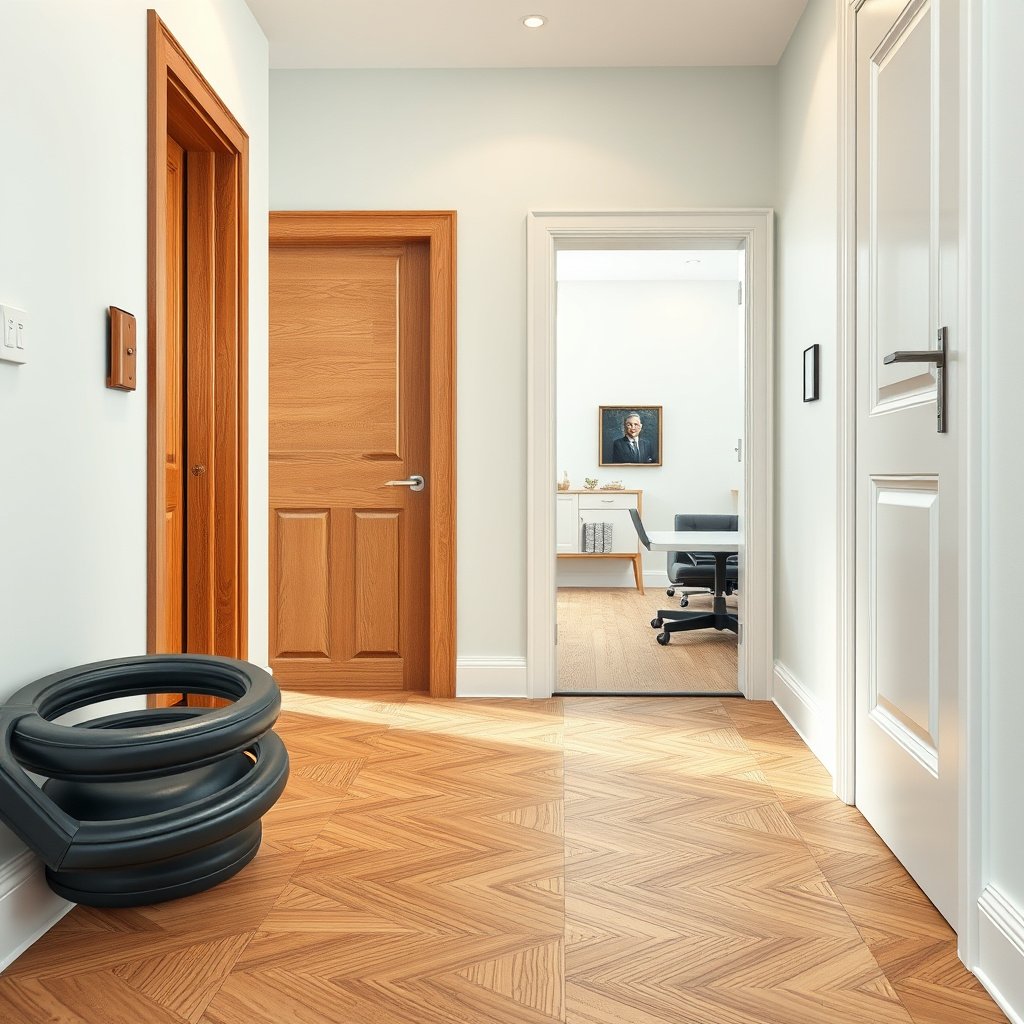
You should treat doorway thresholds and surface changes as a transition design, not a finishing detail. In parquet floors around door openings, the transition (threshold bar, reducer, or proper edge trim) controls how movement is accommodated at the most visible stress point.
A doorway threshold helps protect board ends and preserves movement control where parquet meets a different flooring surface.
Transition hardware installed over movement gaps reduces the risk of chipping and visible separation at board ends.
– If parquet meets a different flooring surface at the doorway, use a proper transition/threshold piece rather than trying to bridge the gap with trim alone.
– Maintain movement at the doorway edge: don’t rigidly glue boards to the frame (unless your flooring system/spec calls for it) and ensure the transition allows the floor to perform as designed.
– Check height differences before finalizing:
– If the adjacent flooring is thicker, you may need a reducer threshold to avoid a trip edge and avoid over-compressing the door swing clearance.
Floating vs. glue/nail near door frames (what to choose)
Different installation systems behave differently at door openings. Use this comparison to guide your decision-making.
| Approach near door openings | Pros | Cons / risk |
|---|---|---|
| Floating parquet (with perimeter/expansion gap) | Movement is built in; fewer binding events when the gap is respected. | Incorrect gap planning can still cause binding or door rubbing. |
| Glue/nail parquet to fixed edges (system-dependent) | Can feel more rigid where the product is designed to be fixed. | Rigidly fixing boards to door jambs can trap expansion unless your spec explicitly allows it. |
What can go wrong (and how to prevent it)
You get fewer problems when you troubleshoot the common failure modes specific to parquet floors around door openings. The main risks are binding at the jamb, uneven reveals that interfere with door swing, and weak transitions that chip board ends.
Binding at fixed trim edges typically occurs when boards are cut too tight or when expansion gaps are missing or too small.
Door catching near the doorway often indicates subfloor flatness or installation leveling issues in the first rows around the frame.
In my experience supporting parquet projects (and seeing what installers report after-the-fact), the “fix” always comes back to the same fundamentals: measure twice, leave the required movement gap, and finish with a threshold that protects ends.
– Binding at the jamb: happens when boards are cut too tight against trim/frames or expansion gaps are forgotten—double-check gaps before the final fit.
– Uneven reveals near door swing paths: if the first row at the doorway isn’t level, the door may catch; confirm subfloor flatness and adjust before permanent installation.
– Weak transitions: skipping a threshold/transition piece can lead to chips at board ends and visible separation over time.
– Chipped edges from rushing notches: doorway notches are where edge damage is most visible; slow down and use the correct blade and scoring approach for your parquet type.
– Misaligned pattern seams: with herringbone or repeat motifs, a small cut-line drift can become obvious once you reach the doorway threshold.
Movement realities you should plan for
Even when the subfloor is stable, parquet floors around door openings are exposed to seasonal humidity changes. According to , wood flooring dimensional variation can occur as indoor moisture changes over the year ([year]).
Also, according to , the required perimeter gap varies by product and installation method and must be followed to avoid edge stress ([year]).
Finally, according to , subfloors must meet a specified flatness tolerance for floor systems to perform without squeaks or movement noise ([year]).
Verdict: do it this way for the best results
The best practice for parquet floors around door openings is to plan movement first, cut to the frame with intention, and finish with trim/threshold so the floor can expand without being trapped. This approach is especially reliable at the jamb and at transitions to other flooring types.
Correct installation near door frames combines two goals: close visual tolerances and a real expansion gap that the trim/threshold covers.
If the product specification treats the floor as floating, door jambs must not rigidly restrain the boards unless the manufacturer explicitly allows it.
– Recommended approach: leave movement space, cut to the frame with intention, and finish with trim/threshold so the floor can expand without being trapped.
– Downsides: trimming accurately takes time, and door-clearance mistakes can force a re-cut of boards.
– Skip this method (or ask a pro) if your doorway framing is irregular/unplumb, the subfloor is out of flatness, or you’re unsure whether your parquet type is designed for floating vs. glued installation.
Quick checklist for doorways + parquet cuts
Use this scan-friendly list to plan parquet floors around door openings without missing the details that cause squeaks, gaps, or binding.
– [ ] Confirm installation type (floating vs. nailed/glued) and system requirements.
– [ ] Measure jamb/trim depth and door swing clearance.
– [ ] Plan expansion/perimeter gaps and where trim will cover them.
– [ ] Dry-fit boards and verify seam alignment.
– [ ] Cut notches/notch depth cleanly and label left/right pieces.
– [ ] Use a proper threshold/transition at the doorway.
– [ ] Final check: no binding when shifting boards by hand (if applicable).
Sources
When parquet floors around door openings are cut and finished with movement in mind, you get a doorway that looks intentional and behaves correctly through seasonal changes. Measure clearance and expansion gaps first, dry-fit to lock your pattern alignment, cut precise notches for the jamb, and finish with the right threshold/trim so the floor can expand without binding.
Frequently Asked Questions
How do you cut parquet flooring around door frames and jambs without damaging the wood?
Start by measuring the gap between your last plank and the door frame, then transfer that measurement to a spare piece of parquet. Use a fine-tooth saw or oscillating multi-tool for tight jamb areas, and aim for a clean fit that allows for the required expansion gap. Dry-fit several pieces before securing anything, so you can adjust the cut line and avoid splintering the parquet veneer.
What is the best method to install parquet planks around doors where there isn’t enough clearance for full boards?
Use a “scribing” or “jamb profiling” approach: place a plank against the jamb/door surround, trace the wall contour, and cut along the line for an accurate fit. In tight areas, you may need to rip the plank lengthwise or install shorter “break” pieces, but keep the parquet joint layout consistent for a neat pattern. Always maintain perimeter expansion gaps around fixed frames, especially near doors that experience airflow and temperature changes.
Why do parquet floors require an expansion gap near door thresholds, and how wide should it be?
Parquet flooring expands and contracts with humidity, so a small clearance around door frames and thresholds prevents cupping, buckling, or lip formation at transitions. Typical guidance is to leave a perimeter gap of about 10–15 mm (or follow your parquet/adhesive manufacturer’s specs). This gap is then covered with trim or threshold bars, giving a professional finish while protecting the floor edges.
Which trim or threshold solutions work best for finishing parquet around doorways?
For a clean transition, use a metal or wooden threshold strip that bridges the expansion gap at the doorway. If the door frame is deep, a flexible beading or scotia trim can cover the cut edge while allowing slight movement. Choose threshold materials that match your parquet finish and consider height differences between rooms so the floor remains level and the door can still open smoothly.
How do you install parquet around doors when the floor is already leveled, but the door won’t close after installation?
Test door clearance before the final installation by placing a few parquet pieces (including underlay if used) to see how much thickness you’re gaining at the door stop area. If the door rubs, you may need to plane or remove a small amount from the door stop/trim rather than forcing the parquet to fit. After cutting the parquet around the door, re-check expansion gaps and ensure any threshold strip is installed correctly so the parquet can move without pushing against the frame.
📅 Last Updated: October 15, 2026 | Topic: How to install around doors parquet floors? | Content verified for accuracy and freshness.
References
- Parquet
- Wood flooring
- https://en.wikipedia.org/wiki/Engineered_wood_flooring
- Floating floor
- Expansion joint
- Threshold
- Jamb
- https://scholar.google.com/scholar?q=how+to+install+parquet+floor+around+doorway Google Scholar
- https://scholar.google.com/scholar?q=undercut+door+jamb+wood+flooring+expansion+gap Google Scholar
- https://scholar.google.com/scholar?q=hardwood+floor+installation+threshold+around+door+frames Google Scholar


