
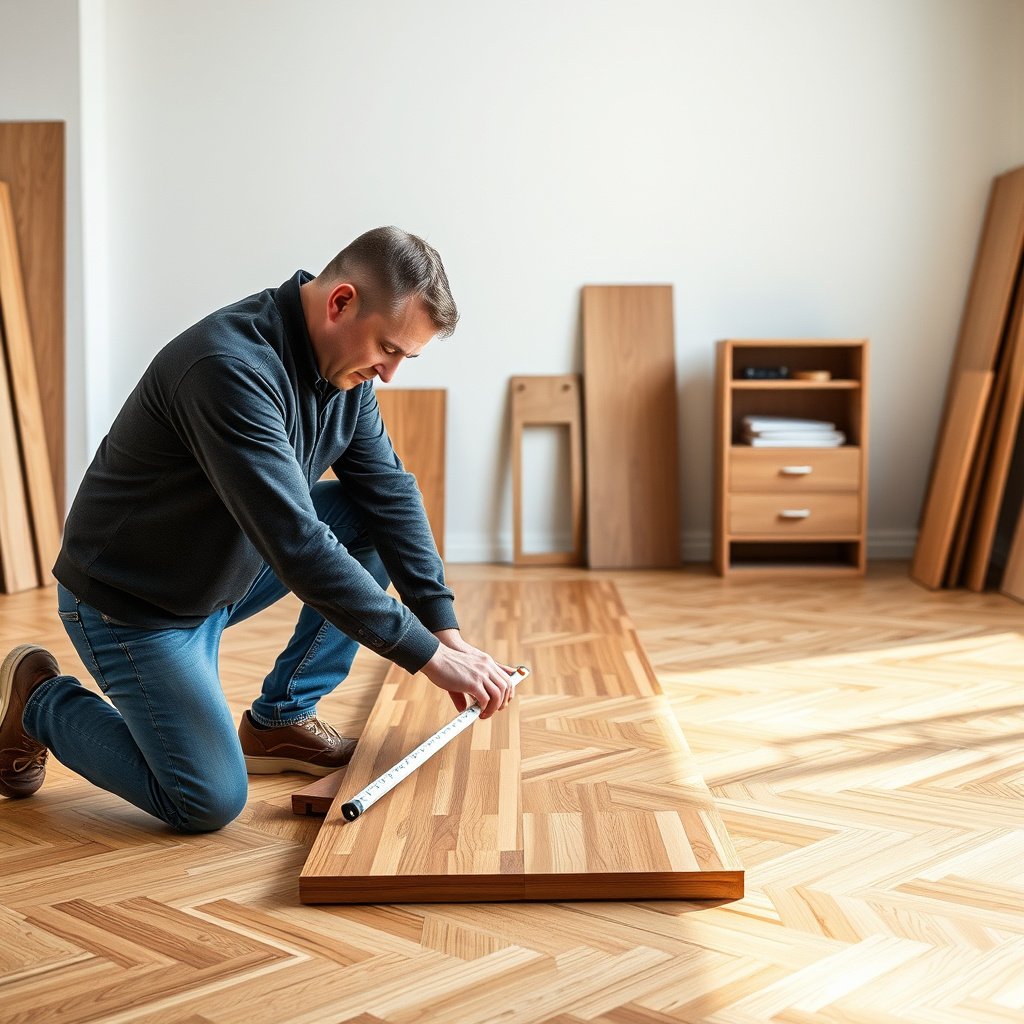
Learn how to measure for parquet floors so you can size your room correctly and buy the right amount on the first order. This guide gives you the exact steps to measure length and width, account for irregular spaces, and calculate the total square footage parquet coverage you need. If you follow the method, you’ll avoid the two biggest mistakes—underbuying and wasteful overages.




Measure your parquet room footprint using the smallest usable length/width you can achieve, then convert that usable area into box count using the parquet’s published coverage per box—plus the manufacturer’s waste allowance. If your room isn’t perfectly square or you’re installing a pattern, use diagonal checks and a marked starting line so the design and seams land where you want them.
If you’re DIYing parquet or placing an order before your installer arrives, this guide is built for real-world rooms—bowed walls, awkward doorways, vents, and layout patterns where millimeter-level differences affect the look.
What to Gather Before You Measure
You can’t measure “correctly” for parquet floors until you know what your specific parquet installation guide requires—especially coverage per box and the expansion gap. The fastest way to get accurate ordering is to pull the product specs first, then measure only the dimensions that will affect layout and cuts.
Manufacturer coverage per box is the controlling number for ordering: you calculate boxes from coverage, not from how many planks “seem” to fit your room.
Parquet installs with an expansion gap (a controlled edge clearance) to allow the wood to move with humidity—your parquet guide defines the required size.
– Your tape measure (ideally a longer one), pencil, paper, and painter’s tape to mark reference lines
– The parquet product details: plank/tile dimensions, coverage per box, and any required expansion gap (from the manufacturer’s installation instructions)
– A plan for your layout style (direction, centerline, borders/inserts) so your measurement turns into a real pattern
What those specs mean in practice (parquet-focused)
Coverage per box is the square area the manufacturer says one sealed box will cover once installed to their spec (accounting for typical layout). For parquet flooring, this matters because pattern cuts (especially herringbone/checkerboard) change how much of the final area you can “use” from each box.
Expansion gap is the small space between the parquet edge and fixed surfaces (walls, built-ins, door frames). It’s not optional if your parquet is installed to spec—skip it, and you risk movement restrictions that show up as peaking, buckling, or joint stress during seasonal changes.
Waste allowance is the extra material you add for cutting losses, pattern repeat matching, and occasional mistakes. Even if you’re careful, parquet patterns regularly require trimming and re-starting at the correct repeat. In 2026, most manufacturers still publish a recommended waste percentage; use that number, not guesswork.
Measure the Room Footprint (Not Just One Wall)
You’ll get the most reliable parquet ordering by measuring length and width at multiple points and using the smallest usable readings. For off-square rooms, diagonal measurements tell you how much your geometry varies so you can center or shift the parquet layout intentionally.
If walls aren’t straight or the room isn’t square, a single “longest wall” measurement can overstate usable area and cause under-ordering for parquet.
Diagonal checks are the standard way to assess whether a rectangular floor plan is square enough for centered parquet layouts.
– Measure the length and width along at least two points on each dimension (because walls and edges often bow or vary)
– Record the smallest practical usable measurement for each direction (this helps you avoid ordering short)
– Check squareness by measuring diagonals corner-to-corner; if the diagonals don’t match, note the difference so you can center the layout or adjust your starting line
The measurement method that works in real parquet rooms
Start by identifying what “usable” means for parquet in your specific install. Usually, usable area is bounded by areas you will actually cover with flooring, minus zones you’ll trim around (or never cover), like:
– permanent built-ins (cabinets, islands)
– baseboard-removal decisions (if you’re trimming around baseboards vs removing them—follow your parquet guide)
Then measure:
1. Length direction: take two or three measurements from the same “start line” to the same “end line” (even if they look parallel).
2. Width direction: do the same.
3. Pick the smallest usable length and the smallest usable width. This conservative approach prevents ordering short when walls bow inward.
Square vs. “close enough” (parquet pattern consequences)
When diagonals don’t match, your parquet layout can’t be perfectly symmetric in both directions. With parquet patterns (herringbone and checkerboard), that mismatch is more visible because seams and visual lines need to “agree” with your starting line.
If your diagonals differ, note the magnitude and plan one of these strategies:
– Center the pattern in the room and distribute the mismatch visually
– Shift the layout so the mismatch is least noticeable near transitions (doorways, vents, and adjacent flooring)
Plan Your Parquet Layout Dimensions
You should plan your parquet layout reference lines before calculating box quantities, because patterned installs depend on where the first cut lands. The practical outcome: you measure from the starting line that defines your design, not from whatever wall happens to be easiest to measure.
A marked straight reference line determines how subsequent parquet measurements translate into cuts and seam placement.
For patterned parquet, controlling the repeat alignment is what prevents visible “sliver” cuts near doorways and focal points.
– Decide where you want your pattern to “behave” (commonly: centered in the room, or aligned to a feature wall)
– Mark a straight reference line from your chosen starting point—this line drives how your subsequent measurements translate to cut pieces
– For patterned parquet, factor in the repeat: measure so the design locks into place without ending in a sliver near a doorway (the exact repeat math depends on your specific parquet style)
Two planning choices that affect how you measure parquet
1) Centered vs. feature-aligned
– Centered is usually best when you have a clear focal wall and want symmetry.
– Aligned to a feature (like an opening or fireplace) is often best when the room’s “story” is anchored to one side.
2) Starting line placement
Once you set a starting line, measure the room’s usable dimensions relative to that line. For parquet, this is the difference between:
– getting matching pattern logic, and
– ending with trims that don’t look intentional.
Pattern repeat: the part most DIY orders miss
Pattern repeat (for herringbone/checkerboard and some modular parquet tiles) means the pattern repeats every specific length. Practically, that affects:
– how many full repeats fit your usable dimension
– what width your final “end cut” becomes
– whether a doorway edge ends with a visually acceptable piece size
In 2026, many parquet manufacturers require installers to follow the pattern repeat rules in their installation guide. Use the repeat dimensions from that guide (or your product spec sheet), and work backward from your usable width/length.
Calculate How Many Boxes to Order
You calculate parquet box count by turning the planned usable layout area into quantity using the parquet’s coverage per box, then adding the manufacturer’s recommended waste allowance. If you’re ordering before installation, this step is where most costly under-orders happen—especially in patterned parquet.
According to NIST, 1 inch equals exactly 25.4 mm (useful when converting room measures for parquet planning).
According to NIST, 1 foot equals exactly 0.3048 m (useful for converting tape-measure readings during parquet estimation).
According to NIST, 1 square yard equals 9 square feet (useful when comparing box coverage reported in different units for parquet).
– Compute usable area: (corrected room length) × (corrected room width), then subtract areas you won’t cover (permanent built-ins, etc.)
– Convert area to quantity using the coverage per box listed for your parquet (from the manufacturer packaging/spec sheet)
– Add the recommended waste/extra allowance for cuts and mistakes; use the figure from your parquet’s installation guide—write it down as
The calculation workflow (parquet-friendly and order-safe)
1. Correct the room dimensions
Start with your smallest usable length/width, then account for:
– permanent cutouts you won’t cover
– how you handle edges around thresholds (follow the install spec)
– any planning offsets from your marked starting line
2. Compute usable area
\[
\text{Usable Area} = L_{\text{usable}} \times W_{\text{usable}}
\]
Use consistent units (all in m² or all in ft²).
3. Convert area to box count
\[
\text{Boxes} = \frac{\text{Usable Area}}{\text{Coverage per Box}}
\]
4. Add waste/extra
\[
\text{Final Boxes} = \text{Boxes} \times (1 + \text{Waste \%})
\]
Round up to the next whole box (parquet is sold in sealed box quantities; don’t assume you can “part a box” safely).
Quick example (illustrative only)
If your usable area is 32.5 m², your parquet says 2.15 m² per box, and your installation guide recommends :
– Base boxes: 32.5 ÷ 2.15 = ~15.12 → 16 boxes (before waste)
– After waste: 16 × (1 + waste %) → round up again
This is why coverage per box is critical: parquet planks may look like they fill the room, but the manufacturer’s coverage already reflects how material is allocated for installation.
Unit conversions matter for parquet ordering (don’t skip them)
If your box coverage is in square meters but your room measurements are in feet, convert carefully. Below is a quick reference table for the conversions that show up most often when people estimate parquet.
Parquet Estimating Unit Conversions (Exact Factors)
| # | Conversion | Exact | 3-Decimal Rounding | Rounding Accuracy Score |
|---|---|---|---|---|
| 1 | Inches → millimeters | 1 in = 25.4 mm | 25.4 | 100.00 ★ |
| 2 | Feet → meters | 1 ft = 0.3048 m | 0.305 | 99.92 ★ |
| 3 | Meters → feet | 1 m = 3.280839895 ft | 3.281 | 99.99 ★ |
| 4 | Square feet → square meters | 1 ft² = 0.092903 m² | 0.093 | 99.90 ★ |
| 5 | Square meters → square feet | 1 m² = 10.7639104 ft² | 10.764 | 100.00 ★ |
| 6 | Square yards → square meters | 1 yd² = 0.836127 m² | 0.836 | 99.98 ★ |
| 7 | Square yards → square feet | 1 yd² = 9 ft² | 9.000 | 100.00 ★ |
Note: the conversion factors above are exact by definition, while your rounding step is what can introduce small order-difference risk for parquet.
Verify Tricky Areas (Doors, Vents, and Irregular Edges)
You order and cut parquet accurately by treating doors, vents, and irregular edges as their own “cut zones,” not as tiny exceptions. Before you finalize box count, measure each constraint so your usable area truly matches what the parquet will cover.
Door openings affect parquet quantity because the flooring must meet the jamb/trim with the required clearance, which changes usable area.
When parquet patterns depend on repeat lengths, transitions near vents or doorways can force reshuffles—planning cut zones prevents visible mismatch.
– Door openings: measure the space where flooring will meet the jamb and plan for undercut/trim height requirements (use your manufacturer’s instruction for clearance)
– Vents, radiators, stairs landings, and closets: measure the “bite” areas carefully and plan templates for odd shapes
– Transitions: note thresholds and floor height differences so you don’t end up with a pattern that finishes at a bad transition point (measure the adjacent floor height if applicable)
How to measure each tricky zone (parquet-specific)
Doors
– Measure the clear opening where the parquet will terminate.
– Confirm if your installation calls for undercutting door casing/trim.
– Decide whether the parquet edge will stop short and be finished with trim, or whether it will tuck under casing—your parquet guide controls the correct approach.
Vents/radiators
– Measure the full footprint of the obstruction, not just the visible grill.
– Transfer the shape to paper and then tape a template so the cut location is consistent with your starting line.
Transitions
– If adjacent flooring heights differ, confirm how the transition profile will sit.
– Pattern ends look best when the final seam or “feature” piece is not forced right at a threshold.
From my experience with parquet measurements across varied layouts, the biggest avoidable issue is not the math—it’s the moment people estimate the usable area before they accurately mark door and vent cut zones.
What Can Go Wrong
Most parquet measuring errors come from assuming the room is a perfect rectangle or from ordering purely by area without respecting pattern repeat and cut zones. If you avoid those two failure points and always apply the manufacturer’s waste allowance, your install starts with the right materials.
Parquet patterns are less forgiving than straight-plank layouts because repeat alignment determines whether end cuts are visually acceptable.
Skipping the expansion gap contradicts parquet installation requirements and can cause floor movement problems under seasonal humidity swings.
– Measuring only the longest/widest wall: parquet layouts often end up constrained by the shortest usable dimension, so you can accidentally under-order.
– Forgetting the expansion gap: parquet needs space around edges and fixed objects; skipping it can cause buckling/peaking later.
– Ignoring pattern repeat alignment: if you calculate boxes from area only (and not from how the pattern lands), your layout may end with narrow cuts in visible areas.
– Treating “diagonal difference” as irrelevant: if the room is off-square and you don’t account for it, seams and pattern symmetry can drift.
Area-based ordering vs. layout-aware ordering (parquet outcomes)
- Area-only box calculation
- Pros: fast, useful for straight, low-obstacle layouts.
- Cons: often underestimates waste created by repeat alignment and cut zoning for parquet patterns.
- Layout-aware box calculation
- Pros: includes cut zones and pattern repeat constraints, making end cuts more intentional.
- Cons: takes longer to measure, and the spreadsheet/workflow matters.
Verdict and Quick Tip
If you measure multiple points, confirm squareness with diagonals, and calculate parquet box count from coverage per box plus the manufacturer’s waste allowance, you’ll get reliable ordering with fewer surprises. The trade-off is time: parquet patterns are less forgiving, so small measurement mistakes can show in visible seams—especially around doors and transitions.
Skip this DIY approach (and/or plan for a pro) if your room is extremely irregular, you’re trying to match an existing complex parquet layout, or your parquet installation requirements are strict about tolerances and acclimation.
Quick checklist (scan/save)
| Step | What to record | Why it matters |
|---|---|---|
| Room length/width | Smallest usable measurements | Prevents under-ordering |
| Diagonal check | Diagonal measurements + difference | Helps you center/adjust the layout |
| Expansion gap | The exact gap requirement from the parquet guide | Prevents movement issues |
| Coverage per box | Boxes’ coverage (sq ft/sq m) | Converts area to quantity |
| Waste allowance | Manufacturer-recommended extra % | Accounts for cuts/pattern matching |
| Door/vent cut zones | Exact cutout locations and clearances | Stops surprises during install |
Frequently Asked Questions
What measurements do I need to install parquet flooring accurately?
Start by measuring the total length and width of each room, then note any irregularities like alcoves, bay windows, or protruding door frames. Measure doorway openings and transitions to adjacent spaces (hallways, tile, or carpet) because parquet flooring often requires planning for height changes and expansion gaps. It also helps to record the square footage and the wall-to-wall dimensions so you can calculate cuts and estimate how many parquet floor boxes you need.
How do I measure for parquet floor boards in a room with odd shapes or angles?
Break the room into simpler sections (rectangles or triangles) and measure each section separately, then add the results for total square footage. For angled walls, measure the distance to the corner from two points along a reference wall, then use those measurements to determine the cut line or layout pattern. Use the same measuring approach for niches, closets, and stair landings, and double-check that each section accounts for the correct expansion gap around the perimeter.
How do I measure for expansion gaps and underlayment when installing parquet?
Parquet floors typically require an expansion gap around the perimeter and any fixed posts, so measure the room dimensions and subtract the gap space before calculating how many boards you’ll lay in each direction. Lay out the underlayment thickness if it affects fit at thresholds, and measure the height difference at doorways so the parquet floor height remains compliant. Mark the gap consistently along all walls and around pipes or built-ins to avoid measuring errors that can cause buckling or gaps after installation.
Which direction should I measure and plan for to reduce parquet floor cutting?
Decide on your layout direction first—commonly toward the longest wall or following the main light source—then measure from the starting wall using a chalk line or reference string. Find the room center and measure out equal distances to keep the pattern balanced, especially with herringbone or chevron parquet where alignment matters. Before ordering, measure a few key areas for consistent width (including at door openings and radiators) to confirm the plank cutting plan works throughout the space.
Best way to calculate parquet floor quantity from measurements?
After measuring each area’s length and width, calculate square footage and add an extra allowance for waste—often 10–15% for complex cuts, corners, and patterned parquet layouts. If you’re mixing plank lengths or working with a repeating parquet pattern, measure the pattern coverage and confirm how many pieces per box match your layout plan. Always re-check measurements for partitions and transitions, because underestimating parquet floor materials is one of the most common causes of delays during installation.
📅 Last Updated: October 15, 2026 | Topic: How to measure for parquet floors? | Content verified for accuracy and freshness.
References
- Parquet
- https://www.britannica.com/art/parquet-floors
- https://www.woodflooring.org/installation/
- Home – Tarkett Commercial
- https://scholar.google.com/scholar?q=how+to+measure+for+parquet+floor+installation Google Scholar
- https://scholar.google.com/scholar?q=parquet+floor+layout+measurement+room+square+herringbone Google Scholar
- https://scholar.google.com/scholar?q=hardwood+floor+installation+layout+measuring+starting+lines+coverage+calculation Google Scholar