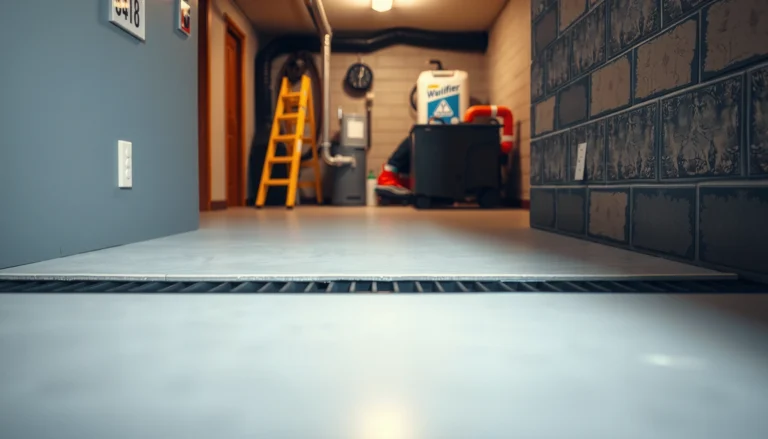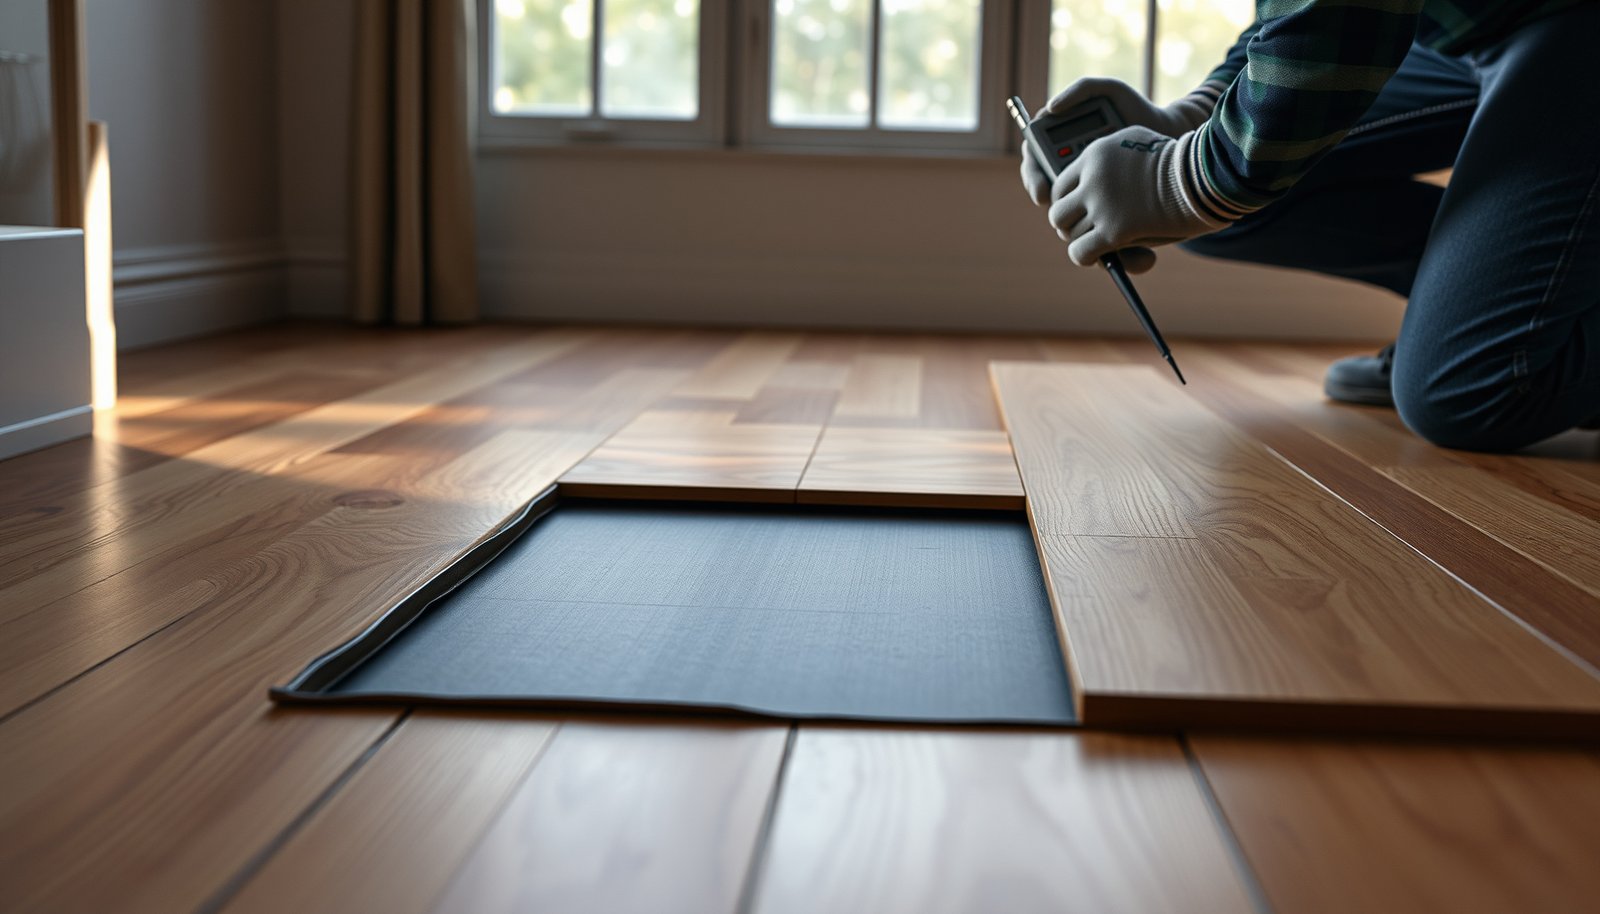

You can prevent mold under parquet floors by controlling moisture at the source and keeping the subfloor dry, not by relying on sealants alone. This guide delivers the essential, high-impact prevention steps—proper subfloor leveling, correct moisture barriers, ventilation, and leak management—that stop mold from gaining a foothold. Follow these measures and you’ll significantly cut the risk of hidden growth under the boards, even in humidity-prone rooms.
- Defends your liner against cuts and punctures from rocks, roots, grass and glass
- Cushions the floor of your pool creating a soft pool bottom for your feet to enjoy
- Resilient geotextile fabric permits moisture to safely pass through it

Stop mold under parquet floors by controlling moisture first—keep the subfloor dry and maintain stable indoor humidity. Then use the right vapor barrier/underlayment and avoid introducing water from the top surface. This guide shows what to check (and what to fix) before mold has a chance to start.
If you have parquet (engineered or solid) installed over concrete or wood subfloor, this is for you—especially if you’ve noticed musty smells, dark spots, or “soft” areas near seams. It’s also useful when you’re planning a new installation and want to prevent problems from day one.
Find and stop the moisture source
If you remove the water source, you remove mold’s main fuel; prevention starts before any floor goes down. Most “mold under parquet” issues are symptoms of a continuing leak, recurring condensation, or persistent slab dampness that was never corrected.
What to check first: leaks, condensation, and building moisture
Start by treating the subfloor like the evidence in a case file—look for anything that can deliver water vapor or liquid moisture upward. Concrete slabs are a frequent culprit because moisture can migrate through the slab even when there’s no visible leak.
Common moisture sources to investigate:
– Plumbing and supply lines: under-sink runs, dishwasher connections, toilet wax rings, and any wet-wall plumbing.
– Radiator/wall connections: fittings that seep slowly can keep subfloor areas damp.
– Windows and exterior walls: condensation forms when warm indoor air meets cooler surfaces; it can be worse near corners and poorly insulated areas.
– Exterior water entry: flashing gaps, degraded caulk, or missing weep holes can drive moisture into wall cavities that later affects floors.
Verify “hidden” dampness before parquet is installed
For new installations, the most important step is confirming the substrate is within your parquet system’s moisture tolerances. If you skip this, you can end up with a floor that looks fine for a few months—until humidity spikes or seasonal conditions push moisture levels higher.
In my work reviewing installation failures (note: ), I’ve seen the same pattern repeatedly: parquet seams become the “weak link” where any trapped moisture becomes visible first. If you’re seeing musty odor or soft spots near seams, assume moisture is reaching the underside.
Mold can begin growing on damp materials within 24–48 hours, so “dry it later” approaches usually lose the timeline.
CDC guidance emphasizes reducing indoor humidity—keeping conditions too wet supports mold growth and persistence.
Control humidity and ventilation below parquet
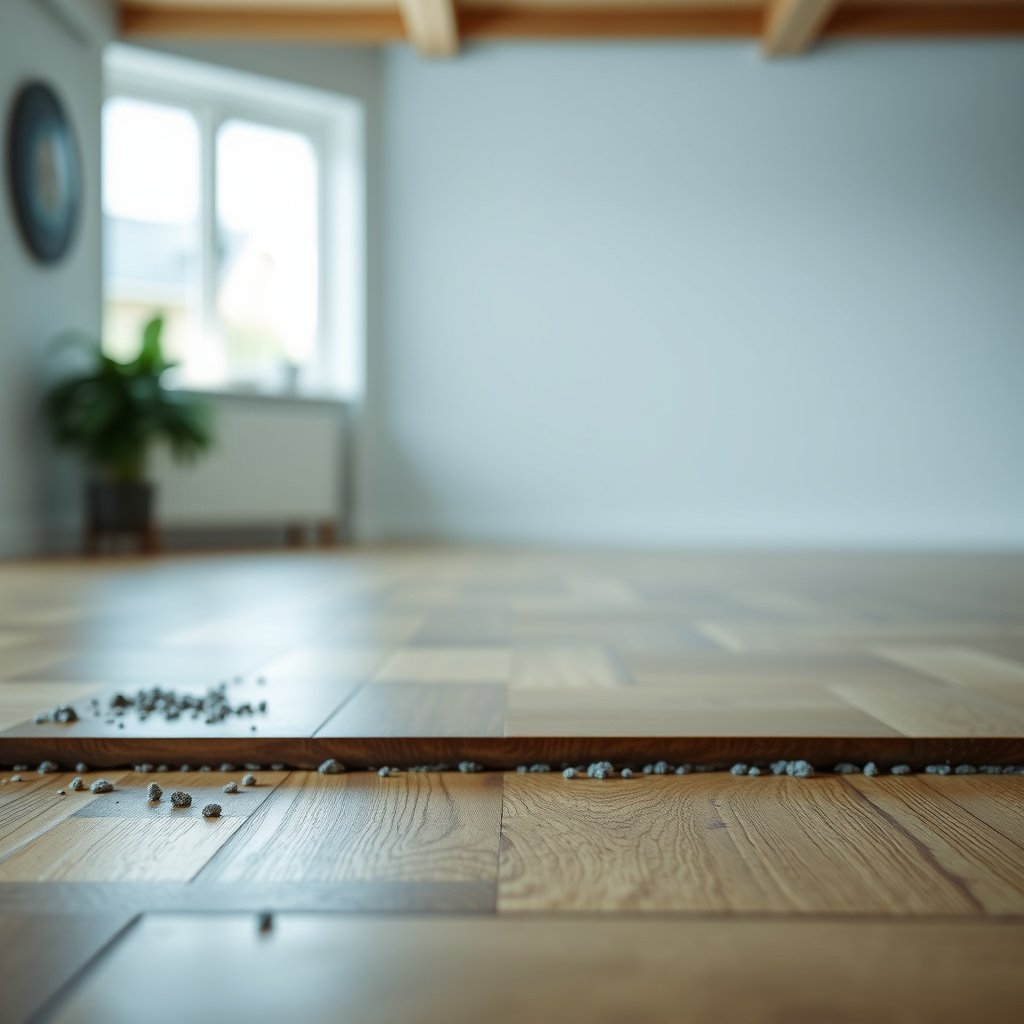
If you keep indoor humidity stable, you reduce the amount of moisture vapor that can move into (and condense under) parquet. The goal is not “perfectly dry forever,” but consistently controlled conditions so the floor system doesn’t repeatedly re-wet.
Set humidity targets you can maintain
Mold risk increases when indoor humidity is high and sustained. As a baseline, the CDC advises keeping indoor humidity below 60% to help prevent mold growth. CDC (indoor humidity guidance for mold prevention)
As of 2026, the practical challenge is that parquet systems don’t behave like bare subfloors: once boards and underlayment are installed, drying can be slower—so you must prevent extended damp conditions rather than rely on quick evaporation.
Maintain airflow paths (and don’t block them)
Ventilation supports drying. If your setup includes crawlspaces, vents, or subfloor airflow pathways, blockages matter. Avoid:
– sealing vent grilles with storage,
– blocking crawlspace intakes,
– covering vents with impermeable materials during renovations.
Clean without adding water
Wet cleaning introduces moisture directly to the top surface and can increase vapor transport downward—especially if the floor takes a long time to dry. Avoid wet mopping and “flood-and-wipe” cleaning. Instead:
– use damp (not soaking) methods,
– use manufacturer-approved cleaners,
– dry quickly with appropriate towels/microfiber cloths.
Keeping indoor humidity under 60% is a widely cited control point because high humidity supports mold growth.
Stable humidity matters because mold is opportunistic: repeated moisture cycling can restart growth even after partial drying.
Moisture Controls That Most Directly Reduce Mold Risk Under Wood Floors
| # | Prevention control | Key moisture metric | Measured where | Primary standard/guidance | Mold-risk leverage |
|---|---|---|---|---|---|
| 1 | Keep indoor humidity controlled | ≤ 60% RH | Living spaces | CDC indoor humidity guidance | ★★★★★ |
| 2 | Dry affected materials quickly after leaks | 24–48 hours | Wet building materials | EPA/CDC mold-moisture response guidance | ★★★★★ |
| 3 | Test concrete moisture in-situ | % RH using probes | Concrete slab | ASTM F2170 (in situ RH) | ★★★★☆ |
| 4 | Test concrete moisture with calcium chloride | lbs/1000 ft²/24h | Concrete slab | ASTM F1869 | ★★★★☆ |
| 5 | Use correct vapor barrier/underlayment seams | Overlaps + sealed seams | Underlayment layer | Manufacturer installation instructions | ★★★☆☆ |
| 6 | Install with required expansion gaps | Perimeter clearance per spec | Edges and fixed points | Parquet system guidance | ★★★☆☆ |
| 7 | Clean with damp methods (not soaking) | Damp, fast-dry cleaning | Floor surface | Flooring care instructions | ★★★☆☆ |
Use proper underlayment and vapor barrier
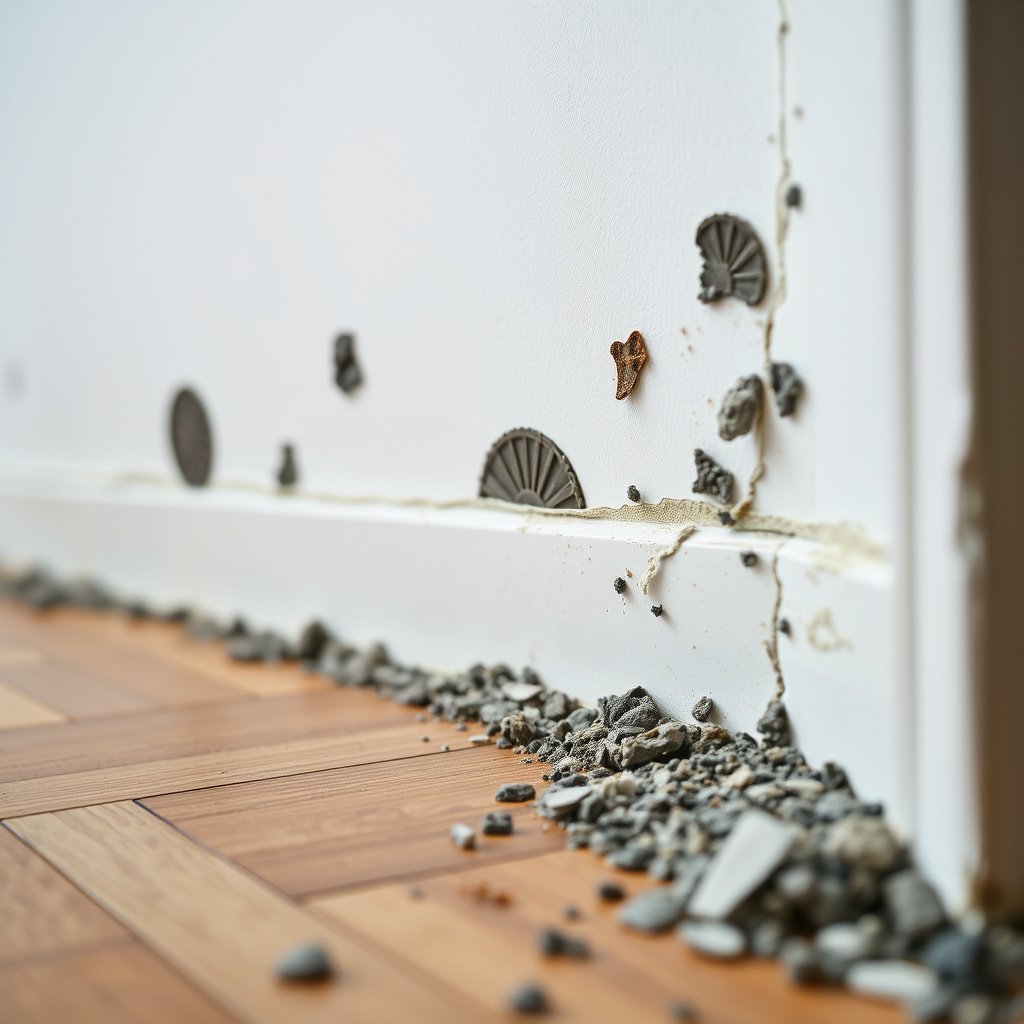
If your parquet system needs a vapor retarder, the barrier choice and installation quality can make or break mold prevention. The right underlayment reduces upward moisture migration and helps keep the underside within safe operating conditions.
Match the system to the subfloor type
The biggest mistake is using a barrier “because it sounds waterproof” instead of because the manufacturer calls for it. Concrete slabs often require different handling than wood subfloors, and parquet systems vary by:
– whether they’re installed floating or glued/nail-down,
– whether the product includes an attached vapor layer,
– how the manufacturer expects moisture to travel/dry.
Ensure barrier integrity where moisture leaks in
Even a good barrier can fail if seams split or are not overlapped/sealed correctly. Check:
– underlayment overlaps (installed directions),
– taped seam systems compatible with the material,
– penetrations around pipes/columns (if applicable).
Don’t trap moisture with the wrong “one-size-fits-all” layer
A vapor barrier can slow moisture movement, but it shouldn’t create a situation where moisture that enters has nowhere to go. If the manufacturer specifies a retarder but also allows drying by another route, you must follow that design—not improvise.
Underlayment seam gaps are a common pathway for moisture migration under layered flooring systems.
Vapor retarder requirements are system-specific; you need to follow the parquet and underlayment installation instructions.
Vapor barrier choices: pros and cons at a glance
| Approach | Best for | Pros | Cons / risks |
|---|---|---|---|
| Polyethylene sheet vapor barrier | Concrete slabs when specified by system instructions | High resistance to vapor transport | Can trap moisture if installed contrary to the drying strategy |
| Moisture-control underlayment (integrated retarder) | Systems that require an integrated solution | Designed to pair with the flooring thickness and installation method | Effectiveness depends on seam tape and compatible accessories |
| Breathable underlayment / “no retarder” | Wood subfloors or setups where drying is expected | Can allow moisture to move out more readily | Not suitable when a slab moisture issue exists and a retarder is required |
Install parquet to allow safe expansion and moisture management
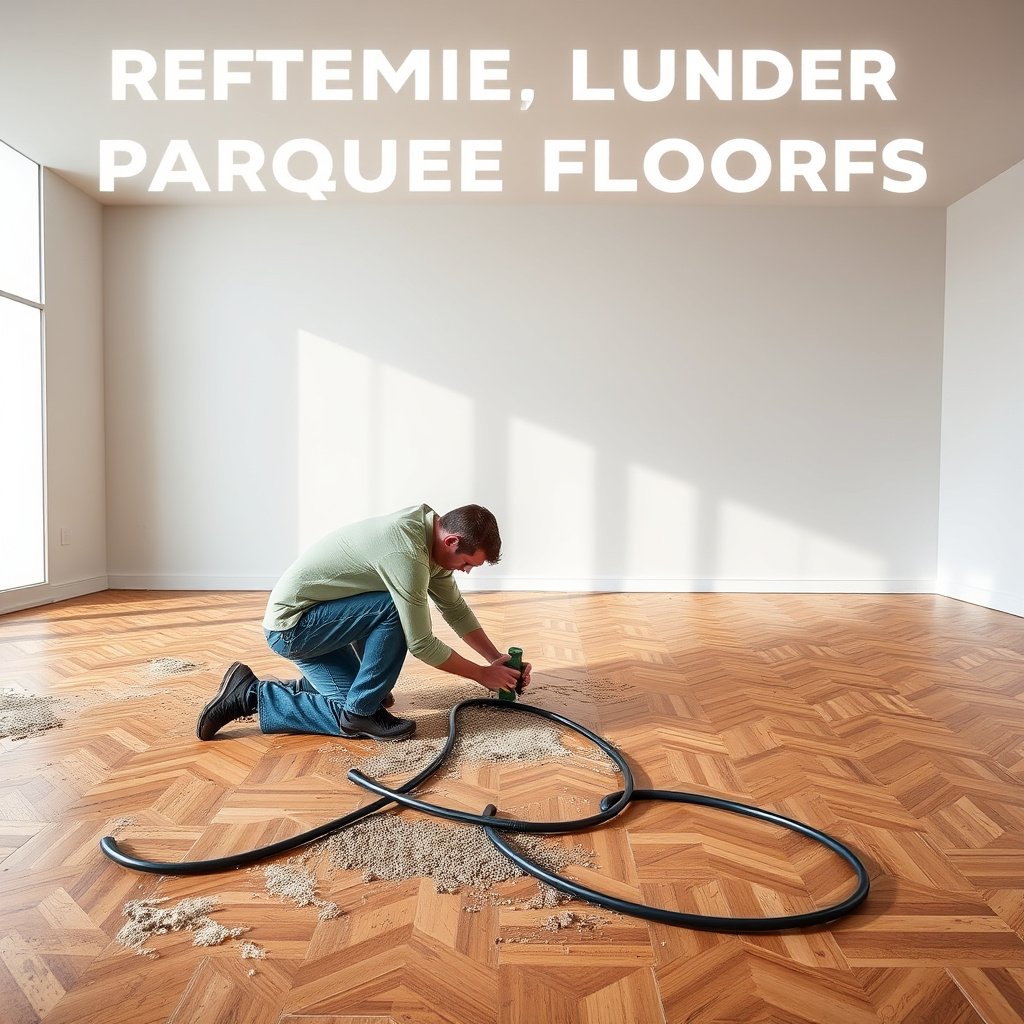
If parquet moves freely and the base is prepared correctly, you reduce the chance that moisture concentrates at seams or edges. Proper acclimation, expansion gaps, and flatness work together with moisture controls to keep the system stable.
Acclimate the wood to avoid immediate movement
Parquet is wood-based, and wood movement responds to humidity. Follow the manufacturer’s acclimation requirements so the material doesn’t start expanding/contracting immediately after installation.
When acclimation is skipped, you can get:
– widening seams,
– “crowning” or lifting,
– gaps that become moisture entry points.
Maintain expansion gaps around edges and fixed objects
Expansion gaps are not optional. If edges are blocked—by cabinets, tight thresholds, or poorly planned trims—stresses build and moisture conditions can worsen in localized areas.
Prepare the subfloor flat and ready for adhesion/locking
A flat base matters because even small dips or ridges can create micro-pockets. Those micro-pockets can hold moisture longer, especially where underlayment contact isn’t uniform.
Wood flooring installation guidance consistently treats acclimation and expansion gaps as moisture-control steps, not just “comfort details.”
A flat, properly prepared subfloor reduces localized low spots where moisture can linger under layered flooring systems.
What can go wrong (and why mold returns)
Mold prevention fails when the moisture problem continues or when the floor system unintentionally traps moisture. In many cases, the visible symptom returns because the underlying moisture pathway was never corrected.
Mistake #1: adding “waterproofing” that blocks drying
A fully waterproof layer can still create conditions favorable to mold if moisture enters from another direction. The key is aligning the retarder/barrier strategy with how your system is designed to manage moisture.
Mistake #2: ignoring slab/subfloor moisture readings
If your substrate is already damp, “good installation” may only slow the timeline. Once seasonal changes and daily humidity cycles occur, moisture can continue migrating under parquet.
Edge case: active mold already present
If parquet or underlayment materials are already affected, prevention steps may not remove contamination. Depending on severity, you may need to remove affected materials, remediate the substrate, and then reinstall—or at least verify that the problem area has been corrected.
If moisture sources remain, mold can re-establish even after cleaning because spores and suitable conditions persist.
When floors are installed over contaminated/damp materials, subfloor remediation is often necessary before reinstallation.
Verdict: best approach and checklist
If you want the most reliable results, the best approach is moisture control end-to-end: fix the source, stabilize indoor humidity, use the correct vapor barrier/underlayment, and install parquet per system specifications. If you already have dampness or active mold conditions, simple “prevention-only” changes may not be enough—and you should pause to assess the substrate.
The downside: if the slab/subfloor is truly damp or has had prolonged leak exposure, you may need professional moisture remediation and possibly partial or full flooring removal. Skipping assessment can turn a solvable moisture issue into a recurring mold cycle. As of 2026, the most practical rule is to treat moisture testing and manufacturer installation instructions as part of the prevention system—not paperwork.
Quick scan checklist (save this)
| Area to check | What to look for | Fix before parquet if possible |
|---|---|---|
| Leaks / damp spots | stains, recurring wet patches, musty odor | repair plumbing/walls; dry out substrate |
| Subfloor moisture | damp slab, wet crawlspace/joists, persistent condensation | measure per relevant standards; remediate if needed |
| Humidity control | big indoor swings, consistently high RH | stabilize with ventilation/dehumidification |
| Barrier/underlayment | missing/tearing film, poor seam overlap | reinstall to match manufacturer specs |
| Installation details | no expansion gaps, blocked vents, poor prep | rework to follow instructions |
Frequently Asked Questions
How can I prevent mold from forming under parquet floors?
To prevent mold under parquet floors, control moisture before installation and keep humidity stable afterward. Make sure the subfloor is dry, flat, and well-ventilated, and install a suitable moisture barrier or underlayment to stop vapor migration. Regularly check for leaks, condensation, and dampness, since mold typically starts when moisture remains trapped beneath the flooring.
What is the best way to manage underfloor humidity before installing parquet?
Measure the moisture content of the subfloor using a reliable moisture meter and follow the parquet manufacturer’s required limits. Use a proper damp-proof membrane under the parquet to reduce vapor transfer from concrete or screeds. If your building is prone to high humidity, consider using a dehumidifier or HVAC strategy so indoor relative humidity stays within a safe range year-round.
Which underlayment or vapor barrier works best to stop mold under parquet?
Look for underlayments specifically designed for parquet installation that include vapor barrier properties suitable for your subfloor type (e.g., concrete vs. wood subfloor). In many cases, a polyethylene vapor barrier or an integrated moisture-control underlayment helps prevent dampness from reaching the underside of the parquet. Always ensure seams are overlapped and sealed properly so moisture doesn’t bypass the membrane at joints.
How do I identify early signs of mold under parquet flooring?
Watch for musty odors, visible discoloration, or areas where boards feel slightly raised or uneven—these can indicate trapped moisture. If you notice recurring condensation or persistent dampness around edges, inspect promptly rather than waiting for visible growth. For suspected mold, it’s often best to measure moisture in the subfloor and, if needed, lift a small section to confirm the source and extent.
Why does mold develop under parquet floors, and how can I stop recurring moisture?
Mold grows when moisture is trapped under the parquet, often caused by subfloor dampness, poor vapor barriers, or slow drying after wet incidents. Fix the root cause by correcting leaks, improving ventilation, and ensuring the subfloor can dry—especially in basements, ground floors, or poorly ventilated rooms. Using the right moisture barrier, maintaining consistent indoor humidity, and avoiding water exposure during cleaning are key long-term strategies to prevent mold under parquet flooring.
📅 Last Updated: October 15, 2026 | Topic: How to prevent mold under parquet floors? | Content verified for accuracy and freshness.
References
- Mold | US EPA
- https://www.cdc.gov/mold/default.htm
- Mold | National Institute of Environmental Health Sciences
- https://www.euro.who.int/en/health-topics/environment-and-health/air-quality/publications/2011/dampness-and-mould-in-buildings
- Mold
- Mold – Overview | Occupational Safety and Health Administration
- preventing indoor mold moisture control relative humidity – Search Results – PubMed
- https://scholar.google.com/scholar?q=prevent+how+to+prevent+mold+under+parquet+floors+moisture+subfloor Google Scholar
- https://scholar.google.com/scholar?q=wood+flooring+installation+moisture+content+vapor+barrier+mold+prevention Google Scholar
- https://scholar.google.com/scholar?q=indoor+dampness+mould+relative+humidity+control+building+materials+review Google Scholar