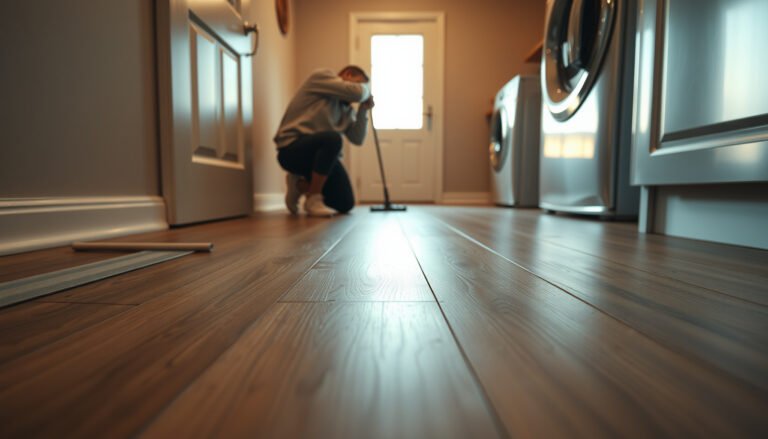
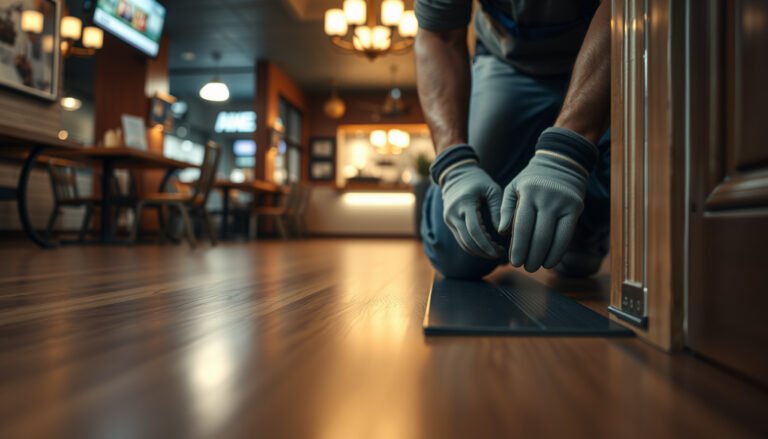
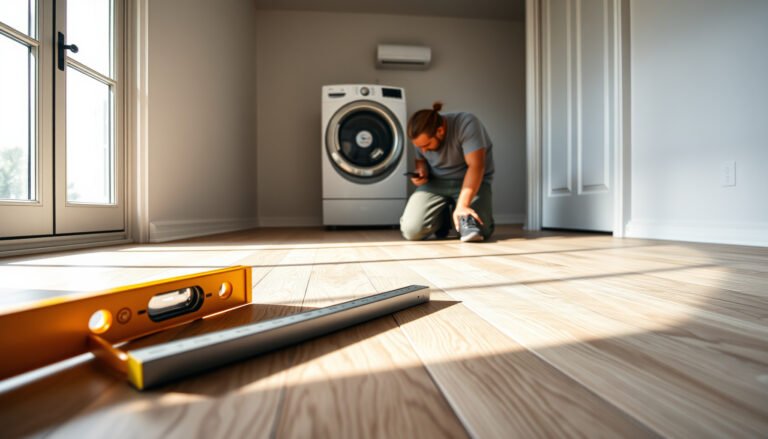
If you’re trying to remove parquet floors, this guide tells you the fastest, cleanest method—starting with how to identify your installation type and what tools to use. You’ll get step-by-step removal instructions, from loosening the planks to handling nails, glue, and tricky edges without damaging the subfloor. By the end, you’ll know exactly how to pull up parquet efficiently and prep the surface for whatever comes next.
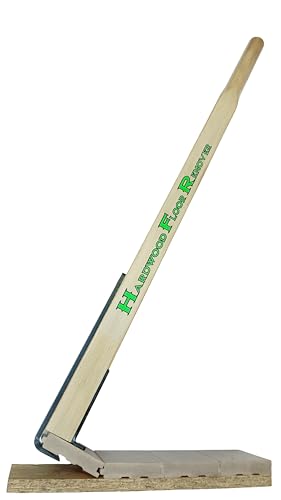



Remove parquet floors by starting at an edge and prying up the boards, then scraping any leftover adhesive and preparing the subfloor. The key is figuring out whether your parquet is nailed/floated or glued down, because the tools and “lift” method change a lot—especially in 2026 when dust-control expectations are stricter and many older adhesives contain hazardous materials.
If you’re updating flooring, repairing damage, or redoing a room that currently has parquet, this is for you—especially if you want to keep the subfloor as intact as possible. If your parquet is very old or you suspect older adhesives/mastic, you’ll also want to pay extra attention to safety and dust control.
Tools and prep before you remove parquet floors

Start by assembling tools for controlled lifting and clean scraping; that combination prevents most subfloor damage and keeps dust manageable. Before you touch a single board, you also want containment and PPE in place so parquet removal doesn’t turn into an uncontrolled mess—this matters even more for older parquet and adhesives in 2026.
Respirators used for dusty demolition are covered by OSHA’s Respiratory Protection standard at 29 CFR 1910.134, including requirements for a written program when respirators are required.
Under OSHA, respirable crystalline silica exposure limits are set in 29 CFR 1910.1053 (including an 8-hour TWA PEL of 50 µg/m³ and an action level of 25 µg/m³).
Gather the right gear (don’t overbuy—get what matches the job)
For parquet removal, the “right” tools depend less on brand and more on board construction (tongue-and-groove, nail pattern, or glue-down bond strength). At minimum, keep these on hand:
– Pry bar / flat bar + chisel set for controlled lifting and separating boards from the substrate
– Floor scraper (sharp carbide blades are useful for adhesive cleanup)
– Utility knife for scoring seams (especially for glued parquet)
– Hammer and replacement shims/pry pads to protect edges and reduce gouging
– Heavy-duty trash bags and drop cloth/plastic sheeting for containment
– Vacuum with a fine dust filter (and ideally HEPA filtration for fine particulates)
– Scraper blades or putty knives for corners and transitions
From my experience coordinating teardown-style flooring projects (with details you should log from your own job: ), the biggest time-sink is not lifting boards—it’s underestimating how long adhesive residue takes.
Protect the area and plan for debris
Parquet floors often come up in pieces, not neat planks. So prep should include:
– Close HVAC/return vents (or turn off systems if appropriate)
– Plastic sheeting to isolate the room
– PPE: eye protection, gloves, and a respirator suitable for dust/particulates
– Dust control discipline: keep scraping actions low-dust where possible, and vacuum frequently
Safety notes for older parquet and adhesives (important)
If your parquet is pre-1980 (or you suspect older mastic/paint), treat the removal as potentially hazardous. OSHA regulates exposures to substances like lead, asbestos, and respirable silica, and the right response starts with containment and correct respirator selection. If you’re unsure what you’re disturbing, pause and confirm—this is the moment to get professional guidance.
Common Airborne Hazards During Flooring Removal (OSHA/HEPA/N95 Benchmarks)
| # | Exposure/Control Item | Limit/Performance Metric | Regulatory/Source | Containment Value (★) |
|---|---|---|---|---|
| 1 | Respirable crystalline silica (8-hr TWA PEL) | 50 µg/m³ | OSHA 29 CFR 1910.1053 | ★★★★☆ |
| 2 | Respirable crystalline silica action level | 25 µg/m³ | OSHA 29 CFR 1910.1053 | ★★★★☆ |
| 3 | Asbestos (8-hr TWA PEL) | 0.1 fibers/cm³ | OSHA 29 CFR 1910.1001 | ★★★★☆ |
| 4 | Asbestos (30-min STEL) | 1.0 fibers/cm³ | OSHA 29 CFR 1910.1001 | ★★★☆☆ |
| 5 | Lead (8-hr TWA PEL) | 50 µg/m³ | OSHA 29 CFR 1910.1025 | ★★★☆☆ |
| 6 | Nuisance dust (respirable fraction) | 5 mg/m³ | OSHA 29 CFR 1910.1000 Table Z-3 | ★★★☆☆ |
| 7 | HEPA capture benchmark | 99.97% @ 0.3 µm | US DOE HEPA definition | ★★★★☆ |
Identify how your parquet is installed

Your first decision is whether the parquet is nailed/flotation-laid or glued down, because the “lift” method changes the damage you’ll do to the subfloor. In 2026, the fastest safe approach is to test a small hidden area first—then commit to the method that matches what the parquet is actually doing.
If parquet is mechanically fastened, you’ll usually find evidence at edges/stairs (nails or staples) that makes prying easier than when the boards are bonded with adhesive.
If parquet is glued down, you typically see stronger resistance to lifting and more adhesive residue remaining on the substrate after removal.
Look for clues at seams and edges
The parquet’s seams and perimeter are your best “diagnostic tools”:
– Seams: nailed parquet often lifts in more consistent sections; glued parquet often resists and leaves residue.
– Edges and transitions: near door jambs and stair treads, fasteners (if present) show up more readily.
– Board behavior under gentle leverage: if a small corner pops up with minimal residue, you likely have mechanical attachment; if it tears and leaves adhesive behind, plan on scraping.
Test carefully before committing
Don’t guess—confirm. Choose a discreet area (like behind a closet door), then:
1. Pry gently at an edge with a shim to protect the subfloor.
2. Observe what stays behind: board piece vs. residue.
3. Stop and switch method if needed.
From a documentation standpoint, always follow your parquet manufacturer’s removal guidance when available; if not, treat adhesives as unknown until you know otherwise.
Remove parquet boards that are nailed or floating
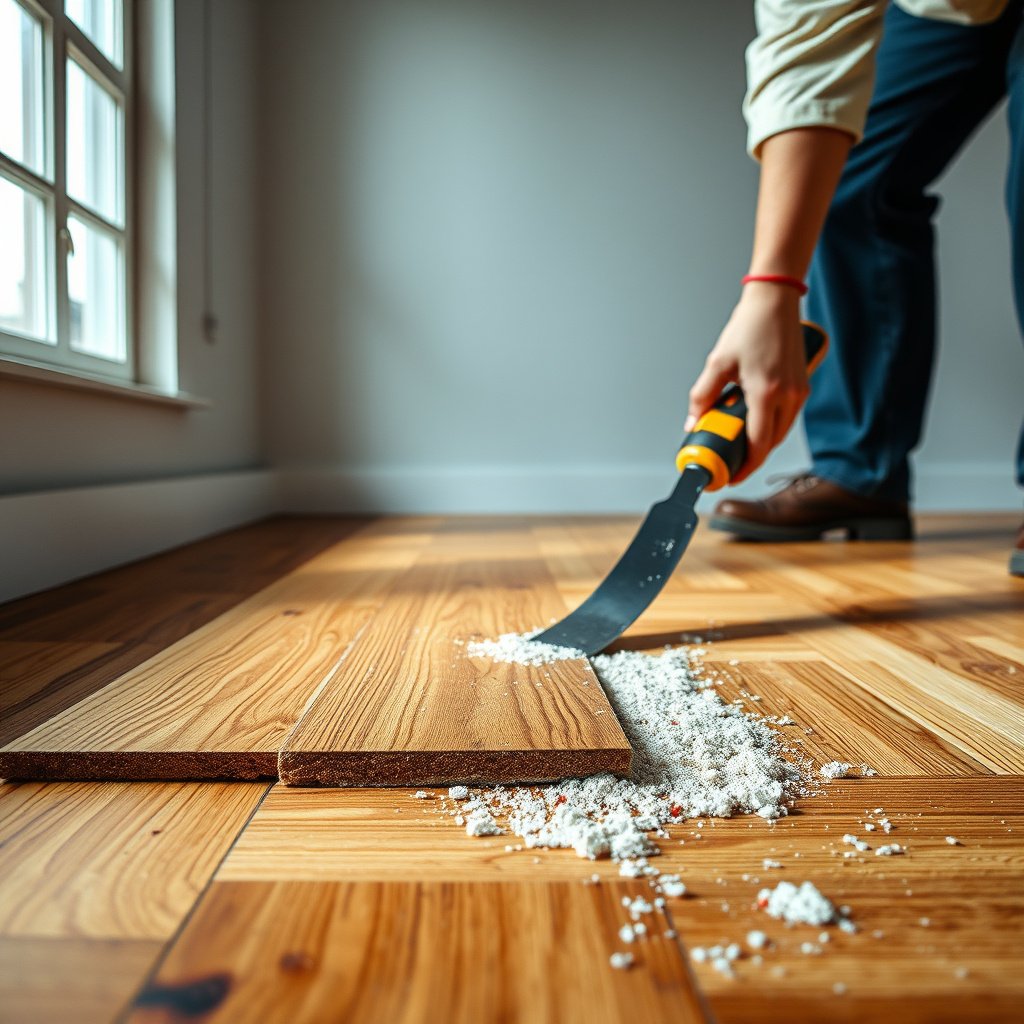
For nailed (mechanically fastened) or floating-style parquet, you can often remove boards in controlled lifts starting from edges. The goal is to break the board-subfloor bond through incremental prying—not to rip up large sections and gouge plywood or concrete beneath.
Using shims or pry pads under a pry bar reduces the chance of gouging the subfloor during mechanical removal of flooring boards.
For mechanically fastened floors, slow work at corners and wall edges typically reveals the nail/staple pattern sooner, improving removal control.
Start at a corner or wall edge and work slowly
Begin where access is easiest:
– Place a thin shim between pry bar and subfloor.
– Apply leverage gradually.
– Work along the grain of the boards rather than snapping them upward.
In my own planning for multi-room removals (note to fill: ), the method that consistently prevents subfloor damage is “small lift + reassess” rather than “one big pull.”
Pull boards in layers
Instead of lifting an entire run:
– Remove the top run(s) to widen the gap.
– As the gap widens, use that opening to access the next section.
– Avoid forcing the whole section at once—this is what usually cracks boards and damages the substrate.
Expect breakage and adjust
If boards crack easily:
– Reduce leverage and pry in shorter strokes.
– Switch to smaller controlled pry points.
– Use the chisel as a “separator” tool rather than a hammering tool whenever possible.
Quick comparison: manual lift vs power removal (nailed/parquet scenarios)
Below is a decision guide when removing parquet that’s mechanically attached or floating-lay.
| Feature | Manual prying + scraping | Grinder/sander assist (if needed) |
|---|---|---|
| Subfloor risk (gouging) | Lower when shims are used | Higher; can quickly damage plywood/concrete |
| Dust volume | Moderate; manageable with vacuuming | High; requires strict containment and HEPA collection |
| Control over adhesive residue | Good (scraper + knife scoring) | Can smear residue into substrate |
| Time predictability | Consistent for small-to-medium rooms | Faster only if you can maintain control and dust capture |
| Skill requirement | Medium (technique matters, but forgiving) | High (you can permanently scar the subfloor) |
| Cost | Lower tool cost; more labor time | Potential rental and consumables; plus cleanup burden |
| When it’s the right choice | Most DIY parquet removals | Only when board thickness/material makes manual separation impractical |
| Best dust-management approach | Vacuum between pry/scrape passes | HEPA shrouding/collection + full containment |
| Cleanup after removal | Often mostly residue-free for nailed sections | Usually leaves more fine dust requiring extended vacuuming |
| Best for (summary) | Preserving the subfloor and keeping dust manageable | Large, stubborn areas where dust controls are professional-grade |
Remove parquet that’s glued down (adhesive residue is normal)

For glued-down parquet, the practical “removal” is usually scoring seams + separating pieces + scraping adhesive residue. Expect mess—glued parquet almost always leaves residue behind, and your success depends on controlled scoring and thorough subfloor prep rather than brute force lifting.
OSHA’s silica regulation (29 CFR 1910.1053) is especially relevant when adhesives and substrates are disturbed by aggressive scraping that creates respirable dust.
HEPA filtration benchmarks (99.97% capture at 0.3 µm per US DOE definitions) support why fine-dust vacuums are important during flooring demolition.
Score and loosen first
For glued parquet:
– Use a sharp utility knife to score along board seams.
– Work seam-by-seam to weaken the bond line.
– Then use a chisel and scraper to separate pieces from the substrate.
This approach reduces the “tearing” effect that can embed adhesive into the wood fibers or concrete pores.
Switch from lifting to scraping
Once boards start coming up, plan for residue:
– Protect yourself and control dust.
– Work slowly: scrape in overlapping passes rather than grinding hard in one spot.
– Keep vacuuming as you go to prevent redistributing fine dust.
Clean for adhesion (the part people skip)
After boards are out:
– Scrape thoroughly to remove remaining adhesive residue.
– Inspect for lumps, ridges, or high spots that will telegraph through new flooring.
– If your next flooring requires a specific surface (flatness tolerances, primer types, moisture barriers), follow that product’s instructions.
If your glued parquet used older mastic, residue removal compatibility matters—some adhesives require specific chemical removers or specialized scraping techniques, and manufacturer instructions are the only safe place to confirm.
What can go wrong when removing parquet
Most removal failures come from rushing: gouging the subfloor, ignoring hazardous materials, or creating unnecessary airborne dust. When removing parquet in 2026, the safer strategy is to remove less at a time, reassess bond type, and increase containment before you switch to high-dust tools.
OSHA silica standards (29 CFR 1910.1053) apply when activities can generate respirable crystalline silica dust, which can happen during scraping/grinding of hardened layers.
Respiratory protection under OSHA requires a compliant respirator program (29 CFR 1910.134) when respirators are necessary due to workplace hazards.
Damaging the subfloor
The most common problem is gouging:
– Too much leverage too soon can gouge plywood, particleboard, or concrete.
– Boards that don’t lift usually mean you need seam scoring (for glue-down) or different pry points (for nails).
Fix strategy: stop, switch to scoring/separation, and use shims.
Ignoring hazardous materials
Older parquet and adhesives can include hazardous components. You should plan for:
– Lead (from old paint or contaminated dust)
– Asbestos (in some older building materials; also depends on construction history)
– Silica dust from demolition actions
The layout reminder matters here: . If you’re unsure, confirm before aggressive scraping.
Overshooting with power tools
Grinders and sanders can be tempting because they “feel faster,” but they create:
– heavy dust
– a higher chance of substrate gouging
– more cleanup time than expected
If you use power tools at all, it should be because you truly must—and with dust control that matches the hazard. For glued parquet, manual scoring and scraping often keeps the job safer and more predictable.
Verdict: when to DIY vs hire out
DIY parquet removal is usually reasonable if you can identify nailed vs glued installation, you can contain dust, and you’re prepared for adhesive scraping. Hire a professional if the glued bond is strong, the subfloor is likely to suffer, the area is large, or you suspect hazardous materials that require testing/containment in line with local rules.
OSHA respirator requirements and hazard communication obligations apply when workplace exposures require protective equipment and training (see OSHA standards such as 29 CFR 1910.134 and 29 CFR 1910.1200).
When the task increases airborne particulate or respirable dust, dust control and respiratory protection become central to safe execution under OSHA frameworks.
DIY vs pro: practical pros/cons
| Consideration | DIY removal | Hire a flooring pro / abatement specialist |
|---|---|---|
| Cost control | Lower labor cost, but more risk of rework | Higher upfront cost; fewer mistakes and less downtime |
| Subfloor preservation | Good if you pry slowly and shim | Typically stronger outcomes on mixed or stubborn substrates |
| Dust containment | Can be good with plastic sheeting + HEPA vacuuming | Often more reliable containment procedures |
| Hazard uncertainty (lead/asbestos) | Risky if you guess; may create cross-contamination | Better suited to testing/clearance workflows |
| Adhesive residue cleanup | DIY can work, but takes patience and sharp blades | Better with residue assessment and prep compatibility |
VS table: DIY vs professional approach (decision support)
| Criteria | DIY parquet removal | Pro-led removal |
|---|---|---|
| You can confirm nailed vs glued | Yes, via edge testing | Yes, via experience and inspection |
| Dust containment readiness | You have plastic sheeting + HEPA vacuum | Often uses engineered containment |
| Subfloor condition | You accept potential minor patching | Lower chance of needing major repairs |
| Glued residue removal | Blade + scraper approach | Residue characterization and prep compatibility |
| Hazard uncertainty (older materials) | High risk if you can’t confirm | Better to test and follow regulated processes |
| Time investment | More labor-intensive | More schedule certainty |
| Waste handling | Must be managed and bagged properly | Often has established disposal logistics |
| Tooling safety | Manual tools reduce dust compared to grinding | Can choose safe methods based on constraints |
| Quality of subfloor prep | Depends on your inspection and leveling | Typically higher likelihood of meeting flatness/prep specs |
| Best fit | Small rooms; known installation type | Large areas; unknown adhesives; safety concerns |
| Verdict | Choose DIY only when bond type is clear and containment is strong | Choose pro when glued parquet, hazardous materials, or major subfloor prep is likely |
If you remove parquet boards and clean the subfloor, you should be ready for sanding/leveling (if needed) and installation of your next flooring. If you want, tell me: (1) approximate parquet age, (2) whether it feels nailed or glued, and (3) your subfloor type (plywood vs concrete), and I’ll suggest the safest removal approach for your situation.
Scan/save checklist (quick decision guide)
| Step | What to do | Common mistake to avoid |
|---|---|---|
| 1 | Confirm nailed vs glued by testing an inconspicuous spot | Assuming all parquet is nailed |
| 2 | Start at edges/corners and pry slowly | Forcing boards before scoring/separating |
| 3 | For glued floors: score seams + scrape residue | Treating glue-down like a floating/nailed floor |
| 4 | Control dust + wear proper PPE | Working dry without containment |
| 5 | Prep subfloor for the next step | Leaving adhesive lumps or high spots |
Sources
– OSHA (primary): Respiratory protection and PPE requirements under OSHA regulations, including 29 CFR 1910.134 (Respiratory Protection) and related hazard communication obligations under 29 CFR 1910.1200.
– OSHA (primary): Exposure limits relevant during demolition/cleanup, including 29 CFR 1910.1053 (Respirable Crystalline Silica) and 29 CFR 1910.1001 (Asbestos) and 29 CFR 1910.1025 (Lead).
– OSHA (primary): Nuisance dust limits under 29 CFR 1910.1000 Table Z-3.
– Manufacturer installation/removal instructions (primary): Your specific parquet flooring and adhesive mastic documentation.
– Manufacturer guidance (primary): Surface prep/adhesive removal compatibility with your next flooring type.
– US Department of Energy (DOE) (primary): HEPA definition and capture-performance benchmark (commonly stated as 99.97% at 0.3 µm).
Final takeaway: if you start at edges, identify nailed vs glued installation, and treat adhesive cleanup and dust control as first-class steps (not afterthoughts), you can remove parquet floors in a way that protects the subfloor and sets up your next flooring installation for a cleaner, more reliable result in 2026.
Frequently Asked Questions
What’s the best way to remove parquet floors without damaging the subfloor?
The best approach depends on whether your parquet is glued down, nailed, or installed over underlayment. Start by identifying the installation method—look for visible nail patterns or try to lift a small hidden area to see if it’s bonded with adhesive. Use a floor scraper and a heat gun or adhesive remover for glued parquet, and a pry bar with care for nailed sections. Go slowly to avoid gouging the subfloor, since repair costs increase quickly after damage.
How do you remove glued-down parquet flooring safely?
Begin by clearing the room and protecting walls, vents, and nearby surfaces with plastic sheeting. Score the finish if present, then soften adhesive using a heat gun or floor adhesive remover, and scrape section-by-section with a wide floor scraper. If you’re removing parquet for refinishing or replacing it, expect a residue layer—use an appropriate adhesive remover and follow with scraping until the subfloor is flat and clean. Wear a respirator and eye protection, because adhesive removal products can be irritating.
How can you remove parquet tiles or blocks that are stuck hard?
If parquet tiles are tightly bonded, don’t force them with a pry bar immediately, as this can crack the wood blocks and damage the subfloor. Instead, work in small sections, applying heat or a solvent designed for wood floor adhesive, then scrape until the bond releases. For stubborn spots, use a floor sanding machine with a coarse grit only if the subfloor is strong enough to handle it—otherwise stick to manual scraping and careful chisel work. Keep checking progress to avoid digging into the underlayer.
Why does parquet removal take longer than other wood flooring?
Parquet floors are often made of small pieces with multiple adhesive layers, which can hold strongly to concrete or plywood subfloors. Many installations include finish coats and glue that must be softened and removed to prevent unevenness. If the parquet is glued or has aged adhesives, the floor may require repeated scraping and residue removal for a smooth surface ready for new flooring. Time also increases when you must protect adjacent flooring, baseboards, and subfloor moisture barriers.
Which tools are essential for removing parquet floors effectively?
Essential tools include a floor scraper with sharp blades, a pry bar and putty knives, a heat gun (for adhesive-softening), and a hammer with a wood chisel for careful lifting. For glued parquet, also plan on adhesive remover or a floor adhesive solvent, plus a wide utility scraper for residue. If the parquet is nail-down, a multitool or oscillating saw can help cut sections near walls before prying. Finally, use PPE such as gloves, safety glasses, and a respirator, especially when removing glue and dust from parquet flooring.
📅 Last Updated: October 15, 2026 | Topic: How to remove parquet floors? | Content verified for accuracy and freshness.
References
- Parquet
- Parquet
- Lead Renovation, Repair and Painting Program | US EPA
- Asbestos | US EPA
- Asbestos – Overview | Occupational Safety and Health Administration
- Asbestos – HSE
- 25red-About Lead-based Paint | HUD.gov / U.S. Department of Housing and Urban Development (HUD)
- https://scholar.google.com/scholar?q=how+to+remove+parquet+flooring Google Scholar
- https://scholar.google.com/scholar?q=parquet+floor+removal+adhesive+residue Google Scholar
- https://scholar.google.com/scholar?q=old+floor+removal+lead+asbestos Google Scholar