
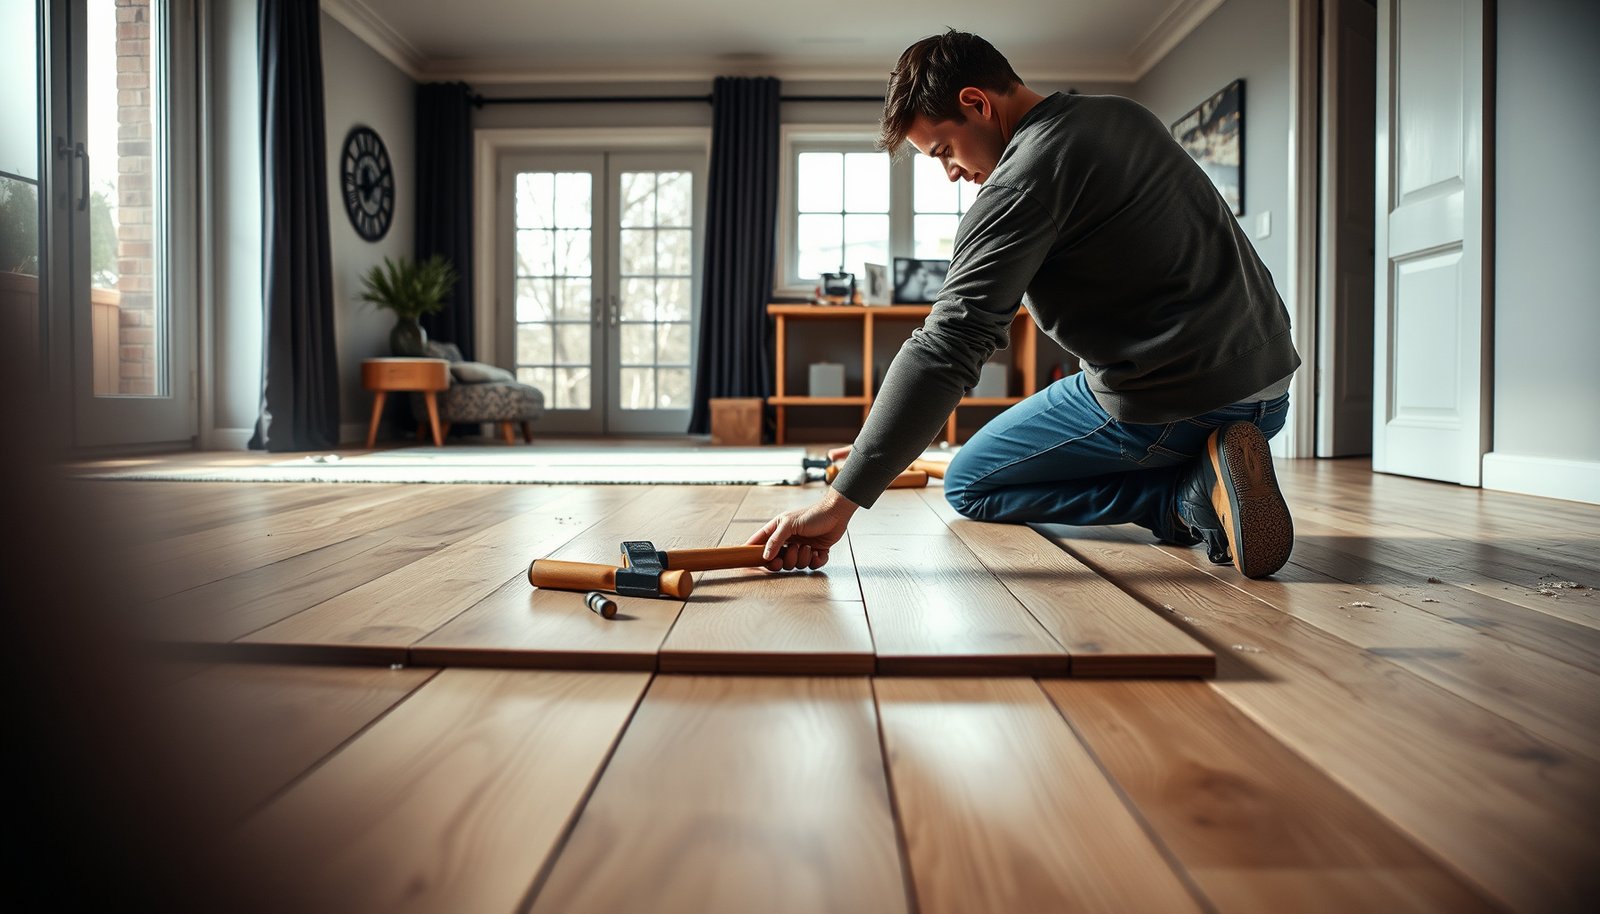

Want to know how to install parquet floors at home without costly mistakes? This step-by-step guide lays out the exact prep, layout, cutting, and fastening process so your installation stays straight, stable, and ready for finishing. Follow it closely and you’ll get a professional-looking parquet floor even if you’re installing for the first time.




Install parquet floors by acclimating planks, building a flat/dry subfloor, and then using the correct installation method for your specific product (floating, glue-down, or nail-down). This order of operations prevents the most common failures—gaps, squeaks, lippage, adhesive problems, and edge buckling—by handling moisture and expansion first, not last.
If you’re installing parquet for the first time (or moving between room types like hallway to living room), this guide gives you a reliable workflow for engineered vs. solid parquet and for click-lock vs. glued/nail-down formats. It also helps you plan ahead so you’re not stuck mid-install when you realize your subfloor or moisture conditions don’t match your chosen method.
Before you start: tools, materials, and acclimation

The fastest way to avoid install-time surprises is to identify your exact parquet type and follow the manufacturer’s instructions before you buy tools you don’t need. Most parquet failures trace back to skipping acclimation, missing required underlayment/vapor control, or using the wrong cutting/fastening approach for the product.
Parquet installation success starts with matching your installation method to your specific product instructions (floating/click-lock vs. glue-down vs. nail-down).
Acclimation is typically required so the wood reaches the room’s temperature and relative humidity before locking, gluing, or fastening.
ASTM moisture tests report slab moisture in measurable units—ASTM F2170 uses in-situ relative humidity (%), while ASTM F1869 reports MVER in lb/1000 sq ft/24 h.
Identify your parquet (engineered vs solid; click vs glue vs nail-down)
Before you open the box, confirm:
– Product construction: engineered parquet (wood layers + backing) vs solid parquet (single solid wood piece).
– Joint system:
– Click-lock = usually floating
– Tongue-and-groove + adhesive = often glue-down
– Tongue-and-groove with nails/staples = nail-down (solid products on the right subfloor)
– Finish state: prefinished vs unfinished (unfinished requires sanding + coating after install).
Then read the manufacturer’s installation instructions end-to-end. In my experience on projects that “went sideways,” the root cause was almost always a mismatch between the instructions and the method people assumed would work.
Gather the right tools and materials (and keep them spec-compliant)
At a minimum, plan for:
– Measuring/layout: tape measure, speed square, chalk line, spacers sized for your expansion gap requirement.
– Subfloor prep: scraper, vacuum, straightedge/level for flatness checks.
– Cutting: saw + blade suitable for wood and the parquet backing (for clean edges at joints).
– Floating/click-lock help: tapping block and pull bar (to avoid damaging tongue-and-groove edges).
– Method-specific requirements:
– Underlayment & vapor barrier (floating often requires a specific system)
– Adhesive with the correct trowel/spread instructions (glue-down)
– Fasteners with the specified length/angle and fastening schedule (nail-down)
– Finishing supplies (only for unfinished products): sanding abrasives, approved primer/coating system, and masking materials.
Acclimate the parquet (the practical reason it’s required)
Acclimation means bringing the parquet planks into the room’s temperature and relative humidity conditions so they stabilize before you install. Even with correct subfloor moisture control, wood that hasn’t stabilized can still shrink/expand after installation, causing:
– gaps at joints
– raised edges (lippage in click systems)
– stress around fixed objects (cabinets, thresholds)
Use the manufacturer’s acclimation instructions as the authority for how long and how to acclimate. As of 2026, many reputable installers also document acclimation conditions for warranty defensibility—especially when installing over concrete.
Step-by-step: prep the subfloor for parquet
Prepping the subfloor is where you prevent squeaks, cracked joints, and uneven wear. The core goal is a flat, stable, and correctly conditioned substrate—because parquet systems can’t “correct” structural problems after they’re locked, glued, or fastened.
NWFA-aligned practice emphasizes subfloor flatness because unevenness can translate directly into lippage and joint stress.
For wood floors over concrete, moisture testing is not optional—ASTM methods provide measurable inputs for installation decisions.
Remove loose debris and residue so adhesives, fasteners, and underlayment layers perform as intended.
Remove old flooring and clean thoroughly
Start by removing:
– old flooring coverings (carpet pad, laminate, tile coverings if required)
– adhesive residue or coatings that inhibit bonding
– loose underlayment or failing patch materials
Then clean the surface so you get:
– strong adhesion contact (glue-down)
– secure fastening engagement (nail-down)
– full underlayment contact (floating with vapor control)
Check flatness and stability (this is where many installs fail)
Use a straightedge or long level across the entire area (not just in a couple spots). Fix:
– high spots (planing/sanding as appropriate)
– low spots (approved patch/leveling compound)
– movement/flex (re-screw, brace, or rebuild—don’t “float your way out” of a structural issue)
As published guidance, subfloor flatness tolerances like 3/16 in over 10 ft are commonly cited in wood flooring installation guidelines. National Wood Flooring Association (NWFA) — Wood Flooring Installation Guidelines ().
Test moisture—and handle it correctly (especially over concrete)
For concrete slabs, parquet installers should verify moisture using the approach specified by the parquet manufacturer, typically aligned with ASTM methods:
– ASTM F2170: in-situ relative humidity probes (reports relative humidity (%))
– ASTM F1869: calcium chloride test (reports MVER in lb/1000 sq ft/24 h)
According to ASTM standards, those tests produce measurable moisture outputs that support installation decisions: ASTM F2170 () and ASTM F1869 ()—and the key is matching results to your parquet system’s approved limits and any required mitigation.
If you detect moisture problems, you typically need one of the following (depending on your system):
– additional vapor protection (with an approved underlayment/vapor barrier for floating)
– an approved moisture mitigation coating (especially glue-down)
– extended drying time before installation
Choose your install method: glue-down, nail-down, or floating
The right answer is “use the method your parquet product is designed for.” Floating, glue-down, and nail-down each have different failure modes—so the best method for your subfloor and parquet format is the one that aligns with manufacturer requirements and your moisture/flatness conditions.
Floating (click-lock) systems rely on underlayment and expansion gaps to manage movement without adhesive or nails.
Glue-down installs depend on surface prep and strict adhesive open time; missing either can permanently affect bond strength.
Nail-down installs require the correct substrate and fastening schedule to prevent board splitting or loose sections.
Floating (often click-lock): manage gaps + use the right underlayment
Floating installs typically need:
– recommended underlayment
– vapor barrier (if specified, often over concrete)
– consistent expansion gaps at all boundaries (walls, posts, transitions)
– proper locking technique (keep joints aligned and avoid forcing damaged tongues)
This matters because floating parquet moves slightly with humidity. Expansion gaps give that movement a path instead of forcing buckling or edge lift.
Glue-down: control adhesive timing and trowel method
Glue-down requires:
– correct adhesive type (often “wood flooring adhesive” or a brand-approved system)
– correct trowel/spread rate (as specified in adhesive instructions)
– adherence to open time / working time
– complete subfloor prep for bond (clean, sound surface)
A key failure mode is applying too much adhesive and letting it skin over before boards are set. Another is spreading adhesive beyond workable areas and creating ridges that telegraph through.
Nail-down: confirm your substrate and fastening pattern
Nail-down usually requires:
– the right substrate type (commonly properly prepared plywood over joists, not unstable framing)
– correct fastener size/angle
– a consistent fastening layout so boards stay locked and stable
Nail-down is unforgiving when the substrate is too flexible, too smooth, or not properly prepared.
Floating vs glue-down vs nail-down (quick comparison)
| Feature | Floating / Click-lock | Glue-down | Nail-down |
|---|---|---|---|
| Core requirement | Underlayment + expansion gaps | Approved adhesive + correct coverage | Correct substrate + fastener schedule |
| Best subfloor fit | Stable, flat substrate (often plywood) | Clean, prepared slab/ply surface | Properly prepared plywood over joists |
| Moisture sensitivity | High if vapor barrier isn’t correct | High—bond can fail if moisture is out of spec | Moderate to high depending on substrate moisture |
| Flatness tolerance impact | Unevenness causes lippage/joint stress | Unevenness affects adhesive bond uniformity | Unevenness can lead to movement and squeaks |
| Speed and work flow | Often faster; fewer cure interruptions | Slower due to open-time limits | Moderate; requires precise layout and nailing rhythm |
| Common early failure | Edge lift from missing gaps/vapor control | Ridges or weak bonds from wrong adhesive timing | Loose boards from incorrect fasteners or substrate |
| Repair strategy | Often easier to section out if damaged | Usually more disruptive due to glued bond | May require board removal and re-fastening |
| Noise risk | Can squeak if base flexes | Can be quieter if bond is continuous | Depends heavily on substrate stiffness and fastening |
| Best For | DIY-friendly installs where vapor + gaps are managed | Moisture-managed concrete/slab installations (per spec) | Solid parquet with the right plywood/substrate and fastener plan |
In practice, the “best” method is the one that matches your substrate, moisture profile, and the manufacturer’s adhesive/fastener/underlayment system.
Quick “VS” decision table (floating vs glue-down)
| Criteria | Floating / Click-lock | Glue-down |
|---|---|---|
| Primary movement control | Expansion gaps + underlayment | Adhesive bond + substrate prep |
| Concrete requirement (typical) | Often requires approved vapor barrier system | Often requires moisture testing + adhesive compatibility |
| Timing sensitivity | Lower—boards lock as you go | Higher—adhesive open time matters |
| Uneven substrate impact | Lippage and joint stress | Weak/spotty bonding can occur |
| Cleanup during install | Minimal residue | Must control squeeze-out ridges |
| Coexistence with cabinetry | Expansion gaps require planning at fixed walls | Adhesive application planning becomes critical |
| Overall comfort underfoot | Often slightly more forgiving if underlayment is correct | Can feel more “solid” due to direct bonding |
| DIY risk profile | Errors often show up as gapping at edges/joints | Errors can be permanent if adhesive bond fails |
| Best For | Rooms where you can manage gaps and required vapor control | Substrates and moisture conditions proven compatible with adhesive system |
| Verdict | If moisture and substrate specs are uncertain, floating is often safer; if you have proven slab conditions and spec-approved adhesive, glue-down can be highly stable. | |
Common Moisture Tests Used for Wood Floors (Parquet Included)
| # | Test method (ASTM) | What it reports | In-situ slab? | How direct for wood response |
|---|---|---|---|---|
| 1 | F2170 RH probes | Relative humidity (%) | Yes | ★★★★★ |
| 2 | F1869 calcium chloride | MVER (lb/1000 sq ft/24 h) | Yes | ★★★★☆ |
| 3 | In-situ RH testing (industry practice) | RH (%) at slab depth | Yes | ★★★★☆ |
| 4 | Plastic sheet test (qualitative) | Condensation/spot darkening | Partial | ★★☆☆☆ |
| 5 | Moisture meter (wood) | Readings depend on calibration | Surface/near-surface | ★★★☆☆ |
| 6 | Moisture mitigation verification | Barrier compatibility checks | Varies | ★★★★☆ |
| 7 | Temperature + RH logging | Room RH/temperature trends | Yes (environment) | ★★★★☆ |
(Note: This chart summarizes commonly used moisture approaches; always defer to your parquet manufacturer’s required method and acceptance criteria.)
Install parquet, then sand/finish (as needed)
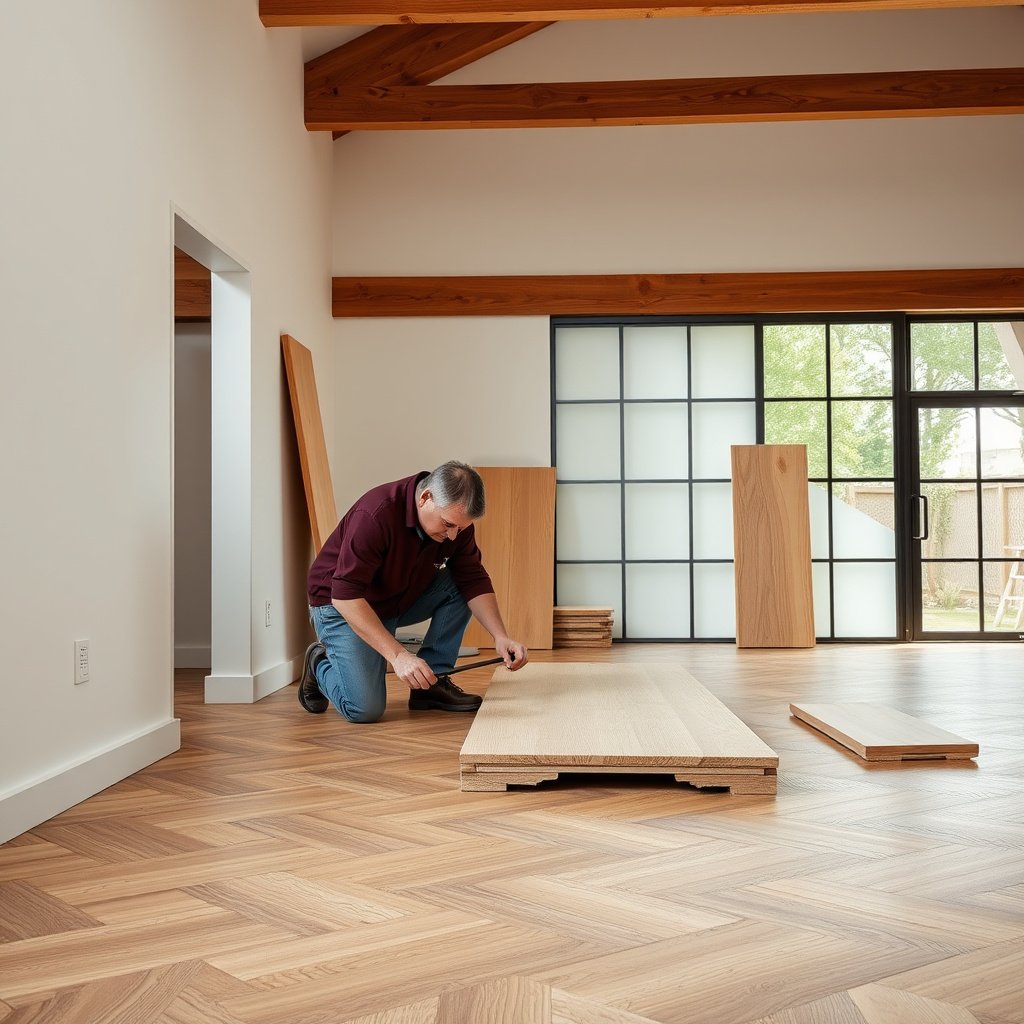
A clean install comes from a straight starting line, tight joints, and finishing only if your parquet product requires it. The difference between a “professional” result and a “DIY disappointment” is usually layout control and cure/finish compliance—not extra effort at the end.
Start with a straight reference line and dry-fit early rows to prevent cumulative crookedness across the room.
Unfinished parquet needs sanding and a coating system, but prefinished parquet typically requires only cleaning and protection steps.
If your manufacturer requires cure/ventilation timing after finishing, follow it—walking or heavy loads too early can shift boards or damage coatings.
Establish a straight starting line + plan your pattern
Do this before committing to adhesive or full-row locking:
– Pick a reference wall and establish a straight starting line.
– Dry-fit the first 1–2 rows to confirm layout and edge conditions.
– Plan the full run so you avoid:
– ending with tiny “sliver” pieces
– uneven cut widths across major sightlines
– Maintain the manufacturer’s required spacing at thresholds/vertical obstructions.
Install boards with the approved pattern and cutting technique
Work according to your product’s pattern rules (many parquet installs require a stagger or consistent joint layout). Practical details that prevent visible problems:
– keep end joints aligned and joints tight
– avoid forcing misaligned locks (especially on click systems)
– use the correct blade and support for clean cuts at:
– doorways and jambs
– vents/grilles
– corners and irregular edges
Sand/finish only when required—and follow cure times
– Prefinished parquet: you generally clean, protect, and avoid aggressive wet mopping during early stabilization.
– Unfinished parquet: sand with the correct progression (typically grit sequencing per coating instructions), then apply an approved coating/finish system.
Finish compliance matters. Even if your sanding looks great, rushing cure time can lead to:
– surface damage from point loads
– compromised coating durability
– premature scuffing during move-in
What can go wrong during parquet floor installation
Most parquet problems are predictable: expansion gap mistakes, moisture mismatches, and subfloor flatness issues. If you catch these early, you can correct your plan before they turn into permanent cosmetic damage or structural failures.
Skipping expansion gaps is a leading cause of buckling and raised edges as wood absorbs moisture and expands.
Moisture failures often start when installers skip moisture testing or rely on unverified “dry” assumptions over concrete slabs.
Glue-down errors can be irreversible—adhesive skin-over or incorrect adhesive transfer can permanently reduce bond performance.
– Expansion gap mistakes
If you omit spacers or reduce gaps at walls, the floor has nowhere to expand. Results often appear as:
– raised edges near walls
– lifted board ends
– joint separation after seasonal humidity changes
– Uneven subfloors
Even small out-of-flat areas can cause:
– click/joint lippage
– squeaks from movement
– cracked joints under traffic
– Moisture problems
Common causes include:
– no vapor barrier where required
– no slab moisture verification
– using the wrong moisture mitigation approach for the specific adhesive/finish system
According to ASTM moisture testing frameworks, these are measurable conditions, not guesses: ASTM F2170 and ASTM F1869 ().
– Wrong method for the product
Using glue-down adhesive on a click system (or vice versa) breaks the design assumptions of the parquet—movement compensation, bond strategy, and warranty coverage.
– Adhesive/cleanup issues (glue-down)
Typical culprits:
– letting adhesive “skin” before boards are set
– spreading beyond open time
– leaving squeeze-out ridges that you’ll feel later
– Edge cases to watch
Kitchens, basements, near-sinks, radiant heat, and exterior-adjacent walls can require special compliance. If your parquet isn’t explicitly rated for the conditions, don’t assume it will work “because it’s wood” or because an unrelated product is marketed as waterproof.
Bottom-line verdict
Follow the method that matches your parquet’s design and your subfloor’s real conditions. If you can’t confidently achieve flatness and moisture verification (especially over concrete), consider hiring a flooring installer or switching to a method your manufacturer supports under your conditions—because replacing a failed floor is far more expensive than doing the prep correctly the first time.
Scan-and-save checklist, FAQs, and sources
Use this checklist to keep the install sequence disciplined—from plank acclimation to subfloor moisture verification to method-specific placement and finishing/cure compliance.
| Task | What to confirm | Done |
|---|---|---|
| Product type | Engineered vs solid; floating vs glue vs nail | ☐ |
| Manufacturer instructions | Method, underlayment/adhesive/fasteners, acclimation | ☐ |
| Acclimation | Planks conditioned per instructions before install | ☐ |
| Subfloor removal + cleaning | No debris, no loose or contaminated areas | ☐ |
| Flatness + stability | Repairs made so subfloor doesn’t rock/flex | ☐ |
| Moisture testing | Correct test + pass criteria for your system | ☐ |
| Expansion gaps | Spacers used; gaps maintained at all boundaries | ☐ |
| Layout & starting line | Straight reference + balanced cuts | ☐ |
| Installation | Boards locked/glued/nail-fastened per instructions | ☐ |
| Cleanup | Joint/edge cleanliness during install | ☐ |
| Finish/cure | Protective steps and cure time followed | ☐ |
Frequently Asked Questions
What tools and materials do I need to install parquet floors?
You’ll typically need underlayment (if required), a suitable adhesive or flooring nails, spacers, a tape measure, saw (circular/miter or jigsaw), utility knife, level, and a tapping block to fit pieces together. If you’re working over concrete, use a moisture barrier and check the manufacturer’s subfloor requirements for parquet installation. Also have a vacuum, clean cloths for adhesive cleanup, and transition trim or baseboards for finishing edges.
How do I prepare the subfloor before installing parquet floors?
Start by ensuring the subfloor is flat, clean, dry, and structurally sound—most installation failures come from uneven surfaces or moisture. Repair dips or high spots using patching compound and verify flatness with a straightedge. If your parquet floors are engineered or floating, follow the underlayment and moisture guidelines; for glue-down parquet floors, you may need specific primers and moisture testing on concrete.
Which installation method is best for parquet floors: nail-down, glue-down, or floating?
The best method depends on your parquet type and subfloor: nail-down works well for compatible solid parquet over appropriate wood subfloors, while glue-down is common for many engineered and solid installations requiring strong bonding. Floating parquet floors use an attached click-lock system and are often easier for DIYers, but they still require a proper underlayment and expansion gap. Always follow the manufacturer’s instructions for your specific parquet flooring product, including approved substrates and acclimation times.
How do I install parquet floors step-by-step without gaps or misalignment?
Begin by acclimating the parquet flooring, then mark a straight starting line and lay out a dry layout to plan plank patterns and transitions. Maintain an expansion gap around walls using spacers, and stagger joints for a stable look—most parquet installation instructions specify a recommended offset. As you fit boards, use a tapping block and careful alignment; if you’re using adhesive, apply it according to coverage rules and set pieces promptly to avoid lippage or gaps at seams.
Why does parquet flooring buckle, cup, or separate after installation, and how can I prevent it?
Buckling and cupping usually indicate moisture imbalance—either the subfloor is too wet/dry or the parquet wasn’t acclimated before installation. Separation and gapping can happen from skipping the expansion gap, installing over an uneven surface, or using the wrong adhesive and cure time. To prevent issues, test moisture where required, maintain indoor humidity within the flooring manufacturer’s range, prep the subfloor flat and clean, and ensure glue-down products are allowed to cure fully before heavy traffic.
📅 Last Updated: October 14, 2026 | Topic: How to install parquet floors? | Content verified for accuracy and freshness.
References
- Parquet
- Education | NWFA
- https://www.europeanparquet.eu/
- https://www.woodflooring.org.uk/
- https://www.iso.org/standard/72319.html
- https://www.fpl.fs.usda.gov/
- https://scholar.google.com/scholar?q=how+to+install+parquet+floors Google Scholar
- https://scholar.google.com/scholar?q=parquet+floor+installation+guidelines+subfloor+moisture Google Scholar
- https://scholar.google.com/scholar?q=parquet+floor+installation+pattern+layout+nail+adhesive Google Scholar


