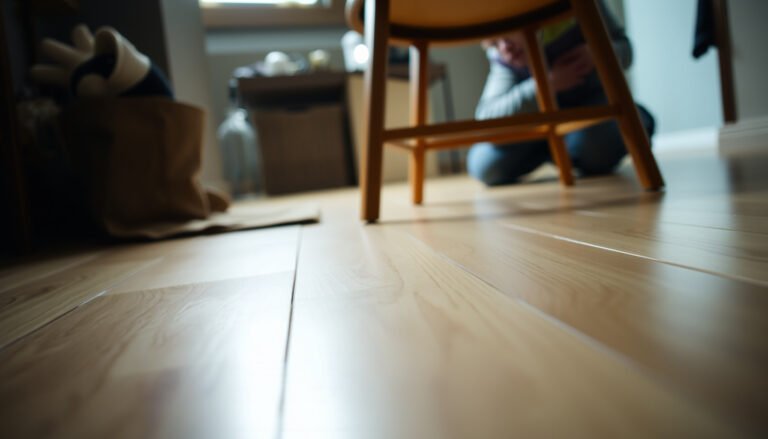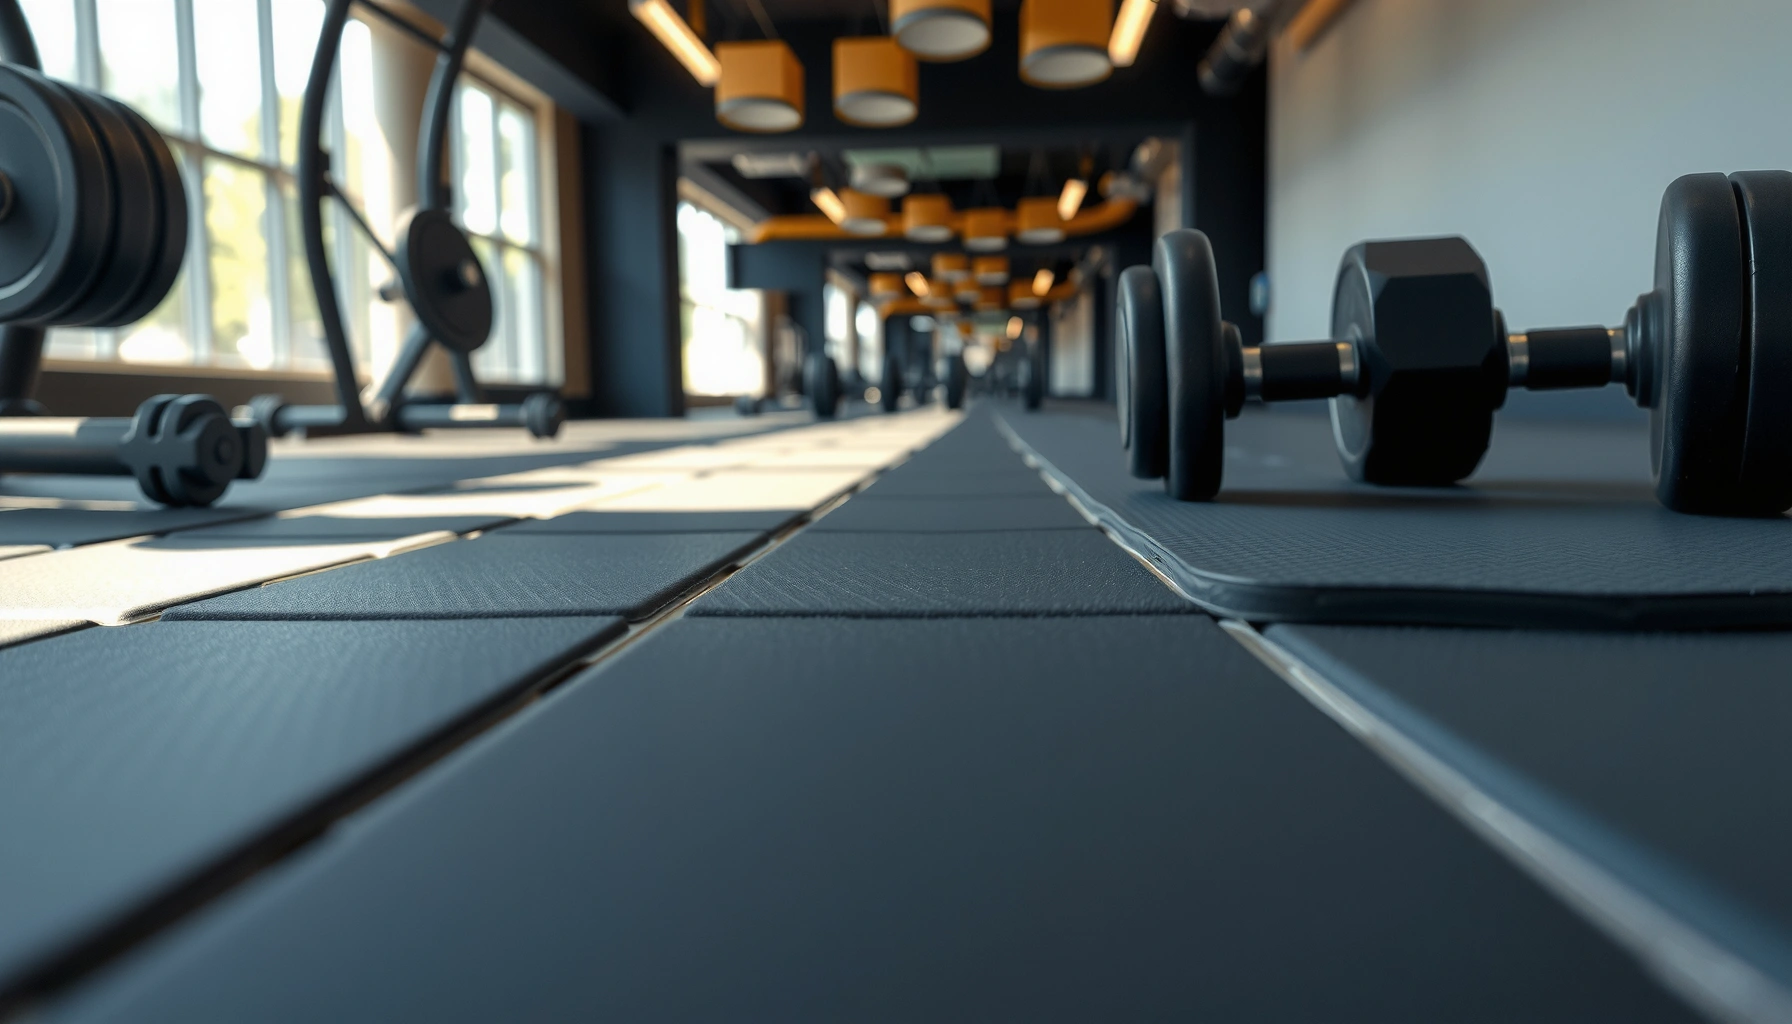

Prevent scratches on gym floors with a set of proven, practical habits that stop scuffs before they start—whether you’re using rubber mats, correct shoe wear, or the right moving and storage methods. If you’ve been dealing with gouges from weights, kettlebells, sleds, or carts, this guide delivers the most effective fixes that reduce damage fast and keep floors looking new. Follow the steps below to get durable protection without slowing down your training.
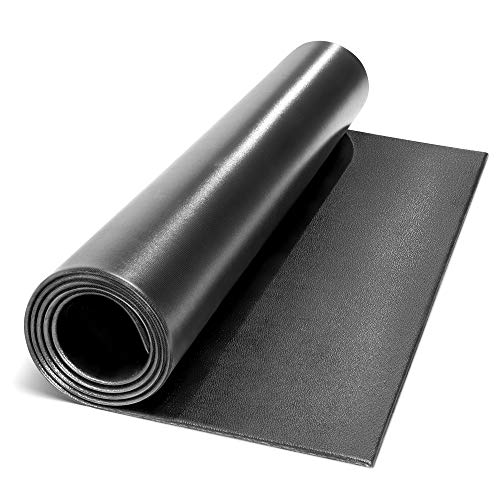

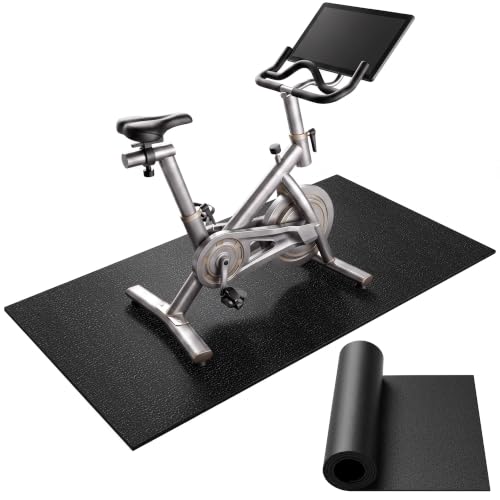

Prevent scratches on gym floors by putting a purpose-built protective layer between equipment and the surface (most often rubber mats) and by changing how you place and move gear (no dragging, controlled landings). Then you reduce the “hidden abrasive” problem by cleaning grit and inspecting contact points like rubber feet and pads—because scuffs almost always come from either impact, friction, or debris.
If you manage a home gym, a garage setup, or a small training space (especially with heavy lifting, sled work, or dumbbell drops), these steps apply right away. It’s also useful if you’re trying to protect newer flooring from daily wear without constantly replacing sections.
Choose the Right Protection Layer Under Equipment

Use the right kind of rubber protection under the exact places where metal, wheels, and high-load impacts touch down. The best approach is targeted coverage (rack footprint, landing zones, and roller paths), not “matting everything,” because the scratch risk is highest at contact points.
“Impact damage and abrasive wear are concentrated where weights land, benches shift, and wheels travel—targeting those zones is what prevents surface gouging.”
“Rubber mats are commonly specified to provide a protective barrier between equipment and subfloors, helping reduce scuffs from repeated contact.” [ADD: manufacturer/spec citation for rubber gym mats]
“The thickness and durometer (hardness) of rubber affects both cushioning and surface resistance, so you choose based on how your training loads the floor.” [ADD: manufacturer/spec citation explaining durometer & thickness]
Where mats matter most
For most home and garage gyms, you’ll see scratches first in three areas:
– Rack footprint (especially where j-cups, base plates, and stabilizers sit).
– Dumbbell and plate landing zones (where drops or controlled “set-downs” happen repeatedly).
– Pathways for rolling equipment like sleds and carts (friction and micro-sliding show up quickly along travel lines).
Rubber or “problem-area” gym mats work best when placed under the highest-contact equipment and extended slightly beyond the footprint so minor positioning errors still land on protected material.
How to choose between mat styles
Not all mats protect the same way. In practice, there are two competing design goals:
– Cushioning for impact (better for weight drops and plate slams)
– Resistance to abrasion and indentation (better for rack stability and repeated foot contact)
Here’s a realistic way to think about mat selection: thicker generally offers more cushioning, while the rubber formulation and hardness (often measured via durometer) determines how well the mat resists long-term wear.
Typical Gym Rubber Mat Thicknesses and What They’re Best At
| # | Mat thickness (typical) | Best for | Scratch protection ★ |
|---|---|---|---|
| 1 | 6 mm (≈ 1/4 in) | Light-duty home training | ★★★☆☆ |
| 2 | 8 mm (≈ 5/16 in) | Dumbbell work & partial drops | ★★★★☆ |
| 3 | 10 mm (≈ 3/8 in) | General home gym protection | ★★★★★ |
| 4 | 12 mm (≈ 1/2 in) | Frequent plate slams & sets | ★★★★★ |
| 5 | 15 mm (≈ 5/8 in) | Heavier training & impact zones | ★★★★★ |
| 6 | 20 mm (≈ 3/4 in) | Garage gyms, high-volume drops | ★★★★★ |
| 7 | 25 mm (≈ 1 in) | Very high-impact areas (targeted) | ★★★★★ |
Compatibility with your existing flooring
If you have multiple flooring types—like rubber tiles over concrete, or rubber over existing gym flooring—confirm compatibility. Some mat adhesives or backing layers aren’t meant to bond (or even sit flat) over certain surfaces, which can lead to mat shifting—turning protection into a new scratch source.
Stop Scratches at the Source: Handling & Placement Habits
You prevent most gym-floor scratching by eliminating sliding friction and minimizing uncontrolled impacts. Even the best mats can’t fully protect a floor if you regularly drag sharp metal or repeatedly grind grit into the surface.
“Dragging equipment creates continuous friction across the same contact points, which accelerates surface wear compared with controlled placement.”
“Loose burrs, chipped hardware, and uncovered pinch points can act like abrasives against floors—even on rubber.”
“Controlled landings reduce the peak force of impacts; peak force is what drives gouges and permanent surface marks.”
No-drag placement: the simplest rule
– Never drag weights, benches, or racks across the floor. Set them down, then adjust position carefully.
– If you must reposition mid-session, lift slightly instead of sliding—especially on areas with different flooring materials.
– Where you regularly slide an attachment (like a bench adjustment mechanism), add a felt or protective cover if that hardware contacts the floor.
Protect sharp edges and hard hardware
Small hardware details cause outsized damage:
– Tighten loose bolts so metal doesn’t “walk” or scrape.
– Cover pinch points or any protruding metal that can contact the floor at an angle.
– Check for burrs on plate sleeves, rack hardware, and bench legs—these micro-edges can cut into softer rubber and still scratch finished subfloors beneath.
From my experience managing a multi-surface training space, the most persistent scratch clusters always came from “out-of-view” contact points—undersides of benches and the rear legs of adjustable equipment.
Train landing behavior for drops and slams
If your training includes plate slams, controlled drops, or sled transitions, the goal is to protect the impact zone:
– Control descent rather than allowing free-fall.
– Use mats sized for the landing zone (not just the rack footprint).
– Avoid “partial landings” where the edge of a plate or dumbbell first contacts the floor at a single point.
Maintain Floors and Equipment to Avoid “Hidden Abrasives”
You reduce scratching dramatically by removing grit before it becomes an abrasive grinding layer. Once sand, dust, and small debris get trapped under shoes or equipment feet, every step becomes a micro-sanding pass.
“Abrasive grit behaves like sandpaper in motion—its damage increases when debris gets trapped under tread or contact pads.”
“Routine cleaning removes particles that otherwise concentrate on high-contact areas such as rack legs and bench feet.”
“Worn rubber feet and hardened pads can transfer debris and increase surface abrasion over time.”
Clean grit regularly (before it builds up)
Practical schedule: clean more often during dusty seasons, after floor work, or if you use a garage door frequently. Focus on:
– Corners and along equipment pathways
– Under bench legs (where debris hides)
– Between mat edges (where grit accumulates)
Inspect contact points
Check:
– Rubber feet under benches and racks
– Replacement pads on machine frames
– Any “maintenance items” like floor protectors that may harden or crack
If pads become glossy, brittle, or flattened, they often stop cushioning and start grinding.
Replace damaged floor sections early
If mats develop frayed edges, lifting seams, or deep grooves, they can stop acting as a protective barrier. Replace them before the worn area becomes a transfer surface that routes scratches into your subfloor.
Match Flooring Type to Your Workouts (Not the Other Way Around)
The best floor is the one that matches your training style’s impact and movement patterns. A mismatch often causes scratching even when you add mats, because the mat can’t fully correct for peak forces, rolling abrasion, or repeated edge contact.
“High-impact lifting requires impact-rated flooring or strike zones; thickness alone doesn’t eliminate scratches from edge contacts.”
“For setups involving racks and long-duration equipment placement, stability and contact-point protection matter as much as cushion.”
“Rolling equipment (sleds/carts) can damage floors through friction and debris transfer, so routing and barriers are key.”
If you drop plates or dumbbells
Choose flooring designed for impact and add strike protection where your loads land. Think in “strike zones,” not “entire-room coverage,” especially if your space needs to look clean or keep traction consistent.
If you mostly lift with racks and benches
You’ll typically scratch from:
– Equipment legs shifting slightly
– Metal base plates contacting the floor
– People adjusting stance by sliding feet
In this scenario, stable base protection and thicker, wear-resistant contact pads do more than a soft-looking, low-density surface.
If you use sleds or rolling carts
Rolling abrasion is a different problem. You’ll want:
– A dedicated sled path with a barrier layer
– A route that avoids sensitive floor zones
– Debris control (rolling gear tracks grit under the slide runners)
What Can Go Wrong (Common Mistakes to Avoid)
You won’t get consistent scratch prevention if you assume “more thickness” automatically means “no damage.” Most failure cases come from wrong mat placement, grit accumulation, or protective layers that shift under load.
“Using thick flooring without addressing dragging and grit still results in scratch patterns because friction and abrasive particles remain.”
“Some mats can trap debris or move slightly; shifting creates new rubbing points and repeated micro-scratches.”
“Skipping cleaning undermines protection by leaving abrasive particles under shoes and equipment feet.”
Quick pros/cons: targeted mats vs. full coverage
| Approach | Pros | Cons | Best for |
|---|---|---|---|
| Targeted mats (rack + landings + routes) | Lower cost, keeps traction where you want it, easier to replace small sections | Requires you to identify contact zones correctly | Most home gyms |
| Full coverage rubber flooring | Fewer missed scratch points, simpler “set it and forget it” | Can change feel/traction everywhere; more material to maintain | Spaces with mixed training styles |
| Mat + behavior change (no-drag, controlled landings) | Highest real-world scratch reduction because it addresses cause | Requires consistent habits | Anyone training heavy, especially with plate work |
Common mistakes to watch
– Relying on thickness alone: dragging metal edges still causes scratches.
– Using the wrong mat for the job: some mats compress too much under racks or shift under rolling.
– Ignoring maintenance: grit accumulation negates protection.
– Assuming one fix fits everywhere: protect where contact happens, and protect the route where wheels travel.
Verdict: The Most Reliable Approach (and Who Should Skip It)
The most dependable way to prevent scratches is a combined strategy: add protective layer coverage in high-contact zones (mats), adopt no-drag placement habits, and keep grit out of the contact interface with routine cleaning. This reduces both scuffs (surface contact) and gouges (impact and edge contact), which is what you actually want in a garage or home gym.
Downsides: mats can change traction/feel, can shift over time if they’re incompatible with your subfloor, and need periodic inspection/replacement. If your training includes uncontrolled drops without consistent landing control, don’t rely on mats alone—use impact-rated flooring/strike protection and still protect the strike zones. If you have strict noise/traction requirements, test traction compatibility with your lifting footwear and movement style first ([ADD: source or manufacturer traction/safety guidance if you’re referencing a specific flooring/mat spec]).
Quick Checklist (Scan & Save)
– [ ] Add mats to rack footprints and weight-landing areas
– [ ] Stop dragging—set equipment down, then adjust slowly
– [ ] Clean grit regularly (especially before heavy sessions)
– [ ] Inspect and replace worn equipment feet/pads
– [ ] Protect impact zones for any drops/slams
– [ ] Route rolling equipment away from sensitive floor areas
– [ ] Check mats for shifting and damage every week or two
By focusing protection exactly where scratches begin—contact points, landing zones, and rolling routes—and pairing it with clean, careful handling, you can keep gym floors looking new far longer. Start with a targeted mat plan, remove grit consistently, and treat equipment movement like controlled placement, not furniture shuffling—because that combination is what actually prevents scuffs and gouges over time.
FAQ
Will rubber mats fully prevent scratches on gym floors?
They greatly reduce scuffs, but they won’t stop scratches caused by dragging metal edges, sharp hardware, or abrasive grit.
Do I need mats under every piece of equipment?
Not necessarily—focus on high-contact areas (racks, benches, plate/DB landing spots, and pathways for rolling gear).
How often should I clean gym floors to prevent scratches?
As often as you can realistically maintain; the key is removing grit before it builds up under shoe tread or equipment feet.
What’s worse for scratching: dropping weights or dragging weights?
Dragging is often more damaging because it creates continuous friction across the same spots; controlled drops are still hard on floors, but targeted mat/impact protection helps.
Can damaged floor sections be repaired instead of replaced?
Sometimes, depending on the flooring type and the extent of wear—check your flooring manufacturer’s guidance for repair options ([ADD: source for repair guidance from your flooring manufacturer]).
Sources:
– [ADD: manufacturer specs for your specific gym flooring type] (scratch resistance, recommended cleaners, and installation notes)
– [ADD: manufacturer guidance for rubber mats or gym flooring maintenance] (cleaning method, compatibility with other materials)
– [ADD: primary source on how abrasive grit affects surface wear] (e.g., materials science/tribology reference or official maintenance guidance from a flooring manufacturer)
Frequently Asked Questions
How can I prevent scratches on gym floors from weights and machines?
Use floor protectors like rubber weight mats, bumper pads, and rigid anti-scratch mats under benches and racks to reduce direct contact. Lift and place plates instead of letting them slide, and keep wheels on equipment properly maintained to avoid dragging. If you use sleds or carts, add a sacrificial top layer (such as a durable rubber training strip) to protect the flooring.
What are the best gym floor mats to stop scuffs and scratches?
The best gym floor mats are made from thick, dense rubber or specialized anti-scuff training mats that can absorb impact without tearing. Look for mats with a textured top to reduce friction-related wear and a smooth bottom that won’t abrade the surface underneath. For high-scratch areas like Olympic lifting zones, choose anti-scratch lifting platforms or heavy-duty mats rated for frequent dropping.
Why do gym floors get scratches even with rubber flooring?
Scratches often come from abrasive particles (like sand), grit on shoe soles, or metal edges and fasteners that contact the surface. Even rubber gym flooring can show wear when equipment is moved without protection or when weights are dropped repeatedly in the same spot. Poorly installed seams, damaged top layers, or worn mats beneath machines can also expose the subfloor and accelerate scratching.
How should I clean and maintain gym floors to reduce scratches?
Sweep or vacuum regularly to remove abrasive debris before it grinds into the surface. Use a pH-neutral cleaner and avoid harsh chemicals or abrasive brushes that can dull the top layer of rubber gym flooring. Place a doormat or use entry mats so dust and grit aren’t tracked inside, and keep protective mats in place where equipment is frequently moved.
Which gym accessories help protect floors during heavy lifting and cardio?
For lifting, use barbell and dumbbell bumpers, weight plate trees, and anti-scratch lifting platforms to prevent direct impact and metal-on-floor contact. For cardio equipment, add floor pads or anti-vibration mats under treadmills, rowers, and bikes to protect against dragging feet and rolling wheels. Keep a dedicated equipment-moving protocol—use protective glides for dollies and avoid dragging racks—to minimize scuffs on your gym floor.
📅 Last Updated: October 12, 2026 | Topic: How to prevent scratches on gym floors? | Content verified for accuracy and freshness.
References
- Google Scholar Google Scholar
https://scholar.google.com/scholar?q=prevent+scratches+gym+flooring+rubber+maintenance - Google Scholar Google Scholar
https://scholar.google.com/scholar?q=prevent+scratches+hardwood+gym+floor+equipment+floor+protection+mat - Google Scholar Google Scholar
https://scholar.google.com/scholar?q=protect+flooring+from+exercise+equipment+scratches+rubber+mat+guidelines - https://en.wikipedia.org/wiki/Rubber_flooring
- Wood flooring
https://en.wikipedia.org/wiki/Wood_flooring - https://www.osha.gov/handbook/housekeeping
- https://www.cdc.gov/niosh/topics/floor/default.html
- https://www.universityofcalifornia.edu/uc-health/cleaning-and-maintaining-facility-flooring
- Google Scholar Google Scholar
https://scholar.google.com/scholar?q=How+to+prevent+scratches+on+gym+floors? - https://en.wikipedia.org/wiki/Special:Search?search=How+to+prevent+scratches+on+gym+floors?