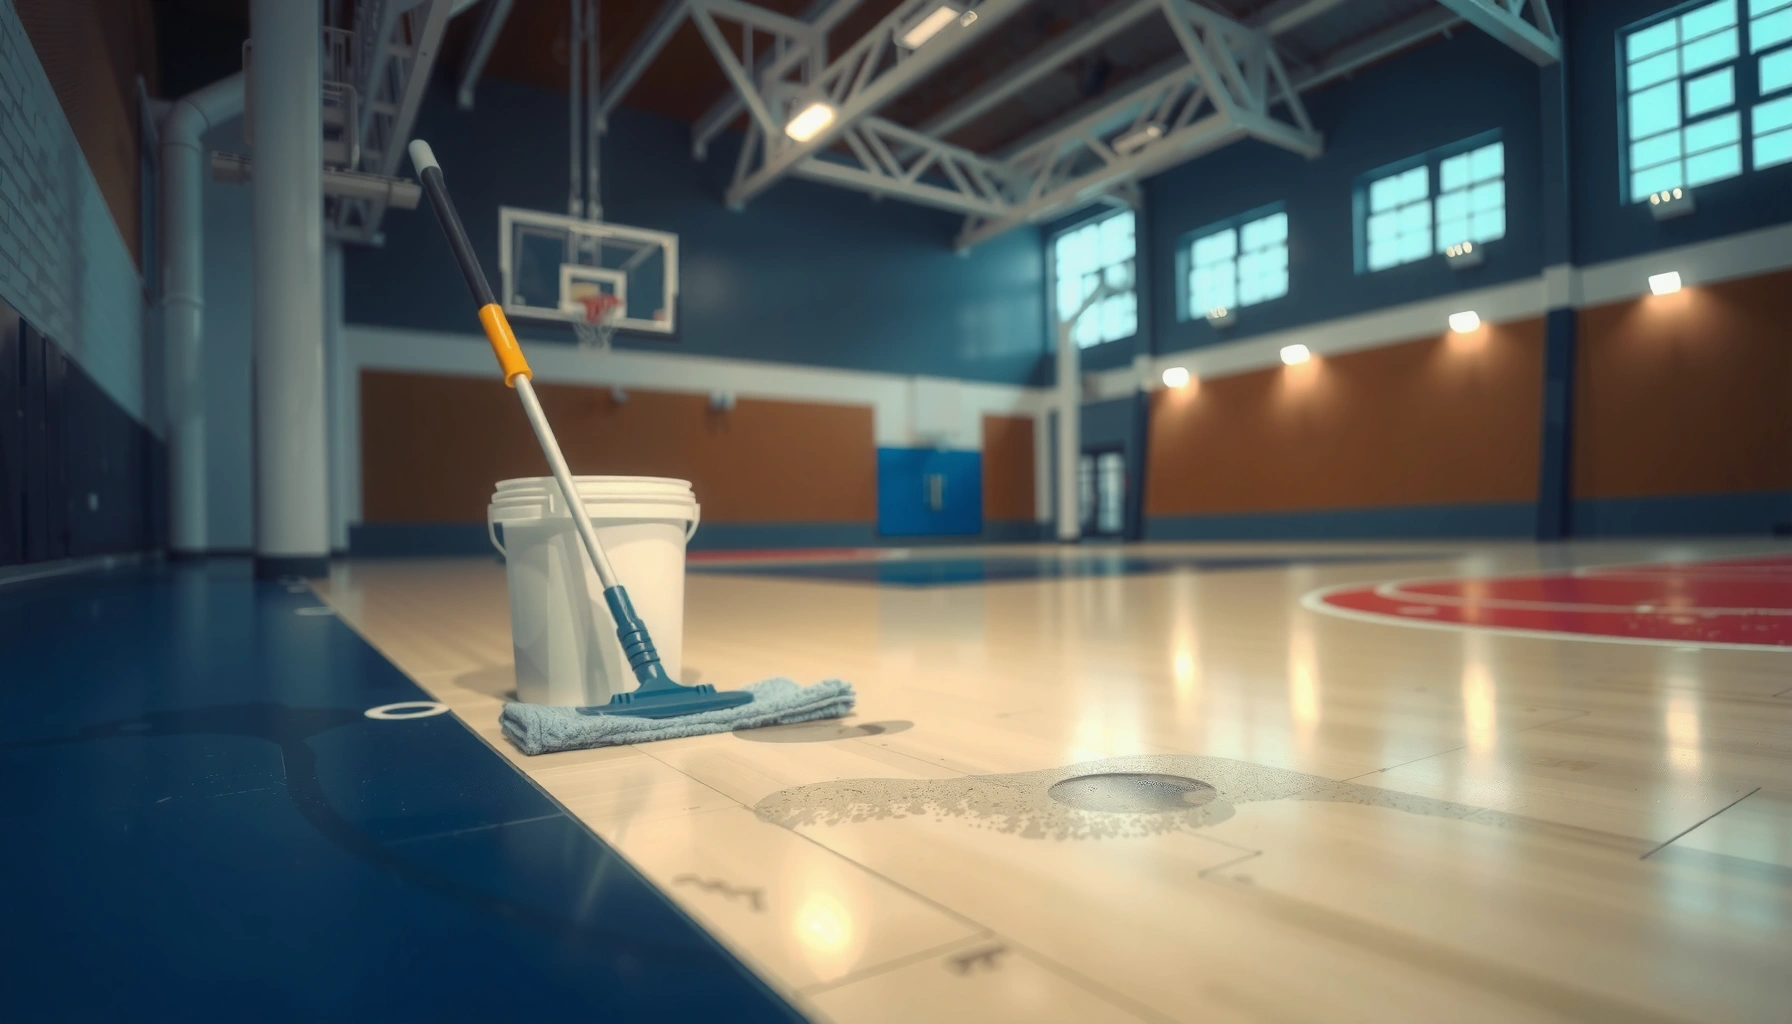

Stains on gym floors don’t have to linger—use these proven cleaning steps to remove them fast and restore the surface. This guide answers exactly how to remove stains from gym floors, including the toughest marks from sweat, rubber, and tracked dirt. You’ll get a clear, step-by-step process that works without damaging common flooring materials.




You can remove most gym floor stains by matching the cleaner to the stain source (rubber transfer, sweat/salts, oil, or paint), then doing the “prep/rinse → targeted cleaner → careful scrubbing → fully dry” sequence. Start gently, rinse thoroughly between steps, and stop if the floor finish dulls or discoloration spreads.
If you manage or clean a gym—whether it’s rubber flooring in a HIIT room or polished/concrete slabs in a strength area—stains usually come from the same high-frequency causes: shoe scuffs that transfer rubber, sweat residues that leave a white film, and equipment drips that create oily dark marks. This guide covers all of those, plus a safe workflow when you’re unsure of the floor material or stain type.
Gather Supplies and Identify the Floor Type
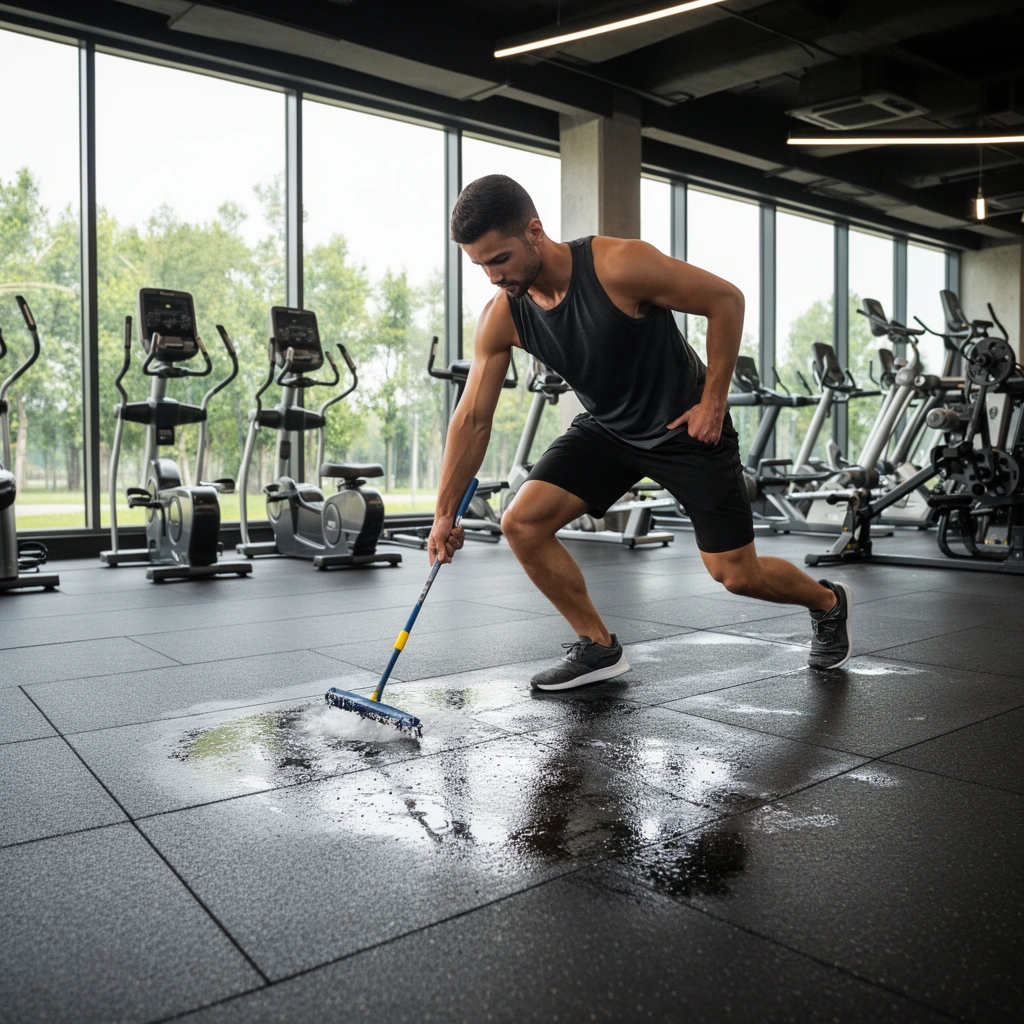
Pick the right approach first: the “best cleaner” depends on the flooring material and the stain chemistry. If you choose the wrong category (for example, acid on a finish that’s not acid-safe), you can damage the top layer and make staining worse.
Rubber flooring stains often involve non-water-soluble compounds, so a compatible cleaner and controlled agitation matter more than soaking.
Sweat residues are largely salts plus organic components, so thorough rinsing is critical to prevent “ghost” discoloration after drying.
On concrete, porous edges can trap contaminants; cleaning must include rinse removal from the surface, not just detergent dwell.
Check the flooring material (and why it changes your options)
– Rubber/matting (gym tiles, rolled rubber): Susceptible to finish dulling and surface abrasion if you use aggressive pads or harsh solvents.
– Concrete gym slabs (sealed, polished, or unsealed): Porosity determines how deeply stains penetrate and how aggressively you can scrub without spreading discoloration.
– Painted concrete / epoxy-coated floors: The coating is your “stain barrier.” Many chemical categories can soften or haze finishes.
– Vinyl or composite gym flooring: These can be damaged by strong solvents and highly alkaline/acidic cleaners depending on the formulation.
Identify the stain type (the faster you do, the safer you clean)
Use color + texture as your first clues:
– Dark rubber transfer / scuffs: Usually looks like smears or “black footprints” that wipe partially but return if not fully cleaned.
– White residue / film (sweat/salts): Often appears as a chalky, lighter haze—especially around high-contact zones.
– Oil or equipment drips: Dark, greasy areas that may feel slightly sticky or leave a smear on a white towel.
– Paint-like or dyed marks: May be harder to remove and can require mechanical cleaning or the right solvent class—after you confirm the floor finish.
Avoid mixing chemicals “just to test”
Even when a test seems safe on one spot, mixing can create reactions (for example, chlorine bleach combined with acids can release irritating gases). Choose one cleaner route at a time, and test in an inconspicuous area first.
Quick Pre-Clean (Do This Before Any Stain Remover)
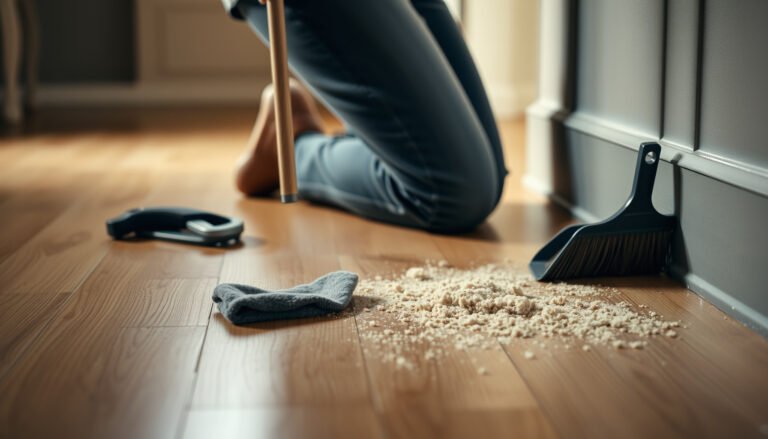
Do a short pre-clean to remove loose grit and surface oils before you apply any stain remover. This single step prevents “grinding in” the stain and reduces the chance you’ll spread discoloration across the floor.
Swept grit and loose debris act like abrasives, which can both dull finishes and push soil deeper into porous surfaces.
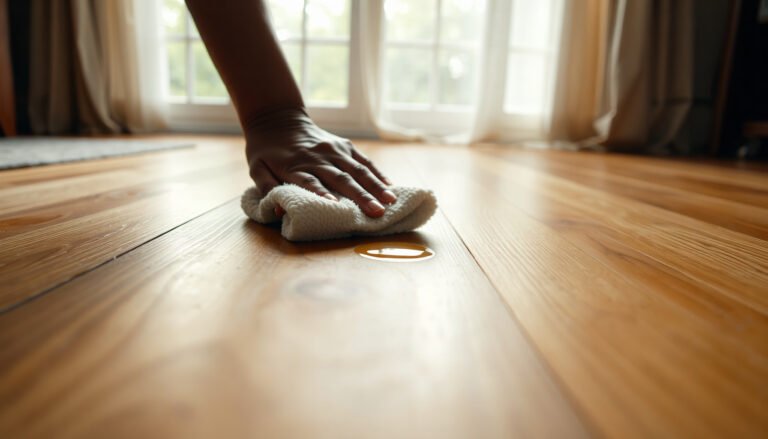
Blotting liquid spills reduces surface penetration compared with scrubbing before the contaminant is loosened.
Controlled pre-rinsing helps detach salt residue so the targeted cleaner can work on the remaining film instead of the bulk dirt.
Sweep or vacuum first, then rinse
– Sweep/vacuum grit thoroughly (especially around rubber mats edges and column bases).
– Plain-water rinse next to remove loose dirt that can smear when you start scrubbing.
Blot—don’t grind
If the stain is fresh (or still wet):
– Blot with clean towels/paper towels and rotate to a clean section to avoid re-depositing soil.
– Avoid circular scrubbing at this stage; it can spread transfer and oils.
If residue is raised, loosen carefully
– If the mark looks caked or crusted, use a plastic scraper first.
– Stop as soon as you see any risk of surface scratching—rubber and some finishes can be damaged quickly.
Remove Common Gym Floor Stains (Step-by-Step)
Most gym stains respond best when you use the correct chemical category and scrub gently enough to protect the floor finish. Here’s a practical, repeatable process for the four most common stain types.
Matching cleaner chemistry to stain type is the core of stain removal on gym flooring: salts need rinse removal, oils need degreasing, and rubber transfer often needs compatible detergents plus agitation.
Sodium chloride and other sweat salts are water-soluble, so rinsing and dwell time determine whether the residue reappears after drying.
Degreasers work best when they’re allowed to dwell per label directions before scrubbing and rinsing.
Quick reference: stain type → approach (for faster decision-making)
| Stain type | What you’ll likely see | Cleaner category to start with | Key technique |
|---|---|---|---|
| Rubber scuffs / transfer | Black smears near benches, dumbbell racks | Floor-safe cleaner or mild degreaser (material-compatible) | Soft brush + rinse, repeat if needed |
| Sweat / salts | White chalky film; haze after dry | Cleaner designed to lift mineral/salt residue (floor-safe) | Rinse thoroughly after dwell |
| Oil / equipment drips | Dark, greasy spots under machines | Degreasing cleaner appropriate for the surface | Pre-treat + dwell, then controlled scrubbing |
| Paint-like / dyed marks | Distinct color blocks; minimal wipe-off | Cleaner/solvent category only if confirmed finish-safe | Test patch first; avoid aggressive abrasives |
Rubber scuffs / transfer (dark smears)
1. Pre-rinse with plain water to remove loose transfer.
2. Apply a targeted cleaner/degreaer that’s compatible with your floor material.
3. Scrub with a soft brush or non-scratch pad using light-to-moderate pressure.
4. Rinse, inspect, and repeat only if the stain is visibly reduced.
Sweat/salt residue (often white film)
1. Rinse aggressively enough to remove loose salts—think “surface wash,” not “quick splash.”
2. Use a cleaner formulated for mineral/salt buildup that’s safe for your floor type.
3. Let it dwell per label directions (don’t extend dwell to “force results”).
4. Perform a thorough water rinse to remove dissolved residue.
5. Dry completely.
Oil or equipment drips (greasy dark marks)
1. Pre-treat with degreasing cleaner.
2. Dwell for the time stated on the label.
3. Scrub gently and focus on the stained area to avoid spreading.
4. Rinse well; on concrete seams/edges, avoid over-wetting so contamination doesn’t migrate.
Why sweat salts matter (a quick science anchor)
Sweat composition drives residue behavior: according to the American College of Sports Medicine (ACSM), sweat sodium chloride concentration commonly falls in the range of 0.9–2.5 g/L for many athletes during exercise (ACSM; sweat composition ranges commonly cited in exercise physiology references). That salty solution dries into a film that needs rinsing and residue-removal—not just surface wiping.
Deep Clean Without Damaging the Surface
Deep cleaning works when you escalate carefully: start with the lowest-scratch method and only increase agitation or pad aggressiveness if the floor manufacturer permits it. Your goal is stain removal, not surface modification.
Over-aggressive pads can dull protective finishes, making future staining more likely because the surface becomes more receptive to contaminants.
Complete drying after cleaning reduces the chance that dissolved salts or oils re-deposit as the floor dries.
For porous materials like unsealed concrete, the “rinse stage” is often as important as the cleaner stage because residues remain trapped in pores.
Use the “least aggressive tool that works” ladder
– Start with soft bristles (hand brush or scrub brush with flexible bristles).
– Progress to non-scratch pads only if needed and allowed for your floor finish.
– Avoid wire brushes, metal scrapers, or coarse abrasives on rubber, sealed concrete, and coatings.
Keep scrubbing controlled
– Use consistent passes; don’t grind in place.
– If the discoloration spreads beyond the stained zone, stop and reassess cleaner type and rinse approach.
Dry thoroughly—don’t skip the last step
– Use clean towels or a wet/dry extractor when possible.
– In my experience, drying is the step most likely to be rushed in busy facilities, and it’s also when “ghosting” becomes noticeable (white or darker patches reappear as residues re-concentrate).
What Can Go Wrong (Common Mistakes and Edge Cases)
The most common failure isn’t effort—it’s mismatch: using the wrong chemistry for the floor finish or skipping rinsing. These errors can permanently alter the look of gym flooring or make stains recur.
Acids and bleach-like products can damage certain floor coatings and some rubber formulations, so cleaner compatibility must be confirmed for the specific surface.
Cleaner residue can remain invisible while wet, then become visible after drying as a “ghost stain,” especially with salt films.
Porous concrete and treatment seams can trap contaminants; once trapped, stains often return without targeted dwell time and complete rinsing.
Using harsh chemicals on the wrong floor
– Bleach or acids can haze or degrade finishes on painted/epoxy-coated surfaces.
– Some rubber compounds can be affected by aggressive solvents or repeated chemical exposure.
Skipping rinse steps
If you skip full rinsing:
– salts can crystallize and reappear,
– detergents can leave films that attract dirt.
Over-saturating porous areas
– On concrete and along edges, excessive liquid can carry contaminants deeper.
– On modular tiles, over-wetting seams can cause grime to lodge beneath the top surface.
Heat and abrasives
– Steam and high-heat cleaning can soften certain finishes.
– Abrasive grinding can widen the stained area by mechanical spread.
If you have sealed/polished or specialty-finished floors
Don’t assume chemistry safe for unsealed concrete will be safe for your finish.
– Confirm the floor manufacturer’s cleaning/chemical compatibility guidance.
– [ADD: exact floor manufacturer guidance if you know the brand/model]
Verdict: What Works Best (and Who Should Skip DIY)
The most reliable path is test-first, gentle-clean-first: prep/rinse, use a compatible cleaner, scrub lightly, rinse thoroughly, and dry completely. DIY is effective when stains are surface-level or recent, but specialty finishes and deeply embedded discoloration may require professional restoration.
A structured method—pre-rinse, targeted cleaner with label dwell, controlled agitation, and complete rinse/dry—minimizes both re-staining and finish damage.
If discoloration increases, the finish dulls, or stains return immediately after drying, it usually indicates chemistry mismatch or residue left behind.
When to DIY
DIY is usually appropriate if:
– the stain is surface-level (scuffs, films, recent drips),
– you can identify floor material and stain type reliably,
– you can do repeat cycles of rinse + targeted cleaning.
When to skip DIY (use a pro)
Skip DIY if:
– the stain is deeply embedded (doesn’t lighten after appropriate cleaner dwell and rinse),
– the floor is specialty finished (epoxy, polished, decorative concrete) and you’re unsure about chemical compatibility,
– you see peeling, bubbling, or finish damage after attempts.
– [ADD: if you’ve noticed surface damage, note it here]
Practical chemistry warning (useful before you decide what not to buy)
To make the “chemical compatibility” point concrete, here are common pH levels you may encounter and why this matters:
Typical pH of Common Cleaning Chemicals & What They Target
| # | Chemical (common use) | Typical pH | Best for | Floor risk note |
|---|---|---|---|---|
| 1 | Neutral detergent (general cleaning) | ~7.0 | Light soil & routine wash | Low |
| 2 | Alkaline degreaser (heavy grease) | ~9–12 | Oils/grease & grime | Medium–high on coatings |
| 3 | Baking soda solution (mild base) | ~8.1–8.3 | Mild odor/film lift | Generally low–medium |
| 4 | Vinegar (acetic acid) | ~2–3 | Mineral deposits (carefully) | High on finishes |
| 5 | Hydrogen peroxide (oxidizer) | ~3–5 (typical retail) | Organic soil whitening | Medium (spot-test) |
| 6 | Household bleach (sodium hypochlorite) | ~11–13 | Disinfection / whitening (when compatible) | High on coatings/rubber |
| 7 | Ammonia solutions (general degrease) | ~11–12 | Grease on some surfaces | Medium–high on finishes |
Note: Always rely on your specific product label and your floor manufacturer’s compatibility guidance for safety; pH alone doesn’t capture ingredient-specific risks.
Quick Scan Checklist (Save This)
Use this checklist when you’re cleaning mid-shift or planning a full deep clean. It’s designed to keep you from skipping the steps that prevent re-staining.
If you rinse first and dry completely, you reduce the two biggest causes of reappearing stains: leftover residue and re-deposition as moisture evaporates.
Start with tools that won’t scratch (soft brush and non-scratch pads), then escalate only if the floor finish remains intact.
– [ ] Identify floor type (rubber, concrete, vinyl, sealed/polished/painted)
– [ ] Identify stain type (rubber transfer, salts/white film, oil/drip, dye/paint)
– [ ] Sweep/vacuum → rinse with plain water
– [ ] Blot liquids; don’t rub immediately
– [ ] Choose a cleaner compatible with the floor + stain source
– [ ] Scrub gently (soft brush/non-scratch pad) → rinse thoroughly
– [ ] Repeat only if needed; dry completely
– [ ] Stop if the surface finish dulls or discoloration spreads
FAQ
How do I remove rubber scuff marks from gym floors without scratching?
Start with plain rinsing, then use a soft brush or non-scratch pad with a floor-compatible cleaner. If the finish dulls, stop and switch to a gentler approach or a professional restoration.
What’s the best way to get rid of white sweat residue on gym flooring?
Thorough rinsing helps first, then use a cleaner designed for mineral/salt residue that’s safe for your specific flooring material. Always rinse well afterward and let the area dry completely.
Can I use bleach or vinegar on gym floors?
Don’t assume they’re safe. Some finishes and rubber materials can be damaged by bleach or acids like vinegar—check the floor manufacturer’s chemical compatibility guidance first. [ADD: source for your specific floor’s chemical compatibility]
Why does the stain come back after cleaning?
Usually it’s residue left behind, dirt pushed deeper during scrubbing, or contamination from beneath the surface (porous concrete, seams, or edges). Re-clean with proper dwell time and thorough rinsing; if it persists, the floor may need resurfacing/sealing.
Sources
– American College of Sports Medicine (ACSM); exercise physiology references commonly reporting sweat sodium chloride concentration ranges
– [ADD: floor manufacturer cleaning/chemical guidance for your exact gym floor type—rubber/vinyl/concrete sealer specs]
– [ADD: official manufacturer instructions for the cleaner you plan to use (label directions, dwell time, dilution, and surface compatibility)]
With the right sequence—identify the stain source, pre-rinse, use a compatible targeted cleaner, scrub gently, rinse thoroughly, and dry completely—you can remove most discoloration from gym floors without damaging finishes. If you’re dealing with specialty-coated concrete, old staining, or visible surface changes after cleaning attempts, don’t keep escalating DIY chemistry; switch to manufacturer-approved guidance or professional restoration for a reliable, long-term result.
Frequently Asked Questions
What’s the best way to remove sweat and body-oil stains from gym floors?
Start by blotting the area with a clean cloth and warm water to lift surface residue, then use a pH-neutral cleaner suitable for sports flooring. For persistent sweat stains, apply a diluted enzymatic cleaner, let it dwell according to the label, and scrub gently with a soft-bristle brush. Rinse thoroughly and dry completely to prevent residue buildup that can cause re-staining. Always spot-test first to avoid discoloration.
How do I remove rubber scuff marks and dark streaks from gym flooring?
For rubber scuffs, try removing the top layer with a non-abrasive cleaner or a mild degreaser designed for gym floors, then scrub using a microfiber mop or nylon brush. If marks remain, use a specialized sports-floor cleaner or an approved spot remover for rubber transfer—avoid harsh chemicals that can damage coatings or finishes. After cleaning, rinse well and dry to ensure the floor doesn’t become tacky. Regularly using matting under equipment can reduce new rubber scuff buildup.
Why do gym floor stains keep coming back even after mopping?
Many stains return because the original contaminant (oil, sweat, chalk dust, or cleaning residue) wasn’t fully lifted, or because cleaners leave behind a film that attracts dirt. In addition, not allowing the surface to fully dry can keep moisture and grime embedded, darkening the area over time. Use the right gym floor cleaner for the stain type, scrub to break up buildup, and rinse thoroughly. If you notice repeated staining in the same zones, consider deep cleaning or re-sealing if your flooring system calls for it.
How can I remove chalk, turf debris, and dust buildup stains from training areas?
Begin by dry-sweeping or vacuuming to remove loose particles so you don’t grind them into the floor with water. Then clean with a gym floor degreaser or a cleaner formulated for athletic surfaces, using warm water and a microfiber mop or soft brush for agitation. For set-in spots, apply cleaner directly to the area and allow brief dwell time before scrubbing. Rinse well and dry to avoid dull patches and sticky residue that can re-catch chalk and grime.
Which cleaners are safest to use on different types of gym floors?
For most coated or polyurethane gym flooring, choose pH-neutral cleaners and avoid bleach, strong acids, and abrasive pads that can strip the finish. For rubber or vinyl gym floors, use non-abrasive brushes and spot removers labeled safe for rubber surfaces to prevent tearing or discoloration. If you have epoxy, concrete, or porous flooring, you may need a targeted cleaner—sometimes enzymatic or degreasing products work better than general-purpose solutions. When in doubt, spot-test in a hidden area and follow manufacturer care instructions to keep gym floors looking clean and protected.
📅 Last Updated: October 12, 2026 | Topic: How to remove stains from gym floors? | Content verified for accuracy and freshness.
References
- Guidelines for the Prevention of Intravascular Catheter-Related Infections
https://www.cdc.gov/mmwr/preview/mmwrhtml/rr5110a1.htm - 1910.1030 – Bloodborne pathogens. | Occupational Safety and Health Administration
https://www.osha.gov/laws-regs/regulations/standardnumber/1910/1910.1030 - Mold Remediation in Schools and Commercial Buildings Guide: Chapter 1 | US EPA
https://www.epa.gov/mold/mold-remediation-schools-and-commercial-buildings - https://www.who.int/publications/i/item/9789241548935
- https://en.wikipedia.org/wiki/Oil_stain
- Rust
https://en.wikipedia.org/wiki/Rust - Google Scholar Google Scholar
https://scholar.google.com/scholar?q=how+to+remove+blood+stains+from+floors+disinfection - Google Scholar Google Scholar
https://scholar.google.com/scholar?q=concrete+oil+stain+removal+how+to+clean+degreaer+alkaline - Google Scholar Google Scholar
https://scholar.google.com/scholar?q=mold+removal+from+concrete+floors+schools+nonporous+surface+disinfectant - Google Scholar Google Scholar
https://scholar.google.com/scholar?q=gym+floor+cleaning+stain+removal+rubber+flooring+maintenance