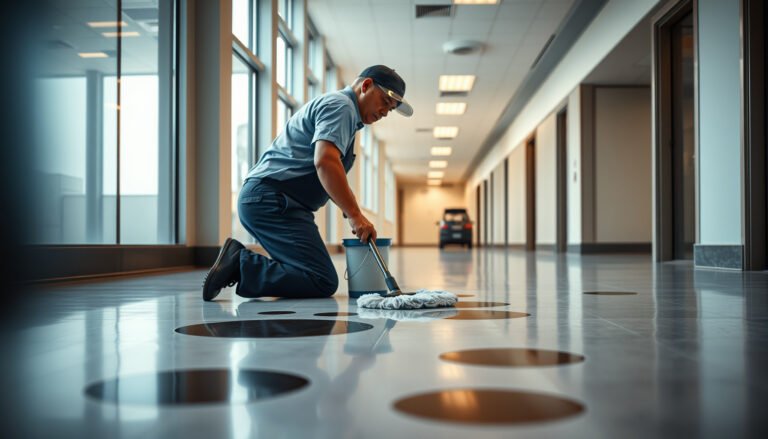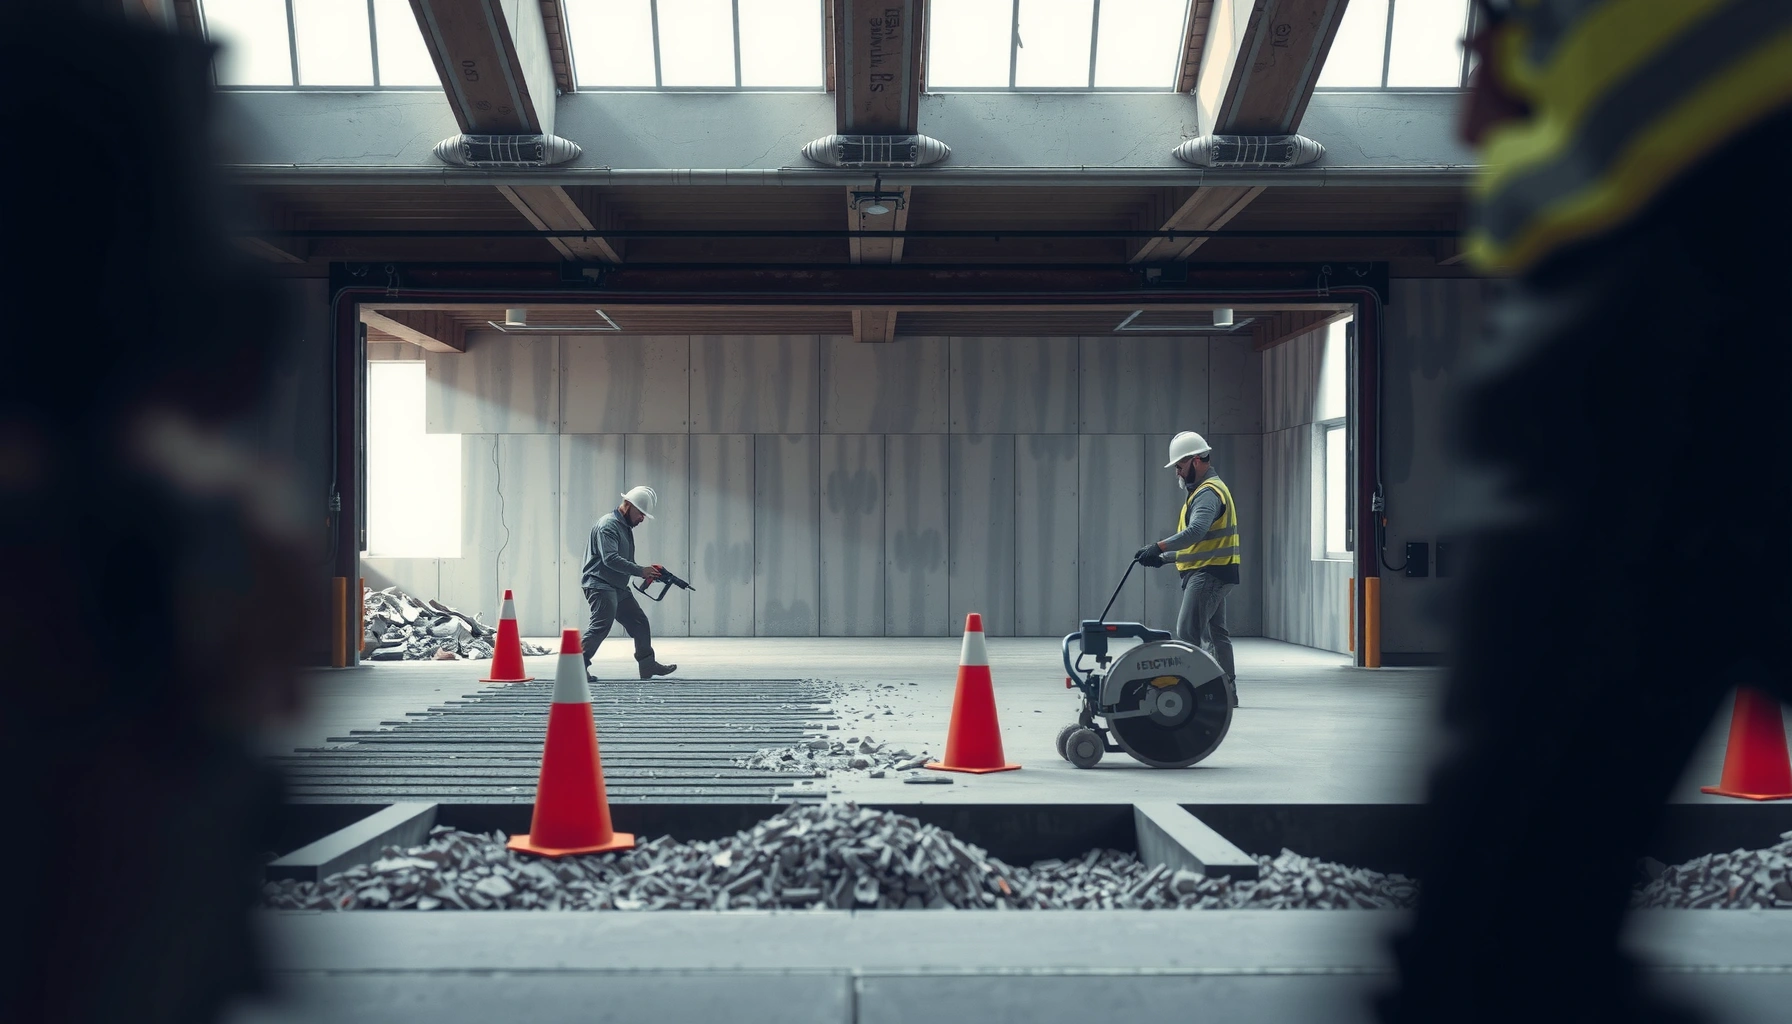

Want to remove industrial floors without getting people hurt or paying for costly rework? This guide lays out the safest step-by-step process—from assessing the slab and materials to controlled removal and proper cleanup—so you can do it correctly the first time. You’ll also see the most common mistakes that trigger hidden hazards, structural damage, or code violations, with clear ways to avoid them.




Removing industrial floors safely usually comes down to two things: identify what’s on top (and whether anything hazardous is present), then remove it with the right mix of mechanical methods and only the chemicals that are approved for your specific coating system. Start with small test cuts, control dust from the first minute, and stop early if you hit unknown layers, unstable concrete, or any signs of hazardous materials.
If you’re dealing with a warehouse, shop, or industrial facility and need the old surface gone for renovation, resurfacing, or repairs, this is for you. It’s also relevant if you’re trying to estimate scope and avoid damage to the substrate or safety hazards like dust and hazardous coatings. If your floor is common in industrial retrofits—like epoxy over concrete—the steps below will map well to what you’ll typically face: coating removal, surface profiling, and cleanup that’s compatible with a new floor system.
“OSHA’s construction standard for crystalline silica requires controls to keep exposure below the Permissible Exposure Limit (PEL) of 50 micrograms per cubic meter as an 8-hour time-weighted average.”
“OSHA asbestos regulations (29 CFR 1926.1101) focus on preventing airborne asbestos fiber exposure during demolition activities, including removal and disposal planning.”
Identify the floor type before you remove anything
You should identify the exact floor system before you run a grinder, because the wrong tool or chemical can spread contamination, ruin adhesion, or damage the slab. Most industrial floors are multi-layer assemblies, so the key is to determine what’s on top and what condition the concrete substrate is in.
Here’s what matters most for epoxy over concrete (and other common industrial stacks): epoxy coatings are usually removed by mechanical methods (grinding/scarifying or chipping), while concrete substrate prep typically needs profiling (not just cleaning). If the coating is thick, poorly adhered, or layered (primer + build coat + topcoat), your removal workflow changes.
– Determine whether you’re removing a coating (epoxy/polyurea, urethane, acrylic), tile/stone, or the concrete slab itself.
– Check for hazardous materials—especially older coatings that may contain lead and/or asbestos-containing materials—before choosing tools and chemicals.
– Inspect adhesion and thickness so you can predict whether you’ll need grinding, chipping/hammering, or a hybrid approach.
“If you don’t know what’s on the slab, your safest option is a controlled test removal area to confirm what you’re actually cutting and cleaning up.”
“Grinding alone may not remove fully cured coatings if the coating is chemically resistant or if the surface is burnished; test patches reveal real tool performance.”
Quick diagnostic checks that save time
At the site, you can often reduce uncertainty quickly:
– Visual + sound: coatings that have blistered, delaminated, or debonded tend to lift or fail under mechanical stress.
– Screw/adhesion test (lightly, in a test zone): if you can’t scrape it off cleanly, you’re likely dealing with a well-cured coating that requires grinding/scarifying rather than chemical stripping.
– Moisture and integrity indicators: active cracks, spalling, or weak concrete means aggressive chipping may create more damage than it removes.
“Crystalline silica exposure increases when demolition or surface preparation breaks concrete, and control methods are expected whenever grinding/scarifying creates respirable dust.”
Prepare the site for removal work
You reduce risk most effectively by treating removal as a containment-and-dust-control operation first, not a “surface demo” job. Before any aggressive cutting, you should isolate utilities, protect the perimeter, and establish a dust extraction approach matched to your equipment.
In warehouses and industrial bays, the biggest operational failure modes are cross-contamination (dust migrating into clean areas) and exposure control gaps (insufficient filtration, missing containment barriers, or poorly sealed negative pressure setups).
– Protect surrounding areas: seal openings, cover walls/fixtures, and plan waste handling and transport.
– Set up dust control: use vacuum systems with proper filtration and containment where needed.
– Verify power/utility locations—especially if using grinders, saws, or jackhammers—and establish safe walkways.
Exposure limits you should design around (U.S.)
The numbers below are regulatory benchmarks that influence what “good dust control” looks like. Always confirm applicability for your jurisdiction and site conditions.
Common Regulated Exposures During Industrial Floor Demo (U.S. OSHA)
| # | Airborne contaminant | Regulatory basis (OSHA) | Exposure limit | Risk (lower limit = stricter) |
|---|---|---|---|---|
| 1 | Crystalline silica (respirable dust) | 29 CFR 1926.1153 | 50 µg/m³ TWA (8-hr) | ★★★★★ |
| 2 | Asbestos (fibers) | 29 CFR 1926.1101 | 0.1 f/cc TWA | ★★★★☆ |
| 3 | Lead (inhalable dust) | 29 CFR 1926.62 | 50 µg/m³ TWA | ★★★★☆ |
| 4 | Hexavalent chromium | 29 CFR 1926.1126 | 5 µg/m³ TWA | ★★★★★ |
| 5 | Cadmium (fumes/dust) | 29 CFR 1926.1127 | 5 µg/m³ TWA | ★★★★★ |
| 6 | Nickel (as airborne dust/fume) | 29 CFR 1926.1124 | 1 µg/m³ TWA (resp.) | ★★★★★ |
| 7 | Total chromium dust/fume (as Cr) | 29 CFR 1926.1126 | 1 mg/m³ TWA | ★★★☆☆ |
“Designing dust control around regulated limits is the most defensible way to choose containment, HEPA filtration, and cleaning methods during floor grinding.”
Pros/cons: mechanical removal vs. chemical stripping (what most sites need)
| Method | Pros | Cons | Best when |
|---|---|---|---|
| Mechanical (grinding/scarifying/chipping) | Fast, predictable, no chemical incompatibility; profiles concrete for new systems | High dust generation if extraction/containment aren’t correct | Coatings like epoxy/polyurea, thick multi-layer systems, unknown adhesion |
| Chemical stripping | Can reduce impact and some dust for certain coatings | Chemical compatibility risk; surface may need additional neutralizing/cleanup; slower | Manufacturer-approved strippers for specific coating chemistry and surface prep plan |
“Many industrial floor projects rely primarily on mechanical removal; chemicals are typically limited to cases where the coating chemistry and safety requirements match the stripper instructions.”
Choose the right removal method (mechanical vs. chemical)
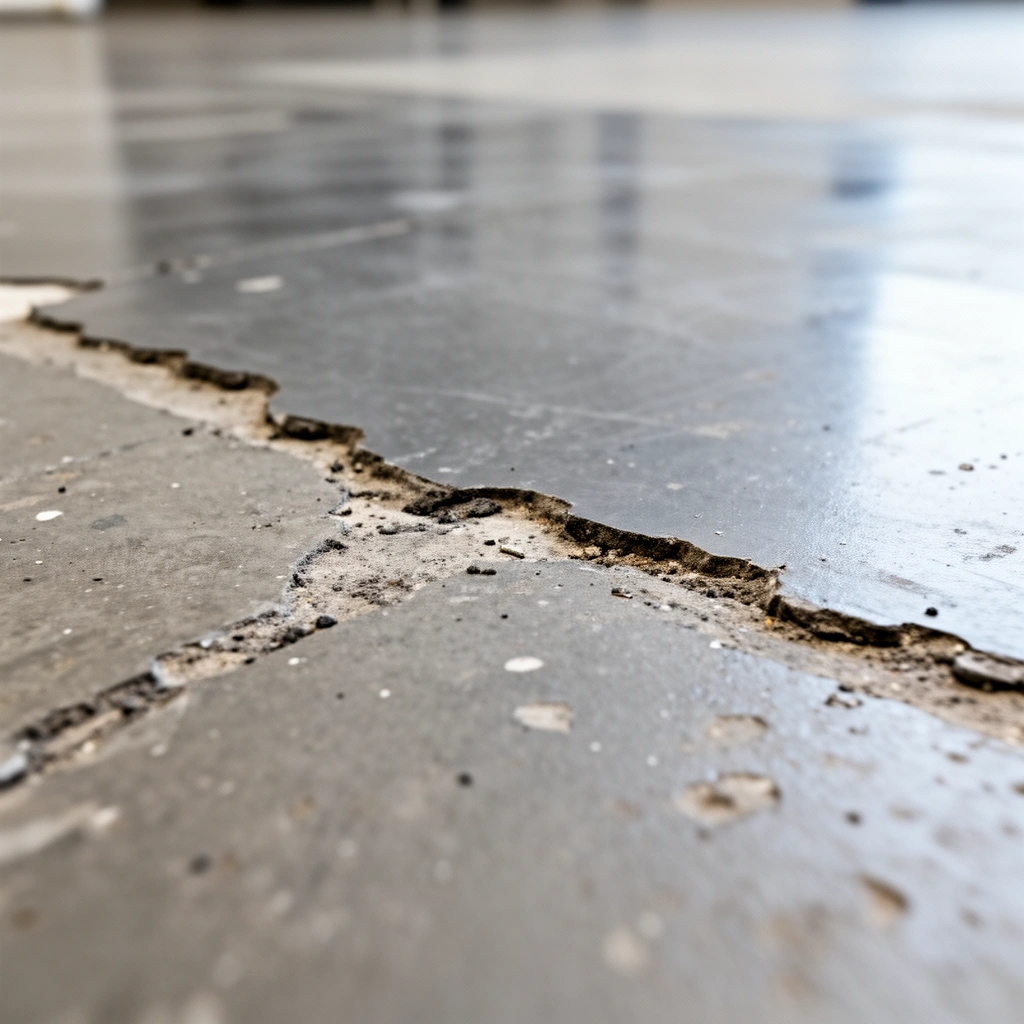
You should default to mechanical removal because it offers controlled profiling and reliable substrate results. Chemical strippers are situational: use them only when the manufacturer’s instructions explicitly match your coating chemistry and your site can execute safe cleanup.
In real industrial retrofits (especially epoxy over concrete), the usual path is:
1) remove bulk coating with grinders/scarifiers,
2) clean thoroughly,
3) profile to the next system’s specified surface profile,
4) only then decide if any chemical assistance is justified for residue at edges.
– Mechanical removal is usually the backbone: grinding, scarifying, chipping/hammering, and saw cutting for controlled sections.
– Use chemical strippers only when guidance indicates compatibility with your coating type and cleanup plan.
– For multi-layer systems, expect selective removal (top layers first) before bringing the surface to the right prep level.
How to decide without guessing
Look at three compatibility points:
– Coating chemistry: epoxy/urethane systems differ; some strippers won’t touch fully crosslinked epoxy.
– Surface end-state: coatings often need mechanical profiling anyway so you don’t just “remove,” you also prepare.
– Residual byproducts: with some chemicals, you may need additional wash/neutralization and time to ensure the new coating bonds properly.
“Surface preparation standards for coating adhesion generally require not only removal, but also achieving the specified mechanical profile and cleanliness state before re-coating.”
Step-by-step workflow for removing industrial floors
You remove industrial floors most safely by staging the work: test removal → controlled bulk removal → correct final profiling → documented cleanup readiness. This workflow reduces the risk of getting trapped in the wrong method or discovering hazards after you’ve already dispersed them.
– Start with test removal: pick a small area to confirm coating thickness, adhesion, and what tools cut it fastest.
– Remove in sections to manage debris, keep control of edges, and prevent recontamination of clean areas.
– Final prep matters: after bulk removal, use surface profiling methods suitable for your next floor system.
– Keep documentation: track what layers you removed and what surface condition you reached.
A field-ready sequence (works for many epoxy-over-concrete sites)
1. Pre-job checks: confirm access, lighting, power, and egress.
2. Test patch: cut a small zone and observe whether epoxy lifts, smears, or chips off.
3. Bulk removal: remove top layers with the least aggressive method that meets your end goal.
4. Edge control: keep boundaries clean so you can re-establish containment if conditions change.
5. Substrate profiling: grind/scarify to the profile required for your next system.
6. Verification + documentation: record the layer you reached, any anomalies (spalling, scaling), and final condition.
“A test patch is the fastest way to validate coating thickness and adhesion before you commit equipment and crew time to a full-bay removal.”
“For coating adhesion, the final mechanical profile is often as important as the removal step itself—especially when moving from epoxy to a new epoxy, urethane, or cementitious overlay system.”
What can go wrong (and how to avoid it)
Most failures during industrial floor removal happen in three categories: hazardous materials, slab damage, and dust containment. If you address these early, your risk drops significantly—even when the floor is complex.
– Hazardous coating risks: If you suspect lead/asbestos-containing materials and don’t test/abate properly, you can create serious health hazards. [ADD: source for testing/abatement requirement if you have a local jurisdiction.]
– Damage to the slab: Aggressive chipping without planning can spall concrete, widen cracks, or leave uneven surfaces that cost more to fix.
– Dust and containment failures: Skipping containment or using the wrong dust extraction setup can spread contamination and violate workplace safety requirements.
Common mistakes we see on real jobs
– Rushing the test patch and committing to the wrong removal tool (e.g., expecting chemicals to dissolve what only grinding can profile).
– Assuming epoxy “is just paint”—epoxy often creates hard-to-remove, tightly crosslinked residues.
– Using dry sweeping where wet methods or filtered vacuuming are required by your safety plan.
– Ignoring ventilation and PPE fit for silica and coating residues.
“OSHA’s crystalline silica requirements are triggered when work activities generate respirable crystalline silica dust, which includes concrete grinding and demolition.”
“Containment and dust extraction are central to controlling both exposure and cross-contamination during slab and coating removal.”
Verdict: when DIY is reasonable vs. when to hire out
DIY can work when the job is small, the coating system is clearly identified, and hazards are ruled out. If the area is large/occupied, hazardous materials are suspected, or the slab must be preserved carefully, you should hire a licensed contractor with containment/dust control experience.
If your floor is epoxy over concrete, a DIY approach can be reasonable for limited, well-contained zones where you can run grinders with proper HEPA-filtered dust extraction and manage disposal correctly. But skip DIY if you can’t isolate the work area, can’t control dust migration, or don’t know whether the coating contains regulated hazards.
– Reasonable DIY fit: small area, clear floor type, known hazard status, and access to the right dust control equipment.
– Hire a pro when: hazardous materials are suspected, the facility can’t be isolated, the slab must remain intact with minimal surface disruption, or you need compliant abatement/engineering controls. [ADD: “who should hire a pro” based on your site constraints—e.g., height, occupancy, ventilation limits.]
“If hazardous materials are suspected, the safest path is testing/abatement before demolition or coating removal proceeds.”
“For floor removal that generates respirable dust, professional crews typically plan containment, filtration, and cleanup methods aligned to OSHA requirements.”
Quick checklist for removing industrial floors
– [ ] Identify floor type(s): coating vs. tile vs. concrete
– [ ] Check for hazardous materials; test/abate if needed
– [ ] Plan dust control and site containment
– [ ] Choose tools based on the top layer(s) and adhesion
– [ ] Remove in manageable sections; control edges
– [ ] Finish with correct substrate prep for the next install
– [ ] Dispose of waste per local requirements
– [ ] Document layers removed and final surface condition
FAQ
How do I know if I’m removing a coating or concrete?
Look for system cues (topping/finish vs. slab) and confirm with a small test removal area to see what the tool actually cuts. If you can’t confidently determine what you’re removing, a flooring/industrial coatings professional or industrial hygienist assessment can prevent expensive missteps. [ADD: source for inspection/testing approach if you have one.]
Will grinding epoxy work the same way as removing tile?
No—epoxy coatings are typically removed and profiled with grinding/scarifying, while tile removal often requires lifting/chipping followed by cleaning down to the intended substrate. Plan for adhesive/mortar residue management because it can remain after tile is removed.
Do I have to use chemicals to remove industrial floors?
Usually not. Many industrial floor removals are primarily mechanical; chemicals may be appropriate only for specific coating chemistries when the manufacturer’s instructions and safety requirements support their use.
What’s the safest way to manage dust during floor removal?
Use containment and dust extraction designed for your equipment (grinders/scarifiers/saws) and follow respirator/PPE requirements from OSHA-relevant guidance and equipment manuals. If you’re generating crystalline silica dust, your controls need to align with OSHA’s silica requirements. [ADD: source for PPE/respiratory requirements you plan to follow.]
Can I remove industrial floors in an occupied building?
Sometimes, but it requires strict containment, ventilation planning, and compliance with workplace safety rules. If you can’t isolate the work zone or maintain dust exposure control, hiring specialists is often safer.
Sources
– OSHA 29 CFR 1926.1153 (Crystalline Metalworking/Construction Silica Standard for construction work; PEL and required controls)
– OSHA 29 CFR 1926.1101 (Asbestos in Construction Standard)
– OSHA 29 CFR 1926.62 (Lead exposure in construction)
– OSHA 29 CFR 1926.1126 (Hexavalent chromium—construction)
– OSHA 29 CFR 1926.1127 (Cadmium—construction)
– OSHA 29 CFR 1926.1124 (Nickel—construction)
– [ADD: manufacturer documentation for the specific epoxy/urethane/tile adhesive system you’re removing—use the datasheet/instructions for removal compatibility.]
– [ADD: official safety guidance relevant to hazardous coating testing/abatement in your jurisdiction—e.g., occupational safety agency rules.]
– [ADD: grinder/scarifier/saw operator manuals for dust control system compatibility and PPE recommendations.]
The safest industrial floor removal strategy is controlled, methodical, and informed by the actual floor system on top of the slab. Identify what you have, isolate the work and control dust from day one, remove mechanically in sections, and only use chemical strippers when manufacturer guidance clearly supports it for your specific coating chemistry and cleanup needs.
Frequently Asked Questions
What is the safest way to remove an industrial floor without damaging the slab?
Start by identifying the floor type (epoxy, urethane, concrete toppings, tile, or self-leveling) and checking for asbestos or other hazardous coatings. Use containment methods like plastic sheeting, negative air if needed, and proper PPE to control dust and chemicals. For removal, choose the least aggressive method that achieves full removal—such as mechanical grinding, shot blasting, or carefully controlled scarifying—so you minimize damage to the underlying concrete slab.
How do you remove epoxy flooring from a warehouse floor?
Epoxy flooring removal is usually best handled with mechanical methods such as diamond cup grinding, needle scaling, or industrial floor grinders designed for coatings. Chemical strippers can work for some systems, but they often require extensive prep, proper ventilation, and thorough residue removal to prevent adhesion failures later. After coating removal, grind the surface to achieve the correct profile, vacuum with HEPA filtration, and verify that no epoxy remains before installing a new industrial floor system.
Why is dust control important when removing industrial concrete floors?
Dust control is critical because concrete grinding and floor removal create fine silica particles that pose serious health risks, including silicosis. Effective dust management typically includes HEPA vacuum systems, water suppression where appropriate, and sealed work zones to protect workers and nearby equipment. Following OSHA-aligned practices for exposure control helps keep the project safer and can also prevent dust contamination from affecting coatings or new floor adhesion.
Which tools and equipment are best for removing industrial floors?
Common tools include industrial floor grinders with diamond tooling, scarifiers for thick coatings or adhesives, concrete shot blasters, and heavy-duty chisels/hydraulic breakers for localized demolition. For large areas, a walk-behind or ride-on floor grinder paired with a HEPA dust extractor is often the most efficient option. The “best” equipment depends on whether you’re removing epoxy coatings, mastics, tile, or concrete—so match the tool to the coating thickness and required surface finish.
What’s the best method to remove tile or thick adhesive layers on industrial floors?
For tile removal, start with mechanical demolition using a floor scraper, chipping hammer, or tile removal attachments on a walk-behind skid/mini loader, then address remaining thinset or mastic with grinding or needle scaling. If adhesive is particularly stubborn, you may need a multi-step process: mechanical removal first, then targeted grinders to flatten high spots and remove residue. Finish by profiling the concrete and thoroughly cleaning with industrial vacuums so the new industrial floor coating or resurfacing system bonds properly.
📅 Last Updated: October 12, 2026 | Topic: How to remove industrial floors? | Content verified for accuracy and freshness.
References
- Google Scholar Google Scholar
https://scholar.google.com/scholar?q=industrial+floor+removal+concrete+demolition+safety - Google Scholar Google Scholar
https://scholar.google.com/scholar?q=asbestos+floor+removal+demolition+renovation+guidelines - Google Scholar Google Scholar
https://scholar.google.com/scholar?q=concrete+cutting+floor+grinding+silica+dust+controls+oshasilica - https://www.epa.gov/asbestos/asbestos-demolition-and-renovation
- Asbestos | US EPA
https://www.epa.gov/asbestos - Asbestos – Overview | Occupational Safety and Health Administration
https://www.osha.gov/asbestos - Silica, Crystalline – Overview | Occupational Safety and Health Administration
https://www.osha.gov/silica - Silica and Worker Health | Silica | CDC
https://www.cdc.gov/niosh/topics/silica/ - https://pubmed.ncbi.nlm.nih.gov/?term=concrete+cutting+silica+dust
- https://www.hse.gov.uk/asbestos/dutyholder/demolition.htm